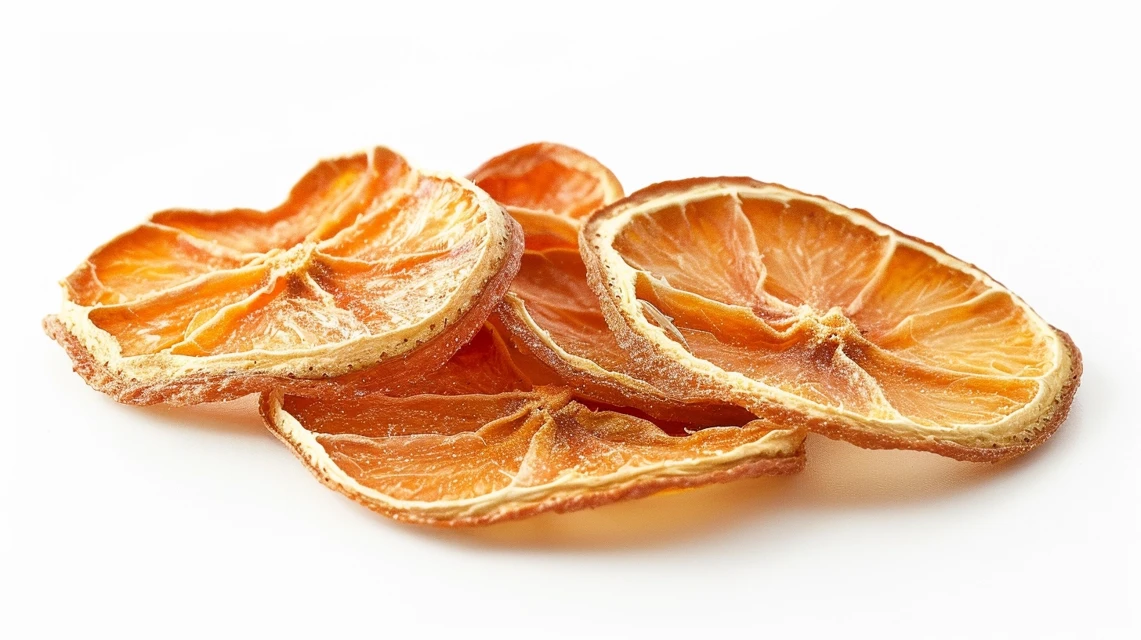
Making dried orange slices turns ordinary citrus fruit into beautiful decorations and tasty additions to food and drinks.
Using an air fryer makes this process quick and straightforward, giving you perfect results every time.
These dried orange slices offer many options for adding natural touches to your winter decor or creating special drinks and desserts.
This guide will walk you through each step, from selecting and preparing your oranges to properly storing the finished slices.
With careful attention to temperature and timing, you’ll create dried citrus that looks beautiful and lasts for months.
Preparing Your Oranges for Drying in Airfryer
Tools Needed
- Sharp knife
- Wooden cutting board
- Orange slicing tool (optional but helpful for even cuts)
- Kitchen towels for drying excess moisture
Cutting Steps
- Position your orange with the stem end up and bottom end down
- If using the slicing tool, place the orange firmly inside
- Make your first cut across the middle of the fruit
- Continue slicing to create even-sized rounds
- Remove the end pieces
- Pat the slices with kitchen towels to remove extra juice
Tips for Better Results
- Keep the orange steady while cutting for safety
- Look for the natural segments when positioning your orange
- Use the slicing tool for more precise cuts
- Cut straight through the middle to show the fruit’s natural pattern
Steps for Drying Orange Slices Using an Air Fryer

Setting Up Your Air Fryer
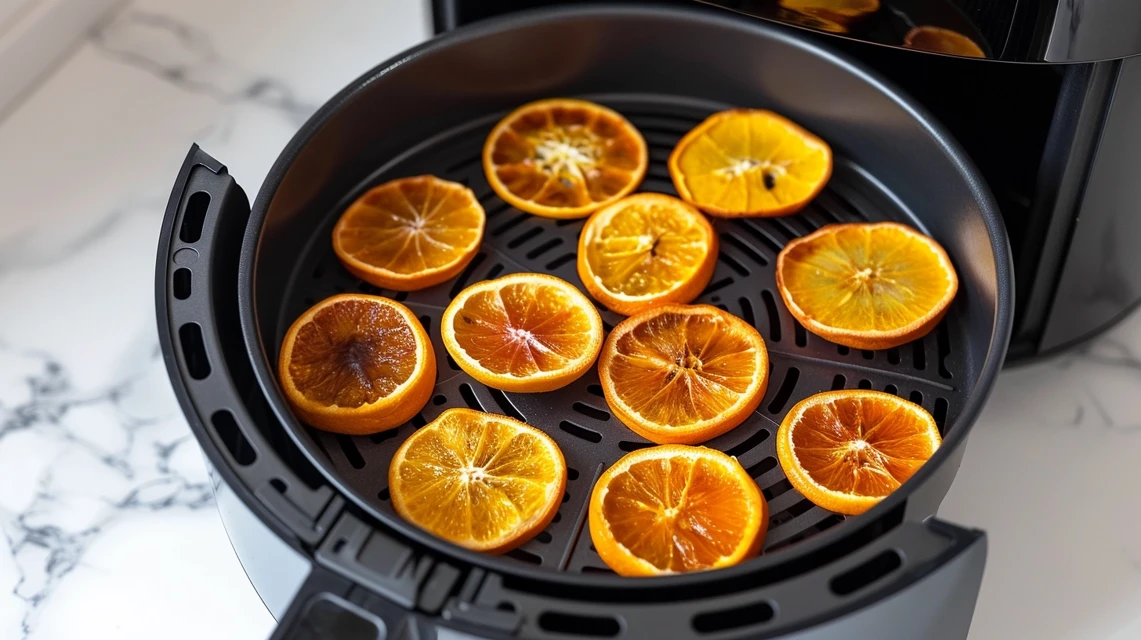
- Pull out both drawers of your air fryer
- Place wire racks in the bottom of each drawer
- Put orange slices on the racks (helps with airflow)
- Make sure the slices aren’t touching each other
Temperature and Time Settings
- Set to dehydrate mode: 60°C
- Initial time: 3 hours
- Total drying time needed: 4 hours
- Check slices after the first 3 hours
Checking for Doneness
At 3 hours:
- The rind should feel dry
- Check flesh texture
- If still soft, add more time
Signs of proper drying:
- Firm texture throughout
- No moisture in the flesh
- Completely dry rind
Helpful Tips
- Prop up any slices that fall through the rack
- Watch carefully during the final hour
- Small adjustments in time might be needed based on slice thickness
- Stop when slices are fully dry but not brittle
Post-Drying Handling and Storage of Dried Orange Slices
Checking Final Results
- Remove slices carefully from the air fryer
- Look for complete dryness in both rind and flesh
- Let slices cool completely
- Check that no moist areas remain
Storage Methods
- Keep in sealed containers
- Use containers that block outside air
- Store away from damp areas
- Check regularly for signs of moisture
Creative Uses for Dried Orange Slices

Place your dried slices where light hits them for the best effect. They work well alone or with other winter items.
Try different spots until you find what looks best in your space. Your dried orange slices can improve winter food and decor in several ways.
- For home decor: Put them in clear glass containers with lights near indoor plants or mix them with fresh fruit in bowls.
- In the kitchen: Use them for winter drink decorations, pudding toppings, or natural food garnishes.
- For handmade gifts: Add to wrapped items, place in small decorative containers, or mix with winter greenery.
Tips and Tricks for Drying Orange Slices in Air Fryer
1. Avoiding Burning
Making perfect dried citrus slices takes attention and care. To prevent burning, use the right temperature settings—175°F for your oven or 180°F for the air fryer.
White parchment paper helps you spot any browning quickly. Remember to check your slices every half hour and turn them over to ensure they dry well on both sides.
2. Even Drying
The key to getting good results is cutting your fruit into even slices. Take your time with a sharp, serrated knife and aim for slices between ⅛” and ¼” thick.
When all your slices are the same thickness, they’ll dry at the same rate. Before drying, use paper towels to pat off any extra juice – this helps them dry faster and more evenly.
3. Adding Flavors
Adding spices can make your dried citrus more special. Try sprinkling some ground cinnamon or nutmeg on the slices before you dry them.
If you want them sweeter, a light dusting of brown sugar works well. Add these right after you pat the slices dry so the flavors really sink in during the drying process.
4. Using Different Citrus Fruits
Different types of citrus need different drying times. In an air fryer, lemons and limes take about 45-60 minutes, oranges need 1-1.5 hours, and grapefruit needs 1.5-2 hours.
If you’re using an oven, expect longer cooking times—2-3 hours for lemons and limes, 3-4 hours for oranges, and over 4 hours for grapefruit.
The fruit is ready when it feels leathery but still bends slightly, with no sticky or wet spots.
Summing Up
The process might take some time, but the results are worth the wait. Keep watching your slices as they dry, checking often to get the perfect texture.
Slice oranges between ⅛ inch to ¼ inch thick. Keep all slices uniform in thickness to ensure they dry evenly and completely.
Store them well; they’ll stay good for many uses throughout the season. Remember that each type of citrus needs different drying times, so adjust your schedule based on your chosen fruit.
Whether used for winter decor, drinks, food, or gifts, these dried citrus slices add a special touch to any setting.
Frequently Asked Questions
Can I Dry Orange Slices without Parchment Paper?
Yes, you can use a wire rack instead of parchment paper. The wire rack helps with better airflow and even drying.
Why Are My Orange Slices Turning Brown?
Too high a temperature or a long drying time causes browning. Keep the temperature at 175-180°F and check often.
Can I Dry Other Fruits Using the Same Method?
This method works for most citrus fruits. Adjust the time based on fruit size—smaller fruits need less time.
Stephanie Grace, a graduate with a degree in Fine Arts from the Savannah College of Art and Design, has been inspiring DIY enthusiasts with her creative and practical guidance for over 14 years. Her career in design and crafting began in a small artisan workshop, where she developed a passion for transforming everyday materials into beautiful and functional items. Stephanie joined our website in 2018, rapidly gaining popularity for her easy-to-follow DIY tutorials and innovative project ideas. Since then, she has been the creative mind behind our DIY section, helping readers bring their artistic visions to life. Outside her professional pursuits, Stephanie enjoys pottery and urban gardening, hobbies that showcase her love for hands-on creativity and nature.


