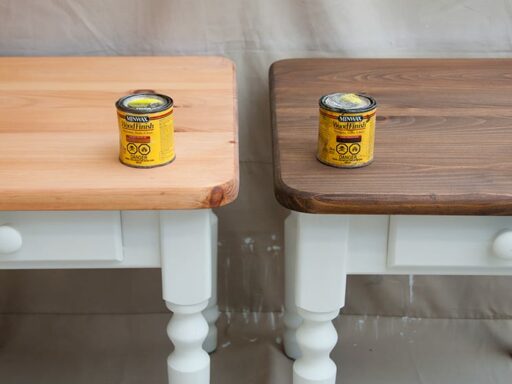

Stain over stain. Sounds unconventional, right? Well, this is a topic that has been debated amongst people who DIY their homes, but it is an interesting topic, and it is a process that goes beyond the conventional ways. In this process, one stain is a potential shortcut to achieving a new look for furniture, floors, or other wooden elements.
The idea behind stain over stain is to give a fresh look to your wood. It’s a cost-effective and time-saving way to fully refinish. It is also a sustainable way of saving the environment, but it comes with its own set of challenges. Stain over stain can be a hard process to crack.
But we have got you all covered. Read the guide below and find out a way to stain your favorite piece of furniture and give it a new life.
Can You Stain Over Stain?
Well, the simple answer to this question is that it is indeed possible and can be a practical solution for giving your wood surfaces a new life. While saving their natural beauty. Staining over stain is a beautiful technique that gives you a lot of benefits that you can get if you follow all the steps correctly.
What steps? Let’s get into it.
Important Steps to Consider for a Successful Stain Over Stain
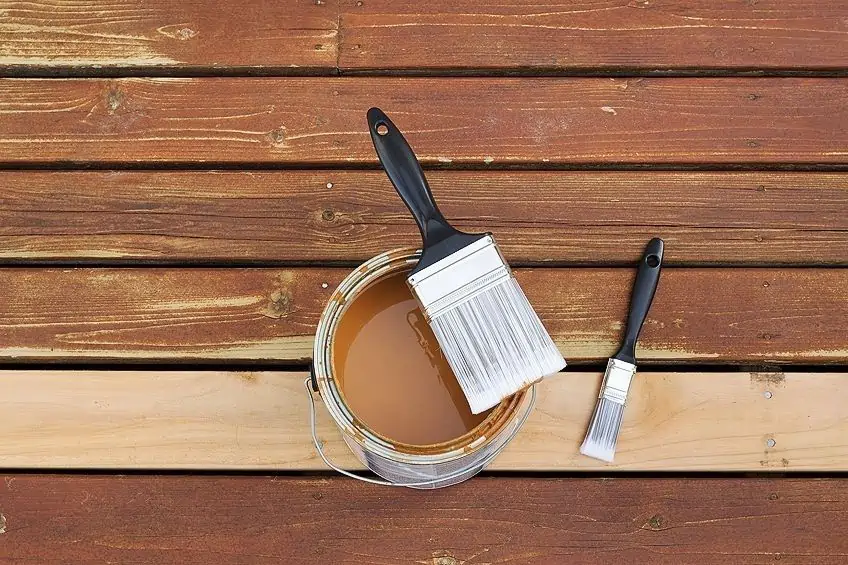
1. Be Prepared
When you are doing stain over stain it is very important that you are properly prepared on the surface, as it is the foundational step for a successful staining project over existing stains. Start off by thoroughly cleaning the surface to eliminate dirt, dust, and any contaminants that could hinder the stain.
Use proper cleaning materials and ensure that the surface is completely dry before starting the procedures. In cases where you’re working with stained wood, it’s often important to create a more porous surface to facilitate the adhesion of the new stain. You can achieve that by light sanding using fine-grit sandpaper.
You should always sand in the direction of the wood grain to prevent any kind of unsightly scratches or marks. The goal of this step is to provide a clean, beautiful canvas for the new stain to bond with, making sure that it has an even and long-lasting finish.
2. Do the Testing
Before you stain your entire wood, test, patch test, and think. Testing serves multiple purposes—it allows you to assess how the new stain color will interact with the existing stain, confirms if the application method achieves the desired aesthetic you have in your mind, and helps you anticipate any kind of challenges.
The inconspicuous test on a small area will give you valuable insights into whether the new stain is compatible with the existing stain or not. This ensures that there are no unexpected reactions or issues that could compromise the final result. It also enables you to fine-tune the application process, such as adjusting the number of coats or drying times, to achieve the desired color depth and consistency.
3. Choose the Correct Color for The Stain
Stain over stain is a difficult process, but selecting the color of the stain will make it easy. You can start by selecting the appropriate stain that greatly influences the outcome of your project. Compatibility is key, so choose a stain that is specifically made to be applied over existing stains, and make sure that your stain has an optimal adhesion and a harmonious final appearance.
Before you choose the color, you should also consider the type of wood you’re working with, as stains are formulated for particular wood types, and choosing the right color will provide better results.
You should also evaluate the existing stain to determine its base (oil-based or water-based), as this can impact compatibility. For example, water-based stains typically spread well over oil-based stains, but the reverse may not yield optimal results.
Taking time to choose the right stain based on compatibility, wood type, and desired finish makes sure that your project starts on the right foot and increases the likelihood of achieving your desired result.
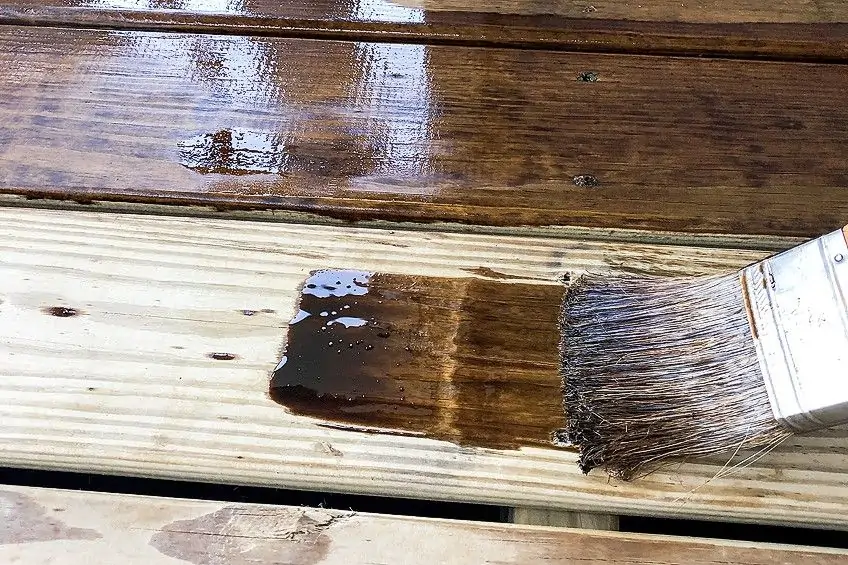
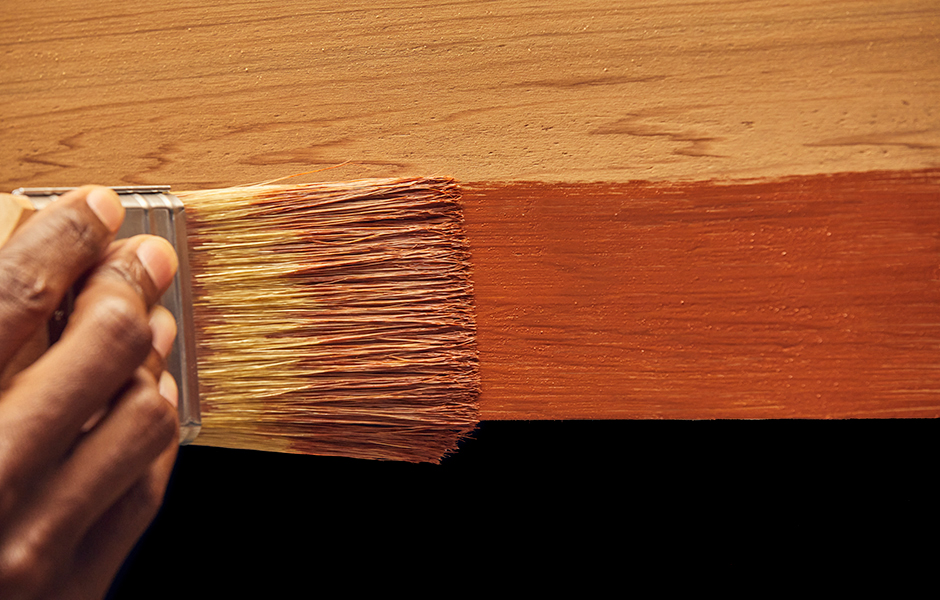
4. Thin Coats are the Key to Success
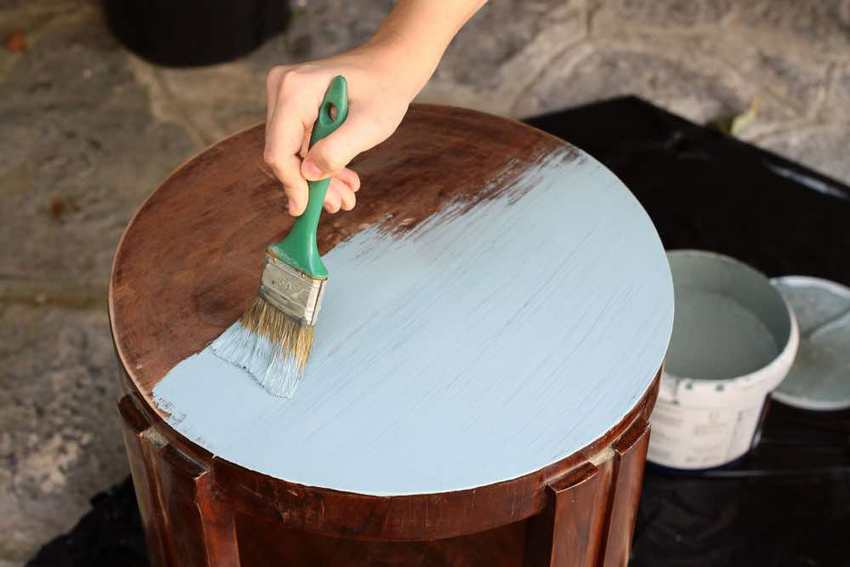
Stain over the stain in thin coats is pure magic. When you apply paint to the new stain, use thin, even coats. It’s often better to apply multiple thin coats rather than one thick coat. This gives you better control over the color depth and reduces the risk of uneven or blotchy results.
5. Give it Time
When you stain over stain, give it time. Be patient and allow each coat of stain to dry completely before applying the next one. The drying time will depend on the type of stain you’re using, humidity levels, and temperature.
You should read the manufacturer’s instructions for recommended drying times so that you know the timeline before you start. Remember the drying time is influenced by a lot of things. This includes the type of stain you’re using, the prevailing humidity levels, the temperature of your workspace, and so much more.
The type of stain could be oil-based stains, which usually have longer drying times as compared to water-based ones. Understanding these facts gives you time to plan your project effectively and ensure each layer of stain has a lot of time to dry and bond with the wood.
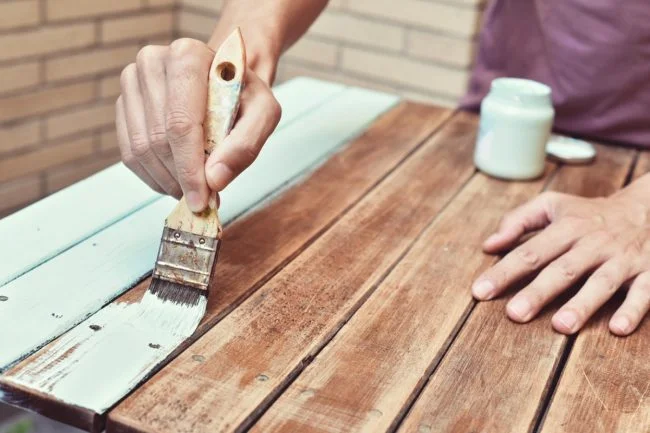
6. Sealing
Once you are done with selecting the color and calculating the give, you should start sealing. Start by applying a clear topcoat or sealer to protect the stained surface and enhance its durability and appearance. But make sure that the stain is completely dry before applying the topcoat.
7. Find out About Compatibility

Compatibility is very important when it comes to stain over stain. Not all stains are made equal, and some may not go well with others, leading to undesirable stain issues, uneven coloring, or different results.
You have to understand the compatibility between the existing stain and the new one. This is fundamental to the success of your wooden project. Stain types, brands, and compositions can be very different from time to time. This can affect how they interact when layered.
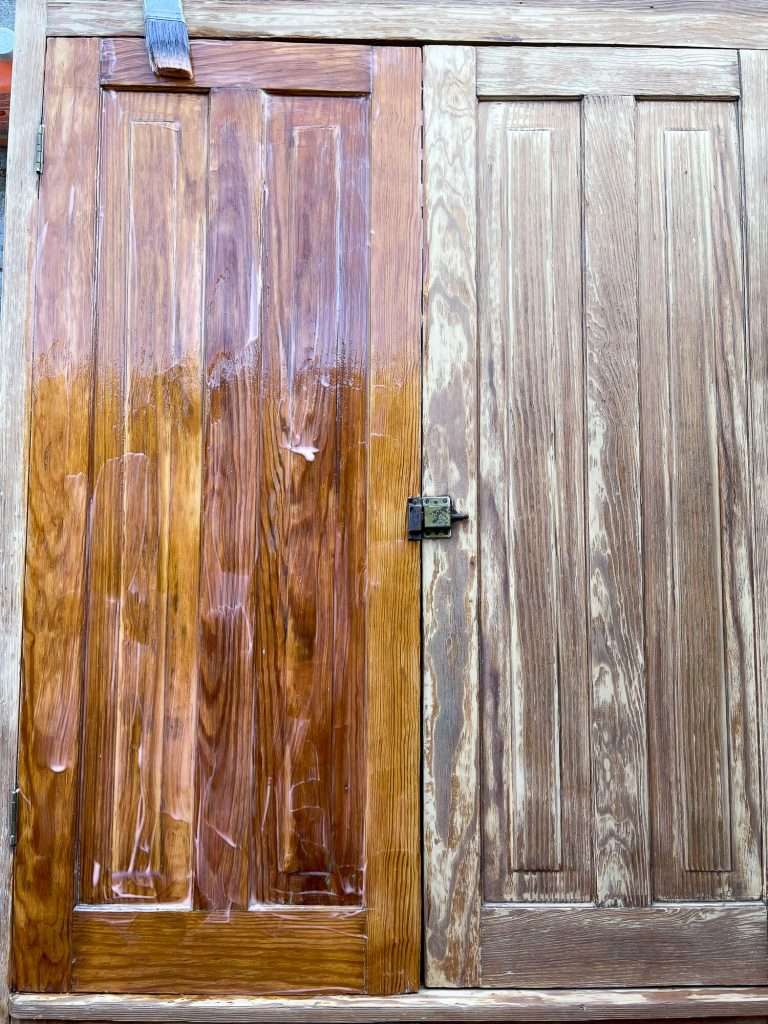
8. Removing Old Stain (If needed)
There would be times when you might have to strip or remove the old stain. It is important to strip or remove the old stain before applying a new one, especially when dealing with an existing stain that is damaged, uneven, or incompatible.
Stripping or removing the old stain can provide a clean slate for the application of the new stain, optimizing your chances of achieving the best possible results.
You can remove stain methods like using stain removers, sanding, or chemical stripping agents, each suited to particular scenarios.
Sanding, for example, can effectively remove surface layers of stain, giving you a smoother, more porous surface for the new stain. Chemical stripping agents, on the other hand, can be more aggressive and may be necessary for stubborn or multiple layers of old stain.
You have to make the decision to strip or remove the old stain depending on the condition of the wood, the previous stain’s impression, and the desired outcome.
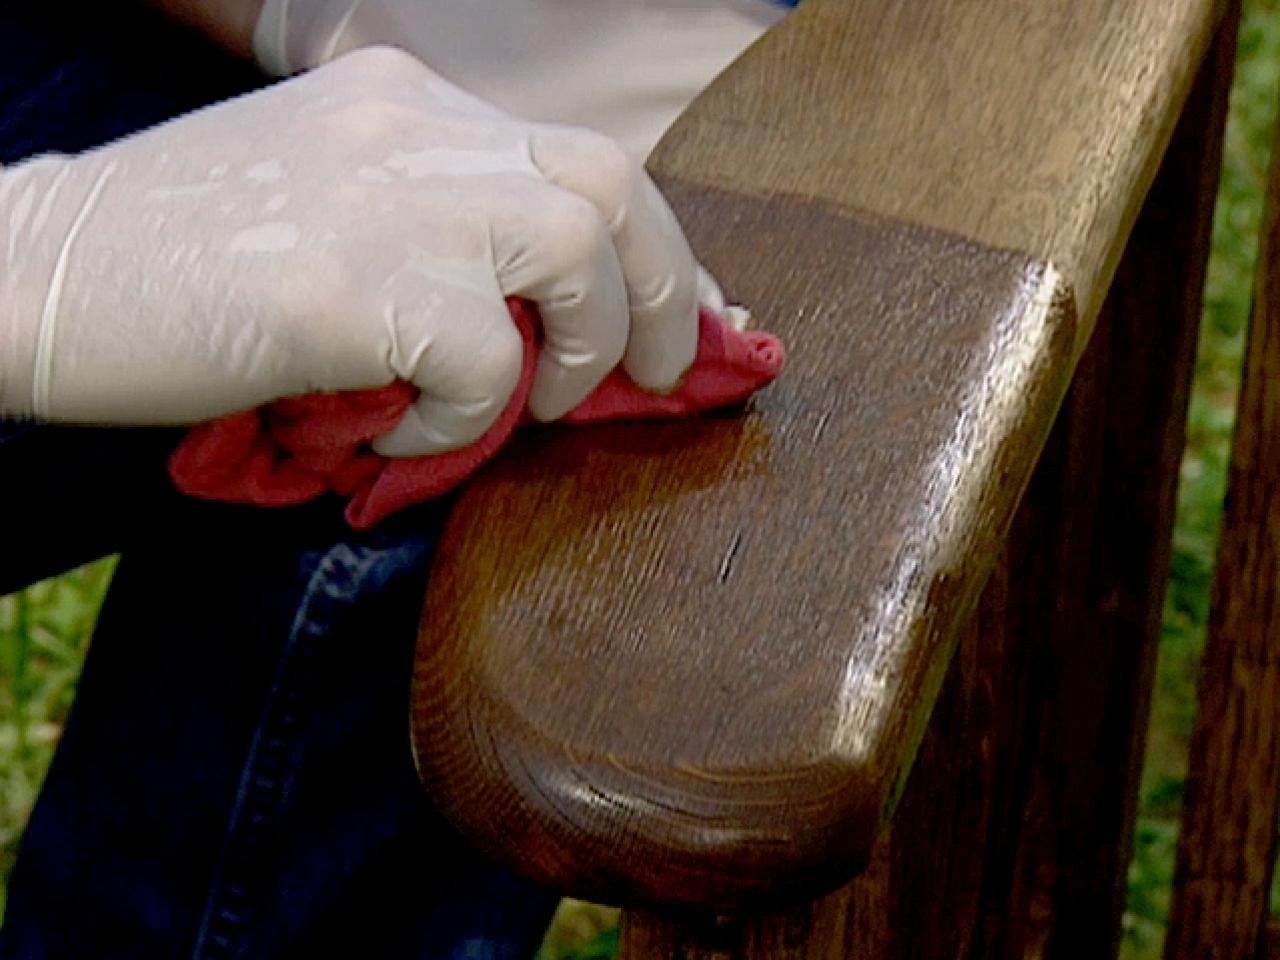
9. Maintenance
When you successfully stain over stain you have to maintain and preserve this. There are multiple ways you can do that. You can start off by regularly cleaning the dust and dirt that have accumulated on the stained surface, affecting its luster.
Routine cleaning with a soft, damp cloth or a wood-specific cleaner can help keep the surface looking fresh. You can also do periodic coatings. Depending on the type of stain and topcoat used, periodic re-coating may be necessary to refresh the appearance and maintain protection. This can involve reapplying a clear topcoat or a new layer of stain.
The level of maintenance is also required on factors such as wear and tear, exposure to elements, and the type of stain and topcoat used. Over time, especially in high-traffic areas, the stained surface may experience wear and minor fading. Maintenance is the way for the stain to have a long life.
10. Sustainability and Environment Friendly is the Way to Go
Stain over stain is very healthy for the environment. This includes proper ventilation during the staining process to ensure the safety of both you and the environment.
Choose low-VOC (volatile organic compounds) or eco-friendly stains and finishes whenever possible. These options are less harmful to the environment and contribute to improved indoor air quality.
Moreover, consider the disposal of materials you are using during the staining process, such as used rags and brushes. Dispose of these materials responsibly, following local regulations for hazardous waste disposal if necessary.
Once you have followed these steps, you will successfully save a piece of furniture that might have ended up in the trash. Using this technique will help you save a piece of furniture, and it would be good for the environment.
11. Patchwork is the Savior
Do patchwork before applying a new stain over an existing one, and assess the condition of the wood surface properly. This will give you an idea of what you are working on and how you can use it in your favor. If there are damaged or deteriorated areas, it’s essential to address these issues before proceeding with staining.
You should repair any cracks, holes, or rotting wood and replace damaged sections as needed. Do not even think about ignoring these problems, as doing that could lead to an uneven stain application and may result in an unsightly finish. It would be completely a game changer for you to do a patch test and know what you are getting yourself into.
When you properly repair and patch the wood, it ensures that the surface is in perfect condition, giving the new stain to perfectly, uniformly spread and produce a visually pleasing result. Ensure that you repair everything and use appropriate fillers or wood patches for the best outcome.
12. Understand the 101 of Wood Porous
Before you process to stain over stain, you should understand the type of wood you are dealing with and how different woods absorb stains. Start off by understanding the porosity of the wood surface. Some wood types are naturally more porous than others, which can affect how the stain is absorbed and its final look.
Wood that is less porous, like oak, cherry, and maple, is less porous and may need different staining techniques as compared to more porous woods. When staining over an existing stain, the wood’s porosity can determine how much the new stain penetrates and how the colors interact between the two surfaces. Be prepared for potential variations and adjust your staining process accordingly.
You should also prep and sand accordingly. For example, in porous woods, thorough surface preparation and sanding are crucial. Use fine-grit sandpaper to open up the wood’s pores slightly and promote better stain absorption. This step is very important when dealing with hardwoods and can help achieve more consistent results.
Understanding the wood’s porosity and adapting your staining approach can lead to a more successful project, particularly when working with different wood types or previously stained surfaces.
Conclusion
Stain over stain is a great way to give new life to your wood. It is also a great way for you to paint your wood into the color you always wanted and imagined.
You should always keep in mind that the success of staining over stain depends on a lot of factors, like preparation, diligent compatibility assessment, and a clear vision of the desired outcome. You have to clean the surface meticulously, choosing the right kind of stains and using precise techniques to stain the wood in the aesthetic you want.
For successful staining, one requires a lot of patience, preparation, compatibility assessment, and a clear understanding of what one wants.
If you are someone who is looking for a way to upgrade their furniture, then you are at the right place. With our in-depth blogs, you will learn all the ways to upgrade your place all by yourself.

Tommy Hardy, an alumnus of the Georgia Institute of Technology with a degree in Mechanical Engineering, has been a go-to figure in residential upkeep and innovation for over 18 years. His career commenced in a leading home appliance manufacturing company, where he mastered the intricacies of household systems. Joining our platform in 2020, Tommy quickly became a reader favorite for his practical and easy-to-follow guides. He took the helm of our DIY section in 2019, consistently delivering content that empowers homeowners. Beyond his professional pursuits, Tommy is a passionate gardener and enjoys woodworking, skills enhancing his hands-on approach to home care.