Building stone steps can feel tough at first. I learned this when I started working on my backyard makeover last summer.
The heavy lifting, precise measurements, and proper placement made me wonder if I should call a professional.
But here’s the good news – I found out that with the right steps and tools, anyone can build beautiful stone steps. In this guide, I’ll share my tested method that helped me create sturdy, natural stone steps in my garden.
I’ll walk you through each part of the process, from picking the right stones to setting them properly in place.
How to Build Natural Stone Steps
Materials & Tools Required
- Natural stone steps (varying thickness 4-7 inches)
- Clean stone (2B/67s/57s) for base
- Laser Level
- 6-foot level or screed bar
- Jumping jack compactor (or vibratory plate/hand tamper)
- Landscape fabric
- Shovel and excavation tools
- Measuring tape
- Wet Lock joining material (for flagstone landing)
- Decorative boulders (optional)
- Mulch
- Basic garden tools
Step-by-Step Process
1. Planning Your Steps
- Stack All Stones to Measure the Total Height—line up your stones on a flat surface to get the total measurement from bottom to top. In my experience, seven steps typically require about 43-45 inches of height.
- Add 1 Inch Extra for Proper Water Drainage – this extra inch helps water flow away from your steps. I learned this prevents water pooling and ice formation in winter.
- Use a Laser Level to Mark Your Starting Point – set your laser at your desired end point and measure down. This helps ensure your steps rise evenly from bottom to top.
- Pick Wider Stones for Bottom Steps – I find starting with 36-40 inch wide stones at the base creates a solid foundation and looks better visually as they narrow toward the top.
2. Prepare the Base
- Remove Old Steps or Materials – Clear the area completely, including old steps, roots, and loose soil. I use a shovel and pry bar for this task.
- Dig About 6 Inches Deep for The First Step – This depth ensures a solid foundation. Make sure to dig wide enough for your stone, plus 6 inches on each side.
- Lay Landscape Fabric. Cover the entire dug area with fabric, leaving extra on the sides. This will stop weeds and keep your base material clean.
- Add Clean Stone Base Material – Pour your 2 b/67s/57s stone to create a 6-inch deep base. Spread it evenly across the prepared area.
- Compact the Base Properly – Use a jumping jack compactor or plate compactor. Make several passes until the base feels firm and stable.
3. Setting the First Step
- Place Stone on Prepared Base – Lower the stone carefully onto your compacted base. I find using straps or a grapple helps position heavy stones.
- Check Level Side-to-Side – Use your 6-foot level across the width. This step sets the pattern for all others above it.
- Ensure Slight Forward Tilt for Water Runoff – Adjust the back slightly higher than the front, about 1/4 inch per foot. This helps water drain off.
- Use Level to Confirm Proper Placement – Double-check all angles. A properly set first step makes the rest of the project easier.
4. Adding More Steps
- Flip Back Landscape Fabric – Fold the extra fabric back before digging for your next step. This keeps soil separate from your stone base.
- Dig into Bank About 2 Feet – Create space for your next step, ensuring enough depth for both stone and base material.
- Add Compact Clean Stone – Fill with base material in 3-inch layers, compacting each layer thoroughly before adding more.
- Screen Stone with 6-Foot Level – Drag your level across the base to ensure an even surface. This helps your steps sit flat.
- Set Each Step, Checking Level – place stones carefully, checking side-to-side and front-to-back levels.
- Test walkability between steps – walk up and down to ensure comfortable stepping distances. Adjust if needed.
5. Grade Management
- Check Height with Laser Level Regularly – After setting each step, verify you’re on track to reach your final height. Make adjustments early.
- Adjust Step Angles as Needed – Fine-tune the tilt of each step. Remember, small adjustments add up over multiple steps.
- Maintain Consistent Tread Depth – Keep step depths between 14-16 inches for comfortable walking. I aim for 15 inches when possible.
- Account for Water Flow Direction – Ensure water moves away from both steps and the house foundation. Create subtle slopes where needed.
6. Finishing Touches
- Create a Landing Area at the Top – Build a stable, level platform at the top of your steps. I usually make this slightly larger than the steps.
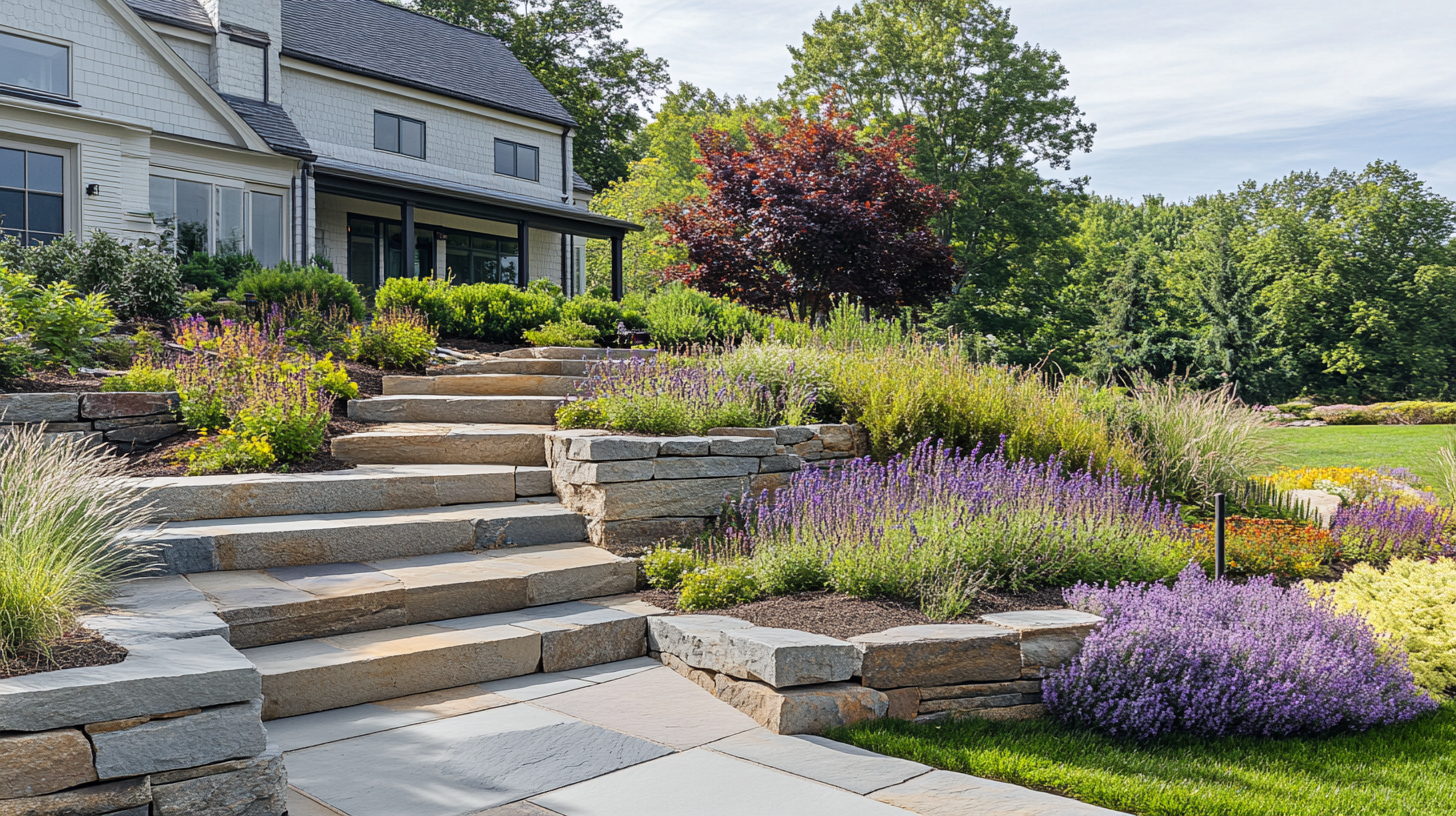
- Add Decorative Boulders for Grade Transitions – Place smaller boulders along sides to blend steps into landscape. This helps prevent soil erosion.
- Place Plants as Desired – Add native plants along the edges for a natural look. Choose low-maintenance varieties that won’t overgrow steps.
- Apply Mulch Around Steps – Spread 2-3 inches of mulch around plantings and boulders. This helps control weeds and retains moisture.
How Do I Choose the Right Type of Stone for My Steps?
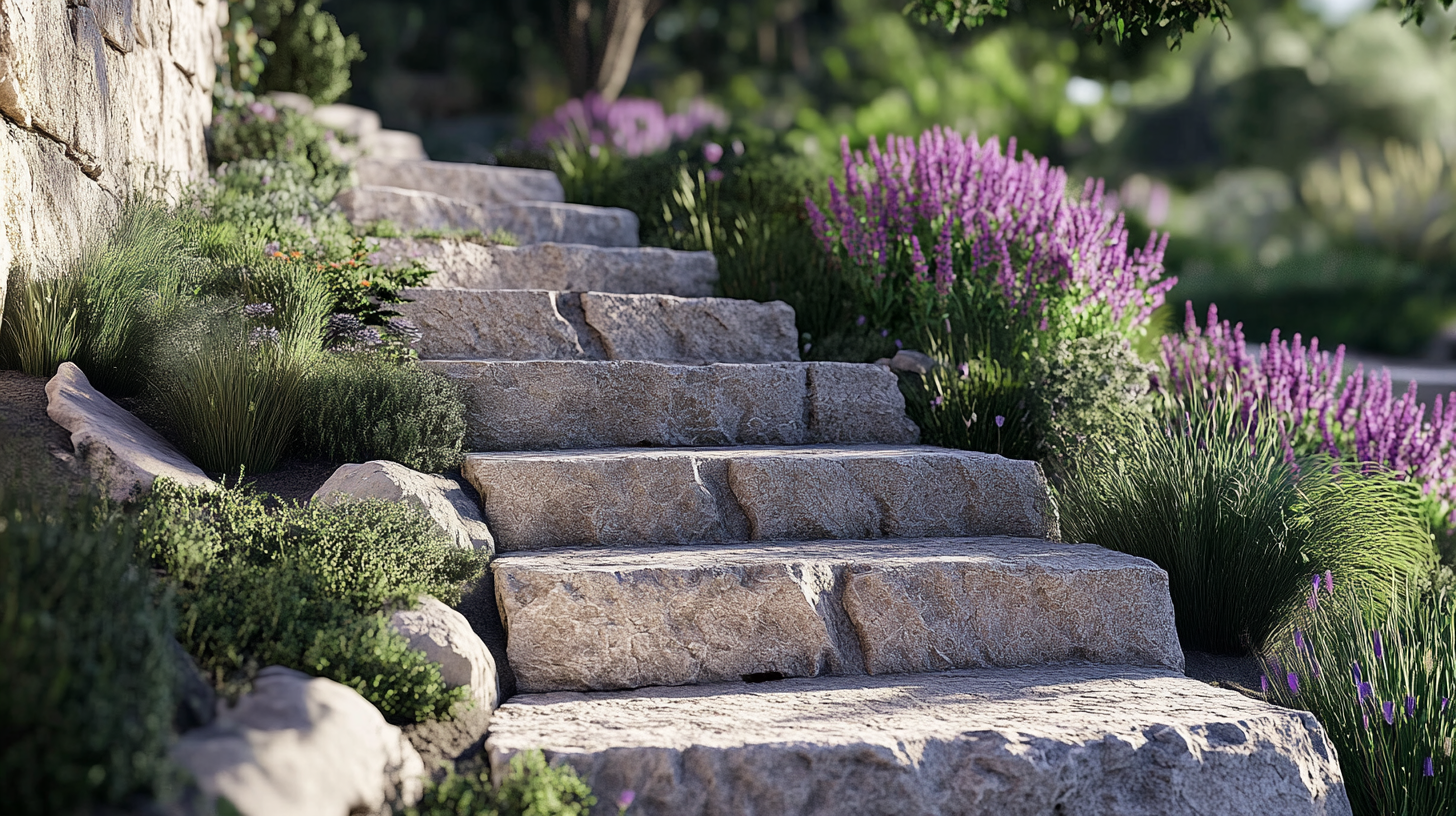
When I started working with natural stone steps, I learned these key things to look for:
1. Essential Features to Check
- Thickness: Pick stones 4-7 inches thick for stability
- Width: Bottom steps need 36-40 inches; can go narrower at the top
- Flat surface: Look for stones with naturally level tops
- Solid structure: No cracks or weak spots
2. Stone Types That Work Well
- Bluestone: Naturally flat and weather-resistant
- Granite: Very strong and holds up to heavy traffic
- Limestone: Easy to work with and good grip when wet
- Sandstone: Comes in many colors but needs sealing
3. Important Factors I Consider
- Local climate conditions
- Amount of foot traffic expected
- Surrounding landscape style
- Local stone availability
- Project budget limits
- Stone weight for installation
An Approximate Cost to Build Natural Stone Steps
Read Next
Build Your Own Wooden Christmas Tree: A Complete Step-by-Step Guide
Want to add a special touch to your holiday decorations? A wooden Christmas tree brings lasting beauty to…
20 Interesting DIY Playground Ideas Your Kids Will Love
Are you all excited to enjoy quality time with your children while playing outdoor games? After all, its…
How to Build a Drawer: A Detailed Guide
Are you planning to add a new drawer in your cabinet, or do you just want to upgrade…
Where To Hang Wall Clock In Your Living Room
Time, the most precious asset, holds profound significance in every aspect of life, encompassing religion, culture, how we…

