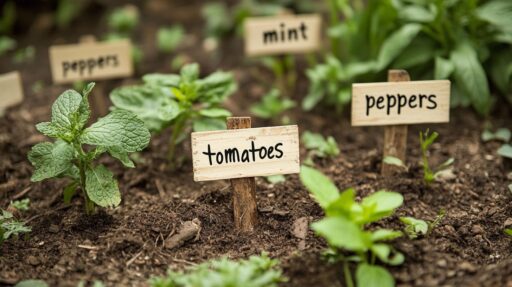
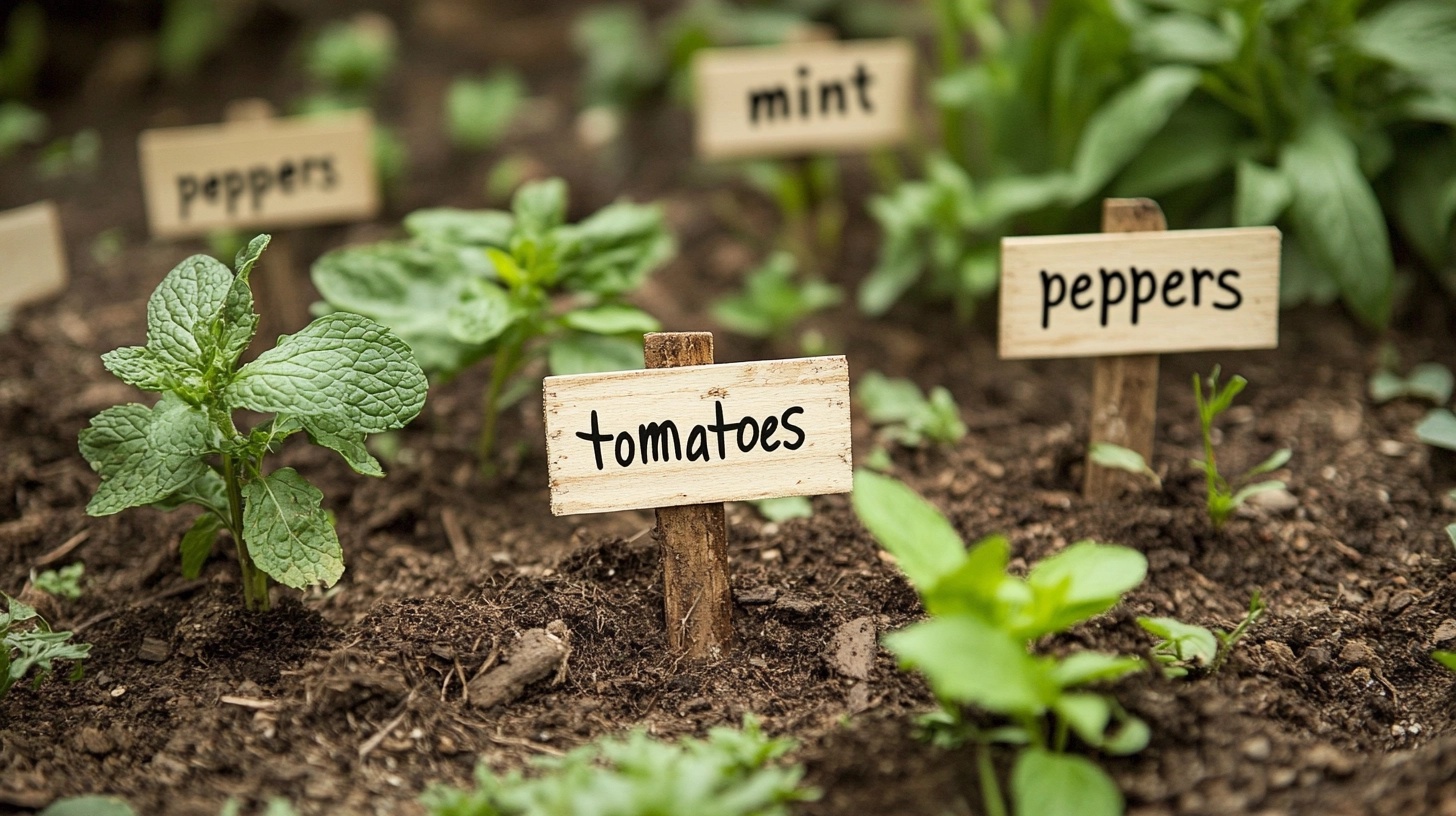
I’ve lost count of how many times I’ve planted seeds and forgotten what’s growing where.
As a gardener, I know the frustration of mixing up my tomatoes with my peppers.
Making your own plant labels saves money and adds a personal touch to your garden. Plus, it helps you track what’s growing and when you planted it.
I’ve tested many different methods to mark my plants, and I’m excited to share my favorite DIY garden marker ideas with you.
These simple projects use materials you likely have at home.
By the end of this post, you’ll have 15 practical ways to create long-lasting plant markers that look great in your garden.
Why Use Plant Markers?
- Organize Your Garden Space: Plant markers prevent confusion by clearly identifying each plant, especially helpful when seedlings look similar. They create structure in busy gardens and make daily maintenance straightforward.
- Track Growing Progress: Garden markers are essential to record keepers. They notate planting dates and care needs. This helps monitor plant development and plan future garden layouts based on success rates.
- Simplify Garden Maintenance: Labels make daily tasks easier by showing where plants are located and what care they need. This prevents accidental removal and ensures proper plant care throughout the season.
- Share Garden Knowledge: Clear markers help family members or garden helpers identify plants quickly. They make it simple for others to assist with basic garden tasks when needed.
Best DIY Garden Marker Ideas for Plant Lovers
1. Painted Stones

| Material | Quantity/Details |
|---|---|
| Smooth flat stones | As many as needed |
| Acrylic paint | Multiple colors |
| Paintbrushes | Various sizes |
| Sealant (optional) | Clear outdoor sealant |
| Cleaning cloth | Any soft cloth |
| Container | For washing stones |
Step-by-Step Guide:
- Gather and clean your stones using warm water and cloth until surface dirt is removed. For rough stones, sand them lightly to create a smooth painting surface.
- Paint a base color on your clean, dry stones and let them dry for 30 minutes. Choose light colors that will make plant names stand out.
- Using a fine-tipped brush, write plant names and add simple decorations like leaves or flowers. Wait 15 minutes between colors to prevent smudging.
- Once the paint is completely dry (about 2 hours), apply clear outdoor sealant in a well-ventilated area. Let it dry overnight before placing it near your plants.
2. Wine Cork Labels

| Material | Quantity/Details |
|---|---|
| Used wine corks | One per plant |
| Bamboo skewers | 6-8 inches long |
| Permanent marker | Waterproof type |
| Clear sealant | Spray type |
| Drill or screwdriver | For making holes |
Step-by-Step Guide:
- Clean corks and use a drill or screwdriver to create a small hole in the bottom. Make sure the hole is slightly smaller than your bamboo skewer for a tight fit.
- Insert a skewer into the cork, pushing it about halfway through. Clearly write plant names on the cork’s side using a permanent marker.
- Spray with clear sealant in a well-ventilated area and let dry for 2 hours. Push stakes into the soil near plants, ensuring the cork remains above ground level.
3. Wooden Spoon Markers

| Material | Quantity/Details |
|---|---|
| Old wooden spoons | One per plant |
| Outdoor paint | Light color base |
| Permanent marker | Black |
| Wood sealant | Clear coat |
| Sandpaper | Medium grit |
| Clean cloth | For wiping |
Step-by-Step Guide:
- Sand spoons lightly and wipe clean with a damp cloth. Apply light-colored paint to spoon handles and let dry for 1 hour.
- Write plant names on painted handles using permanent markers. For better visibility, write on both sides of the handle.
- Apply wood sealant and let dry overnight. Place in garden with spoon end in soil and handle showing plant name.
4. Clothespin Labels

| Material | Quantity/Details |
|---|---|
| Wooden clothespins | One per plant |
| Outdoor paint | Preferred colors |
| Small paintbrush | Various sizes |
| Clear sealant | Weather-resistant |
| Plant stake | 6-8 inches long |
Step-by-Step Guide:
- Sand clothespins if needed and wipe clean. Paint with your chosen color and allow to dry for 30 minutes.
- Write plant names clearly on both sides. Add small designs if desired. Let the ink dry completely.
- Spray with clear sealant and dry overnight. Attach to plant stakes or directly to plant supports.
5. Clay Pot Labels

| Material | Quantity/Details |
|---|---|
| Mini terracotta pots | 2-inch size |
| Outdoor paint | Base color |
| Paint pens | Multiple colors |
| Wooden stakes | 8-10 inches |
| Strong adhesive | Weather-resistant |
Step-by-Step Guide:
- Clean pots thoroughly and let dry. Apply base paint if desired and wait 2 hours for complete drying.
- Write plant names and add decorations with paint pens. Let dry for 30 minutes between colors.
- Attach pots to stakes with strong adhesive. Let dry for 24 hours before placing in the garden.
6. Bottle Cap Stakes

| Material | Quantity/Details |
|---|---|
| Metal bottle caps | One per plant |
| Small nails | For attachment |
| Wooden stakes | 8-12 inches |
| Hammer | Regular size |
| Paint markers | Weather-resistant |
Step-by-Step Guide:
- Clean bottle caps and remove any rubber lining. Paint the inside with a base color if desired.
- Write plant names on caps using paint markers. Let dry completely for 1 hour.
- Nail caps to wooden stakes and place them in garden soil. Make sure the caps face the viewing direction.
7. Popsicle Stick Markers

| Material | Quantity/Details |
|---|---|
| Craft sticks | One per plant |
| Weather-resistant paint | Light colors |
| Paint pens | Dark colors |
| Clear sealant | Spray type |
| Small brush | For base coat |
Step-by-Step Guide:
- Paint craft sticks with a light base color and dry for 30 minutes. Use two coats for better coverage.
- Write plant names with paint pens on one side. For longer sticks, add planting dates or care notes.
- Coat with clear sealant and let dry for 2 hours. Push into the soil at the plant base, leaving the name visible.
8. Painted Brick Markers

| Material | Quantity/Details |
|---|---|
| Small bricks | One per plant |
| Outdoor paint | Multiple colors |
| Paint brushes | Various sizes |
| Outdoor sealant | Weather-resistant |
| Cleaning brush | Wire type |
Step-by-Step Guide:
- Clean bricks thoroughly with a wire brush and rinse. Let dry completely for 24 hours.
- Paint your base color and let dry for 2 hours. Write plant names and add simple designs if desired.
- Apply clear sealant once the paint is completely dry. Position bricks near plants, slightly buried for stability.
9. Stick and Twine Tags

| Material | Quantity/Details |
|---|---|
| Small twigs | 6-8 inches long, sturdy |
| Garden twine | Natural fiber, weather-resistant |
| Card stock | Thick paper, 90lb weight |
| Hole punch | Small size |
| Scissors | Sharp, for clean cuts |
| Clear spray | Weather protection |
Step-by-Step Guide:
- Select and trim twigs to 6-8 inches, removing rough spots. Cut card stock into 2×3 inch tags for easy writing and visibility.
- Write plant names using a waterproof marker. Add planting dates if needed. Punch holes at the top corners and spray with a protective coating.
- Thread twine through holes, create loops around twigs and secure them with double knots. Push twigs 3 inches into soil near plants.
10. Paint Chip Markers

| Material | Quantity/Details |
|---|---|
| Paint samples | Multiple colors |
| Clear tape | Wide, UV resistant |
| Garden stakes | 8-10 inches |
| Scissors | Sharp |
| Marker | Black permanent |
Step-by-Step Guide:
- Choose paint chips with light sections. Cut them into even sizes, keeping color names if they match your plants’ colors.
- Write plant names and growing information on light sections. Let the ink dry completely to prevent smearing while handling.
- Cover both sides with clear tape. Use extra tape strips to attach to stakes. Place near plants at a readable height.
11. Clay Tag Markers

| Material | Quantity/Details |
|---|---|
| Air-dry clay | White or natural |
| Letter stamps | Complete alphabet |
| Twine | Weather-resistant |
| Rolling pin | Smooth surface |
| Skewer | For hole making |
Step-by-Step Guide:
- Roll the clay to an even thickness. Cut it into desired shapes using cookie cutters or a knife. Smooth the edges with a wet finger.
- Press letters firmly into clay to stamp plant names. While the clay is soft, make holes at the top with a skewer.
- Let tags dry for 48 hours. Thread twine through holes and hang on plants or stakes.
12. Bamboo Slice Labels

| Material | Quantity/Details |
|---|---|
| Bamboo pieces | Fresh or dried |
| Wood burner | With fine tip |
| Small saw | Sharp blade |
| Sandpaper | Medium grit |
| Safety gear | Gloves, glasses |
Step-by-Step Guide:
- Cut bamboo into 1-inch thick slices at a 45-degree angle. Sand cut edges and surface until smooth for writing.
- Heat the wood burner and test on the spare piece. Write plant names with steady pressure for clear marks.
- Let cool completely. Push the angled end into the soil or attach it to stakes with weather-resistant glue.
13. Glass Jar Tags
| Material | Quantity/Details |
|---|---|
| Small jars | Clean, dry |
| Paper | Water-resistant |
| Stakes | 12-inch wooden |
| Strong glue | Outdoor type |
| Markers | Waterproof |
Step-by-Step Guide:
- Remove labels and clean jars thoroughly. Cut paper to fit inside, and write plant names clearly with a waterproof marker.
- Insert labels facing outward. Seal lids tightly to prevent moisture. Test seal by shaking gently.
- Attach jars to stakes using strong glue. Place in the garden with labels facing your walking path.
14. Shell Markers

| Material | Quantity/Details |
|---|---|
| Large shells | Flat surface |
| Paint pens | Multiple colors |
| Sealant | Outdoor grade |
| Small stakes | Optional |
| Glue | Waterproof |
Step-by-Step Guide:
- Clean shells and dry them completely. Choose the flattest side for writing. Sand rough spots if needed.
- Write plant names with paint pens. Add small designs if desired. Let dry fully before handling.
- Apply two thin coats of sealant. Place it in the garden or glue it to stakes for better visibility.
15. Button Markers

| Material | Quantity/Details |
|---|---|
| Large buttons | 2-inch minimum |
| Paint markers | Multi-color set |
| Garden stakes | 8-inch wooden |
| Strong glue | Weather-proof |
| Clear sealant | UV resistant |
Step-by-Step Guide:
- Clean buttons and paint plant names on the flat surface. Add small designs if space allows.
- Apply clear sealant over the writing. Attach buttons to stakes with strong glue once dry.
- Place in garden soil, ensuring buttons face walking paths for easy reading.
Simple Weather Protection Tips
| Method | Materials Needed | Cost Range |
|---|---|---|
| Clear Sealant Spray | UV-resistant clear coat | $8-12 |
| Lamination | Clear contact paper | $5-7 |
| Natural Oil | Linseed or tung oil | $6-10 |
| Mod Podge Outdoor | Waterproof sealer | $7-12 |
| Clear Tape | UV-resistant tape | $3-5 |
Step-by-Step Protection Methods:
- For Painted Items (stones, wood, pots): Apply 2-3 thin coats of clear sealant in a well-ventilated area. Let each layer dry for 1 hour between coats.
- For Paper-Based Markers: Cover completely with clear contact paper or tape, pressing out air bubbles. Trim edges with a small border for a better seal.
- For wooden items: Brush on natural oil and let soak for 30 minutes. Wipe off excess and dry for 24 hours. Repeat yearly for best results.
Extra Protection Tips:
- Position markers where they won’t sit in standing water
- Clean markers monthly with a soft brush
- Store delicate markers indoors during harsh winters
- Replace paper labels at the start of each growing season
Conclusion
I’ve shared my favorite DIY garden marker ideas, and I hope you’re excited to try them.
These simple projects not only help you track what’s growing but add a personal touch to your garden space.
From stones and spoons to shells and clay tags, each marker type brings its own charm. The best part? Most of these projects use items you might already have at home, saving money while reducing waste.
Remember to weatherproof your markers for a longer life. Start with one style that matches your garden’s look, or mix different types for added character.
I’d love to see your garden marker creations! Share your photos in the comments below, or tell me which design you plan to try first. Happy gardening!
Frequently Asked Questions
How Do You Make Homemade Plant Markers?
Create plant markers using household items like stones, wooden spoons, or popsicle sticks. Paint or write plant names clearly, seal with weather protection, and place near plants.
How Do You Make Weatherproof Plant Labels?
Spray clear sealant over written names. Use outdoor paints and waterproof markers. Choose sturdy materials like stone or metal. Avoid paper-based items unless laminated.
What Can I Use Instead of Plastic Plant Labels?
Use natural materials such as stones, wooden sticks, clay tags, or metal spoons. These options last longer, look better, and help reduce plastic waste.
How Do You Make Vegetable Garden Labels?
Write vegetable names on large labels that leave room for growing tips. Add planting dates and harvest times. Place labels at row starts for easy spotting.
With a Master’s in Landscape Architecture from the University of Virginia, Sophia Stephenson has dedicated the last 20 years to creating and maintaining vibrant outdoor spaces. Her professional journey started in landscape design, where she gained a reputation for innovative and sustainable approaches. Sophia became a part of our editorial team as a freelancer in 2019, offering a fresh perspective on outdoor living. Since 2020, she has been the chief for our outdoor design content, blending aesthetic appeal with environmental stewardship. In her leisure time, Sophia is a keen photographer, capturing the beauty of natural landscapes, a hobby that complements her professional expertise.

