Are you tired of water damage ruining your roof and fascia boards?
A proper drip edge installation might be precisely what your home needs.
This simple metal strip is one of the most overlooked yet essential parts of your roofing system.
It directs water away from your home, prevents pest entry, and extends the life of your shingles.
If you’re replacing your roof or looking to upgrade an existing one, installing drip edge is a DIY project.
This slight improvement can save you thousands in future repairs.
Learn how this small addition protects your entire home from costly water damage.
What Is a Drip Edge?
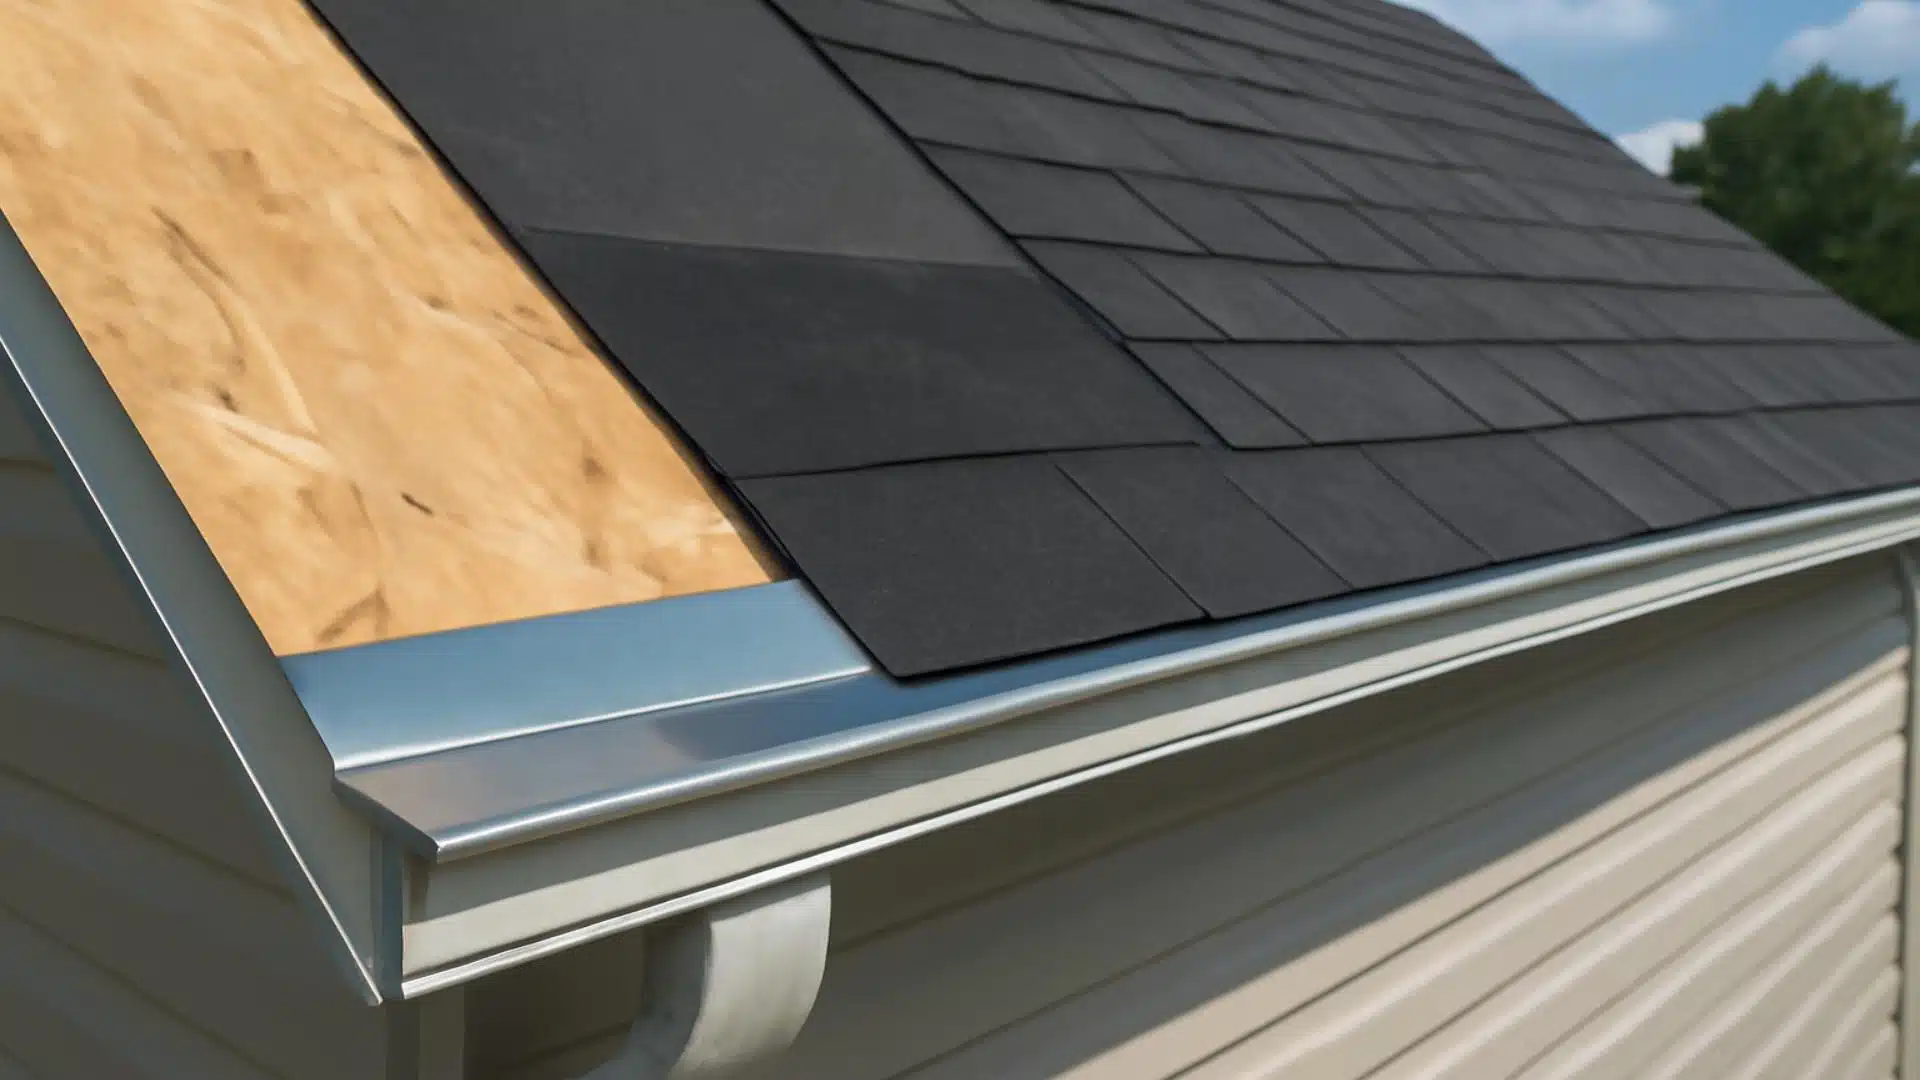
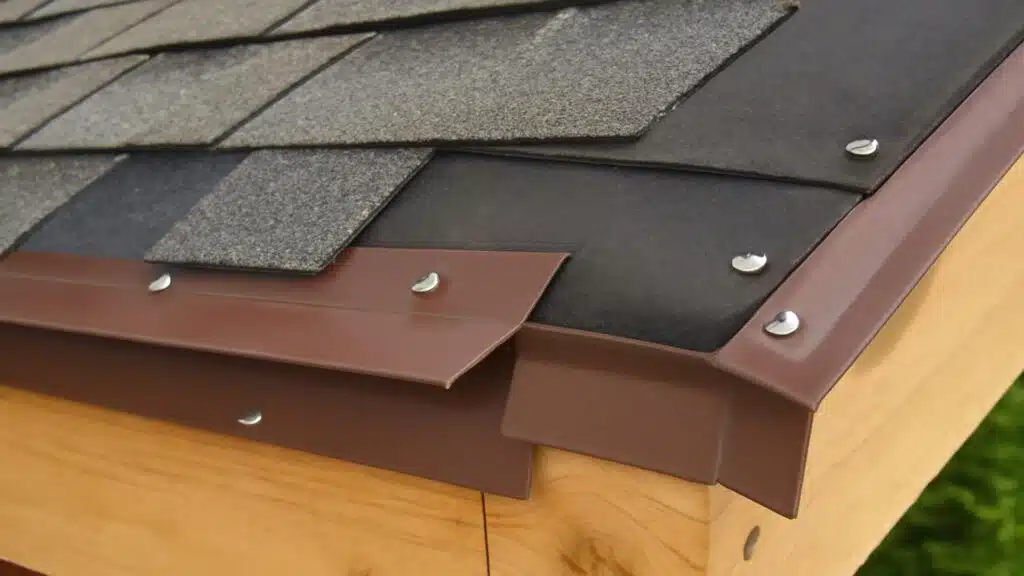
A drip edge is a metal strip installed along the edges of your roof to direct water away from the fascia and into your gutters.
This simple device prevents water damage to your roof, walls, and foundation.
Drip edges are available in several profiles: Type C (the most common), Type D (with a wider flange), and Type F (designed for use on existing roofs).
Most drip edges are made of aluminum, a durable and rust-resistant material.
Galvanized steel offers more strength, while copper provides a premium look that develops a beautiful patina over time.
Drip edges are installed in two key areas: along the eaves (the horizontal lower edge of the roof) and the rakes (the sloped edges of the roof).
Proper installation in both areas ensures complete protection for your home.
When to Install a Drip Edge?
Timing your drip edge installation correctly ensures maximum protection for your roof and home.
The best opportunities to add this vital feature are:
- Install during new home construction for day-one protection.
- Add when replacing your entire roof while the decking is exposed.
- Include when repairing damaged roof sections.
- Retrofit during gutter replacements for better water management.
- Install after water damage to prevent future problems.
Remember that adding a drip edge at any time is better than not having one at all.
Even on older homes, this simple addition can significantly extend the lifespan of your roof and prevent costly water damage repairs.
Tools and Materials You Will Need
Before starting your drip edge installation, gather all the necessary tools and materials.
Having everything ready will make the job go much smoother and faster. Here’s what you’ll need:
| ITEM | COST (USD) |
|---|---|
| Tape Measure | $10–$20 |
| Tin Snips | $15–$30 |
| Straight Edge + Pencil | $5–$15 |
| Hammer | $10–$25 |
| Utility Knife (Implied) | $5–$10 |
| Safety Gear (Implied) | $20–$50 |
| Drip Edge Metal | $1–$2 per foot |
| Roofing Nails | $5–$10 per box |
| Underlayment | $40–$100 per roll |
| Fascia Metal (Optional) | $1–$2 per foot |
| Ridge Cap Piece | $5–$10 |
The total cost for a typical home will vary depending on your roof size and material choices.
For an average home, budget between $200 and $400 for materials.
Remember that investing in quality tools and materials now will save you money on repairs in the future.
Step-by-Step Instructions for Installing Drip Edge
Installing drip edge on your roof isn’t complicated when you break it down into steps.
The process is simple enough for beginners, yet it ensures professional-quality results.
Step 1: Measure and Cut Drip Edge for the Eaves
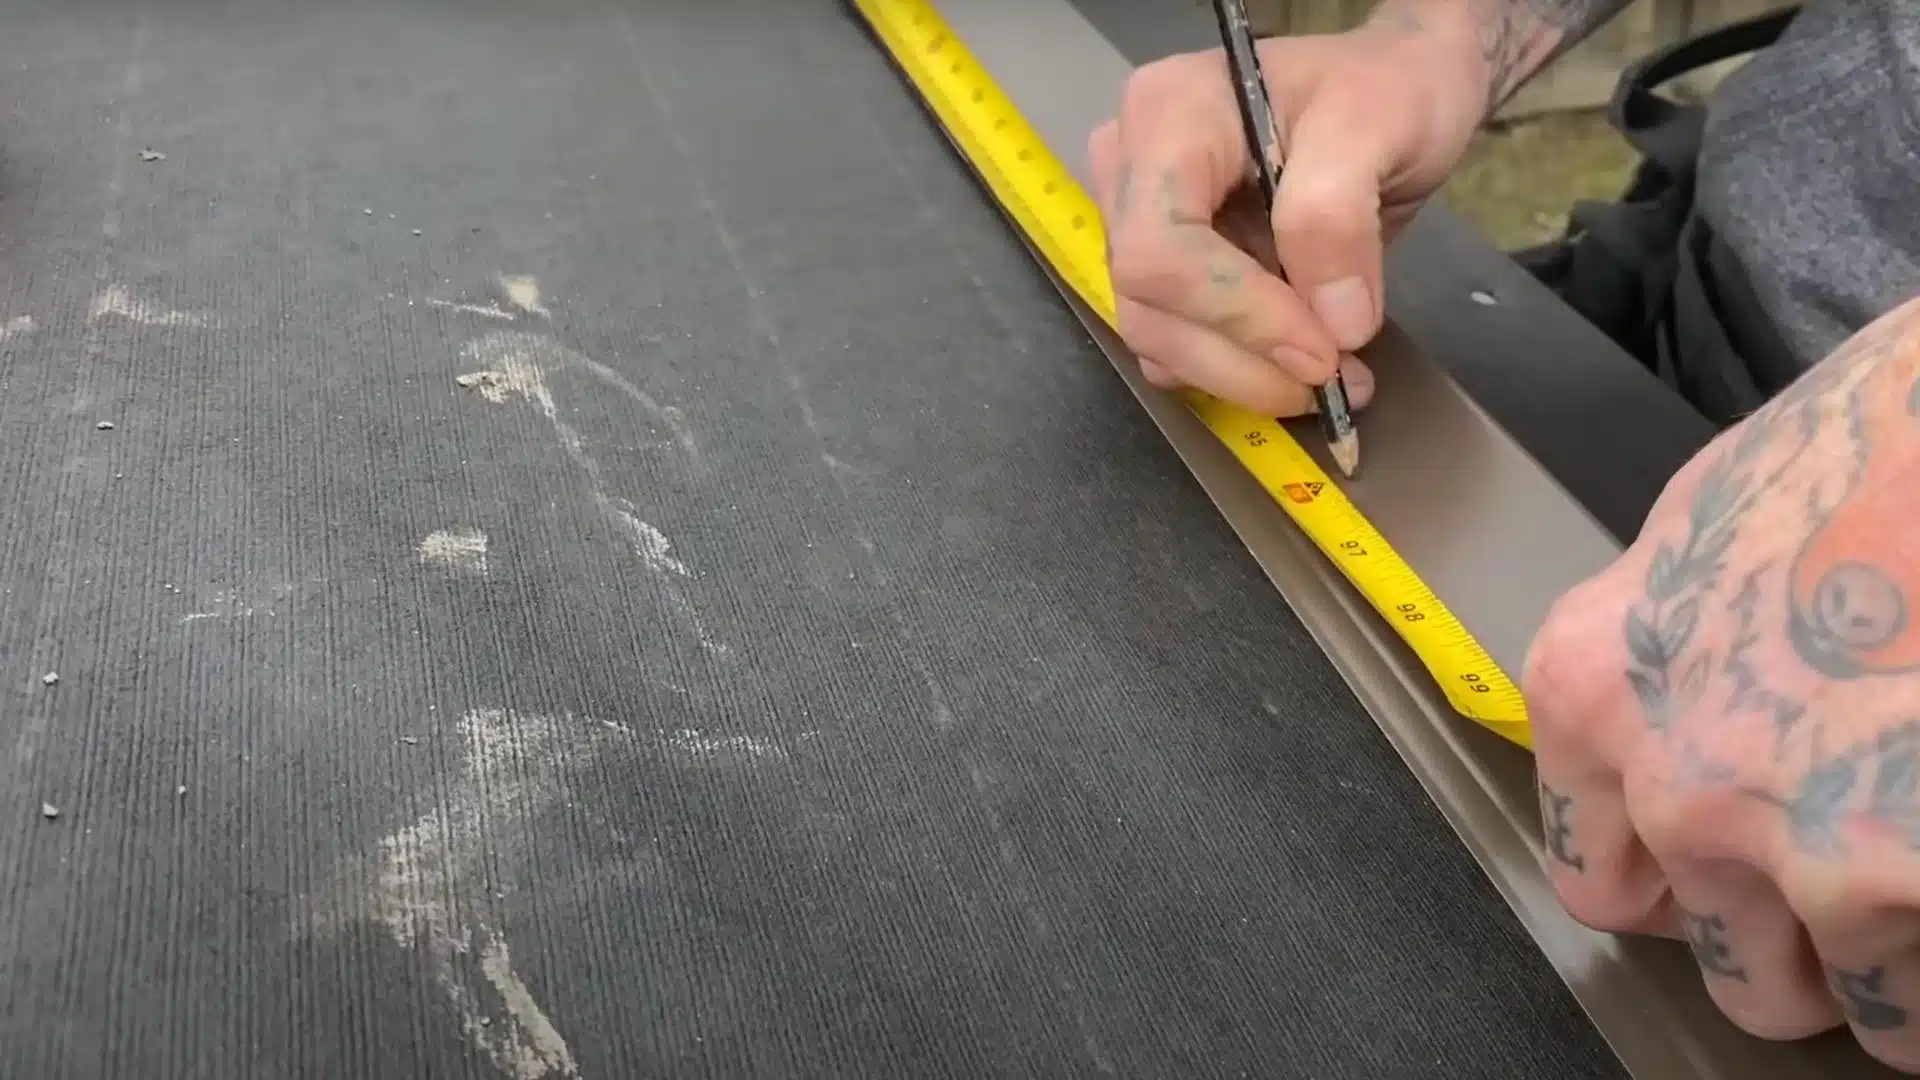
Start by measuring the full length of the bottom edge of your roof using a tape measure.
Mark this measurement on your drip edge metal with a pencil and straight edge.
Make sure your line is straight and accurate. Cut along this line with tin snips, keeping the cut clean and even.
Wear gloves to protect your hands from the sharp metal edges.
Double-check your measurement before cutting to avoid wasting materials.
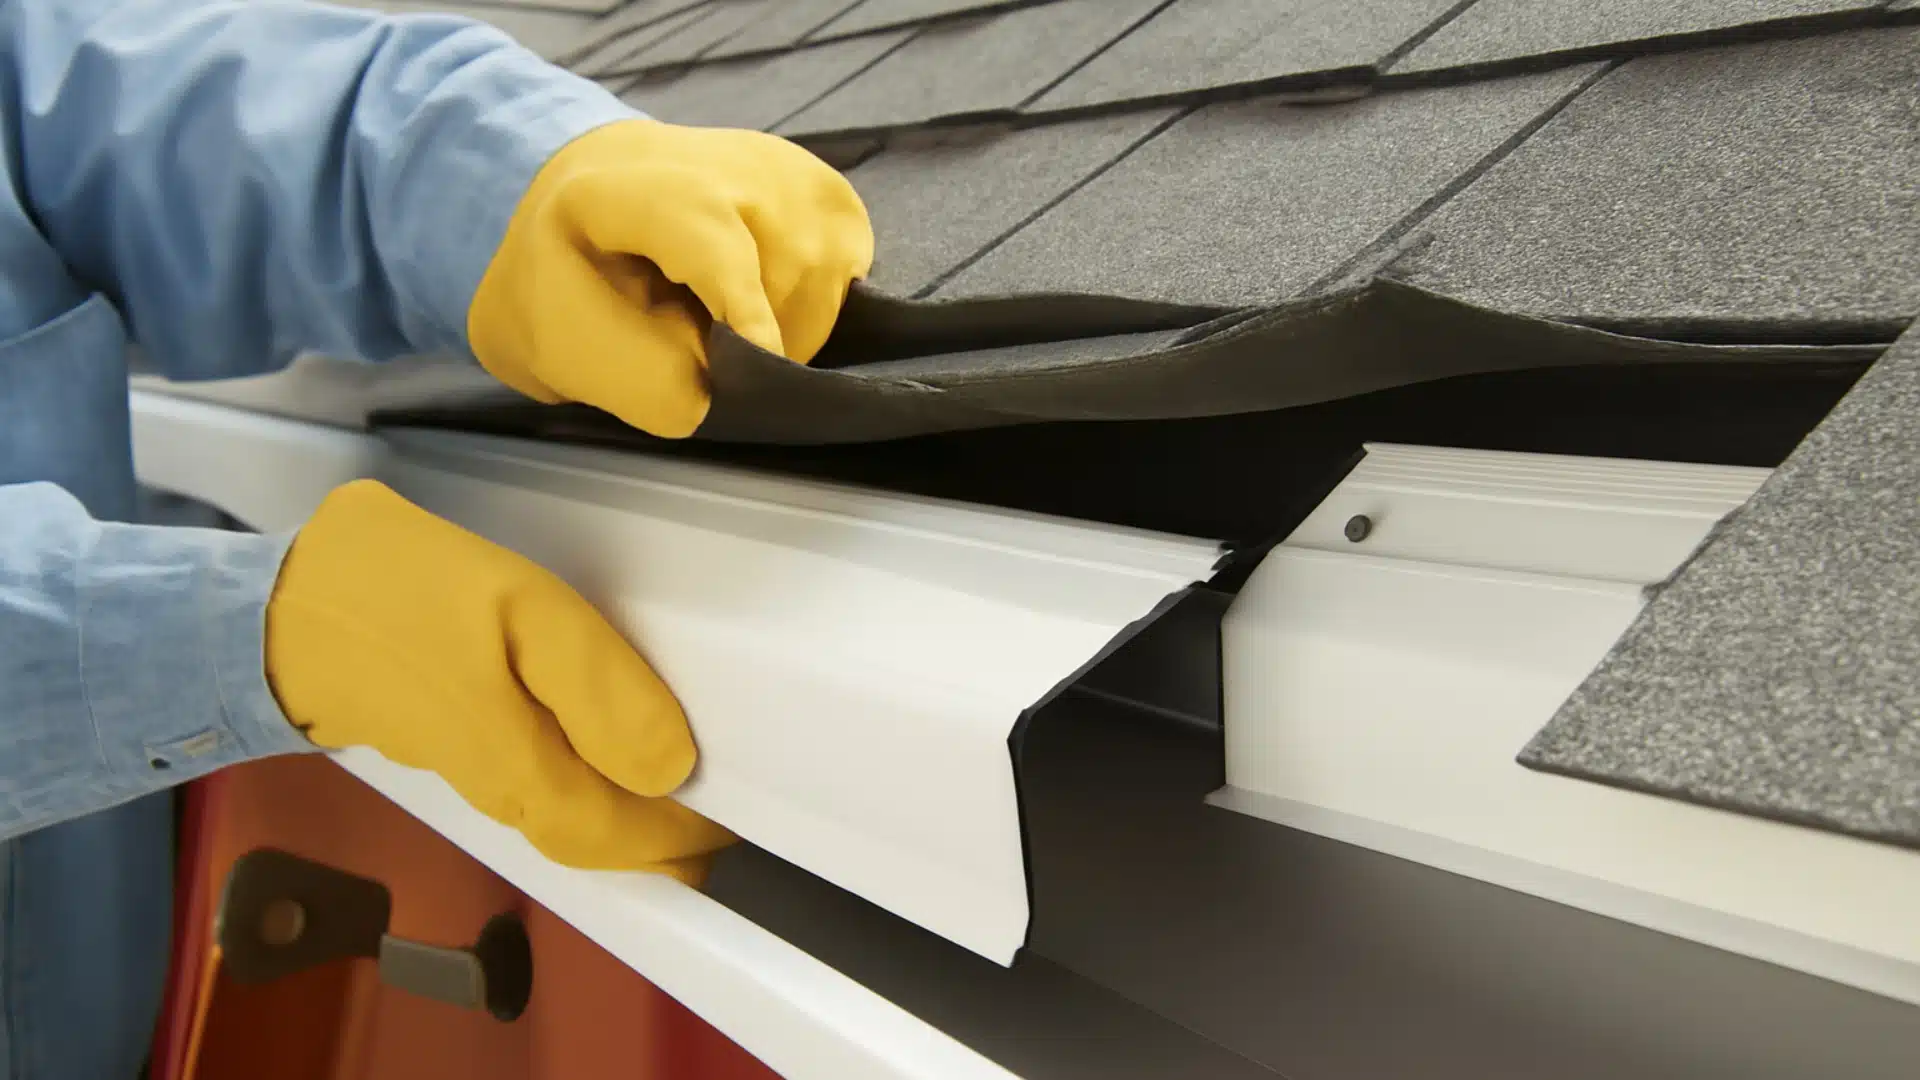
Step 2: Install Eaves Drip Edge Under the Underlayment
Position the drip edge along the eave, tucking it under the roof’s underlayment.
Make sure it sits flush against the fascia board without being too tight.
Don’t let the drip edge extend past the gable end; instead, it should sit slightly inward.
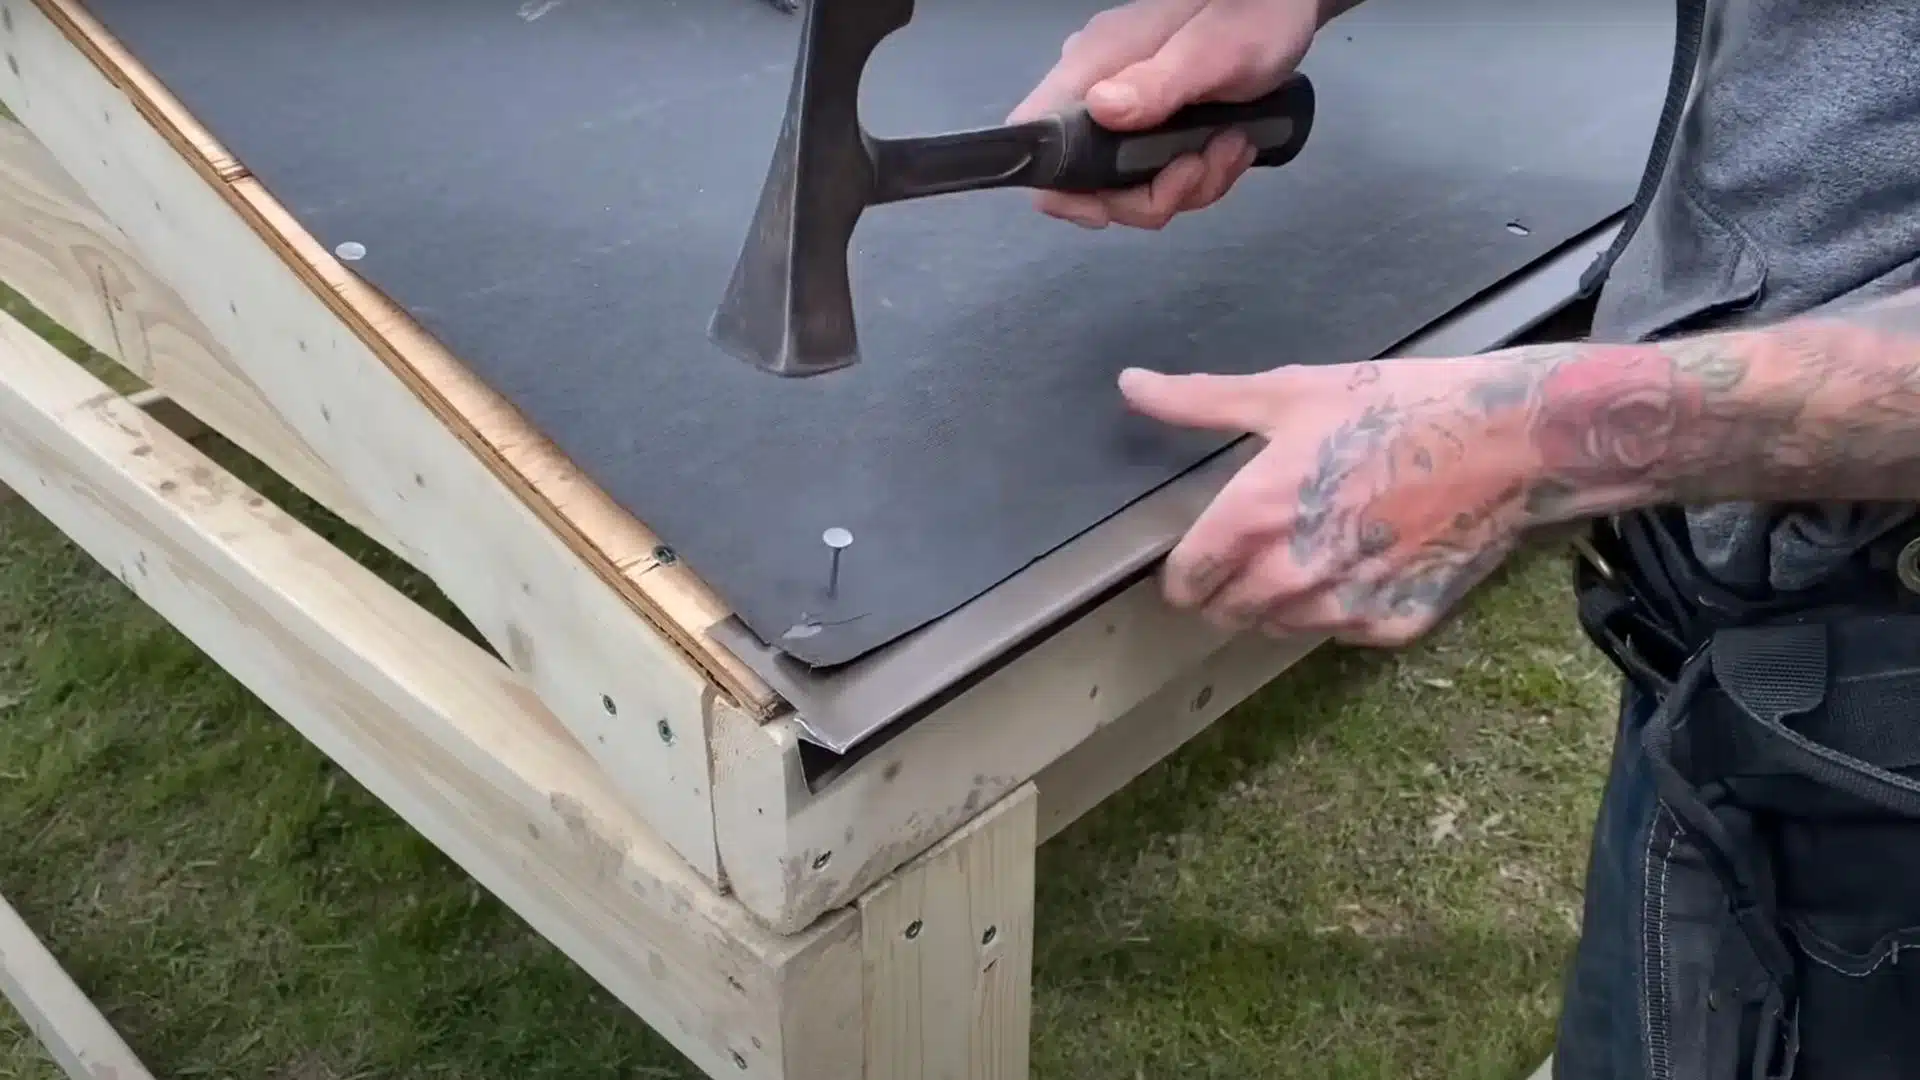
Secure the metal by hammering roofing nails every 16 inches through the top part of the drip edge into the roof deck.
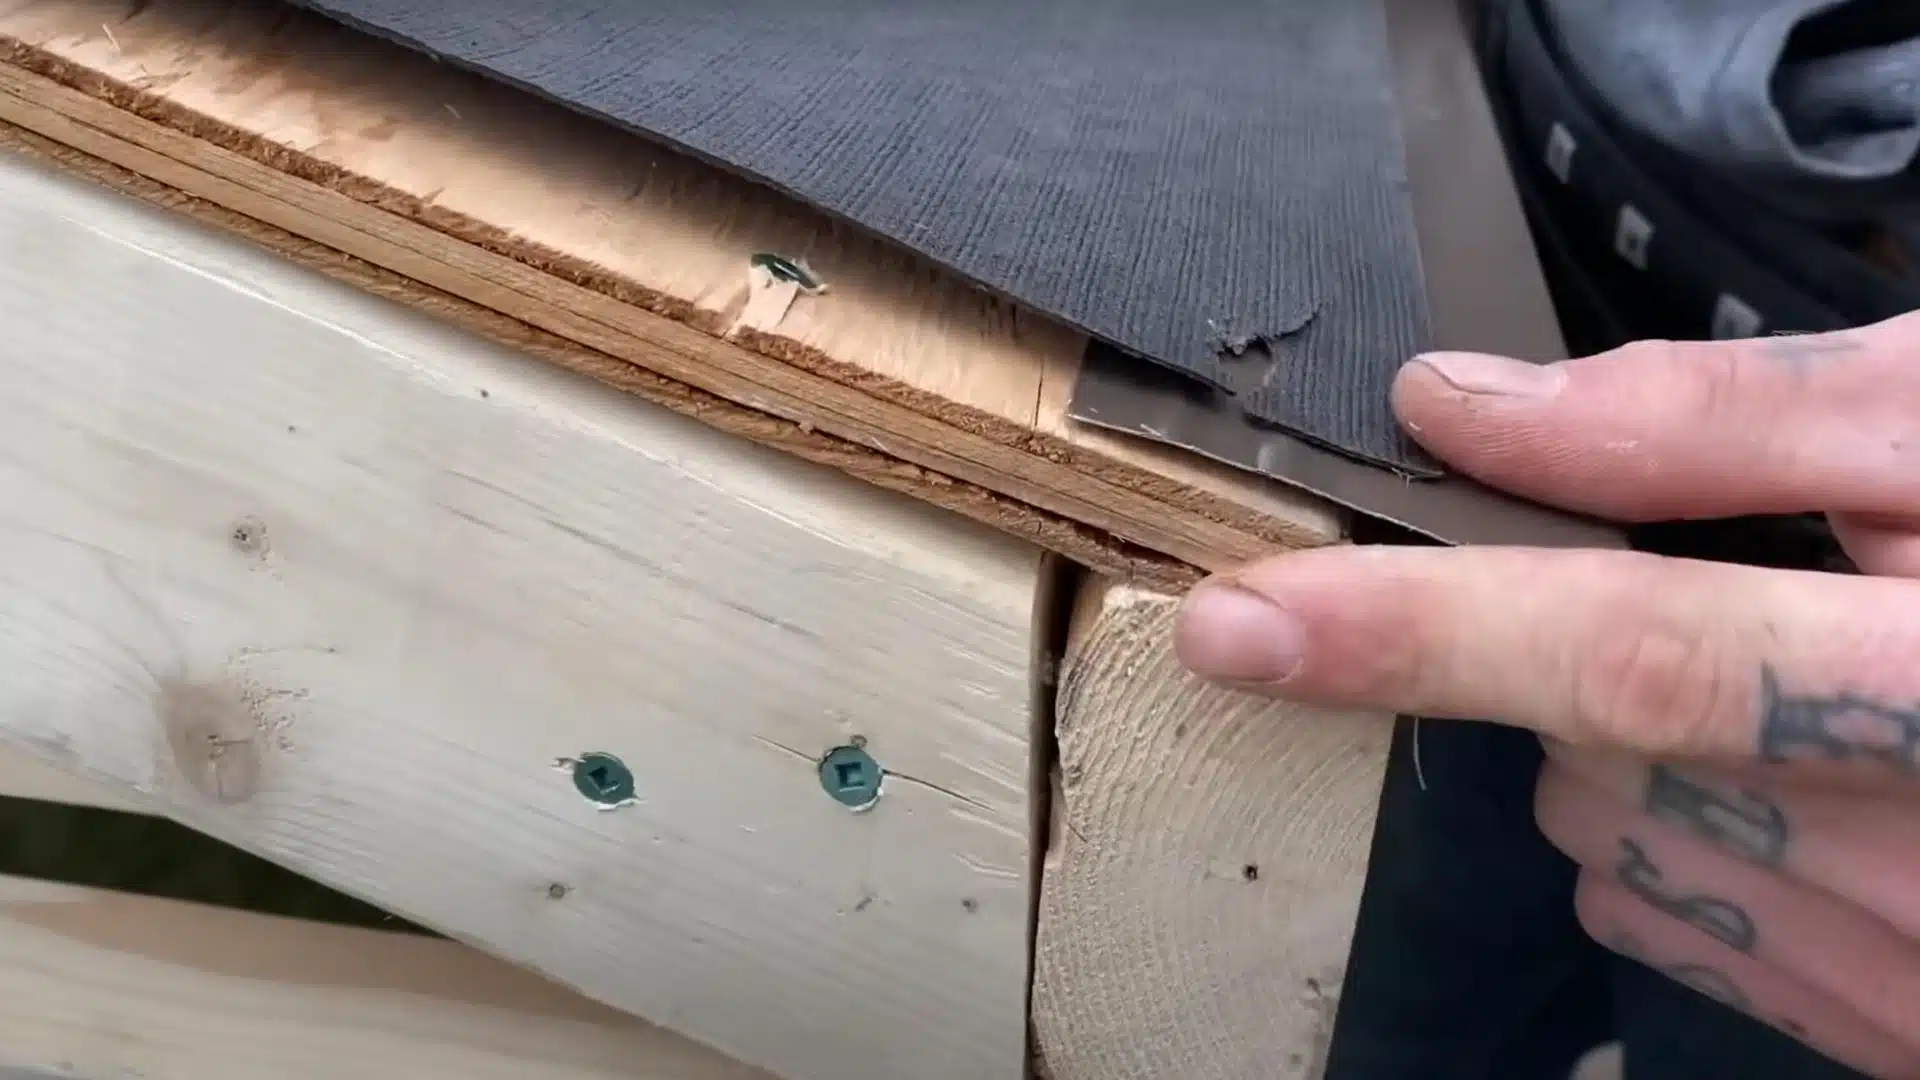
Step 3: Install Rake Edge Over the Underlayment
For the sloped sides of your roof, place the drip edge on top of the underlayment; this is different from the eaves installation.
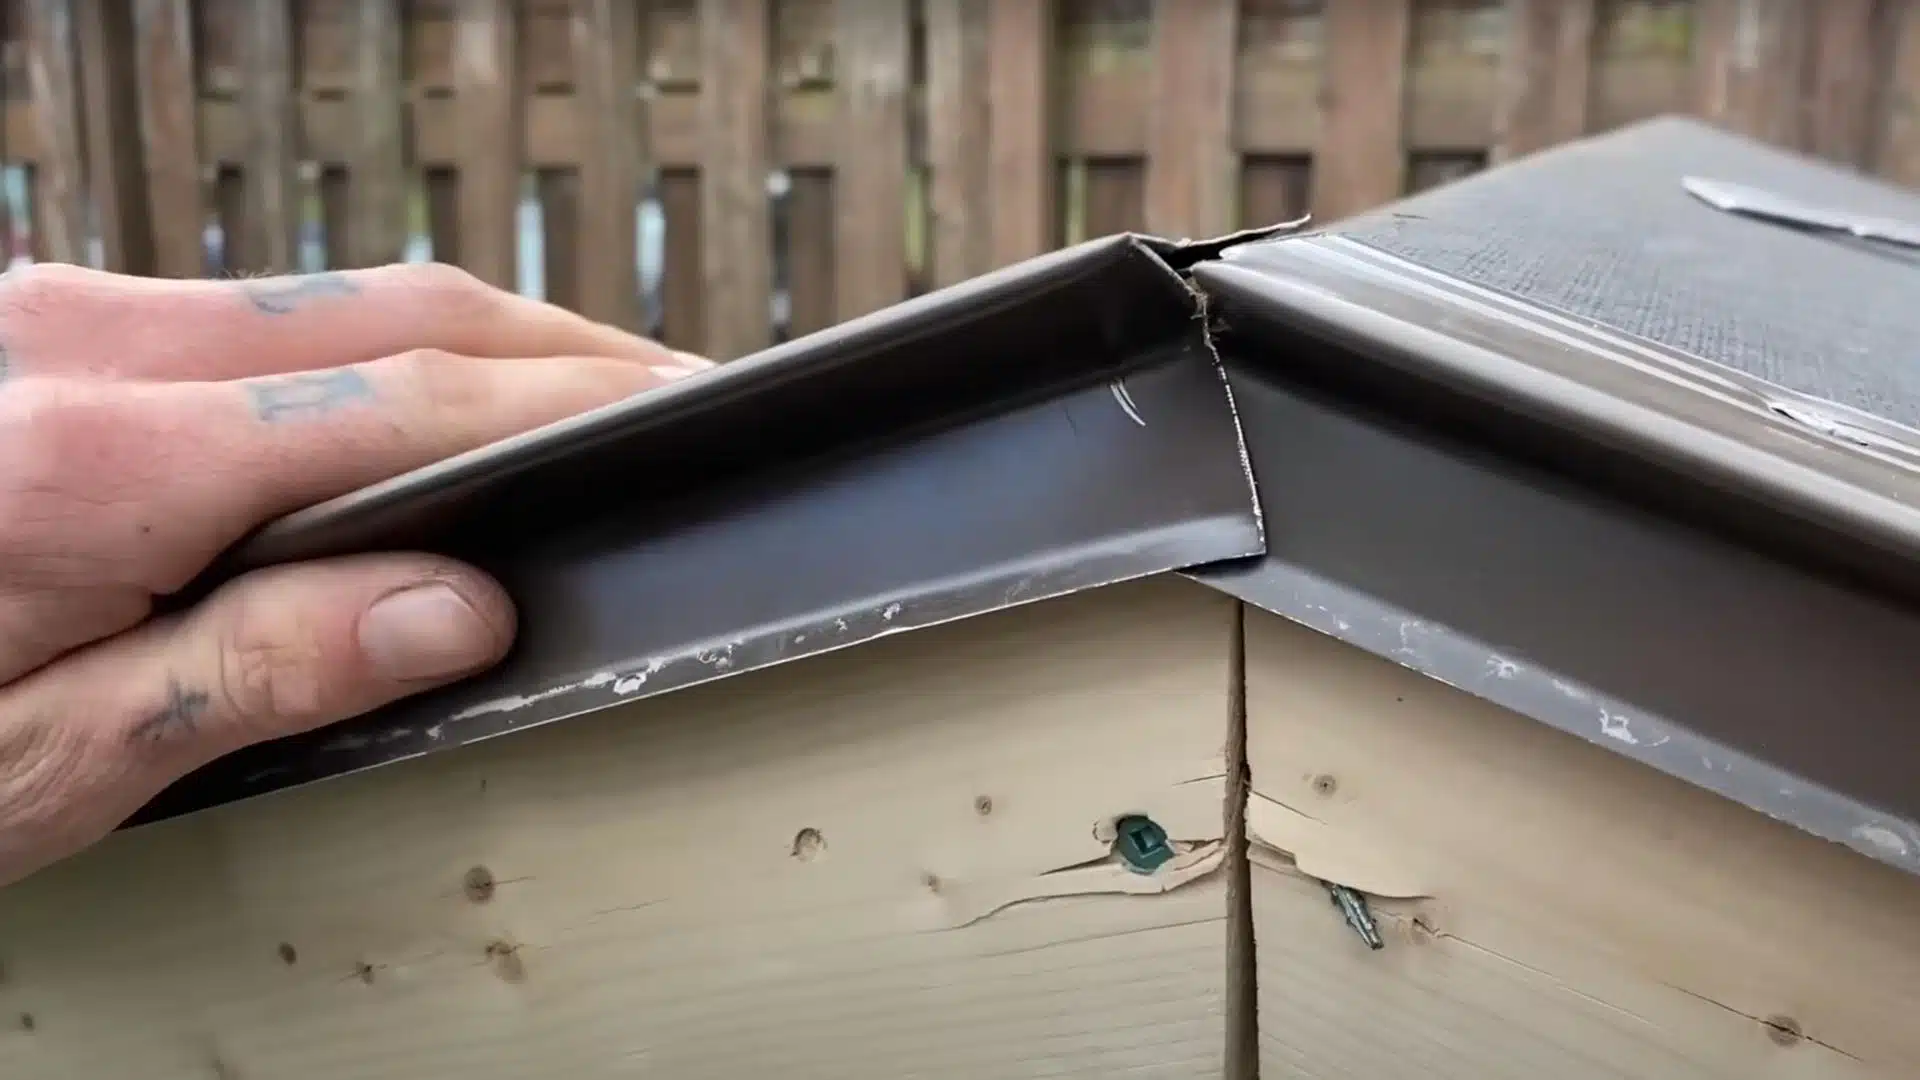
Cut the bottom end of each rake piece to wrap neatly around the corner where it meets the eave drip edge.
This creates a continuous path for water to flow.
Nail the rake edge every 16 inches along the roof deck for secure attachment.
Step 4: Interlock Overlapping Drip Edge Sections
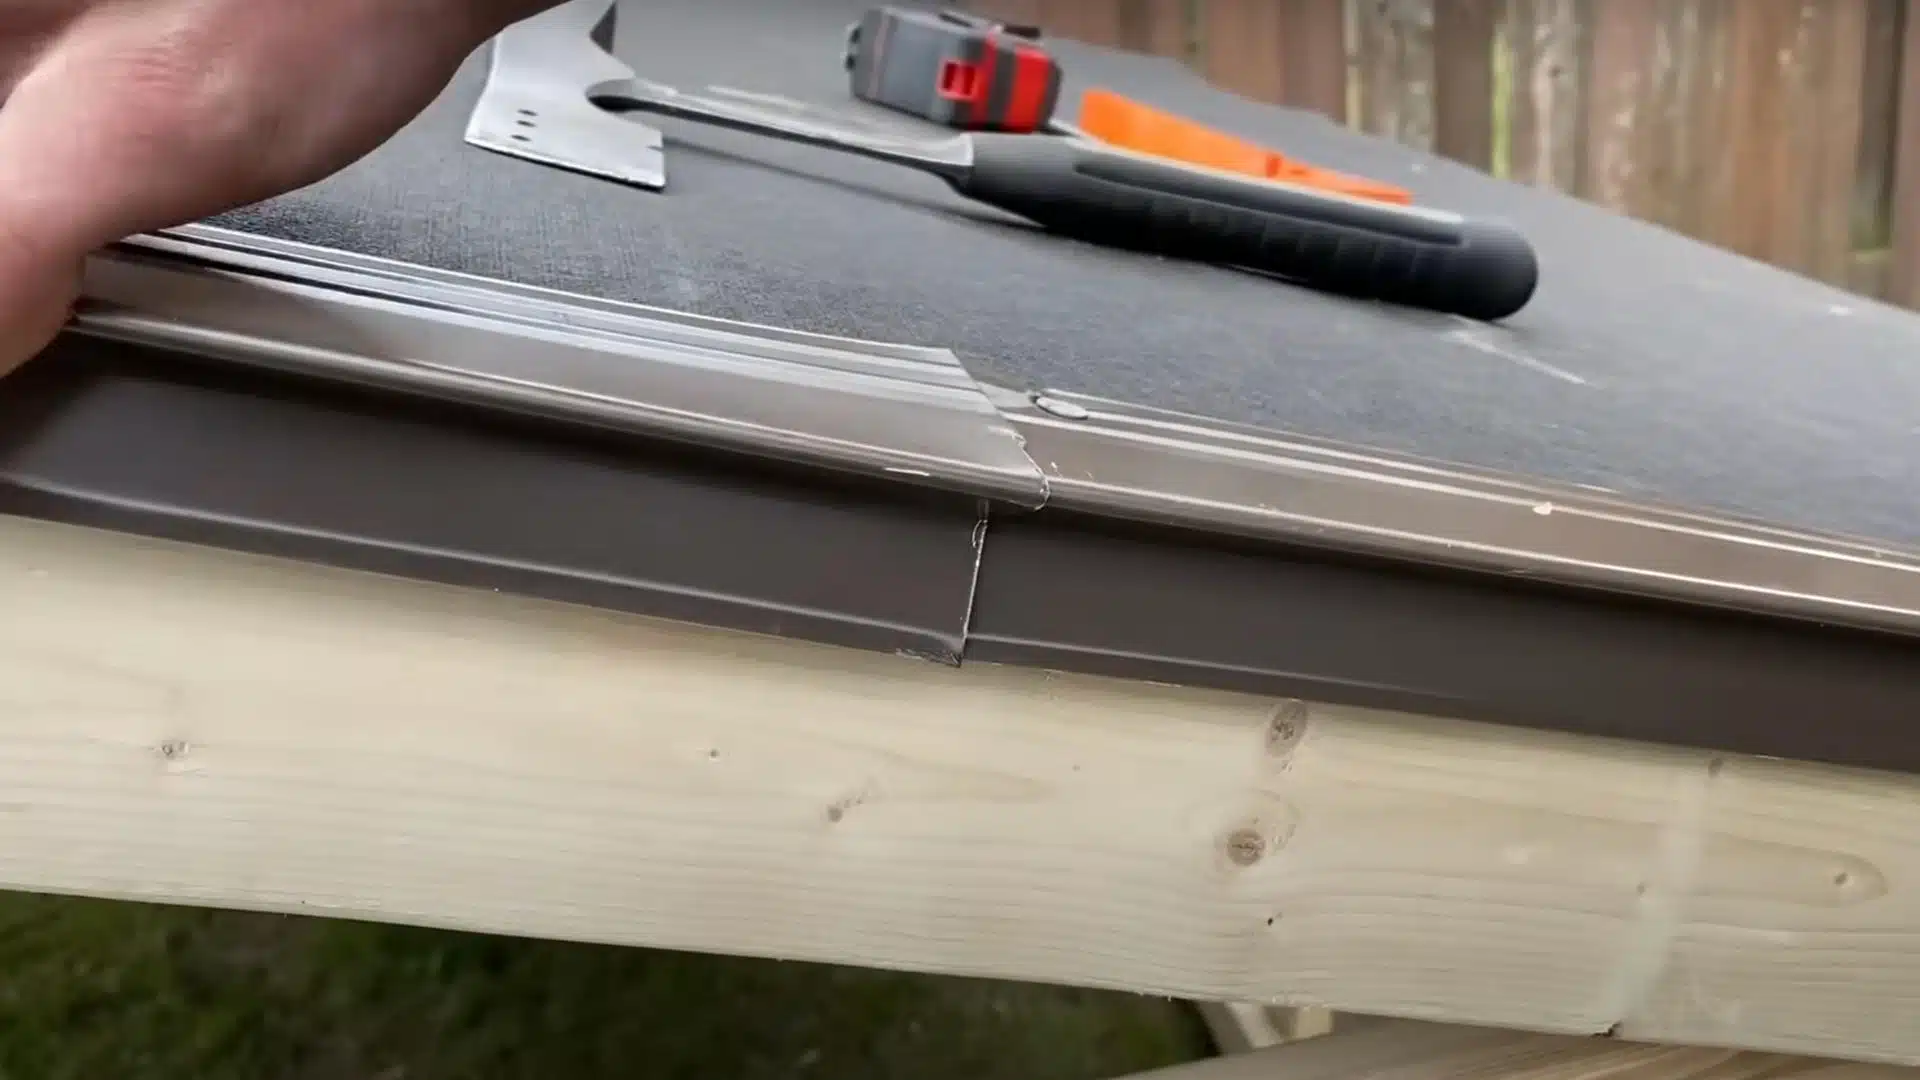
When you need to join two pieces of drip edge, overlap them by about 1/4 inch instead of placing them end-to-end.
This overlap prevents water from leaking through the seam.
Use your hammer to gently tap the overlapping section, creating a tight lock between the pieces.
The water should flow smoothly over this connection without getting trapped or leaking through.
Step 5: Finish the Ridge (Top of the Roof)
At the roof peak, carefully cut the last pieces of drip edge to meet with a clean vertical seam.
Mark the slope line with a pencil before cutting to ensure proper fit.
Cut vertically along this line for a perfect match at the ridge.
Install a final piece as a cap over this seam, overlapping both sides to create a waterproof seal at this critical junction.
Video Tutorial
For more information, check out this video tutorial by Your Average Roofer
Benefits of Proper Drip Edge Installation
Taking the time to install the drip edge correctly pays off in many ways for your home.
This simple metal strip provides protection that far outweighs its modest cost:
Fascia Protection:
Keeps water from seeping behind your fascia boards, preventing rot and expensive repairs.
Pest Barrier:
Blocks small animals and insects from entering your roof structure through edge gaps.
Shingle Support:
Extends the life of your shingles by supporting their edges and reducing wind lift.
Better Ventilation:
Creates improved airflow at roof edges, helping to prevent moisture from accumulating in your attic space.
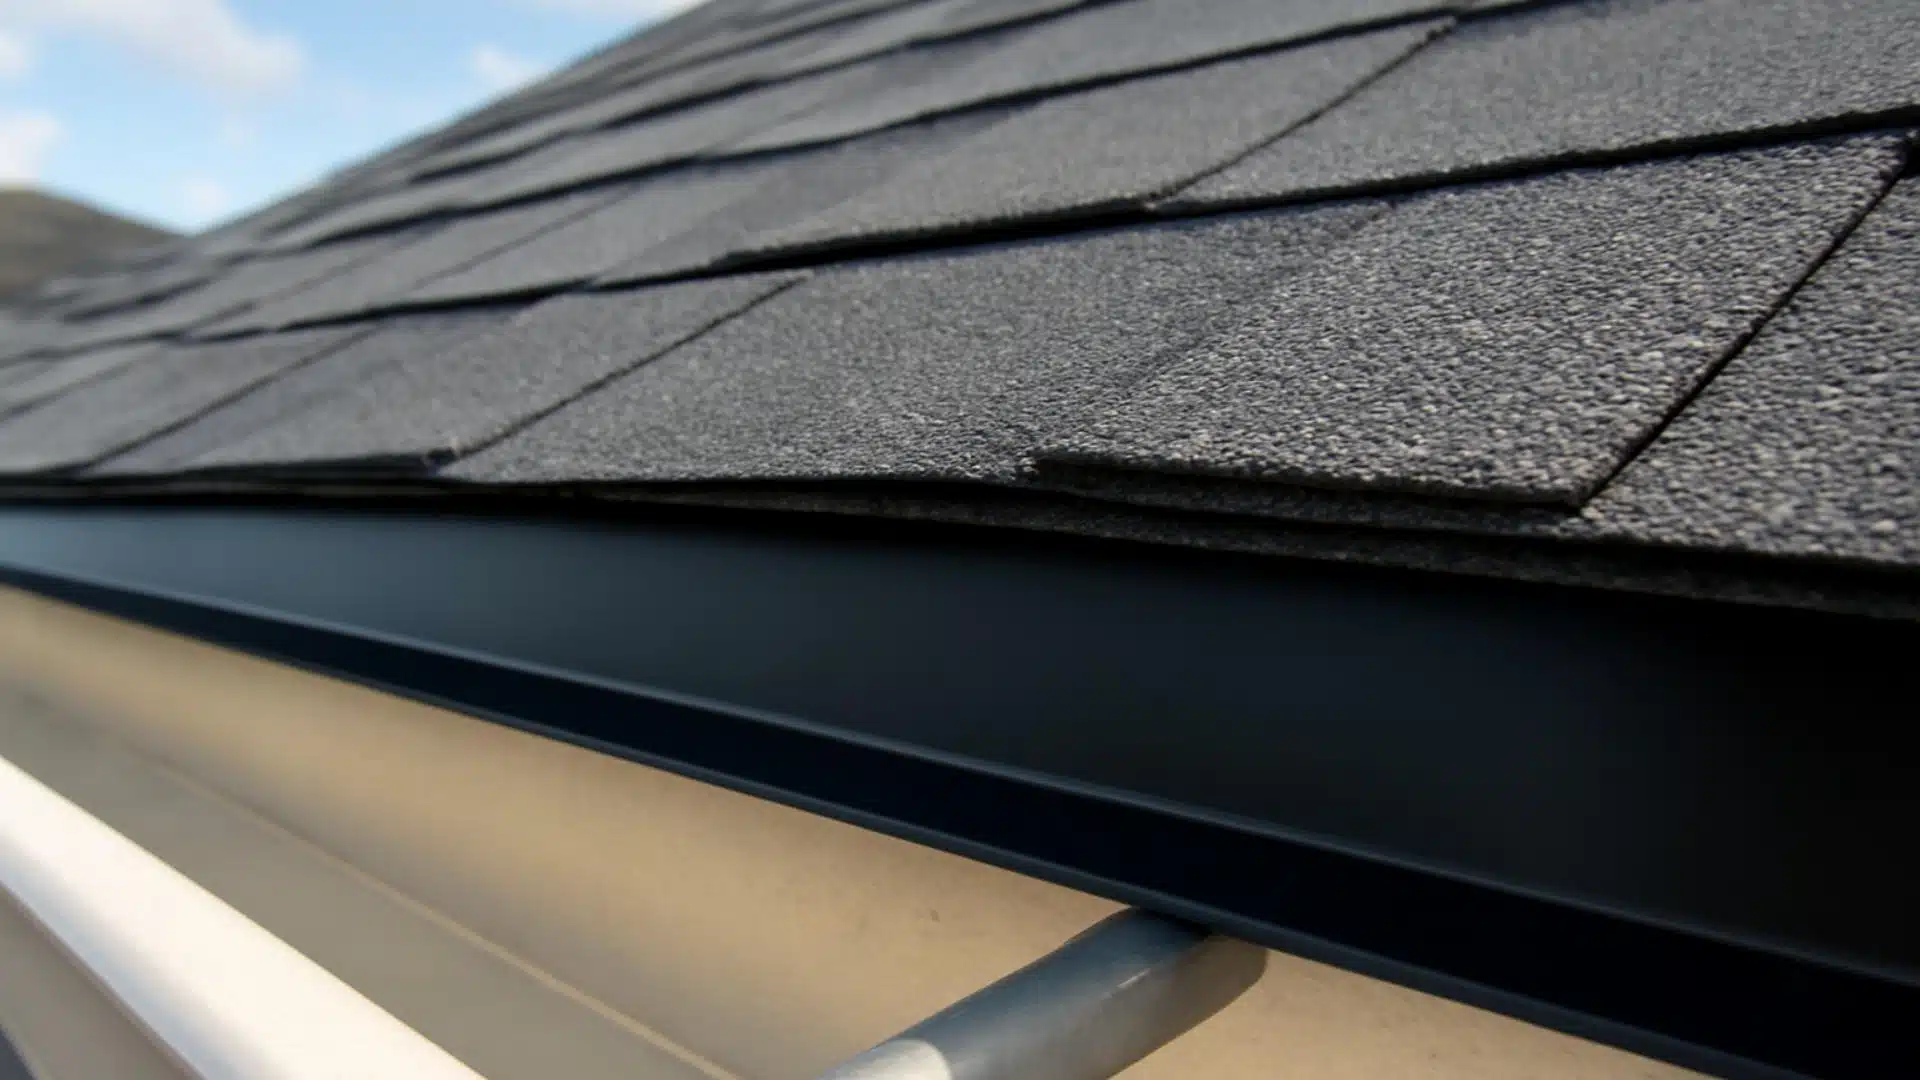
Clean Appearance:
Gives your roof a finished, professional look with straight, uniform edges.
The small investment in proper drip edge installation can save thousands in potential water damage repairs.
Most roofing professionals consider it an essential component of any quality roofing system, not an optional add-on.
Common Mistakes to Avoid
Even experienced DIYers can make errors when installing drip edge.
Knowing the most common pitfalls will help you achieve professional results and ensure your roof remains protected from water damage.
- Placing the drip edge in the wrong order, with the underlayment at the eaves or rakes.
- Failing to overlap sections properly creates water entry points.
- Using incorrect nail type, quantity, or spacing.
- Missing proper corner cuts and connections.
- Choosing the wrong drip edge profile for your roof style.
Taking care to avoid these mistakes ensures your drip edge will protect your home effectively for years to come.
Remember that a little extra attention during installation can prevent costly repairs and extend the life of your entire roofing system.
Wrapping It Up
Drip edge installation is a small project that makes a big difference in protecting your home.
With the right tools and materials, you can add this important barrier against water damage, even if you’re a first-time DIYer.
Remember to select the right materials, measure carefully, and apply proper overlap techniques.
This simple metal barrier defends your roof, fascia, and foundation from moisture and pests year after year.
Don’t let your home be vulnerable to water damage – add this crucial component to your roofing system right away!
Installing a drip edge is just the beginning!
Explore our DIY Projects and Home Improvement blogs for more ways to protect your home.

James McLaren, with a rich background in architecture from the University of Manchester, has been contributing his expertise to the world of creative construction and home innovation for over 20 years. His journey began as a project manager for a leading construction firm, where he honed his skills in bringing complex designs to life. James joined our platform as a freelancer in 2019, quickly becoming a favorite for his insightful and practical advice. He has been a pivotal force to our wing ever since, bringing our readers a blend of technical know-how and creative flair. Beyond his professional life, James is an avid woodworker and enjoys restoring vintage furniture, a hobby that complements his professional insights beautifully.