Are you thinking about giving your old furniture a fresh upgrade? Reupholstering a chair is one of the most satisfying DIY projects for both homeowners and creative minds.
A well-done reupholstery job can completely change a room’s feel, adding comfort, character, and a unique, personal touch that store-bought furniture can’t offer.
It’s also the perfect opportunity to choose fabrics, colors, and designs that reflect your style. This blog will show how to reupholster a chair to help you out with an easy DIY.
From gathering the right tools and selecting the perfect fabric to perfecting those tricky corners and finishing like a pro, you’ll be ready to craft a beautiful, functional chair that enhances your space.
Benefits of DIY Reupholstery
Giving your old chair a new look yourself comes with amazing perks. DIY reupholstery lets you save money while making something beautiful with your own hands. Here’s why it’s worth trying:
- Budget-Friendly: Buying a new chair, especially one with quality materials and craftsmanship, can be pricey, whereas redoing a chair yourself costs much less. You’ll spend about $30-150 on fabric and supplies instead of $300+ for a new chair.
- Personal style: Pick any fabric, color, or pattern that makes you happy. Your chair can match your room perfectly or stand out as a fun accent piece.
- Skill Building: Every time you reupholster a chair, you learn useful skills that you can use for other home projects later on. The more you practice, the better you get at improving and fixing furniture.
- Saving Quality Furniture: Older chairs are often made with strong, long-lasting materials. Reupholstering lets you keep these sturdy frames while giving them a fresh, updated look.
- Eco-friendly: Reupholstering gives new life to old furniture and keeps it out of landfills. By reusing and refreshing what you already have, you reduce waste and help the planet, all while creating a custom look that will last for years.
Supplies Required: Tools and Materials
| ITEM | PURPOSE |
|---|---|
| Fabric (larger than seat) | Covers the foam and seat for a fresh, decorative look. |
| Foam (cut to seat size) | Provides comfortable cushioning for the seat. |
| Cotton Batting | Smooths over the foam for a softer, rounded finish. |
| Staple Gun | Secures the fabric, batting, and foam to the underside of the seat. |
| Staples (3/8″, 10mm) | Fasteners are used with the staple gun to hold materials in place. |
| Staple Remover | Helps remove misplaced staples during adjustments. |
| Tape | Neatens the fabric edges underneath and prevents fraying. |
| Scissors | Trims excess fabric and batting for a clean finish. |
| Template (optional) | Guides the foam shop for precise cutting of irregular seat shapes. |
DIY Guide: Step-by-Step Guide to Reupholster the Chair
Below are the steps that you can follow to reupholster your chair according to your needs and create your dream chair.
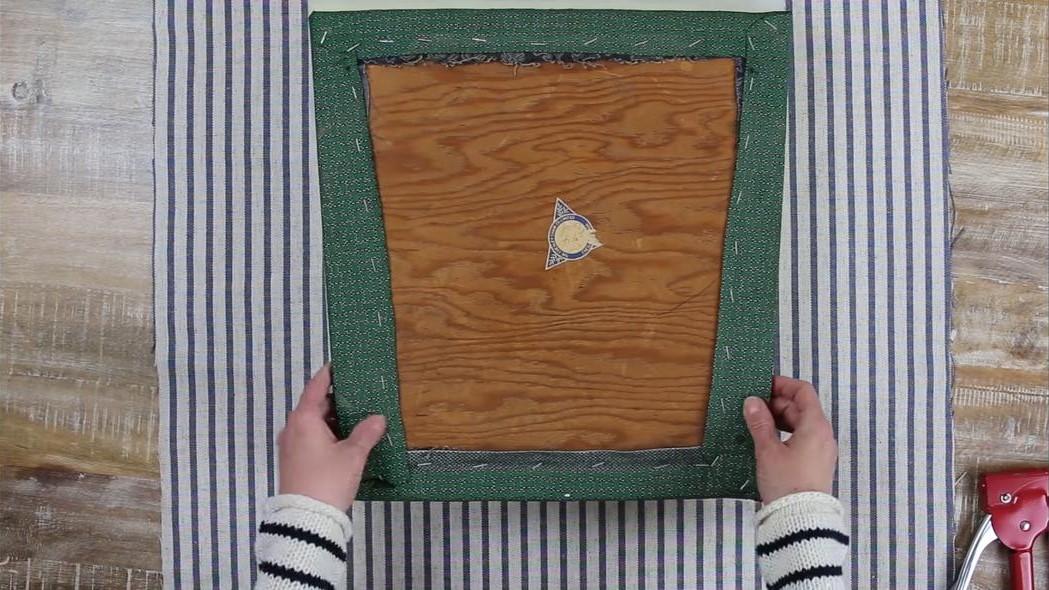
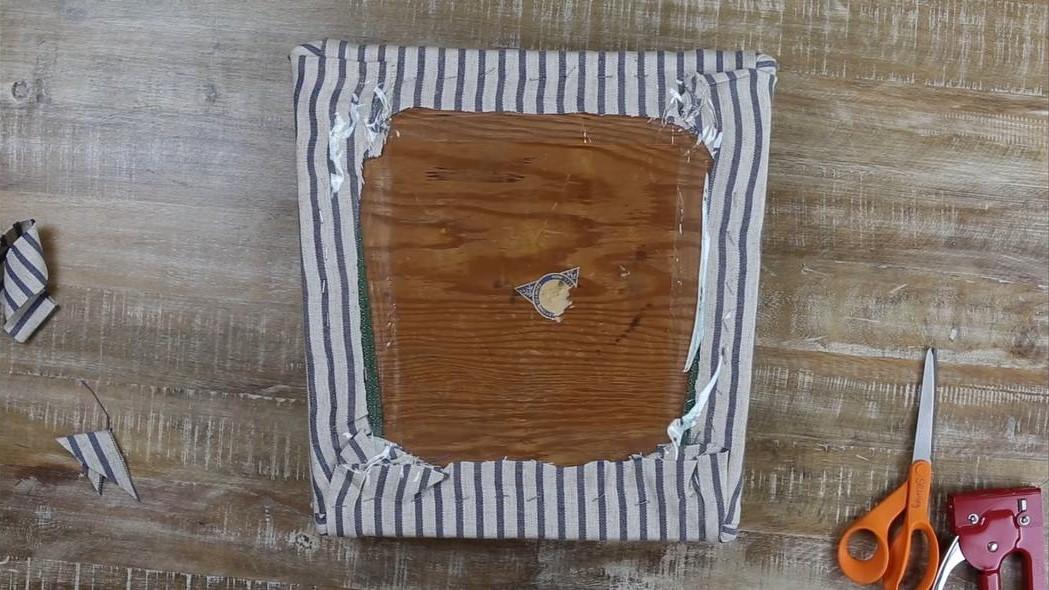
STEP 1: Prepare Your Materials and Workspace

Before you start, clean an area where you can move around freely—ideally a floor or a large table. Gather your essentials: fabric cut a few inches larger than the seat, foam padding trimmed to size, and cotton batting.
Place everything in order on your workspace, ensuring the fabric is laid face down with the foam and seat base properly centered.
STEP 2: Secure the Foam and Batting to The Seat
Layer the cotton batting over the foam and position the seat base underneath, facing up. Start stapling by securing one side, then the opposite side, keeping the batting pulled tight but not overstretched.
Repeat for the remaining sides to keep the materials even and smooth.
STEP 3: Staple the Fabric Firmly in Place
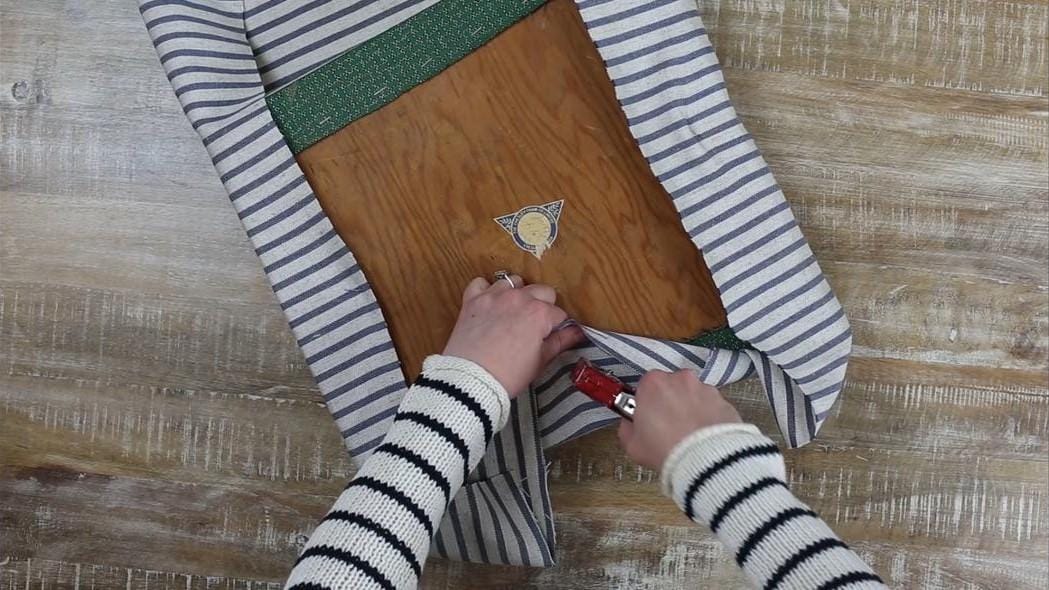
With your batting secured, move to the fabric. Pull it snug and staple the center of each side first.
Work your way outwards from the center, maintaining even tension to avoid wrinkles. Keep checking for symmetry and adjust as needed for a clean, professional look.
STEP 4: Tackle the Corners with Care
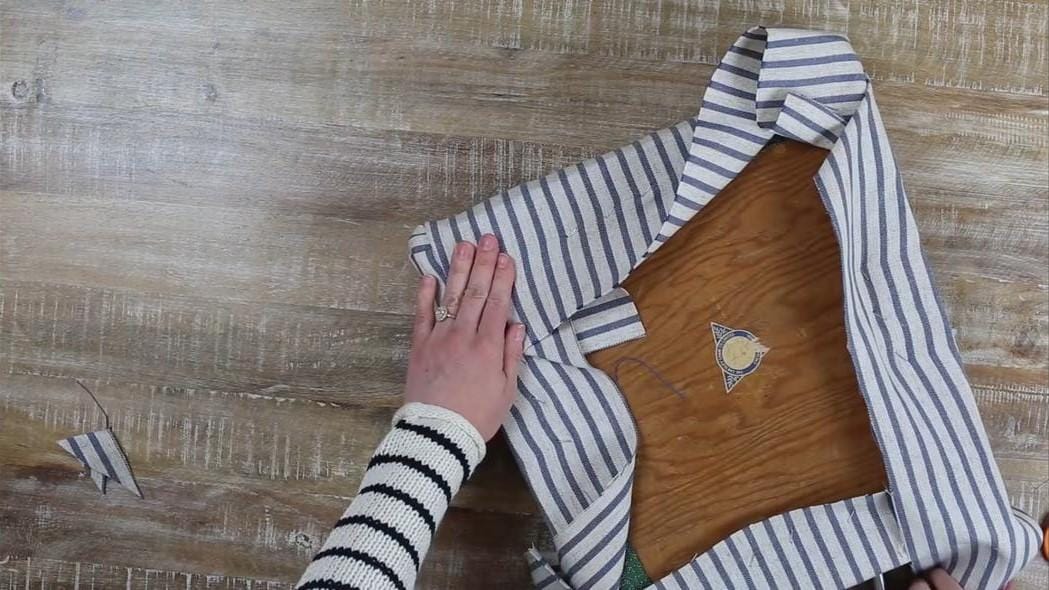
Leave extra fabric at the corners for flexibility. Create a single, neat pleat by pulling the middle of the corner fabric tightly, then fold and tuck the sides.
Secure with staples. Repeat the same method on all corners to maintain consistency and a polished finish.
STEP 5: Trim Excess Fabric and Finish Neatly
Once satisfied with your stapling, trim away any extra fabric for a clean edge. For a tidy underside, use tape to seal the fabric ends in place.
This not only secures the material but also gives your reupholstered seat a crisp, professional appearance.
Watch How It’s Done: Reupholstering Chair
For more information, check out this video tutorial by So Much Better With Age.
Aftercare Tips to Keep Your Reupholstered Chair Fresh
With the right maintenance, your reupholstered chair will stay in excellent condition. Follow these expert tips to maintain its quality and keep it looking refined.
- Vacuum Regularly with a Soft Brush: Use a soft brush attachment to give your chair a quick vacuum every couple of weeks. This helps get rid of dust and crumbs before they settle into the fabric.
- Keep It Out of Direct Sunlight: Extreme sun exposure can cause fabric to fade. Position your chair away from bright windows or use curtains to reduce direct sunlight.
- Spot Clean Spills Quickly: In case of a spill, first blot the area carefully with a damp cloth, avoiding any rubbing. Use mild soap if necessary, and ensure the chair is fully dry before use.
- Rotate Usage if Possible: If you’ve reupholstered multiple chairs, rotate them occasionally to distribute wear evenly across all seats.
- Add Protective Layers: For high-traffic areas or if you have pets and kids, a stylish throw or slipcover adds an extra layer of protection.
- Check and Tighten Screws Annually: Check the seat attachment and frame screws once a year to ensure they’re still secure.
- Use Gentle Cleaning Products: Maintain your upholstery with mild soap and a soft cloth only. Avoid harsh chemicals, as they can compromise the fabric’s integrity and appearance.
- Check for Wear and Reinforce if Needed: Periodically inspect the corners and staples. If you notice any loosening fabric, reinforce it before it becomes a bigger issue.
Common Challenges and How to Overcome Them
Like any DIY experience, reupholstering a chair has its share of challenges, especially if you’re starting out. But most mistakes are totally avoidable with a little preparation and patience.
Here are some common mistakes to watch out for:
- Not removing all old staples: Any leftover staples can create lumps under your new fabric, making it sit unevenly. Take a little extra time to clear the surface before you start fully.
- Skipping fresh padding: Worn-out foam or batting makes even the prettiest fabric look sloppy. Replace the padding if it’s flat, damaged, or musty.
- Cutting fabric too small: Always measure twice and cut once, leaving enough excess to stretch and staple comfortably – typically 2–3 inches around the edge.
- Neglecting fabric direction and pattern alignment: Stripes, florals, or geometric designs can look off if not centered or straight. Lay the fabric out carefully before stapling.
- Using the wrong tools: Weak staple guns or short staples won’t hold your fabric securely. Equip yourself with the right tools to achieve a clean, durable finish.
PRO TIP: Before you staple everything down, check your fabric placement in natural light — shadows or patterns can look different and reveal misalignment you might miss indoors.
Summing it Up
With that, you have everything you need to know about reupholstering a chair! Take it step by step, and create a piece that is uniquely yours.
Hopefully, this guide has inspired you and given you the confidence to tackle your chair makeover.
Remember to take your time removing the old fabric and double-check your measurements before cutting the new one—that way, you will achieve a tight, polished result.
Please show us your chair modification! Share your before-and-after shots in the comments below.
If you’re interested in more DIY projects for your home, feel free to click here and explore our collection of easy weekend makeovers and step-by-step renovation tutorials.

Stephanie Grace, a graduate with a degree in Fine Arts from the Savannah College of Art and Design, has been inspiring DIY enthusiasts with her creative and practical guidance for over 14 years. Her career in design and crafting began in a small artisan workshop, where she developed a passion for transforming everyday materials into beautiful and functional items. Stephanie joined our website in 2018, rapidly gaining popularity for her easy-to-follow DIY tutorials and innovative project ideas. Since then, she has been the creative mind behind our DIY section, helping readers bring their artistic visions to life. Outside her professional pursuits, Stephanie enjoys pottery and urban gardening, hobbies that showcase her love for hands-on creativity and nature.