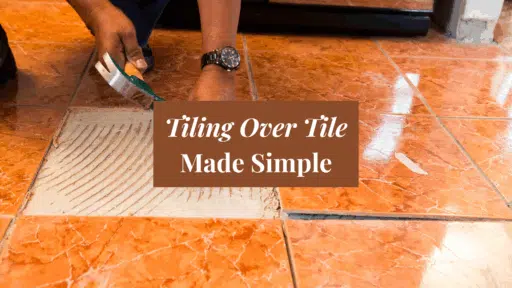
Thinking about giving your space a new look without tearing everything down? Tiling over existing tile might be the solution you need!
This method can save you time, money, and a whole lot of mess. But before you start laying down new tiles on the old ones, it’s crucial to understand a few things. First, ensure the old tiles are in good shape and securely attached. You also need to consider the extra height and weight the new tiles will add.
Don’t worry, though; with the right preparation and materials, you can give your floors or walls a fresh new look. Ready to learn how? Let’s get started and see the steps and tips to make your tiling project a success!
Should You Consider Tiling Over Tile?
Should you consider tiling over existing tiles? Yes, it’s definitely an option, especially if you’re looking to refresh your space without the huge mess and hassle of removing the old tiles.
However, there are a few key points to consider. The new layer of tiles will add extra weight and thickness. This might affect things like door openings and transitions to other types of flooring. Additionally, ensure that the surface you’re tiling over can support the new tiles securely.
Key Considerations Before Tiling Over Tile
- Check the Condition of Existing Tiles: Make sure the tiles you’re covering are well-adhered to their base. Loose or cracked tiles need to be fixed or removed before you start.
- Assess the Surface Level: Uneven tiles can cause problems. If your floor or wall has dips or rises, it might not be the best candidate for tiling over.
- Consider the Added Height and Weight: Adding another layer of tiles adds extra weight and height. Check if this will affect opening and closing doors, or if the structure can support the extra weight.
- Use the Right Adhesive: Not all adhesives are suitable for tiling over tiles. You’ll need a specific type that can bond well with the existing tile surface.
- Think About the Final Look: Overlapping old grout lines can show through new tiles, so plan your layout to avoid aligning tiles directly over old joints for a cleaner look.
If everything checks out, then tiling over your existing tiles could be a smart and efficient way to upgrade your floors or walls. Just be sure to use the right materials and follow the steps carefully to ensure a lasting finish!
Step-by-Step Guide to Tiling Over Tile

Tiling over existing tile might sound tricky, but it’s totally doable with a little patience and the right steps. If you want to give your floor or walls a fresh, new look without tearing everything out, this guide will walk you through the whole process.
Materials You’ll Need
- Thin-set mortar (latex or polymer modified)
- Bonding primer
- Notched trowel
- Medium-grit sandpaper (100-grit works well)
- Degreaser and scrub brush
- Tile spacers and Tiles
- Level
- Tile cutter or wet saw
- Grout & Grout float
- Sponge
- Painter’s tape and plastic sheets
- Safety gear (mask, gloves, goggles)
- Chalk line
Step 1: Check the Existing Tiles
Start by checking the condition of your old tiles. Tap on them to make sure they sound solid and don’t move. Look for cracks, chips, or loose spots. If you find any problems, fix or replace those areas before you move on. It’s important to have a strong, even surface to build on.
Step 2: Clean the Surface
Once you know the tiles are solid, give them a deep clean. Use a degreaser and scrub brush to remove dirt, grime, and any old glue. Rinse well and let everything dry completely. A clean surface helps the adhesive stick better and makes your project last longer.
Step 3: Sand the Old Tiles
After cleaning, grab medium-grit sandpaper and lightly sand the old tiles. Move your hand in small circles to rough up the glossy surface. This helps the new adhesive grab onto the tiles. Always wear a mask and goggles when sanding to protect yourself from dust.
Step 4: Apply a Bonding Primer
Next, apply a bonding primer across the entire surface. Use a roller for big areas and a brush for smaller corners. Make sure you cover everything with a light, even layer. Let the primer dry according to the instructions. This step is important because it helps the new tile stick properly.
Step 5: Plan Your Layout
Before you start tiling, plan how you want your new tiles to look. Use a chalk line to make straight guides across the surface. Lay out a few tiles without adhesive to see how they fit. Try to stagger the new tiles over the old grout lines for a stronger and better-looking finish.
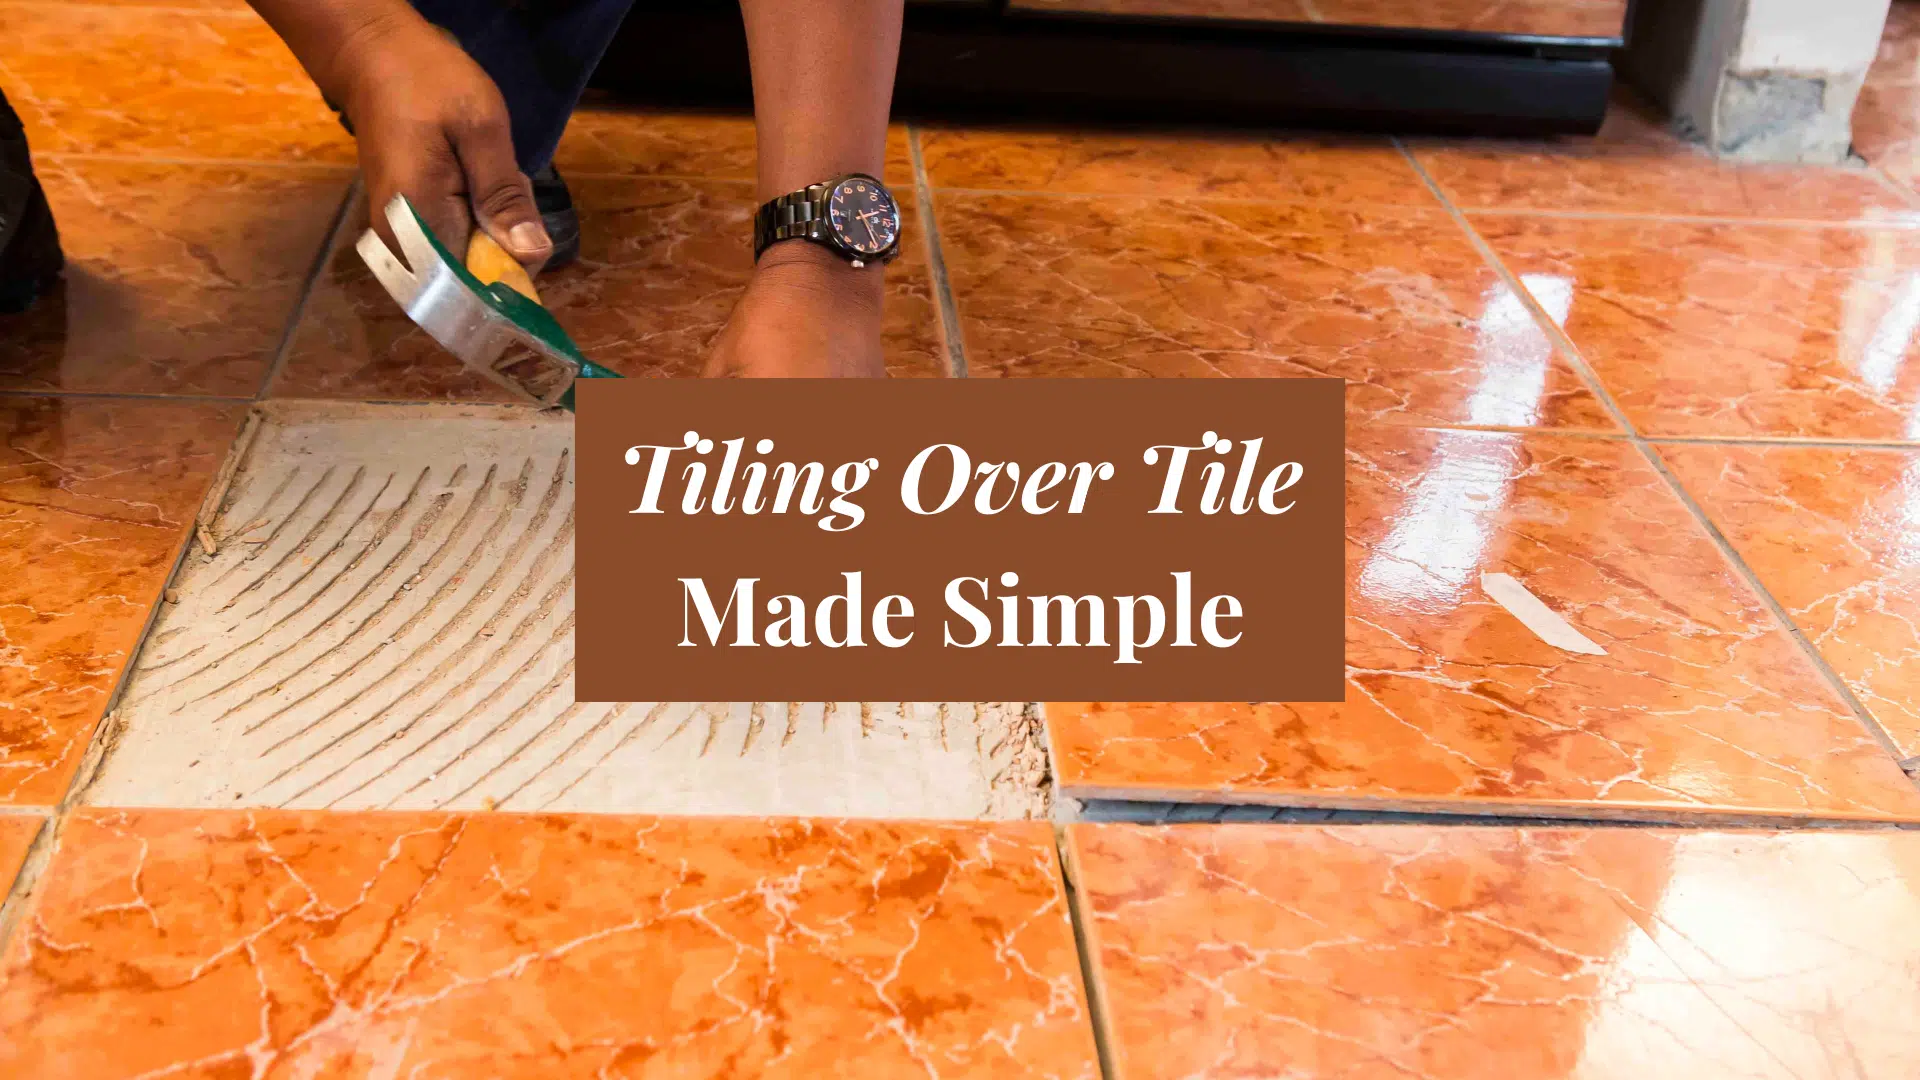
Step 6: Apply Thin-Set Mortar
Now it’s time to apply the adhesive. Mix the thin-set mortar according to the directions. Spread it over a small area using a notched trowel. Hold the trowel at a 45-degree angle and make even grooves. Only cover a little bit at a time so the mortar doesn’t dry out before you set the tiles.
Step 7: Set the New Tiles
Place each tile onto the mortar and press down firmly. Give it a little wiggle to help it stick. Use spacers between each tile to keep the grout lines even. Keep checking with a level to make sure the tiles are flat and smooth. Work carefully and take your time.
Step 8: Cut Tiles to Fit and Let Them Set
When you get close to edges, doorways, or corners, you’ll need to cut some tiles. Use a tile cutter for straight cuts or a wet saw for trickier shapes. After all the tiles are placed, let the adhesive dry completely. Most thin-set mortar needs about 24 hours to cure. Avoid walking on the tiles or putting any weight on them during this time.
Step 9: Grout the Joints
Once everything is dry, remove the tile spacers. Use a grout float to press grout into the spaces between the tiles. Hold the float at an angle and work it across the surface. Wipe away extra grout with a damp sponge and let the grout dry as directed.
Check out this YouTube video by @TALSouthAfricafor more details!
Tiling over tile isn’t hard when you know the right steps. The most important parts are making sure your old tiles are in good shape and prepping the surface properly. Take your time, follow each step carefully, and you’ll have a beautiful, long-lasting new floor or wall without the mess of demolition!
Picking the Right Tile
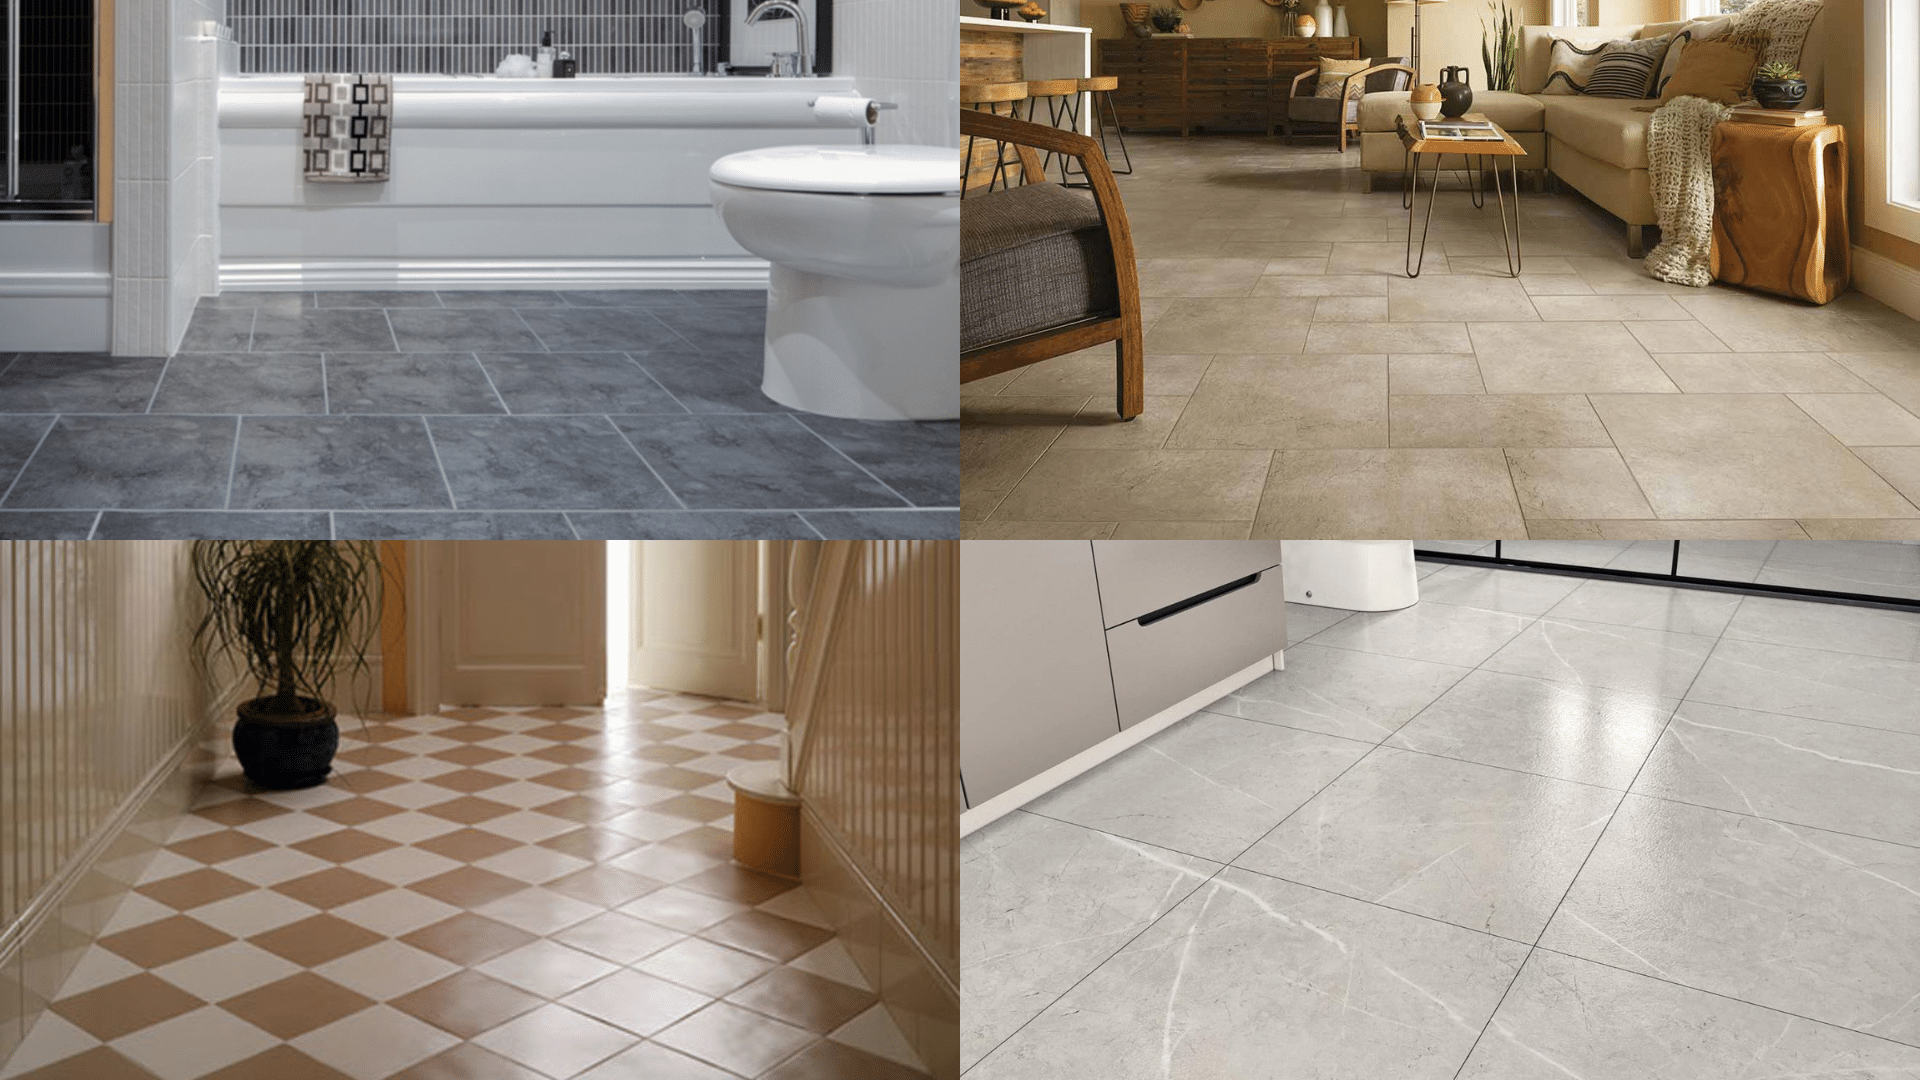
Choosing the right tile for tiling over tile is very important for a smooth, long-lasting finish.
Pick tiles that are lightweight and not too thick, especially for walls where extra weight could cause issues. Ceramic tiles are a great choice because they are lighter than heavy natural stones like marble.
Make sure the size of the new tiles fits well with your space—larger tiles may need extra care to stay flat. Also, choose tiles that won’t add too much height to your floor, or you might have problems with doors and appliances.
Always double-check that your new tiles are a good fit for tile-on-tile installation. Picking the right tile from the start will make the whole project smoother and help your new surface last for years to come!
Maintenance and Care for Your New Tile Over Tile
Once your new tiles are in place, you’ll want to keep them looking fresh and strong for years to come. Good maintenance is easy if you stay consistent.
- Sweep or vacuum often: Dirt and grit can scratch the tile surface over time.
- Wipe up spills quickly, Especially in kitchens and bathrooms, to prevent stains or water damage.
- Use a mild cleaner: Harsh chemicals can wear down grout and damage the tiles.
- Seal the grout: Applying a grout sealer once a year helps protect against moisture and stains.
- Check for loose tiles: Catch small problems early before they turn into bigger repairs.
If you’re considering placing tile over tile, be sure to check out our other blog on how to paint tile for a fresh and stylish update.
Conclusion
Tiling over tile is a smart way to refresh your space without the mess and cost of tearing out old tiles. With the right prep work, good materials, and a little patience, you can create a beautiful, lasting finish.
Always make sure your existing tiles are in solid shape, and don’t skip important steps like cleaning, sanding, and using a bonding primer. Picking the right tiles and adhesive also makes a big difference in how your project turns out.
While it might seem like a big job at first, following a clear step-by-step process will make it much easier. Take your time, double-check your work, and don’t rush through important details. With a little care and effort, you’ll have a brand-new surface that looks amazing and holds up for years to come!

With a Master in Architectural Studies from University of Pennysylvania, Marwa Haydar has pioneered living spaces since 2005. Her expertise, initially honed in a prestigious architectural firm, is evident in her approach to creating environments. Marwa became part of our team in 2019 and has since been a driving force in our home improvement section, known for her practical yet stylish solutions. She’s been spearheading our design workshops since then, infusing her passion for teaching into her work. In her leisure time, Marwa enjoys exploring historic architecture and is an enthusiastic pottery hobbyist, further enriching her understanding of form and texture.