The Art of Perfect Baseboard Installation: A Step-by-Step Guide
Baseboard installation may seem like a simple DIY project, but there’s more to it than just cutting and nailing. Achieving a professional finish requires attention to detail and knowledge of common mistakes. From uneven cuts to poor finishing techniques, even small errors can result in visible imperfections that detract from the overall aesthetic of your room.
Whether you’re updating an old space or finishing a new build, ensuring your baseboards are installed correctly is crucial for a polished, cohesive look. For a professional-grade result, check out Koffler’s premium selection of wall base and trim. Choosing the right materials is the first step toward achieving a flawless finish, ensuring durability and ease throughout the installation process.
In this script, we’ll explore the most common mistakes homeowners make when installing wall base and how to avoid them. We’ll cover everything from measuring and cutting to painting and finishing, offering practical advice to help you achieve a professional-grade result. If you’re ready to dive into your baseboard installation project with confidence, this guide is for you!
Uneven Cuts and Joints
One of the most obvious mistakes you can make when installing baseboards is uneven cuts and poorly aligned joints. These imperfections can easily disrupt the overall flow of your design, making the installation look unprofessional and distracting.
To avoid this, invest in a high-quality miter saw that ensures clean, precise cuts. Take extra time to measure carefully and mark your cuts before making them. Accuracy is key for creating tight, seamless joints. If you want your baseboards to fit together perfectly, always double-check your measurements before you start cutting.
Inadequate Caulking and Filling
Another common mistake is neglecting to properly caulk and fill gaps between the baseboard and the wall. If you skip this step, you may end up with unsightly visible gaps that detract from the finished look of the room.
To address this, use a high-quality, paintable caulk to fill in any gaps. After applying the caulk, let it dry completely and sand it down for a smooth finish. A final coat of paint will help create a seamless and polished appearance, giving your baseboards the professional touch they need.
Poor Finishing and Painting
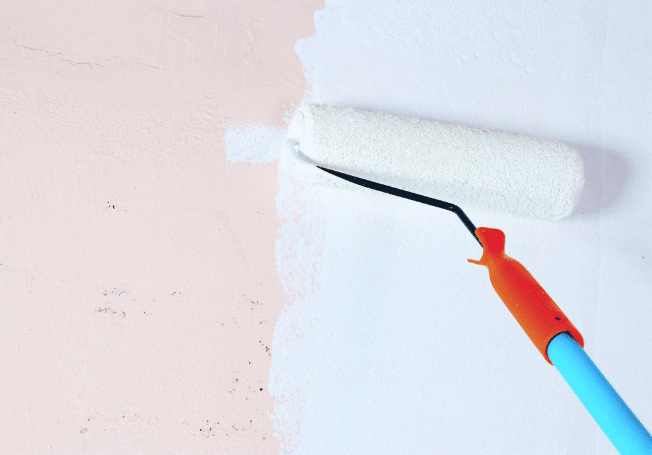
It’s tempting to rush through the painting and finishing process, but this often leads to visible brush strokes, uneven color, and a lackluster finish. To avoid this, make sure to sand your baseboards thoroughly before applying any paint. This ensures that the surface is smooth and free of imperfections.
When painting, opt for a high-quality brush or a spray painting technique for the best results. Take your time and apply multiple thin coats of paint for a smooth, even finish that looks professional. Rushing through this step can leave your baseboards looking unfinished and unrefined.
Ignoring Wall Imperfections
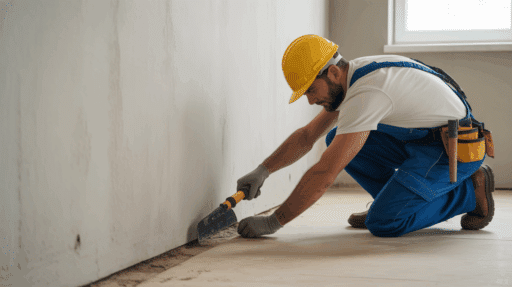
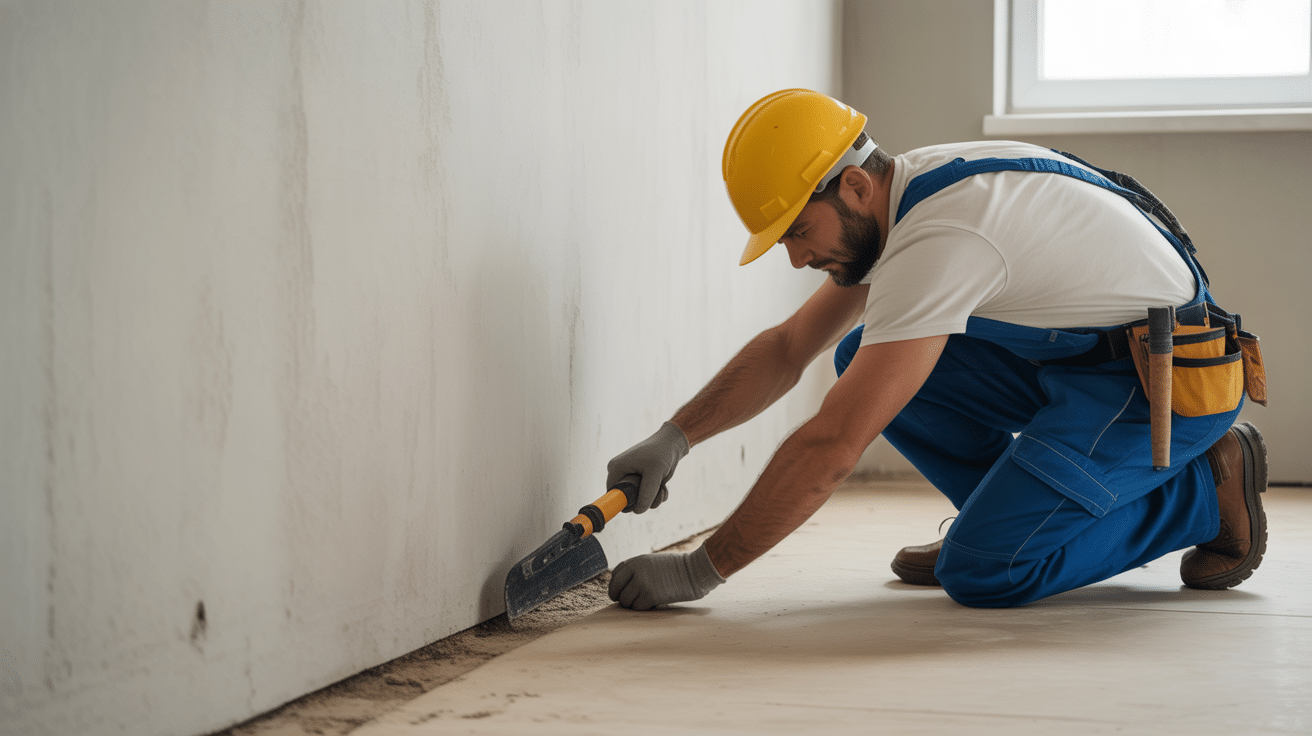
One mistake many people make is installing baseboards without addressing wall imperfections first. Cracks, holes, and uneven surfaces in the wall can make it difficult to get a clean and flush baseboard installation.
Before you begin installing, take the time to patch up any holes or cracks in the wall. Use a wall filler or joint compound to smooth out imperfections, and sand the area for a smooth, even surface. A well-prepped wall ensures that your baseboards will fit snugly and look polished.
Incorrect Measurement and Placement
Incorrect measurements or improper placement of baseboards can lead to visible gaps, overlaps, or an uneven appearance. This mistake can throw off the symmetry of the room and make the entire installation look off-balance.
To avoid this, always measure twice and cut once. Double-check your measurements before making any cuts, and use a level to ensure your baseboards are straight. Starting your installation from the longest wall can also help maintain symmetry and balance across the room.
Choosing the Wrong Materials
Opting for subpar materials can result in baseboards that are easily damaged, prone to warping, or require constant maintenance. It’s crucial to choose high-quality materials that will stand the test of time.
For durability and longevity, consider using solid wood or reliable composite materials. Pre-primed baseboards are also a great option, as they are easier to paint and maintain. Investing in quality materials will ensure your baseboards remain in great shape for years to come.
Overlooking Baseboard Height Consistency
One of the most subtle mistakes is failing to maintain a consistent height for your baseboards throughout the room. If the height of your baseboards varies from wall to wall, it can create a disjointed and unprofessional appearance.
To ensure uniformity, measure the desired height for your baseboards and mark it clearly on the walls before you start installing. Maintaining a consistent height across the entire room will help achieve a polished, cohesive look that enhances the overall aesthetic.
Mastering Baseboard Installation: Key Takeaways for a Flawless Finish
Baseboard installation may seem simple, but it requires precision and attention to detail to achieve the best results. By avoiding common mistakes like uneven cuts, poor caulking, and improper measurements, you can ensure that your baseboards enhance the overall appearance of your space. Whether you’re a DIY enthusiast or considering professional help, following these tips will help you achieve a flawless finish.
Are you ready to tackle your baseboard installation with confidence? What other aspects of home improvement would you like to learn more about for a professional look?

With a Master in Architectural Studies from University of Pennysylvania, Marwa Haydar has pioneered living spaces since 2005. Her expertise, initially honed in a prestigious architectural firm, is evident in her approach to creating environments. Marwa became part of our team in 2019 and has since been a driving force in our home improvement section, known for her practical yet stylish solutions. She’s been spearheading our design workshops since then, infusing her passion for teaching into her work. In her leisure time, Marwa enjoys exploring historic architecture and is an enthusiastic pottery hobbyist, further enriching her understanding of form and texture.