Want to know the secret behind those gorgeous $800 painted dressers on home design shows?
They often start as basic $100 IKEA pieces!
That’s right, with some paint and know-how, your simple IKEA furniture can look like custom-built pieces without the custom price tag.
Here’s the catch: IKEA furniture is super tricky to paint.
That smooth, shiny surface is designed to resist stains… which means it also resists paint!
Try using regular painting methods, and you’ll end up with chipping, peeling, and a big mess within weeks.
But don’t worry! After many trial-and-error attempts (and a few tearful do-overs), I’ve cracked the code to painting IKEA furniture that actually lasts.
No special artistic talent needed, just the right supplies and steps that anyone can follow!
Ready to fall in love with your furniture again?
Why is Painting IKEA Furniture Different?
Ever tried to paint a plastic-y surface?
That’s what makes IKEA furniture tricky!
Most IKEA pieces aren’t solid wood; they’re covered in smooth laminate that paint loves to slide right off of.
It’s like trying to paint a grocery bag – the paint doesn’t want to stick!
Plus, those sleek Swedish designs often have lots of edges and nooks that regular brushes struggle with.
But don’t worry!
With the right steps, you can definitely make that plain white LACK table look amazing.
You need a few special tricks up your sleeve.
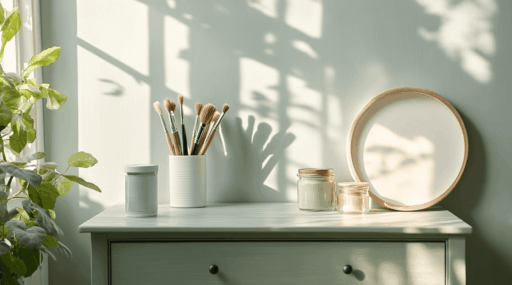
What You’ll Need to Paint IKEA Furniture?
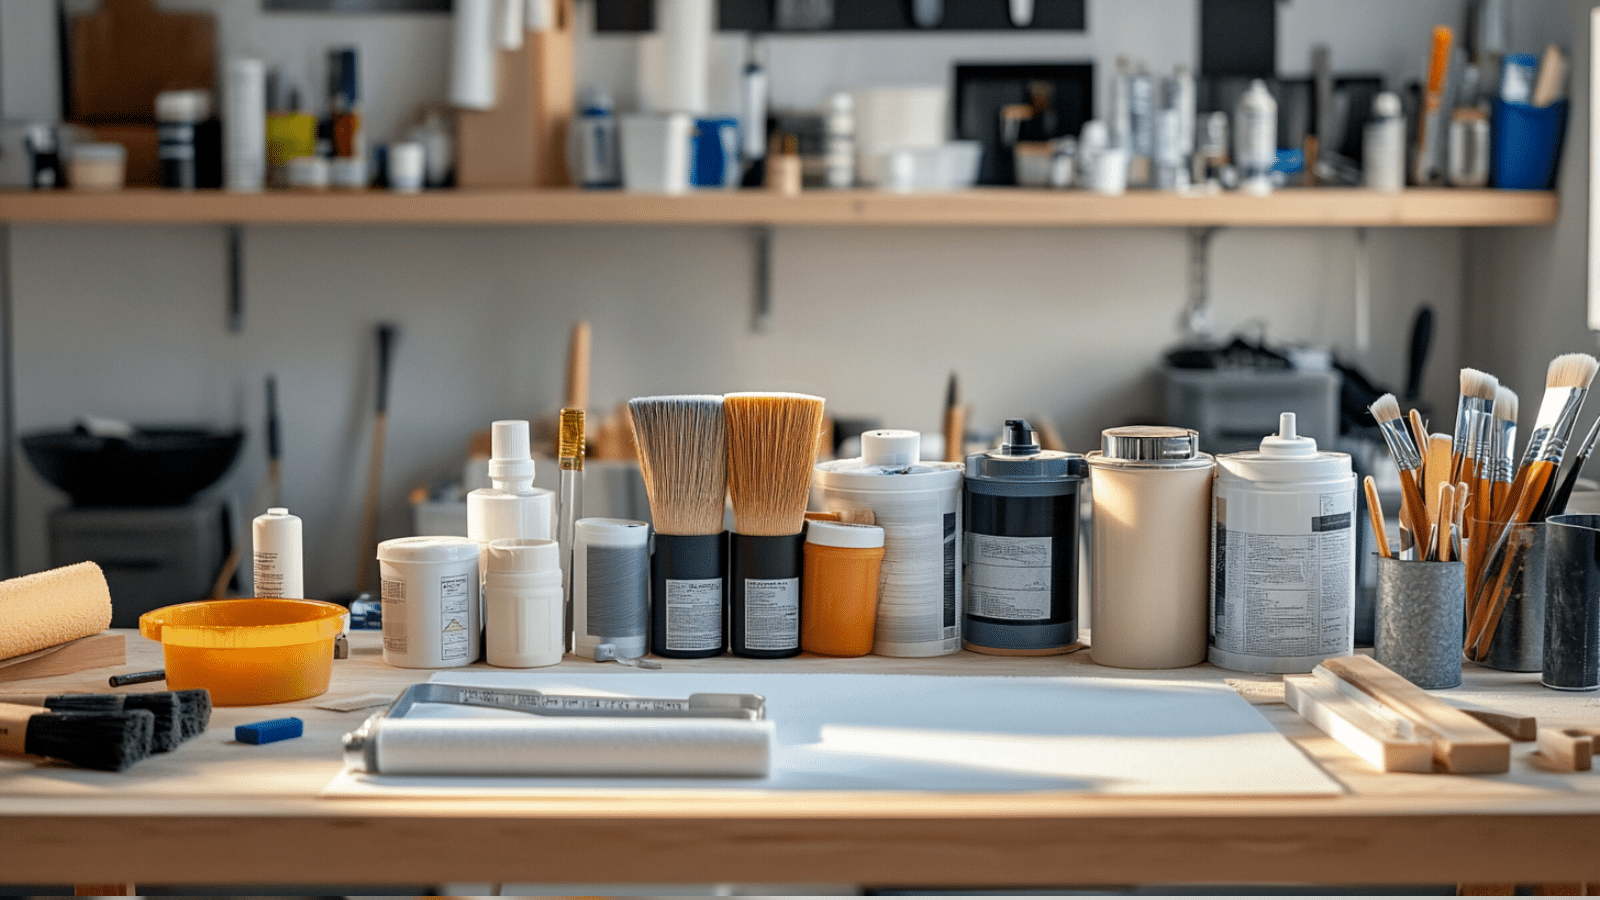
Before getting started, you’ll need to gather the right supplies.
This shopping list covers everything you need for a successful IKEA furniture makeover. Investing in quality materials now will save you headaches later!
Tools and Materials Required
Before you start painting, make sure you’ve gathered the right tools and supplies.
The right preparation is crucial for achieving a smooth, durable, and professional-looking finish on IKEA furniture.
| ITEM | PURPOSE | ESTIMATED COST |
|---|---|---|
| 120-grit sandpaper | Scuffing laminate for paint adhesion | $4–$10 |
| Fine grit sandpaper (220/320) | Smoothing between coats | $4–$10 |
| Clean cloth or tack cloth | Removing sanding dust | $3–$7 |
| Sanding block | Even sanding on flat surfaces | $5–$10 |
| BIN Shellac-Based Primer | High-adhesion base coat for laminate | $17–$22 |
| Paint tray & liner | Holding and applying primer/paint | $3–$7 |
| Latex paint (quart, eggshell) | Main color coat | $15–$25 |
| High-quality brush | Smooth, precise paint application | $6–$15 |
| Foam or microfiber roller | Even paint application, subtle texture | $5–$10 |
| Polycrylic top coat (quart) | Sealing and protecting the finish | $18–$25 |
| Sponge brush | Smoothing polycrylic, reducing bubbles | $2–$5 |
| Painter’s tape | Masking areas you don’t want painted | $4–$10 |
| Drop cloth/plastic sheeting | Protecting your work area | $10–$18 |
| Scrap wood piece | Practicing polycrylic application | Free–$5 |
With these materials ready, you’ll be equipped to handle each step with confidence, making your IKEA furniture refresh a fun and rewarding project.
Selecting the Right Primer
Don’t grab just any old primer from your garage!
For IKEA stuff, you need what’s called a “bonding primer” or “adhesion primer.”
These special primers are like super glue for paint, they stick to slippery IKEA surfaces when regular primers would just peel right off.
My favorite is Zinsser BIN or KILZ Adhesion.
Apply a thin coat with your foam roller, and let it dry completely – usually about 2 hours.
Feeling the surface after it dries should be a bit rough, like fine sandpaper.
That’s how you know it’s ready for paint!
What Are Some IKEA Hack Ideas?
Ready to level up your painted IKEA pieces?
Try these simple but impressive modifications:
- Add wooden hairpin legs to a painted LACK coffee table for mid-century flair
- Replace plain knobs with leather pulls or brass handles on your freshly painted dresser
- Turn a painted BILLY bookcase into a “built-in” by adding crown molding to the top
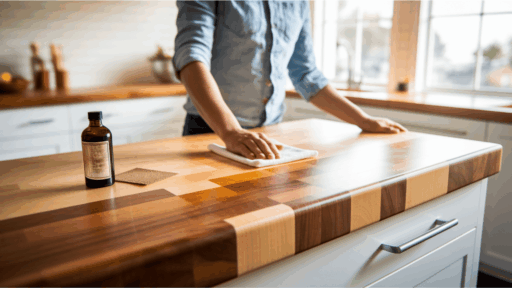
- Upgrade a kitchen cart with a butcher block top after painting the base
- Create a statement headboard by painting several floating shelves the same color
- Add wallpaper to the back of a painted bookshelf for extra personality
The possibilities are limitless!
Step-By-Step Painting Process for IKEA Furniture
Alright, now we’re getting to the fun part – actually painting your IKEA piece!
I’ll break this down into simple steps anyone can follow.
The key is taking your time and being patient between coats.
Trust me, rushing is how you end up with a messy finish that doesn’t last.
STEP 1: Lightly Sand the Surface
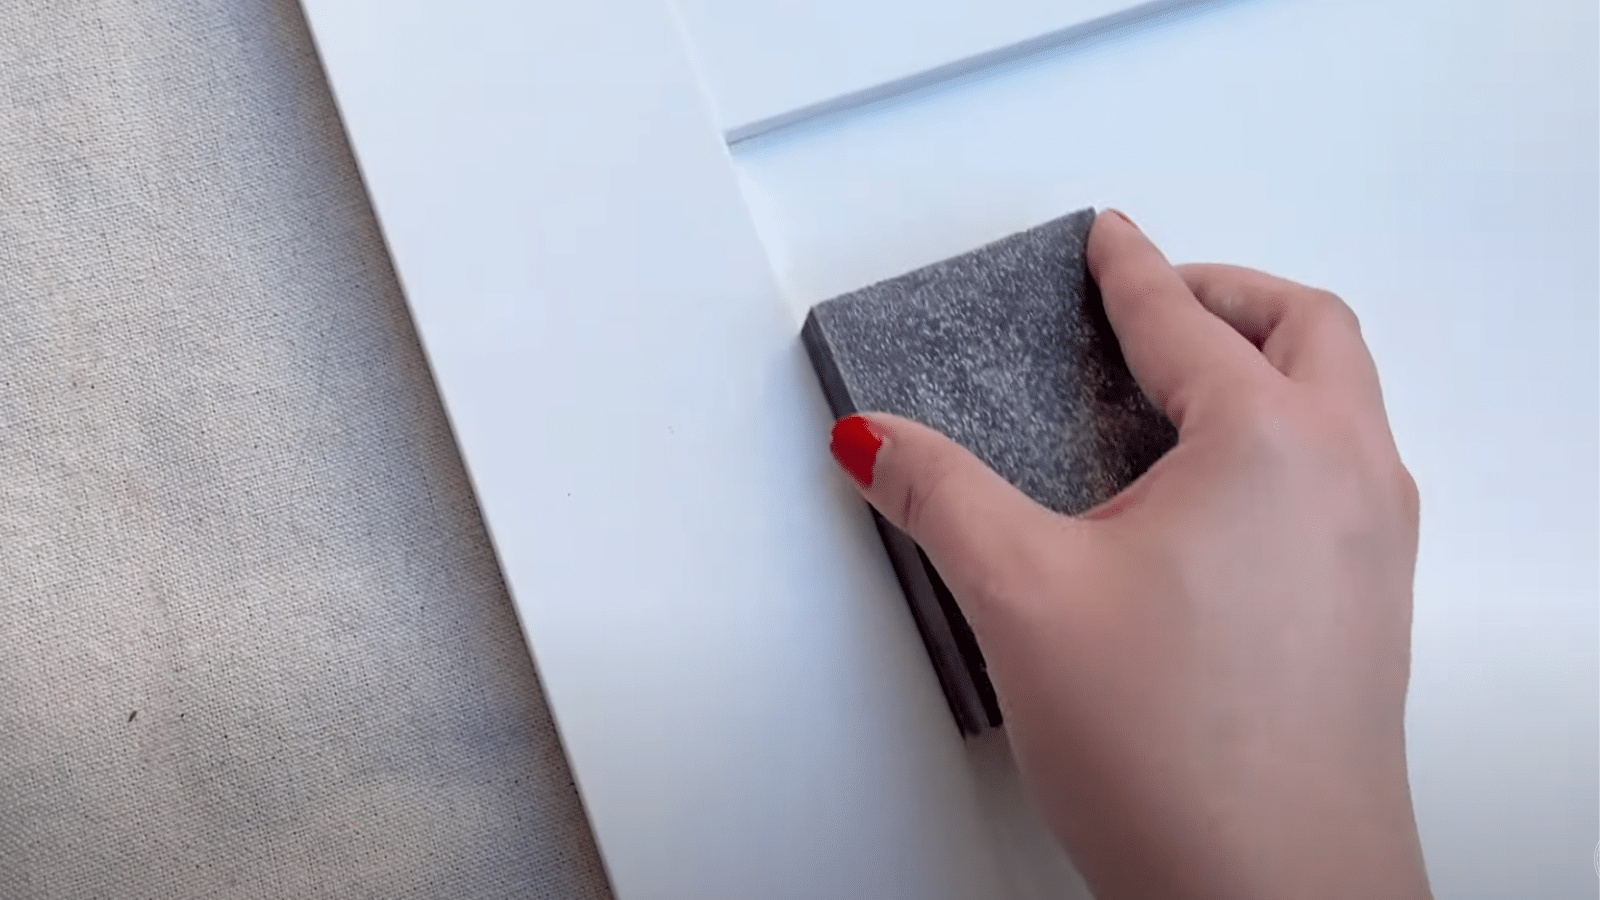
Use 120-grit sandpaper to gently scuff every area you plan to paint.
This step creates the necessary texture to help the primer and paint stick.
It won’t damage the surface but will make a huge difference in how well the paint holds up over time.
Pro Tips:
- Always sand in the direction of the grain, even on faux finishes, for the smoothest result.
- Use a sanding block to keep pressure even and avoid over-sanding any one spot.
- Wipe with a tack cloth or a damp rag after sanding to remove dust before moving to primer.
STEP 2: Prime the Furniture with Shellac-Based Primer
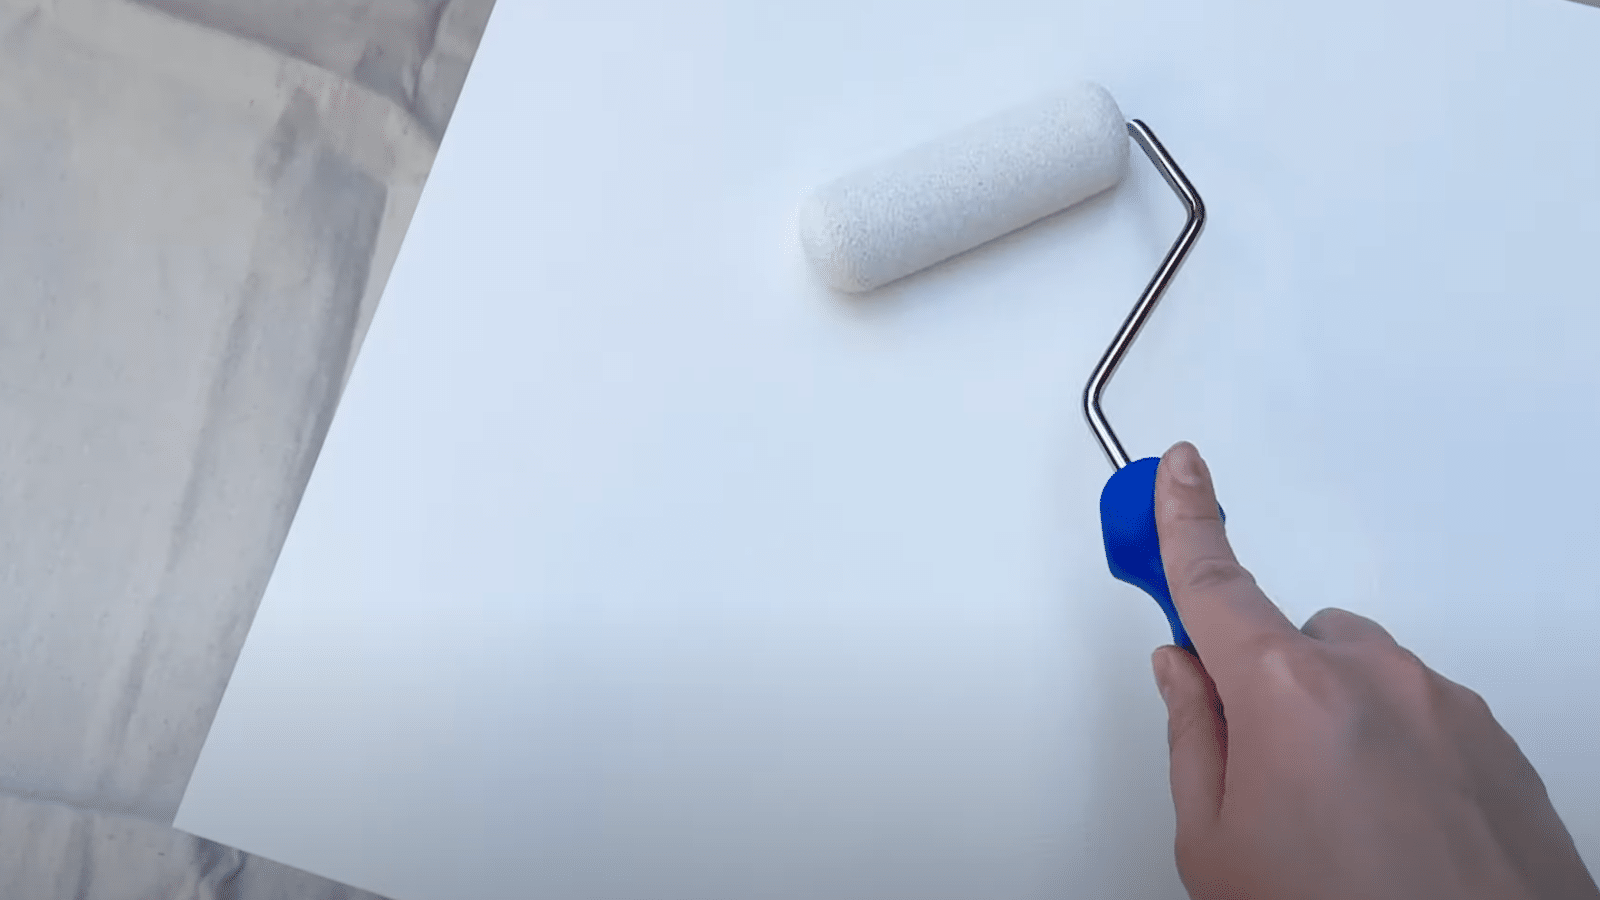
Apply a shellac-based primer like BIN to ensure the paint sticks firmly to the laminate surface.
It acts as a bonding agent and helps the paint resist chips and wear.
Let it dry for at least an hour—overnight is even better.
Pro Tips:
- Stir your primer thoroughly to remix any separation before applying.
- Use a cheap roller or brush you don’t mind tossing afterward—it’s hard to clean shellac-based products.
- Work in a ventilated area; shellac primer has strong fumes.
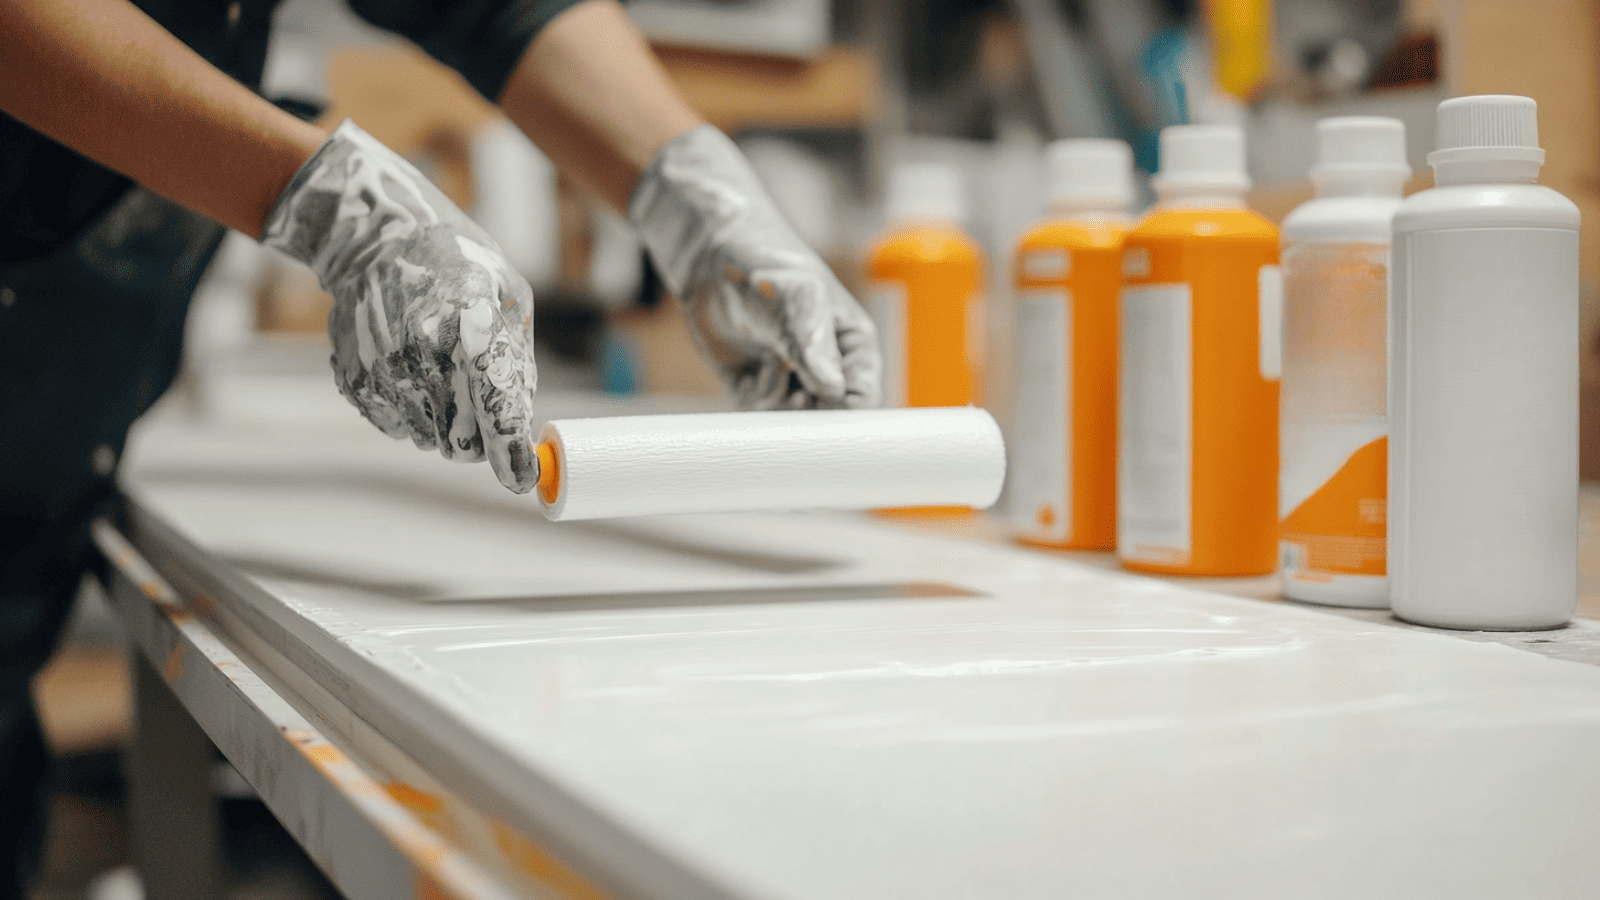
STEP 3: Choose and Apply Your Paint Color
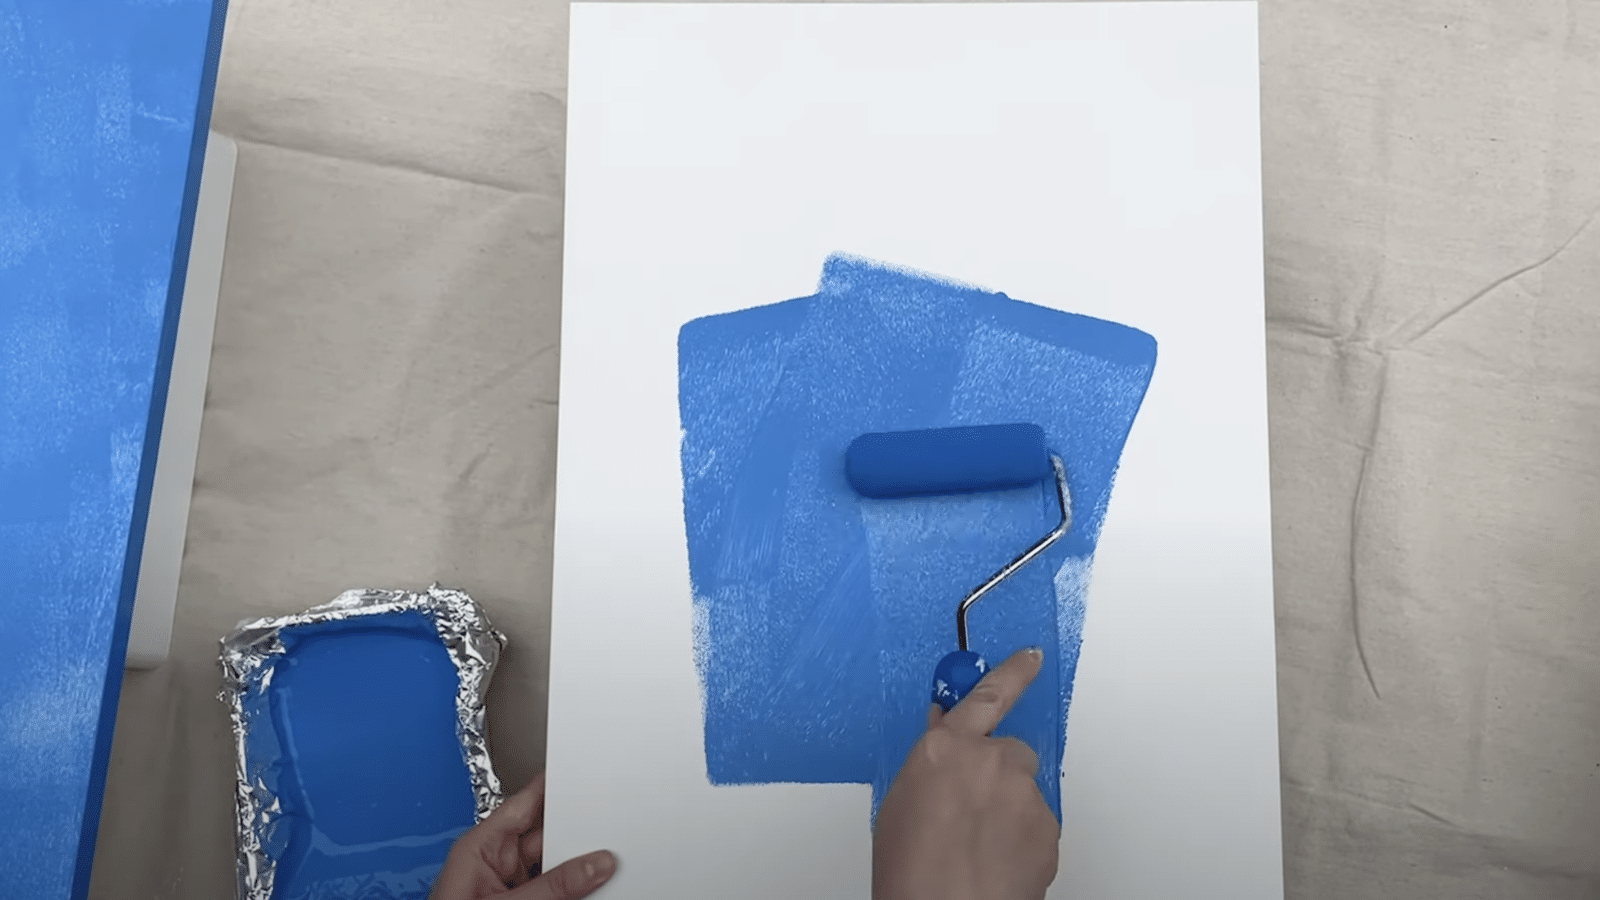
Select a high-quality paint in the finish you prefer.
Apply using a roller for soft texture, a brush for precision, or a spray gun for a smooth, professional look.
Two coats usually provide great coverage.
Pro Tips:
- Let the first coat dry completely before adding the second to avoid peeling.
- Always test your color and tool choice on the back or bottom of the furniture first.
- Don’t overload your brush or roller—thin, even coats are better than thick, drippy ones.
STEP 4: Seal the Paint with Polycrylic
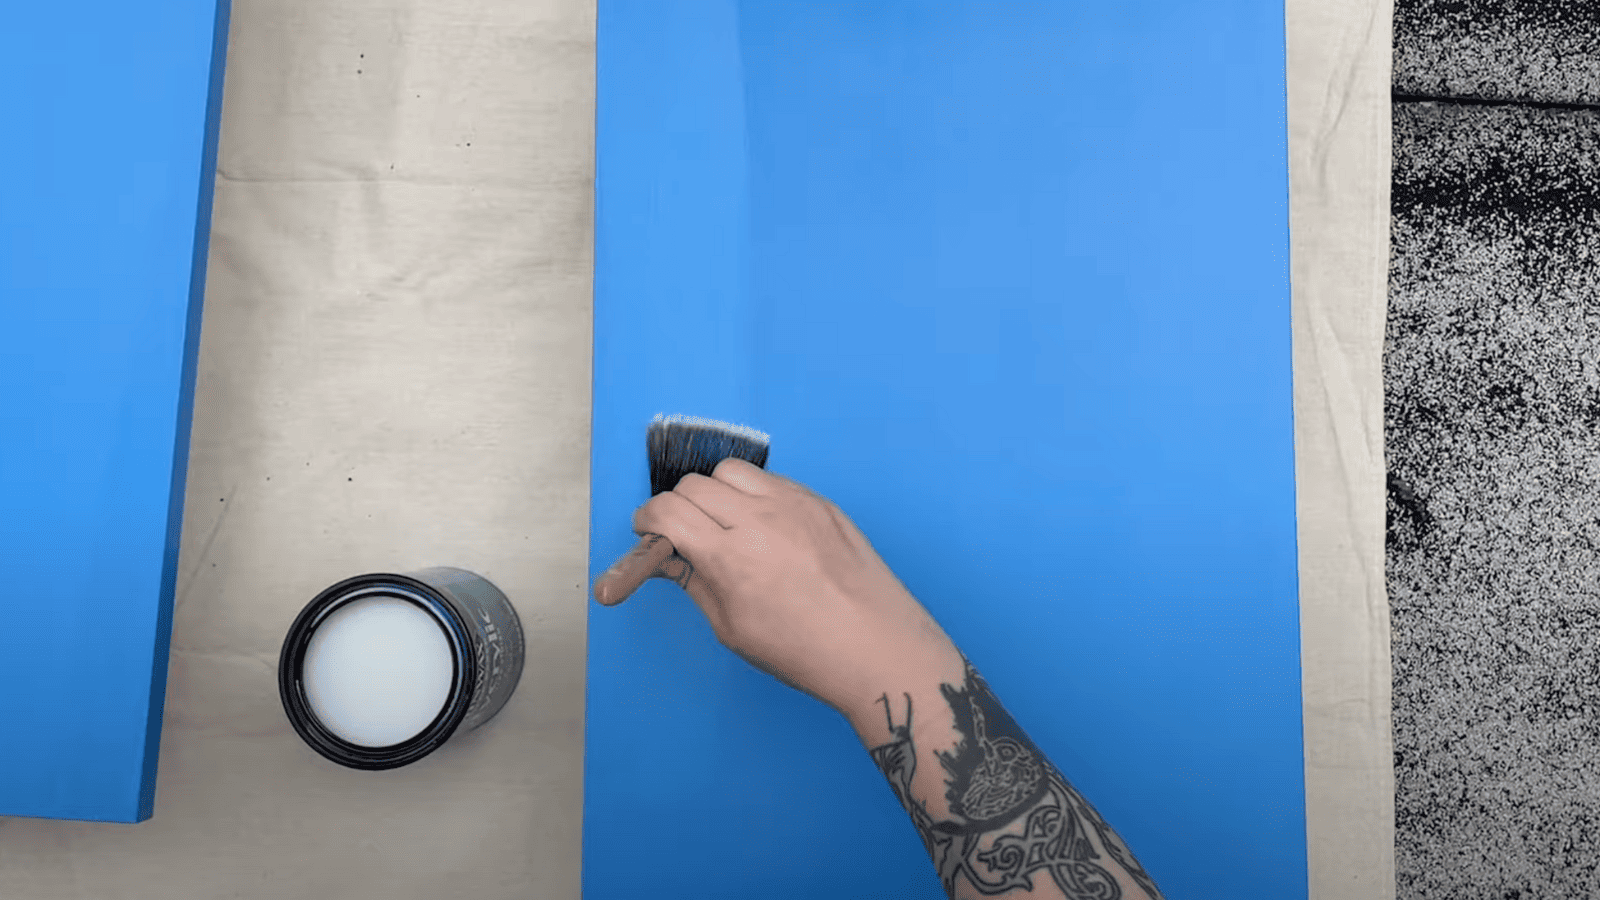
Seal your painted piece with at least two coats of polycrylic to protect against scratches and moisture.
Let the first coat dry, sand lightly, and apply the second.
Use a high-quality brush or sponge applicator for the smoothest finish.
Pro Tips:
- Avoid applying in humid conditions—it can lead to cloudiness or streaking.
- Practice your application technique on scrap material before using polycrylic on your final piece.
- Don’t shake the can—stir it to avoid air bubbles in your finish.
STEP 5: Let It Cure and Enjoy
Once your final coat is dry, allow the furniture to cure fully before heavy use, typically a few days to a week.
This ensures all layers bond together and harden properly, giving you a long-lasting, professional-looking result.
Pro Tips:
- Keep the furniture in a low-traffic area while it cures to avoid dents or scratches.
- Avoid placing heavy objects on it until the full curing time has passed.
- Take before-and-after photos, you’ll appreciate the transformation, and it’s great for inspiration!
Video Tutorial
For more information, check out this video tutorial by The Crafted Life
Common Mistakes to Avoid
Even DIY pros mess up IKEA makeovers!
These simple mistakes can ruin your hard work, but they’re super easy to avoid once you know what to watch for.
- Skipping the prep work – No sanding = paint that peels off fast
- Using regular primer instead of bonding primer – The special stuff isn’t just an upsell
- Applying thick, heavy coats – Thin coats win every time
- Not waiting long enough – Paint needs days to fully harden
- Painting in dust – Those particles ruin your smooth finish
- Rushing between coats – Quick sanding makes all the difference
- Using furniture too soon – Wait 24 hours or risk permanent damage
With a little patience and the right techniques, you’ll avoid these common pitfalls.
Trust me, following these tips will save you from having to redo your whole project later!
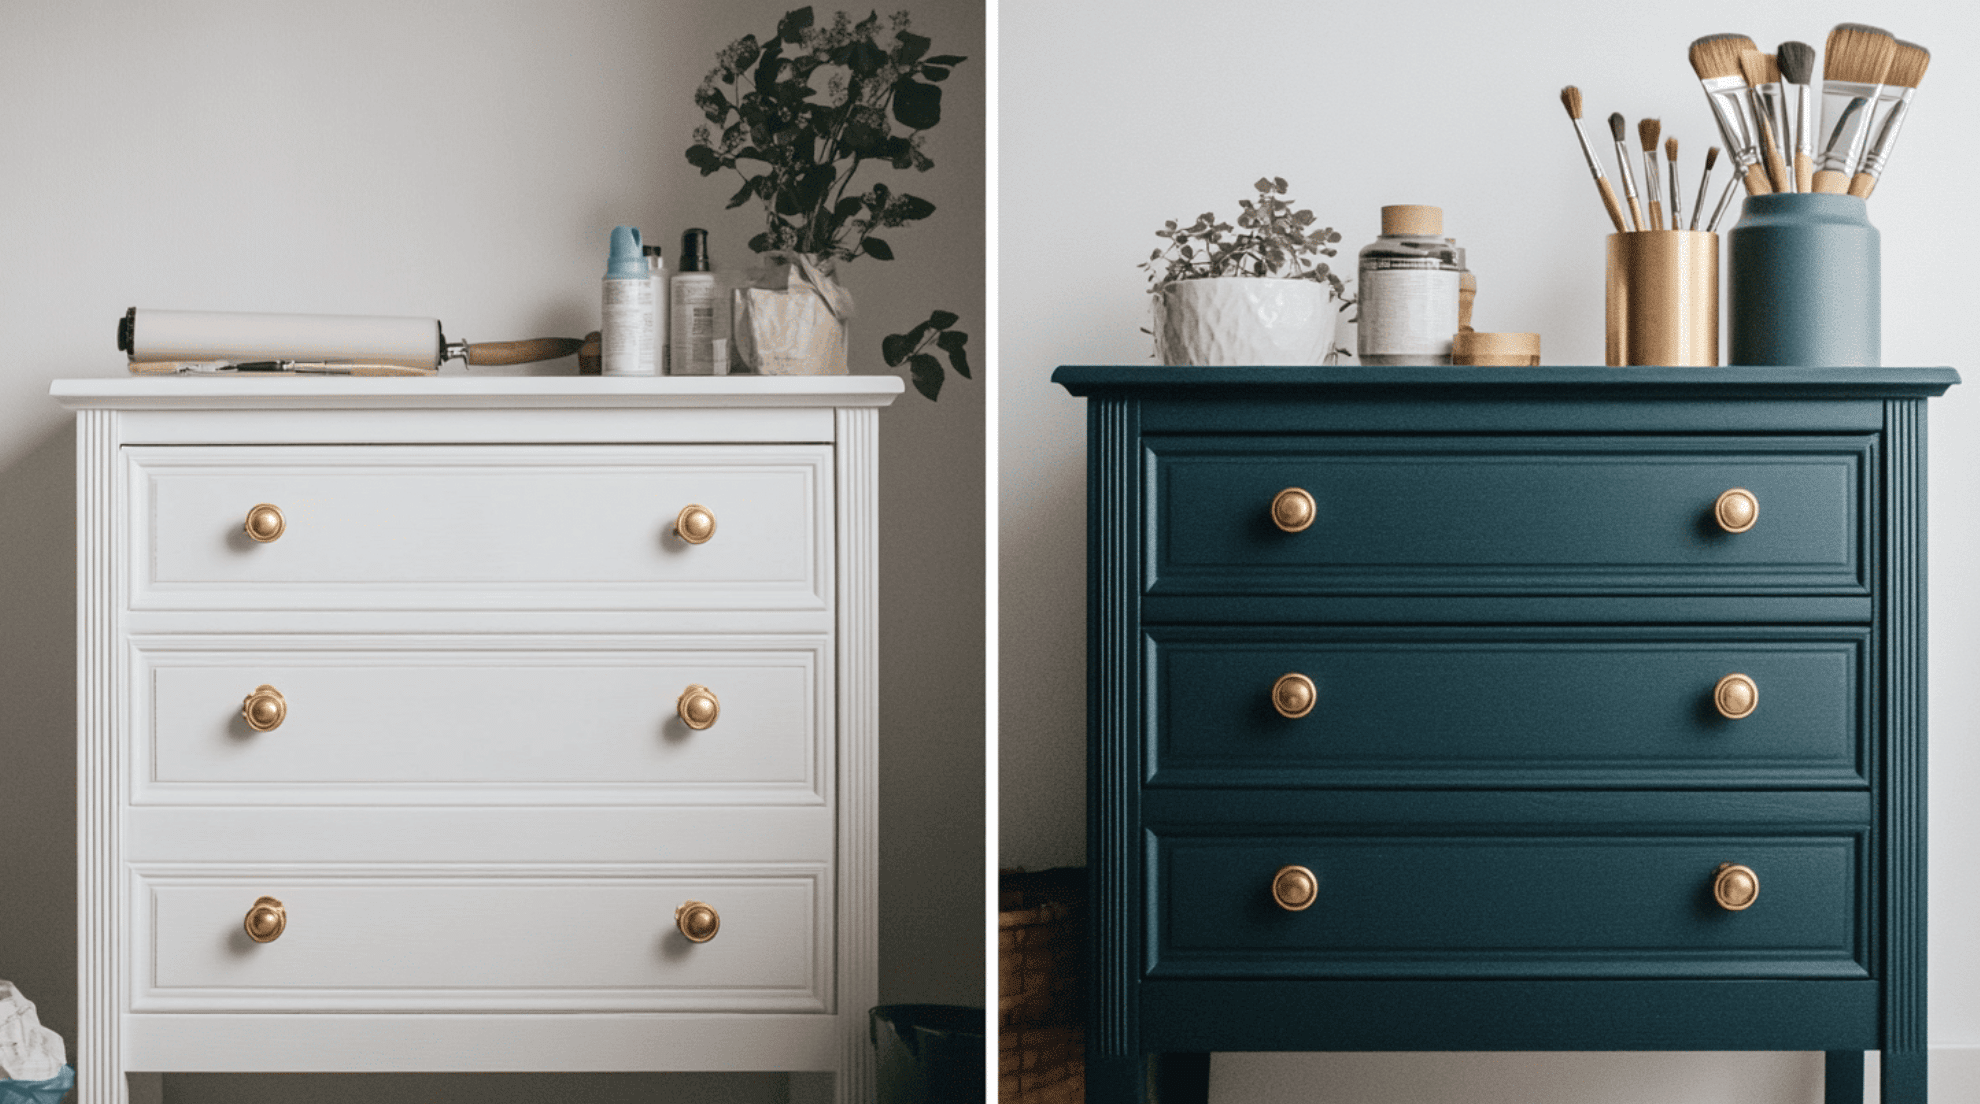
Summing It Up
There you have it, the complete guide to turning your budget-friendly IKEA pieces into custom showstoppers!
With just a weekend, some basic supplies, and a little patience, you can create furniture that looks like it cost triple what you paid.
Skip those steps, and you’ll be back to square one before you know it.
Now it’s your turn!
Start with something small, like a side table, before tackling that massive wardrobe.
Take before and after photos, you won’t believe the changeover!
The best part?
Next time, friends ask where you got that gorgeous dresser, you can say, “Oh, this?”
It’s just IKEA… but I worked a little magic on it.” Happy painting!
If you’re interested in more DIY projects for your home, feel free to click here and explore our collection of easy weekend makeovers and step-by-step renovation tutorials.

Stephanie Grace, a graduate with a degree in Fine Arts from the Savannah College of Art and Design, has been inspiring DIY enthusiasts with her creative and practical guidance for over 14 years. Her career in design and crafting began in a small artisan workshop, where she developed a passion for transforming everyday materials into beautiful and functional items. Stephanie joined our website in 2018, rapidly gaining popularity for her easy-to-follow DIY tutorials and innovative project ideas. Since then, she has been the creative mind behind our DIY section, helping readers bring their artistic visions to life. Outside her professional pursuits, Stephanie enjoys pottery and urban gardening, hobbies that showcase her love for hands-on creativity and nature.