Red oak floors add natural warmth to homes with their strong grain patterns.
While many like this look, some homeowners want to reduce the orange and pink tones that often show in red oak.
The good news is that the right stain can change your red oak floors to fit almost any home style.
This guide shows you how to stain red oak floors with success.
You’ll learn what makes red oak special, how to apply stain step-by-step, which stain mixes work best to reduce unwanted colors, and new ideas for finishing.
We also point out mistakes to watch for and ways to make your floors match your other home items.
By knowing how red oak works and using these tested methods, you can get great-looking floors that last for years and make your whole house look better.
Understanding Red Oak
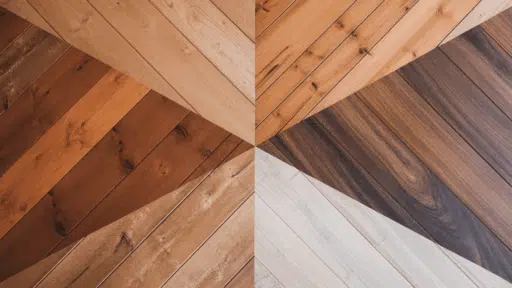
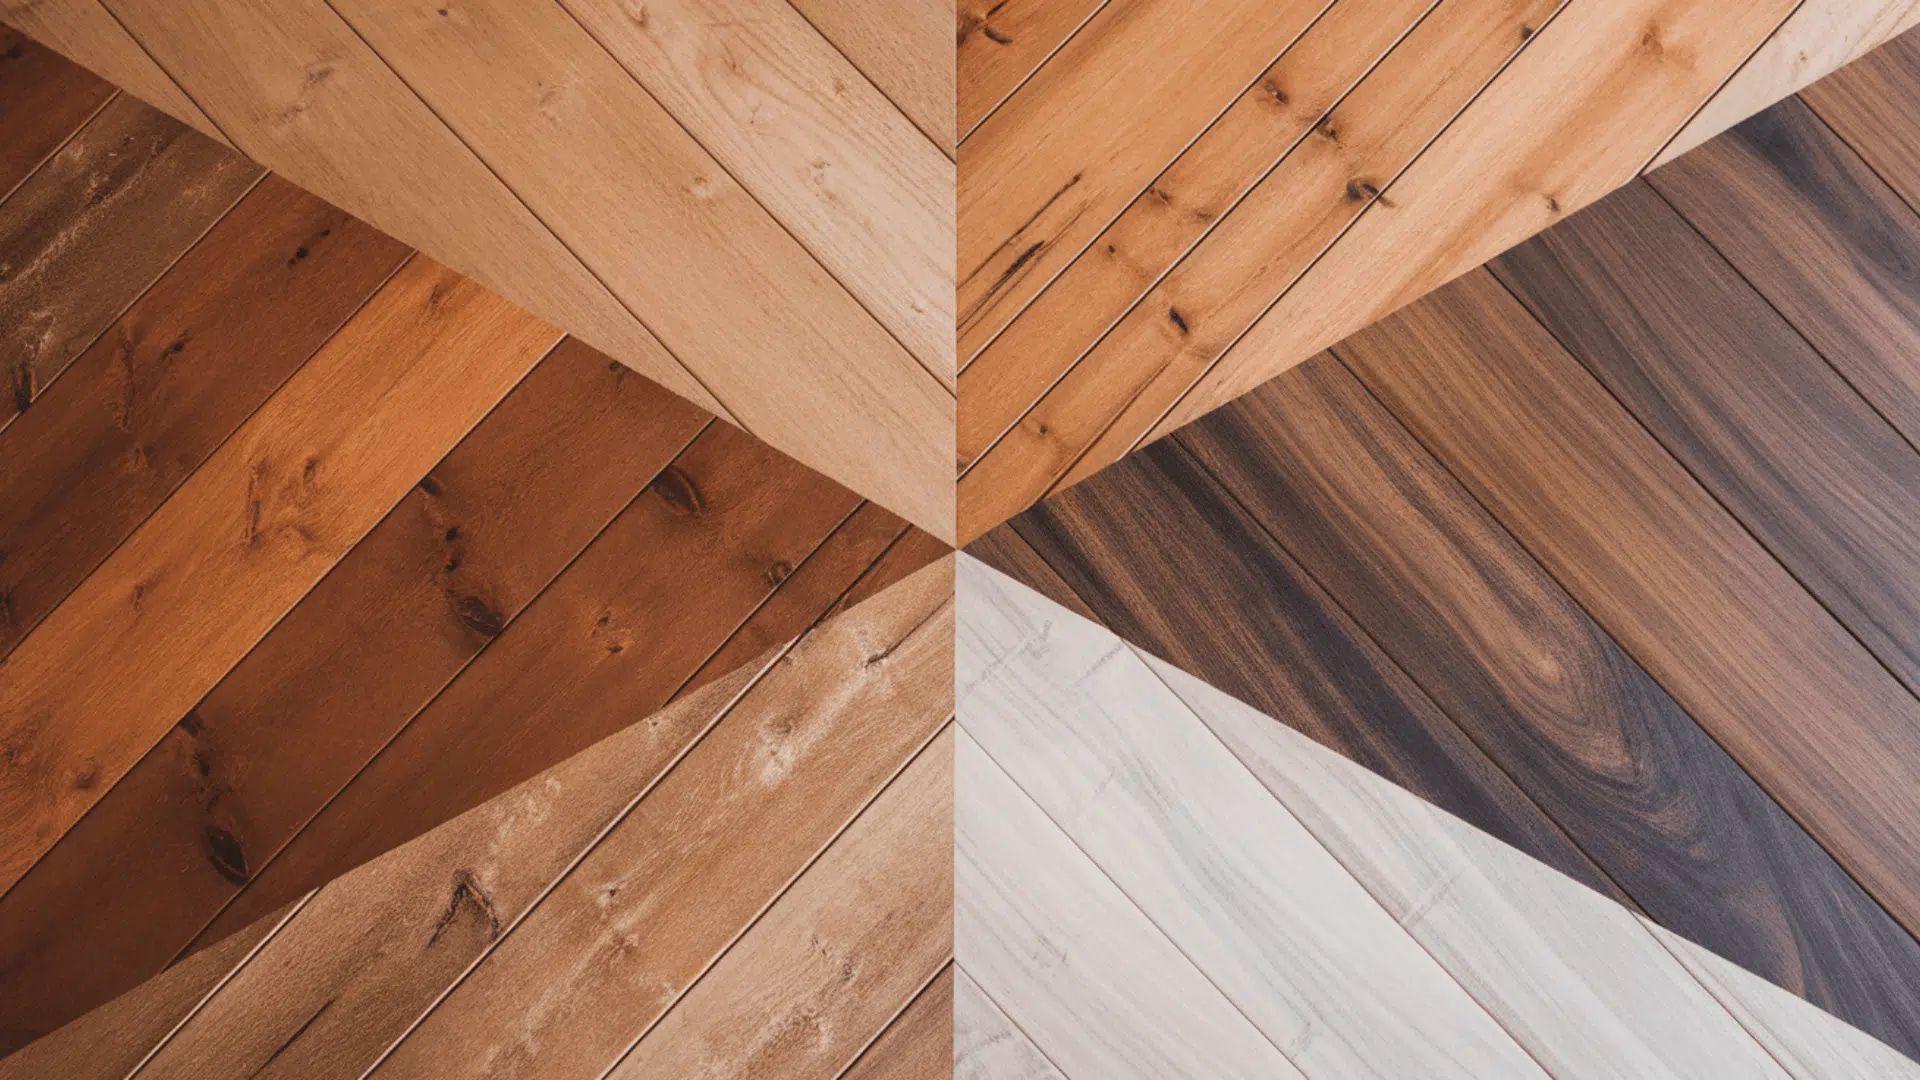
Red oak’s open grain and porous structure readily absorb stain, creating distinctive finished floors.
Its natural light brown color with reddish undertones influences its final appearance, even light stains may retain pink hints.
The wood’s texture allows stain to penetrate well, enhancing grain patterns.
Each floor stains uniquely due to wood variations.
Location affects aging: sunny rooms cause different color evolution than shaded areas, where deeper tones persist longer.
Sunlight brightens floors while shaded areas maintain richer coloration.
Consider these characteristics when selecting your stain to achieve the desired results.
Finding the Perfect Stain for Red Oak
Red oak floors are strong and full of pattern, but the color can be tricky.
Some people see too much orange or pink in them.
If you want a more modern style, you can pick a stain that tones down these colors.
Light brown or gray stains help make red oak look softer.
They keep the wood’s pattern but change the color a bit.
This works well if you want a calm, clean space.
Always test the stain on a small spot first.
The wood may take the stain differently in some areas.
Picking the right stain can help your red oak floor look just right, soft, smooth, and not too bold.
It’s all about finding what works for your room.
Effective Stain Color Combinations
After you’ve prepared your floor, you’ll need to pick the right stain. Here are some great stain mixes that work well on red oak:
| STAIN COMBINATION | WHAT IT LOOKS LIKE | BEST FOR | TIPS |
|---|---|---|---|
| Duraseal 50% Country White + 50% Fruitwood | Light creamy color | Modern homes | Looks like white oak |
| Bona Natural Seal (alone) | Natural with slight warmth | Showing off grain | Keeps the red oak look |
| Minwax Classic Gray + Early American (70/30) | Medium neutral color | Mixed decor styles | Cuts down red tones |
| Jacobean + Provincial (50/50) | Rich brown | Hiding red/pink | Gives depth without redness |
| Bona Nordic Seal (as sealer only) | Light white wash | Modern spaces | Never put over stain |
| Loba Prime Finish | Clear, natural | Natural wood look | Works with water-based topcoats |
| Rubio Monocoat Pure + White (90/10) | Light natural | Organic modern style | One coat is enough |
| Minwax Special Walnut | Medium warm brown | Traditional rooms | Classic look |
These stain ideas have worked in many homes, but your floor might look different.
Wood age, what was on it before, and even the air in your home can change how stain looks.
Always test on a small spot first!
Staining Red Oak Floors Correctly
Now that you know about red oak’s special traits, let’s discuss how to stain it correctly.
Follow these steps for the best results:
Step-by-Step Process
- Sand to bare wood: Remove all old finish so the stain soaks in evenly
- Vacuum and tack cloth: Clean up all dust for a smooth finish
- Optional water-popping: Lightly wet the floor to open the grain for deeper color
- Apply stain: Use a brush or rag, work with the grain, wipe off extra stain quickly
- Allow proper drying time: Wait as long as the stain says
- Apply sealer and top coat: Put on 2-3 coats, sand lightly between each
- Observe cure time: Wait several days before moving furniture back
Test first: Always try your stain on a small spot to see how it looks in different light
Brand Colors and Color Codes
Knowing the true color of stains helps when picking them. This chart shows popular stain brands and their colors:
| BRAND & COLOR | COMMONLY REFERENCED | MAIN TONE | GOES WELL WITH |
|---|---|---|---|
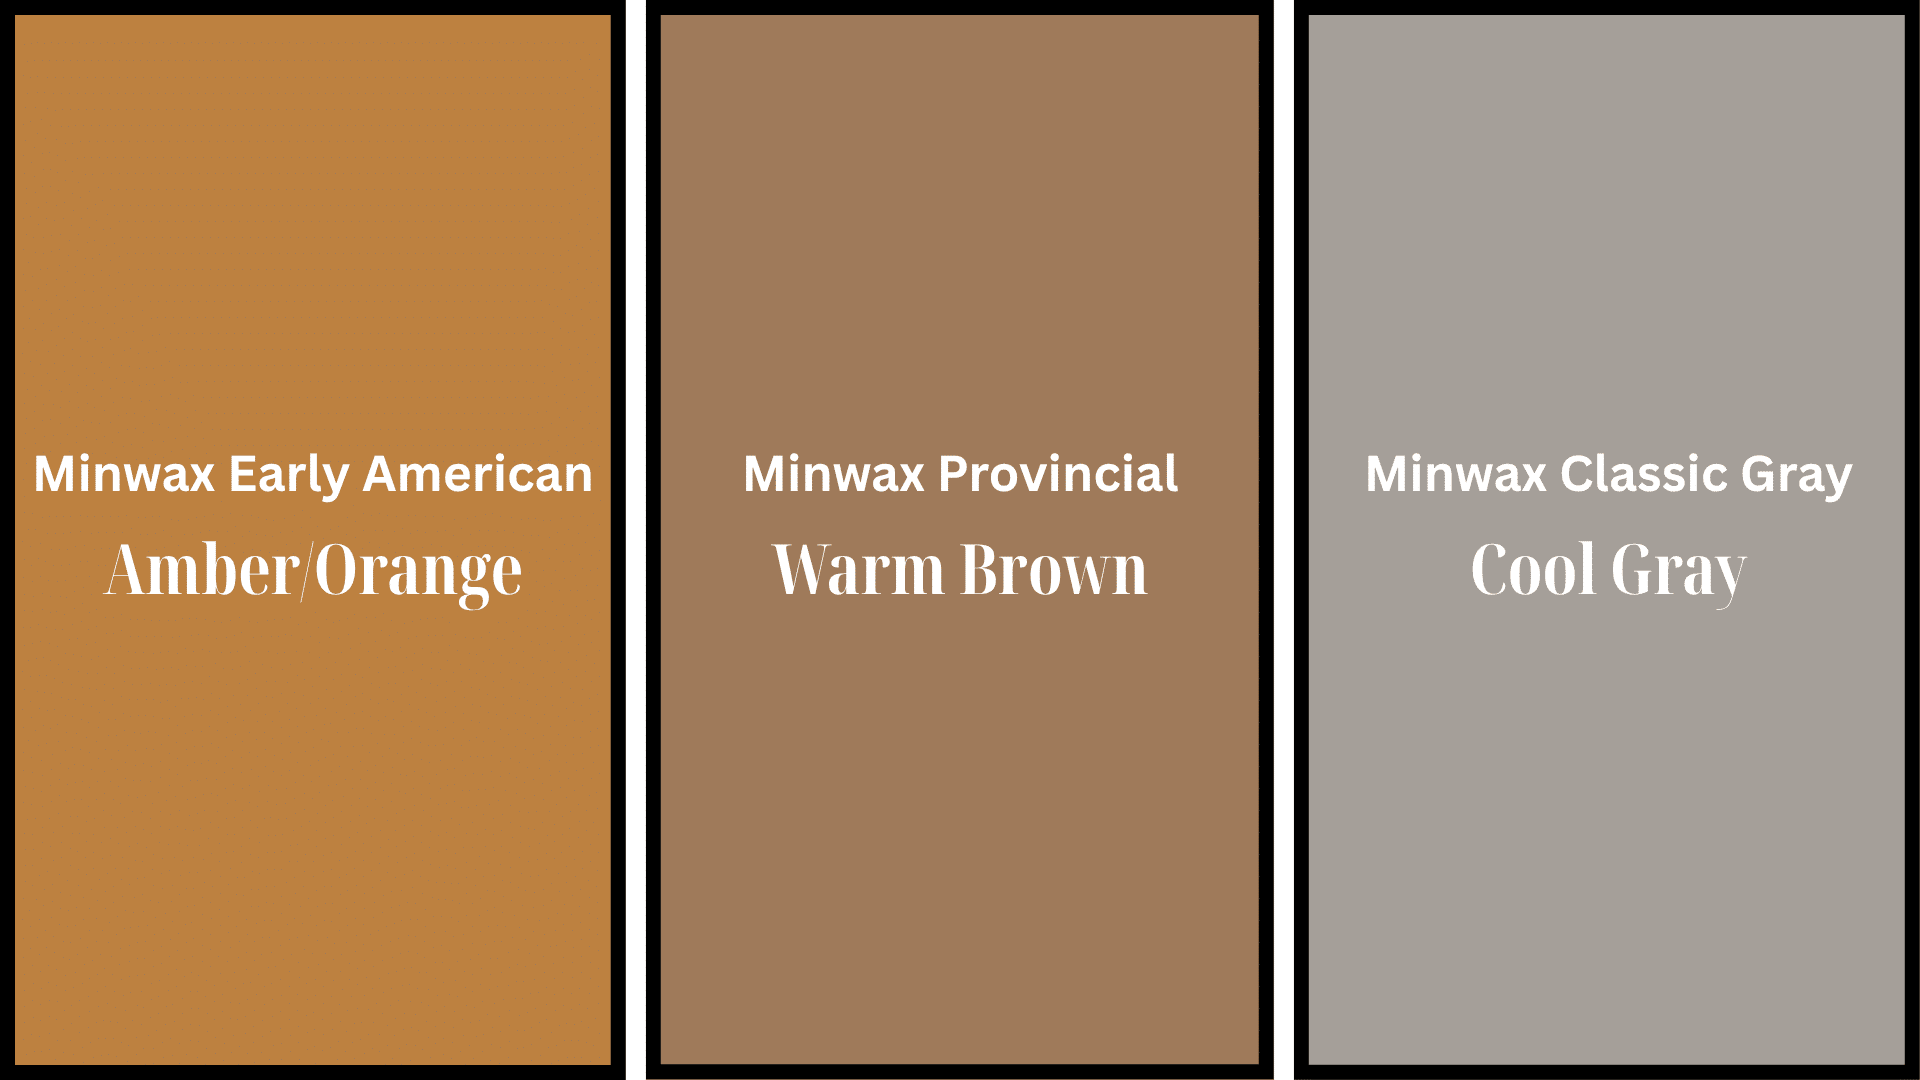
| Minwax Early American | #BC8141 | Amber/Orange | White walls, old-style decor |
| Minwax Provincial | #9F7A5A | Warm Brown | Cream walls, nature items |
| Minwax Classic Gray | #A59F98 | Cool Gray | Modern look, white cabinets |
| Duraseal Country White | #E9E5DC | Off-White | Modern spaces, light furniture |
| Duraseal Fruitwood | #B88057 | Medium Brown | Mixed styles, varied wood tones |
| Bona DriFast Jacobean | #523B30 | Dark Brown | Bold designs with contrast |
| Bona Nordic Seal | #E2DFD7 | Cool White | Simple, clean styles |
| Rubio Monocoat White 5% | #E6E2DD | Light White | Bright, open spaces |
These color codes show the basic color, but your actual floor might look different.
The final color is affected by the age of the wood, grain pattern, and how the stain is applied.
Coordinating Your Floor with Your Decor
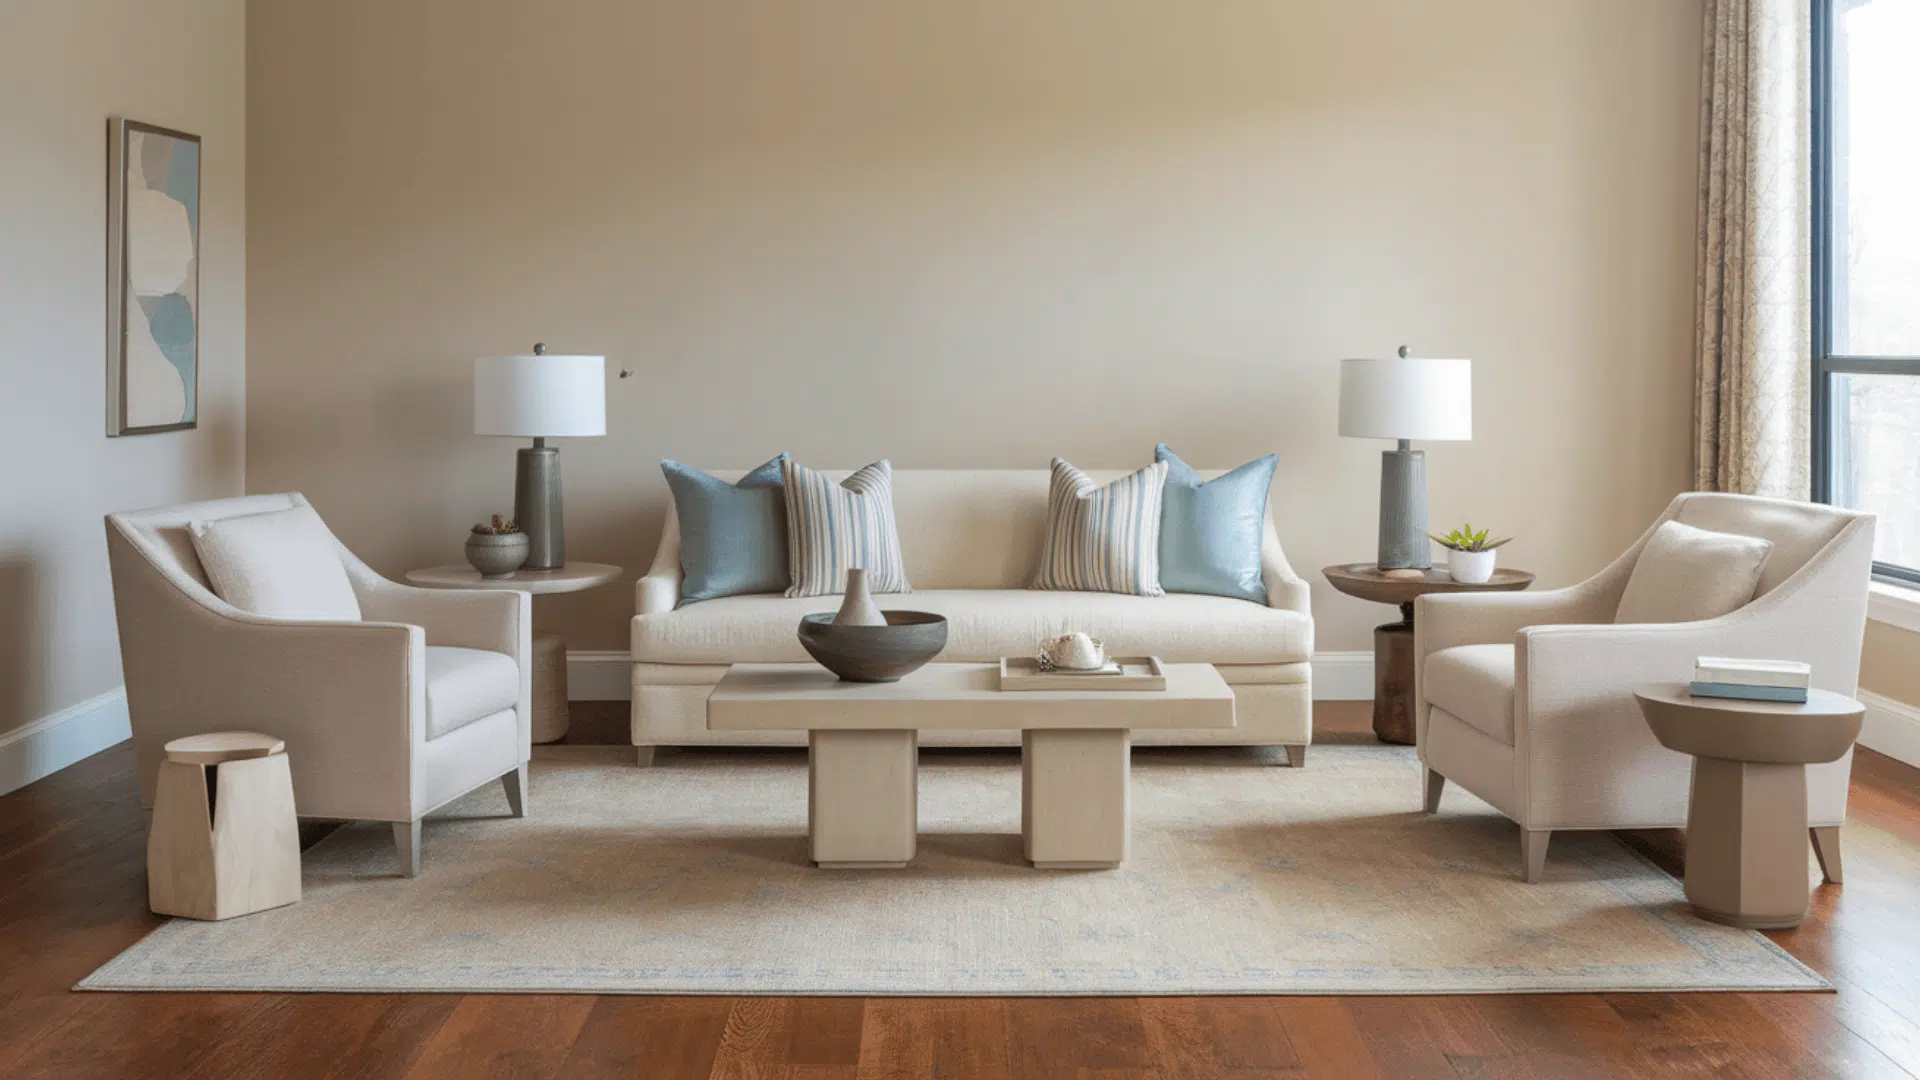
Choosing the right floor is more than just picking a material, it’s about setting the tone for your entire space.
The floor acts as a canvas, tying together your furniture, colors, and textures.
Whether you’re after a warm, rustic feel or a modern, sleek vibe, coordinating your flooring with your decor helps create a seamless, stylish home.
Warm vs Cool Tones in Stain

Choosing the right stain color can change how a room feels.
Some stains make a space feel cozy and rich.
Others can make it feel calm and open.
Each tone creates a different mood, and picking the right one can make a big difference in how your space looks.
Here’s a table comparing warm stains and cool stains:
| Characteristic | Warm Stains | Cool/Neutral Stains |
|---|---|---|
| Effect on Red Oak | Enhance natural warmth; may intensify orange/pink undertones | Reduce red tones; create a more updated, contemporary look |
| Example Products | Minwax Provincial, Early American, Fruitwood | Bona Nordic Seal, Minwax Classic Gray, custom white mixes |
| Room Feel | Cozy, traditional, rich, inviting | Modern, fresh, clean, contemporary |
| Undertones | Red, orange, amber | Green, blue, gray, white |
| Lighting Impact | Look more balanced in north-facing rooms; intensified in south-facing rooms. | Appear more neutral in various lighting conditions |
| Design Compatibility | Traditional, craftsman, colonial, rustic | Modern, Scandinavian, coastal, minimalist |
Warm amber or honey stains enhance red oak’s warmth but can intensify orange or pink undertones.
Cool or neutral stains with whitewash, gray, or green reduce red tones, creating a modern look for contemporary designs.
Mistakes to Avoid When Staining Red Oak
Staining red oak can bring out its natural beauty, but only if you do it right.
Small missteps can lead to blotchy finishes, unwanted tones, or poor adhesion.
Watch out for these common problems when staining your red oak floors:
- Putting Nordic Seal over oil stain: Nordic Seal should only be used as a first-layer sealer, not over oil stain. It won’t stick right and will look bad.
- Not checking different lighting: Always look at your test stain spots during the day and at night with lights on. The colors look very different depending on the light.
- Skipping the water-popping test: If you try water-popping (wetting the wood to open the grain), test it first. It can make the grain pattern much more visible all over your floor.
- Using oil-based clear sealers: These tend to turn orange over time, which makes red oak look even more orange or pink.
- Not sanding enough: If you don’t sand well or use the wrong sandpaper grit, the stain won’t soak in evenly and might show spots and marks.
By avoiding these common pitfalls, you can avoid costly mistakes and achieve the beautiful red oak finish you’re after.
A little prep and testing go a long way in making your floors truly shine.
Conclusion
Red oak floors are popular for their strength and bold grain.
However, many homeowners want to reduce the wood’s natural red and orange tones.
This guide explains how to pick and apply stains that soften those shades for a more modern look.
It covers the grain pattern, stain absorption, and how sunlight affects color over time.
It also lists mistakes to avoid, like using the wrong sealers or skipping sanding.
It matches floor colors with home decor by comparing tones and offering tips for styles like modern, coastal, and farmhouse.
Testing stains and using water-based products are key to long-lasting, balanced results.
Craft your space, create your story! Looking for more painting guides? Check out our related articles:
- Beginner’s Guide To Painting a Stone Fireplace from Scratch!
- How to Paint Linoleum Floors: A Beginner’s Guide
- Transform Your Space with Samplize Paint: A Complete Review

Alex Guerrero, a graduate with a Fine Arts degree from the Rhode Island School of Design, has been a visionary in the world of color and design for over 15 years. His professional journey began in the heart of the fashion industry in Milan, where he developed an acute sense for color harmonies and trends. Alex joined our team in 2018, offering fresh and innovative perspectives on color utilization in various spaces. Renowned for his ability to blend contemporary trends with timeless elegance. Outside of work, Alex is an accomplished painter and a volunteer art therapist, his artistic talents further enriching his professional insights.