Want a brighter kitchen?
Can lighting in kitchen spaces give you that perfect mix of style and function that every home cook needs.
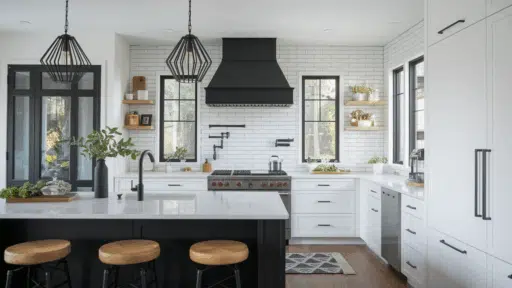
These hidden ceiling lights make your cooking area both visually appealing and functional.
Good lighting helps you chop vegetables safely, read recipes easily, and show off your kitchen to friends.
You’ll find simple, effective advice on can lighting in kitchen design, from spacing rules to fixture selection.
Soon you’ll have a perfectly lit kitchen that looks amazing and works even better!
What is Can Lighting
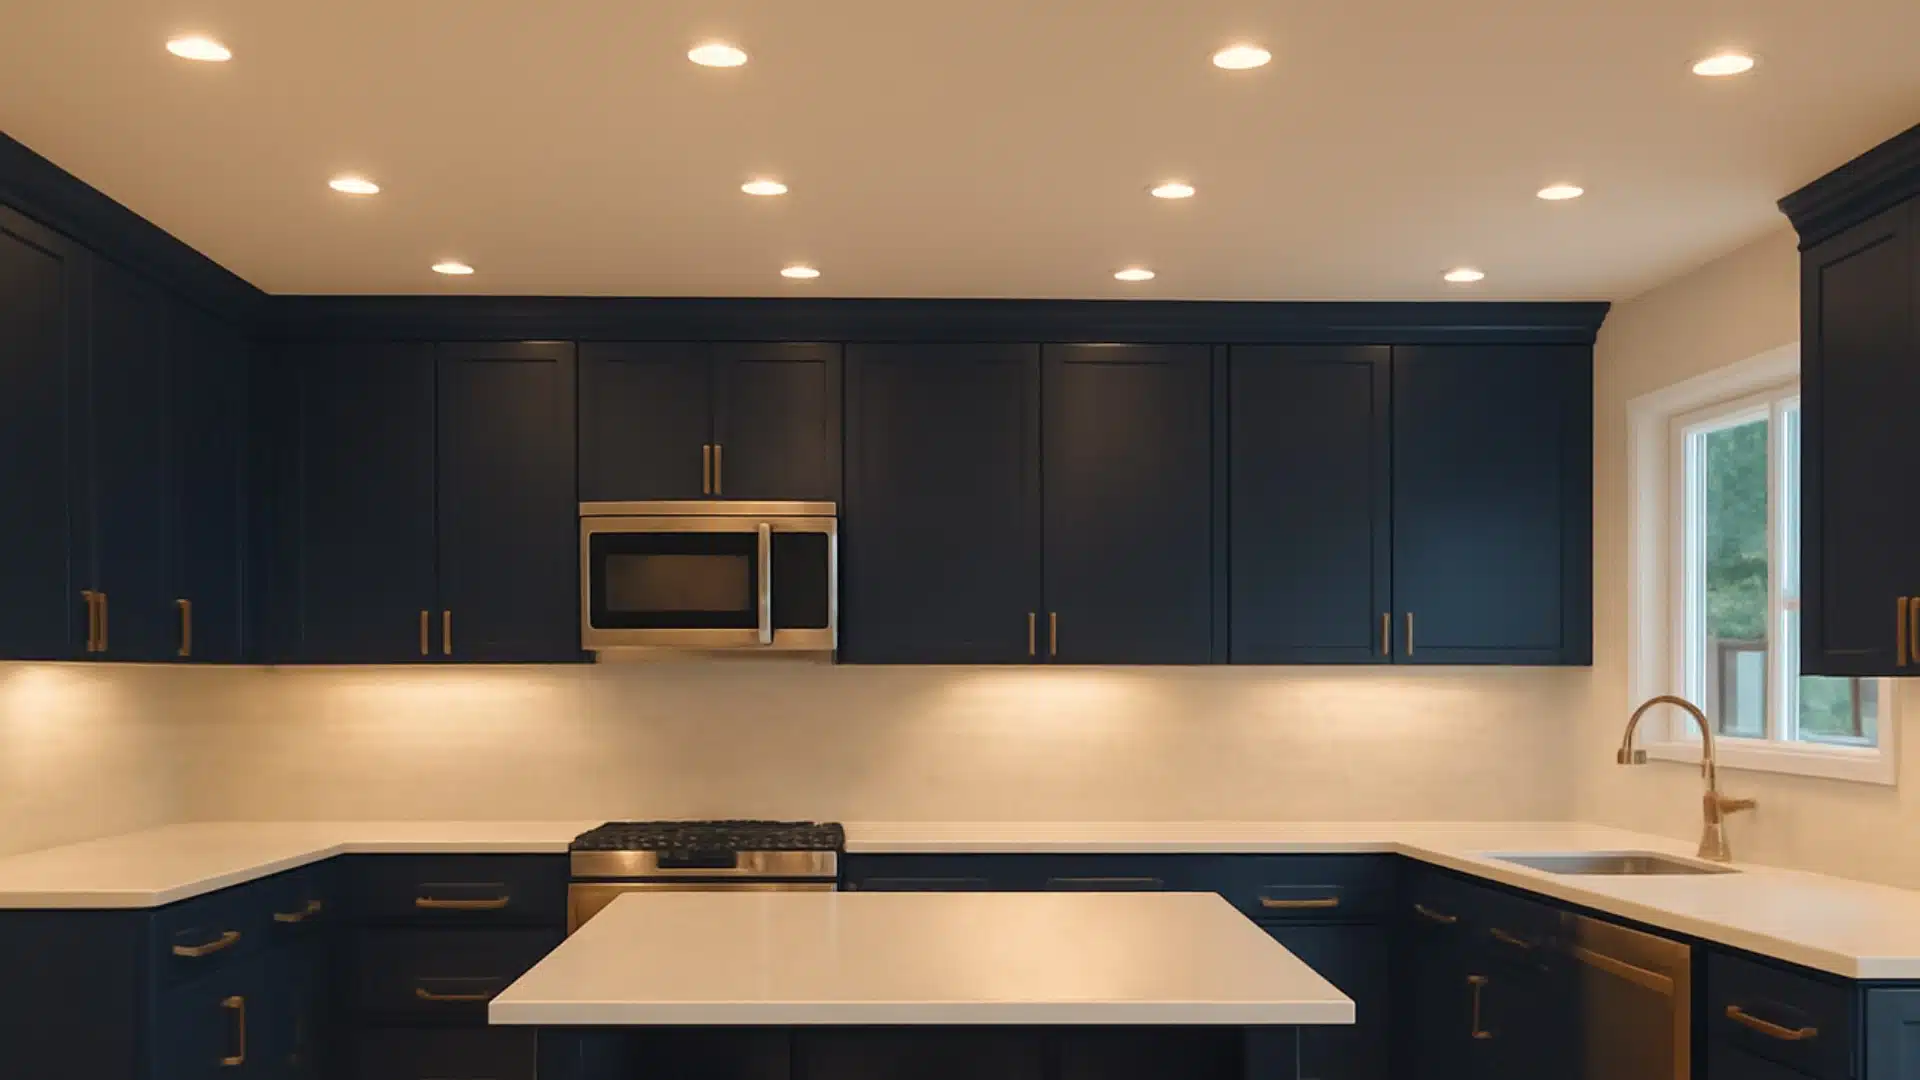
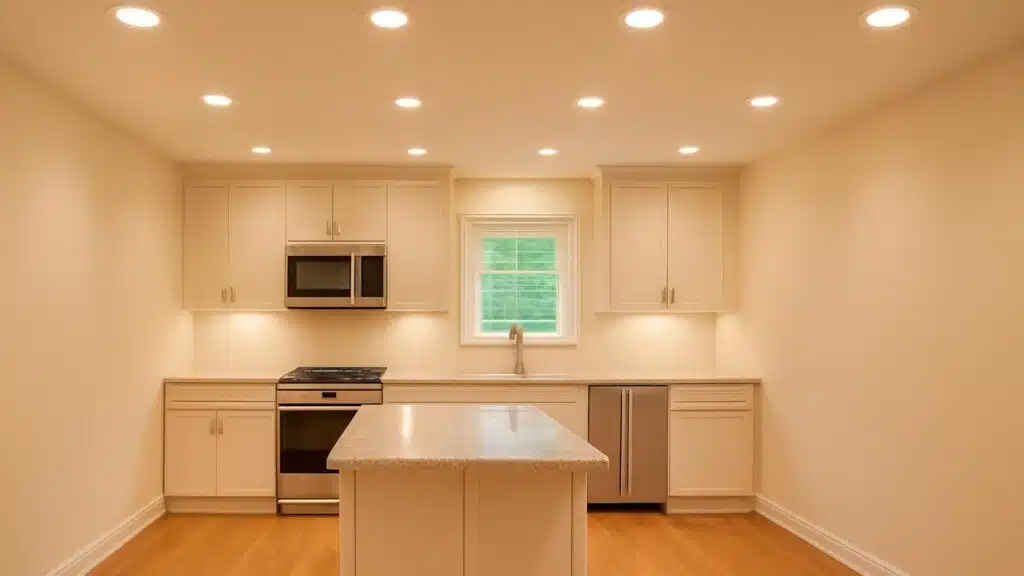
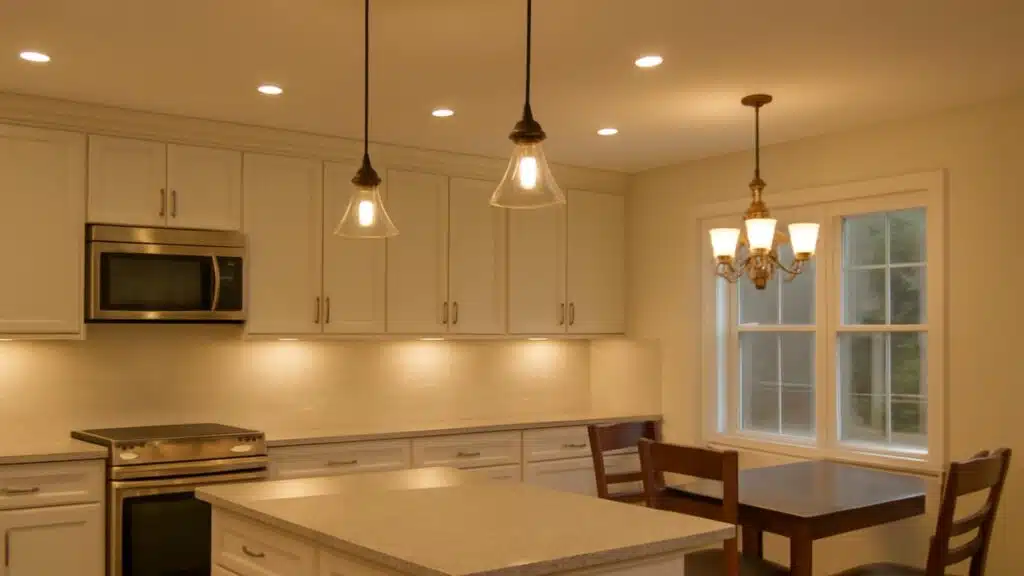
Can lighting, also called recessed lighting, sits flush with your ceiling.
It creates a clean look in your kitchen.
Each light has three main parts: the housing (the “can” that goes inside your ceiling), the trim (the visible edge around the light), and the bulb that fits inside.
These lights are perfect for kitchens because they don’t hang down from the ceiling.
They save valuable space. They make rooms with low ceilings feel bigger.
Homeowners love can lights because they work with any kitchen style.
You can place them over work areas or across the ceiling for overall brightness.
They offer both practical lighting and style for your kitchen.
Why Recessed Can Lighting Works Well in Kitchens
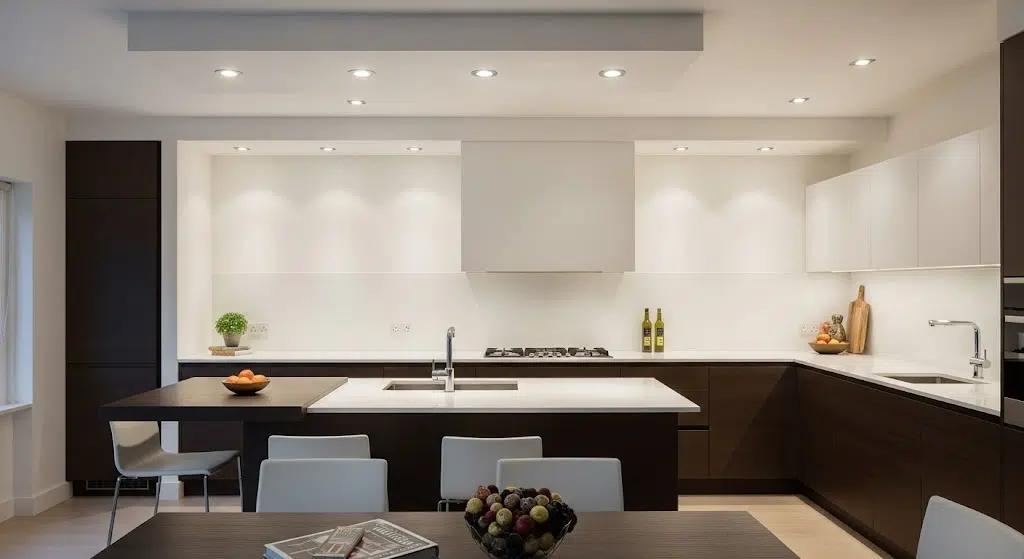
Recessed can lighting is perfect for kitchens because it creates a clean, modern appearance. These lights sit flush with the ceiling, so they don’t take up extra space or hang down.
This makes them ideal for kitchens with low ceilings where pendant lights might feel too crowded.
You can easily adjust the beam direction to highlight specific areas. Point them toward countertops for cooking tasks or toward the dining area for meals.
This flexibility lets you control where light goes exactly where you need it most.
Recessed lights work great as part of layered lighting systems. You can combine them with under-cabinet lights and pendant lights over islands.
This creates different lighting zones for cooking, eating, and entertaining in your kitchen.
Key Types of Kitchen Lighting You’ll Need
Your kitchen requires various types of lighting to function properly. Each type has a specific job to make cooking and living easier.
- General lighting: Brightens your whole kitchen with even light spread.
- Task lighting: Provides focused light over work areas like counters and the stove.
- Accent lighting: Highlights special features like cabinets or artwork.
- Decorative lighting: Adds style but provides minimal actual light.
Using these four types together creates the perfect lighting setup. This combination makes your kitchen both functional and beautiful.
Planning Your Kitchen Lighting Layout
Create a lighting plan before installing any lights. This saves you time and money later.
Look at your kitchen’s size and shape first.
Think about how you use different parts of your kitchen.
Good planning helps you put the right lights in the right spots.
1. Task Areas
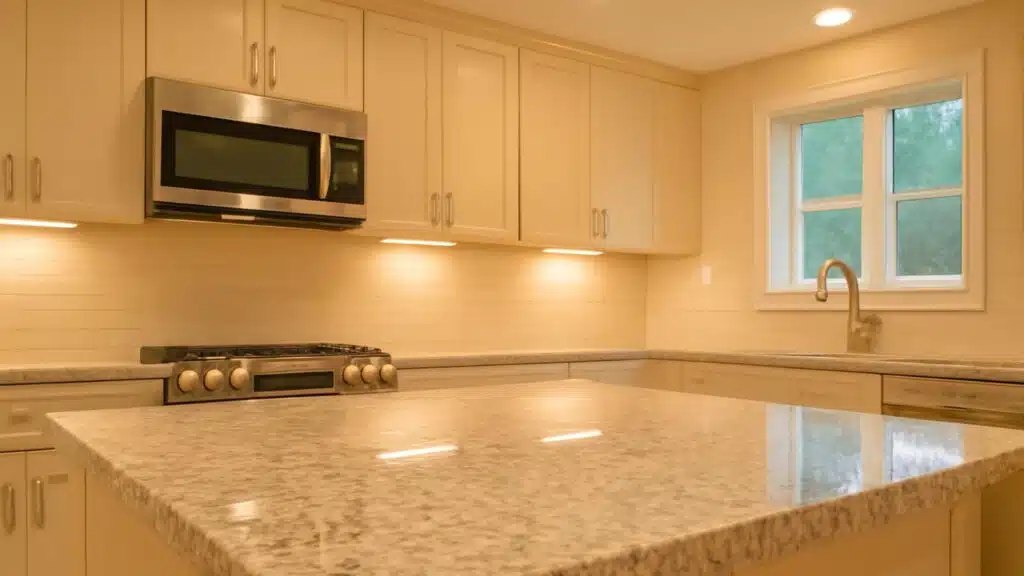
Put lights over places where you work in the kitchen.
Your countertops need bright light for cutting and cooking.
Islands need their own lights so you can see while preparing food.
Don’t forget the sink, and you need good light to wash dishes.
Task lighting helps you work safely and makes cooking easier.
2. Overall Lighting
Your kitchen needs enough light so you can see everywhere.
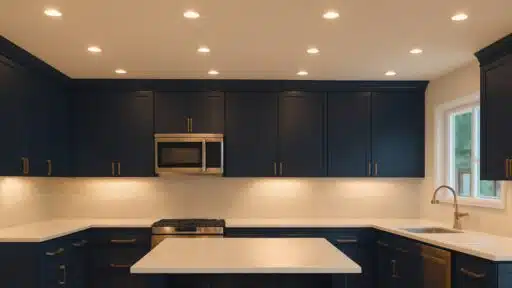
Space your can lights evenly across the ceiling.
For most kitchens, place lights about 4 feet apart.
This creates a comfortable brightness for everyday use.
Good overall lighting helps prevent accidents and makes your kitchen feel welcoming.
3. Accent Lighting
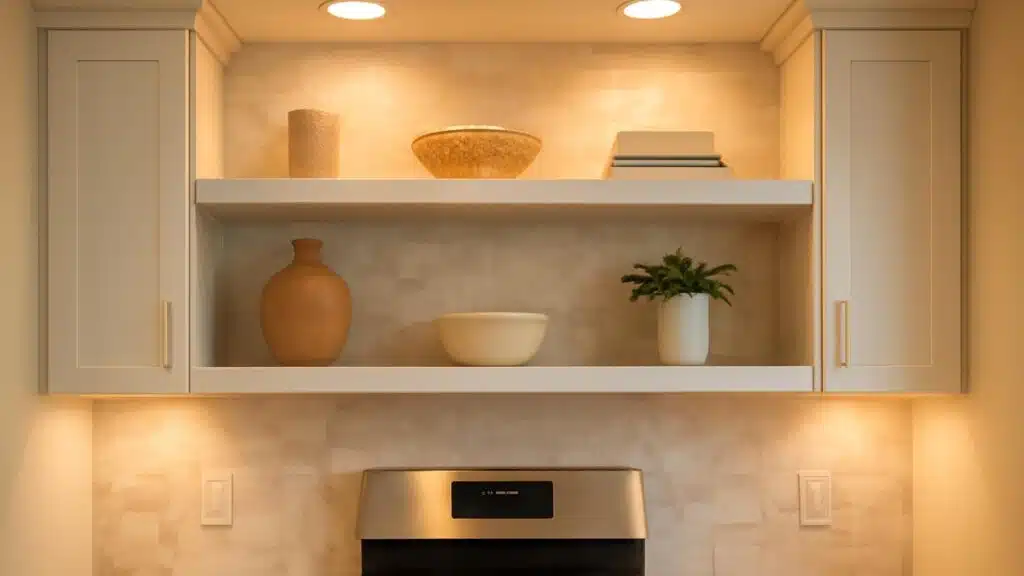
Use some can lights to show off special parts of your kitchen.
Aim lights at your beautiful backsplash or open shelves.
This creates visual interest and highlights the best features of your kitchen.
Accent lighting adds depth and makes your kitchen look more stylish.
You can use dimmer switches to adjust the brightness.
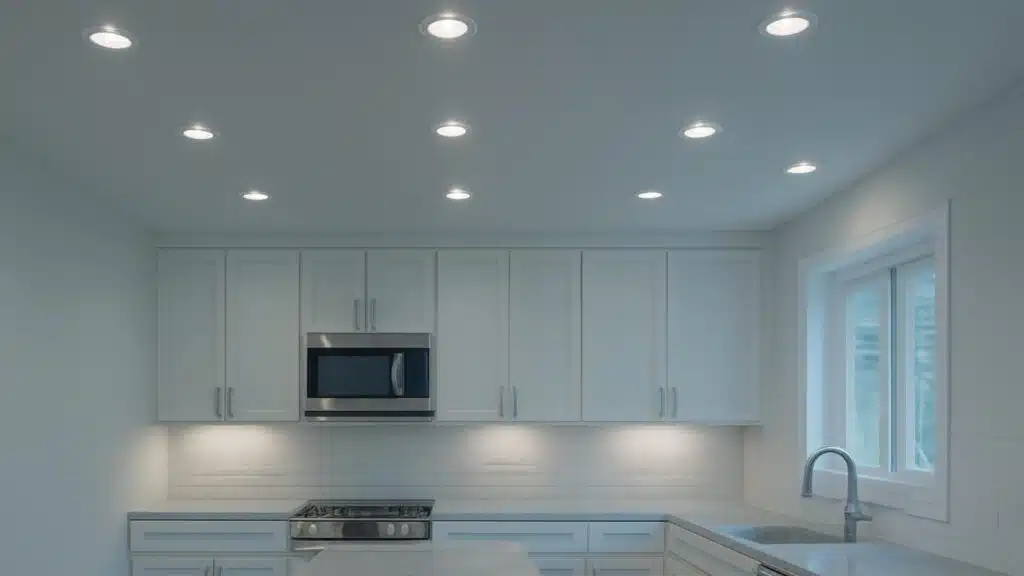
Key Placement Rules for Can Lighting
Follow these simple rules when placing can lights in your kitchen.
These tips will help you avoid common mistakes and create a well-lit space that works for all your cooking needs.
- Space your can lights 4-6 feet apart for even lighting.
- Place lights at least 12-18 inches away from walls to prevent harsh shadows.
- Install lights 2 feet in front of the cabinets to light the countertops properly.
- Use more lights in work areas, such as over islands and sinks.
- Mix can lights with other types of lighting to eliminate shadows.
Remember that good lighting makes your kitchen both functional and beautiful.
Take time to plan your layout carefully before cutting any holes in your ceiling.
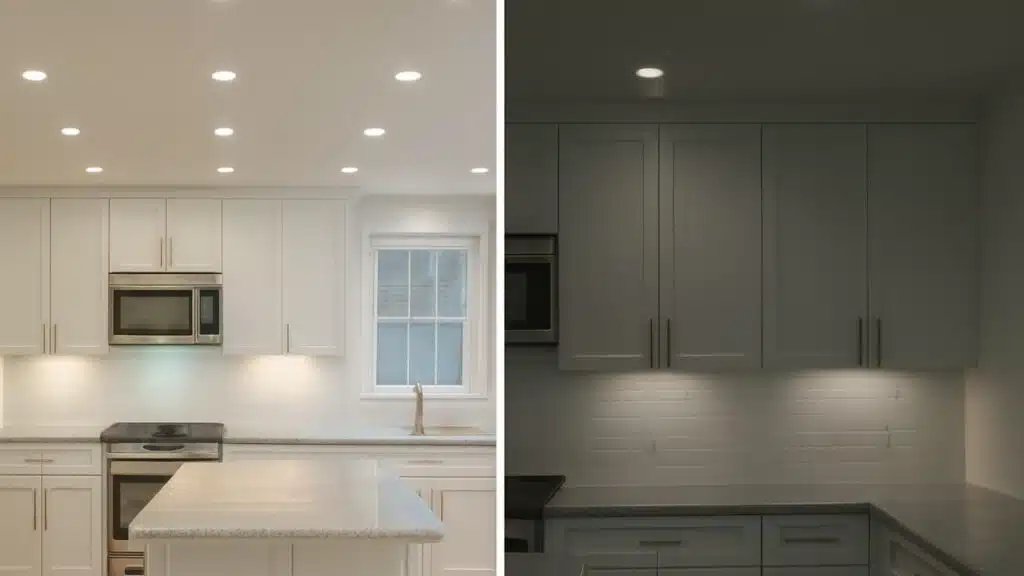
How Many Can Lights Do You Need?
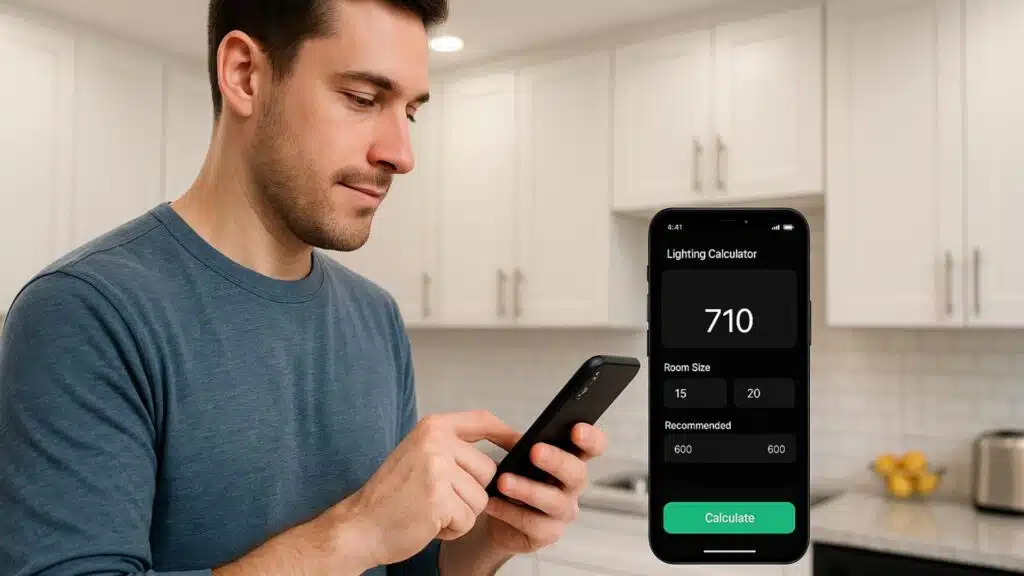
The number of can lights you need depends on the size of your kitchen.
A simple rule is to multiply your kitchen’s square footage by 1.5 to get the total wattage needed.
For a 100-square-foot kitchen, you’d need about 150 watts.
Divide this by the wattage of each light to find how many lights you need.
For example, if using 15-watt LED bulbs, you’d need 10 lights.
Online lighting calculators can help you plan better; just enter your room dimensions.
Small kitchens (under 100 sq ft) typically need 4-6 lights, medium kitchens (100-150 sq ft) need 6-10 lights.
Large kitchens (over 150 sq ft) might need 10-15 lights or more.
Best Practices for Aesthetic Appeal
Making your can lights look good is just as important as putting them in the right spots.
These simple tips will help your kitchen lighting look stylish and intentional.
- Line up your lights in straight rows for a clean, organized look.
- Match light trim colors to your cabinet handles and faucets.
- Choose warm white bulbs (2700K-3000K) for a cozy feel in traditional kitchens.
- Pick cool white bulbs (3500K-4000K) for modern kitchens and better task lighting.
- Use dimmers to adjust the mood and brightness for different times of day.
Remember that beautiful lighting enhances your whole kitchen.
Take time to consider both function and style when planning your can lights.
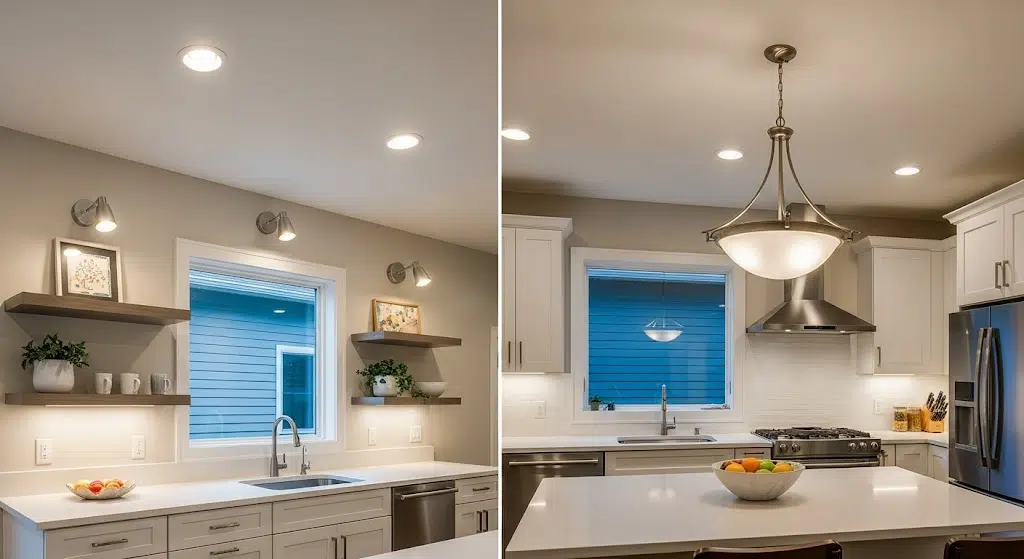
Combining Can Lighting with Other Fixtures
Can lights work best when used with other types of lights in your kitchen.
Start with can lights for your main ceiling lighting, then add different fixtures for a complete look.
Hang pendant lights over islands or sinks to create focal points and add a touch of style.
Use under-cabinet lights to brighten countertops and eliminate shadows while cooking.
If you have a dining area in your kitchen, a small chandelier can add charm.
This mix of lighting is called “layered lighting” and gives you options for different activities.
Keep the metal finishes similar across all your fixtures for a pulled-together look.
Use separate switches for each type of light to control the mood for cooking, dining, or entertaining.
Common Mistakes to Avoid
When installing can lights in your kitchen, watch out for these common errors.
Many homeowners make these mistakes, ending up with lighting that doesn’t work well.
- Too many lights make your kitchen feel like a grocery store, bright and uncomfortable.
- Too few lights create dark spots that make cooking harder and less safe.
- Lights too close to walls waste light and create harsh shadows.
- Lights directly overhead cause annoying glare while you work.
- No dimmers means you can’t adjust the light for different times of day.
Take your time with planning to avoid these problems.
It’s much easier to get it right the first time than to fix lighting mistakes later.
Summing It Up
Good can lighting in kitchen spaces does more than help you see; it creates a warm, welcoming heart for your home.
Take time to plan your layout, pick the right fixtures, and place them properly.
Don’t rush the process, and consider asking for professional help if needed.
With the right can lighting in kitchen areas, you’ll enjoy cooking more and see better.
Your space will work beautifully for everything from morning coffee to dinner parties.
Your well-lit kitchen will become everyone’s favorite room!
Planning your kitchen lighting is just the start.
Explore our home improvementblogs for more smart upgrades that brighten every corner of your home!

Tommy Hardy, an alumnus of the Georgia Institute of Technology with a degree in Mechanical Engineering, has been a go-to figure in residential upkeep and innovation for over 18 years. His career commenced in a leading home appliance manufacturing company, where he mastered the intricacies of household systems. Joining our platform in 2020, Tommy quickly became a reader favorite for his practical and easy-to-follow guides. He took the helm of our DIY section in 2019, consistently delivering content that empowers homeowners. Beyond his professional pursuits, Tommy is a passionate gardener and enjoys woodworking, skills enhancing his hands-on approach to home care.