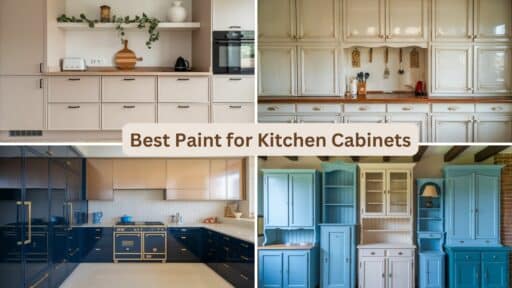
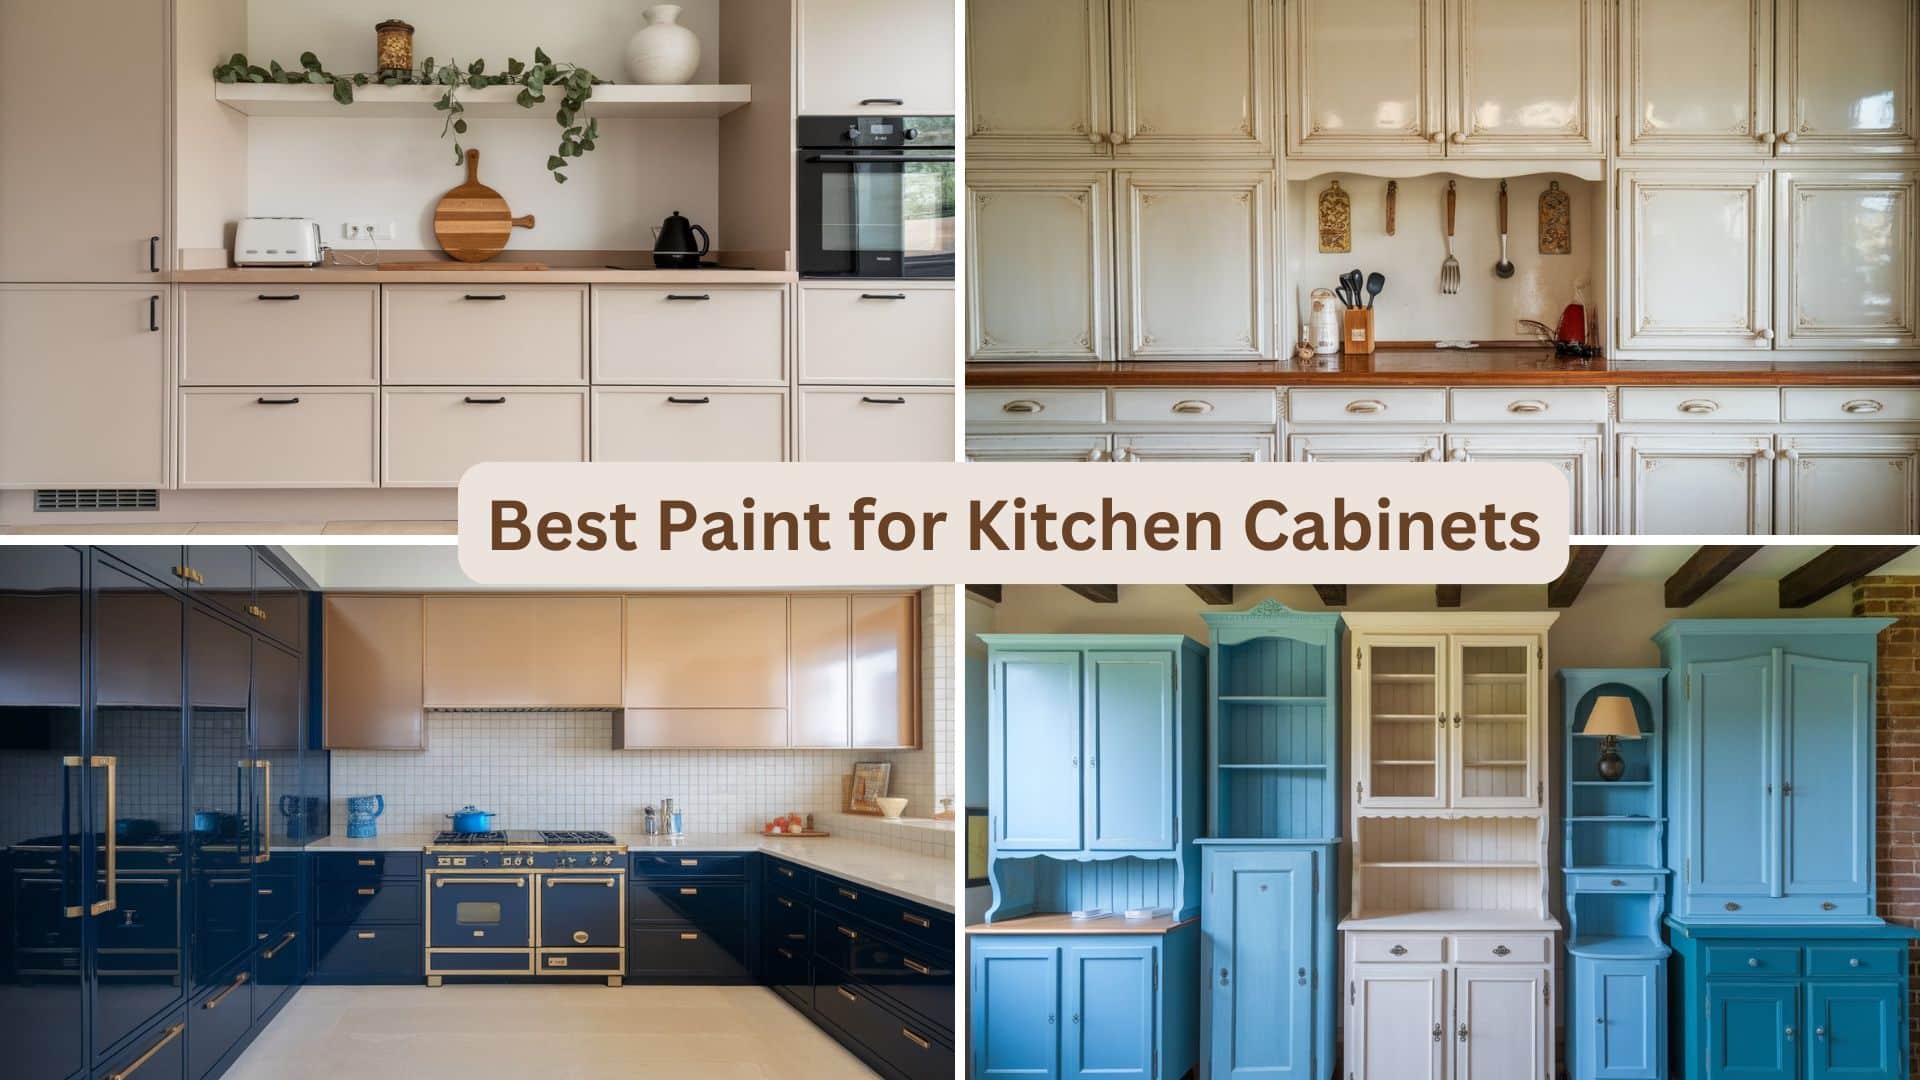
Painting your kitchen cabinets gives you a brand-new look without the big cost of replacing them. It saves you thousands of dollars while creating less waste for our planet.
When you paint cabinets, you can finish the job in days instead of weeks. Your kitchen stays usable, and you avoid the mess of a full remodel.
For kitchen cabinets, you need special paint that can handle:
- Grease and cooking splashes
- Cleaning with soap and water
- Bumps from pots and pans
- Temperature changes
- Frequent use
The best cabinet paints are tough and dry to a hard finish. They should go on smooth without brush marks. Many people choose paints without strong smells that are safe to use near food.
Key Factors to Consider When Choosing Cabinet Paint

1. Durability and Resistance
- Look for paints labeled “cabinet” or “furniture” grade
- Must stand up to kitchen heat, moisture, and food splatter
- Should resist chipping, scratching, and yellowing over time
- Brands with acrylic or alkyd formulas typically perform best
2. Application Methods: Brush, Roller, or Sprayer
Brushes are good for detail work and small spaces. Rollers cover large areas quickly but may leave texture. Sprayers give the smoothest finish but require more setup and skill.
3. Choosing the Right Finish and Sheen
- Satin and semi-gloss are most popular for cabinets
- Higher sheens (semi-gloss, gloss) are easier to clean
- Lower sheens (eggshell, satin) hide imperfections better
- Remember that glossier finishes show fingerprints more readily
4. VOCs, Low Odor, and Environmental Considerations
Modern cabinet paints offer low-VOC formulas that release fewer harmful chemicals into your home. These options typically have less odor, making them better for kitchens where food is prepared.
Water-based options are easier to clean up and better for the environment while providing excellent durability for most households.
Best Overall – Sherwin Williams Emerald Urethane Trim Enamel
| PROS | CONS |
|---|---|
| Sticks well to cabinets with less sanding | More expensive than many other paints |
| Dries quickly between coats | Limited availability in some stores |
| Doesn’t yellow over time | Requires thorough mixing before use |
| Available in many colors | It needs multiple thin coats for the best results |
| Low odor during application | It can show brush marks if applied incorrectly |
Best Budget Option – Dutch Boy Cabinet, Door, and Trim Alkyd Enamel
Dutch Boy Cabinet, Door, and Trim Alkyd Enamel offer excellent value for the price with a self-leveling formula that helps minimize brush marks.
It provides good coverage with fewer coats, resists household cleaning products well, and has low splatter during application. These advantages make it a solid,budget-friendly option for cabinet painting projects.
However, this paint does have some drawbacks. It has a longer dry time between coats than premium options and comes in a limited color selection compared to higher-end brands.
It may require more prep work for proper adhesion, can yellow slightly over time in high-sun areas, and has a stronger odor during application and curing.
Despite these limitations, it remains a good choice for budget-conscious DIYers willing to work around these minor inconveniences.
Best for Ease of Use – General Finishes Milk Paint
| PROS | CONS |
|---|---|
| Minimal prep work required – often, no primer is needed | More expensive per ounce than traditional paints |
| Self-levels for a smooth finish without brush marks | Limited color selection (though it can be mixed) |
| Fast drying time between coats | It may need a topcoat for maximum durability |
| Little to no odor during the application | It is not as resistant to moisture as urethane paints |
| It can be applied with a brush, roller, or spray | Thicker consistency can be challenging for beginners |
Best Runner-Up – Benjamin Moore Advance
Benjamin Moore Advance offers a water-based formula with oil-based durability and excellent self-leveling for a smooth finish.
It provides superior adhesion to various cabinet surfaces, has low VOC and minimal odor, and resists yellowing while maintaining color over time. These qualities make it a strong runner-up choice for kitchen cabinet painting projects.
On the downside, Benjamin Moore Advance has a very long cure time (up to 30 days for full hardness) and requires longer dry time between coats (16-24 hours).
It is priced higher than many competitors, can sag or drip if applied too thickly, and is temperature-sensitive during application.
Despite these limitations, many professionals and serious DIYers find the exceptional finish quality worth the extra patience and cost required.
Best Value Runner-Up – Insl-X Cabinet Coat Urethane Acrylic
| PROS | CONS |
|---|---|
| The urethane-acrylic formula offers enhanced durability | It may require more coats for full coverage compared to premium options |
| Self-leveling properties help minimize brush marks | Limited color selection compared to other brands |
| Low odor and low VOC formulation | It can be prone to sagging if applied too thick |
| Quick drying time between coats (approximately 6 hours) | Longer full cure time (5-7 days) before heavy use |
| Excellent price-to-performance ratio | It may not adhere as well to glossy surfaces without proper prep |
| Professional-grade quality at an accessible price point | Less stain resistance than some higher-end alternatives |
Best Sheens for Kitchen Cabinets
1. High Gloss and Gloss

High gloss and gloss finishes create a stunning, mirror-like surface that instantly brightens kitchen spaces. These sheens reflect maximum light, making even smaller kitchens appear more spacious and vibrant.
Why are Gloss Finishes Ideal?
- It provides a modern, sleek aesthetic
- Enhances cabinet detail and architectural features
- Creates a dramatic visual impact that stands out
Durability and Cleaning Ease
- Highly resistant to moisture, grease, and food stains
- Exceptionally smooth surface prevents dirt accumulation
- Wipes clean with minimal effort using standard cleaners
- Withstands repeated scrubbing without dulling
- Ideal for high-traffic kitchens and households with children
2. Semi-Gloss and Satin

Common Choice for Kitchens: Benefits and Aesthetics
Semi-gloss and satin finishes strike the perfect balance between grace and practicality for kitchen cabinets.
These mid-range sheens offer a subtle luster, highlighting cabinet details without the intense reflection of glossier options.
They create a warm, inviting atmosphere while maintaining a refined appearance that complements various kitchen styles, from traditional to transitional.
Cleaning and Maintaining Satin and Semi-Gloss Finishes
These finishes are remarkably forgiving when it comes to maintenance.
Their moderate sheen effectively hides minor imperfections, fingerprints, and small scratches that would be immediately visible on higher-gloss surfaces.
Cleaning requires minimal effort—usually just a damp microfiber cloth with mild soap for regular maintenance.
Unlike higher-gloss finishes, they don’t show water spots as prominently, making them practical for busy family kitchens where perfection isn’t always possible.
3. Matte Finish

Best for a Soft, Non-Reflective Look
Matte finishes provide a sophisticated, understated grace to kitchen cabinets with a velvety, non-reflective appearance.
This contemporary option creates a sense of depth and warmth while effectively concealing surface imperfections and fingerprints.
Ideal for modern, farmhouse, and minimalist kitchen designs, matte cabinets offer a subtle contrast against shiny appliances and glossy countertops, creating visual interest without overwhelming the space.
Durability Concerns and Maintenance Tips
While beautiful, matte finishes can be more susceptible to visible staining and may show wear in high-traffic areas sooner than glossier alternatives.
To maintain their beauty, promptly wipe spills with a soft, damp cloth and avoid abrasive cleaners that can damage the finish.
Consider applying a specialized matte protective sealer for high-use areas, and use microfiber cloths for regular dusting to prevent fine scratches.
With proper care, matte cabinets can maintain their distinctive appearance for years while providing a trendy, sophisticated aesthetic.
Proper Cabinet Preparation for a Long-Lasting Paint Job

Why is Priming a Must Before Painting Cabinets?
Priming creates the essential foundation for a durable cabinet paint job. It promotes proper adhesion between the cabinet surface and paint, preventing peeling and chipping.
A quality primer also seals porous materials, blocks stains, and tannins from bleeding through, and provides a uniform base for better topcoat coverage with fewer coats.
Skipping this critical step often leads to premature paint failure, especially on high-use kitchen cabinets.
Best Primers for Various Cabinet Materials
- Wood cabinets: Oil-based or shellac primers (like Zinsser BIN) block tannin bleed-through and grain-raising
- Laminate/melamine: Adhesion primers specifically designed for slick surfaces (like INSL-X Stix)
- Metal cabinets: Rust-inhibiting primers containing zinc or iron oxide
- Painted cabinets: Bonding primers that grip existing finishes without sanding (like XIM UMA)
How to Properly Prep Your Cabinet Surfaces
- Remove all hardware, doors, and drawers
- Clean thoroughly with a degreaser to remove cooking oils and residue
- Fill holes or imperfections with wood filler
- Sand all surfaces with medium-grit sandpaper (120-150) to create texture
- Progress to finer-grit sandpaper (220) for smoothness
- Remove all dust with a tack cloth
- Apply primer in thin, even coats
- Sand lightly between primer coats with very fine-grit sandpaper (320)
- Allow proper drying time according to the manufacturer’s directions
A Step-by-Step Kitchen Cabinet Painting Guide
1. Preparation

- Remove all hardware, doors, and drawers
- Label each piece with numbered tape for easy reassembly
- Clean all surfaces thoroughly with TSP or degreasing cleaner
- Repair damages with wood filler and sand when dry
- Sand all surfaces with 120-grit sandpaper, then progress to 220-grit
- Wipe down with a tack cloth to remove all dust particles
2. Priming

- Apply a thin, even coat of high-quality primer using a brush or roller
- Allow the primer to dry completely (typically 24 hours)
- Lightly sand with 320-grit sandpaper
- Remove dust with a tack cloth before painting
3. Painting

- Stir paint thoroughly; never shake to avoid bubbles
- Apply the first coat of cabinet paint in thin, even layers
- Allow to dry completely according to the manufacturer’s instructions
- Lightly sand with very fine sandpaper (400-grit)
- Apply a second coat using the same technique
- Allow the final coat to cure for at least 3-7 days before reinstalling
How to use Brushes, Rollers, or Sprayers for Optimal Results?

1. Brushes
- Use high-quality synthetic bristle brushes for water-based paints
- Apply the paint in the direction of the wood grain
- Best for detailed areas, cabinet edges, and small surfaces
- Work quickly to avoid visible brush strokes
2. Rollers
- Choose foam or microfiber rollers with 1/4-inch nap
- Use for large, flat cabinet surfaces like doors and drawer fronts
- Apply with light pressure in overlapping “W” patterns
- Follow immediately with light, straight passes to eliminate texture
3. Sprayers
- HVLP sprayers produce the smoothest, most professional finish
- Thin paint according to sprayer specifications
- Maintain a consistent distance (8-10 inches) from surface
- Apply using steady, overlapping passes
- Requires careful masking and ventilation
Tips for Achieving a Smooth, Factory-like Finish

- Work in a dust-free environment with good lighting
- Strain paint before use to remove any particles
- Add paint conditioner/extender to slow drying time and reduce brush marks
- Apply multiple thin coats rather than fewer thick ones
- Position doors horizontally while painting to minimize drips
- Allow proper curing time before handling or reassembling
- Use felt pads on cabinet doors to prevent sticking during curing
- Consider final protective topcoat for high-traffic kitchens
Suggestions for Maintaining Painted Kitchen Cabinets
1. How to Keep Your Newly Painted Cabinets Looking Fresh
Install soft-close hardware to prevent chipping. Use drawer liners to avoid scratches. Apply furniture wax annually for extra protection. Keep the kitchen well-ventilated to minimize grease buildup.
2. Regular Cleaning Routines for Painted Surfaces
Clean with a damp microfiber cloth and mild soap. Avoid harsh chemicals and abrasives. Wipe spills immediately. Use melamine foam erasers for stubborn spots.
3. When to Touch Up Or Repaint for Lasting Durability
Inspect every six months, especially high-traffic areas. Address small chips promptly. Consider repainting doors every 5-7 years, sooner for areas near stoves or sinks.
Conclusion
Picking the right paint makes kitchen cabinets look good and last long. We talked about many good paints you can use.
Remember that getting ready is very important – clean, sand, and use primer first.
Use gloss paint for shiny kitchens. For a not-so-shiny look, use satin or semi-gloss. Matte paint looks nice but can be harder to clean.
The best paints don’t get dirty easily and can be cleaned often. Brands like Benjamin Moore, Sherwin-Williams, and Insl-X make good cabinet paints.
Take your time when painting. Use thin coats and let them dry well. Good tools like brushes or rollers help make the paint look smooth.
Good paint and care make your cabinets look nice for many years.

