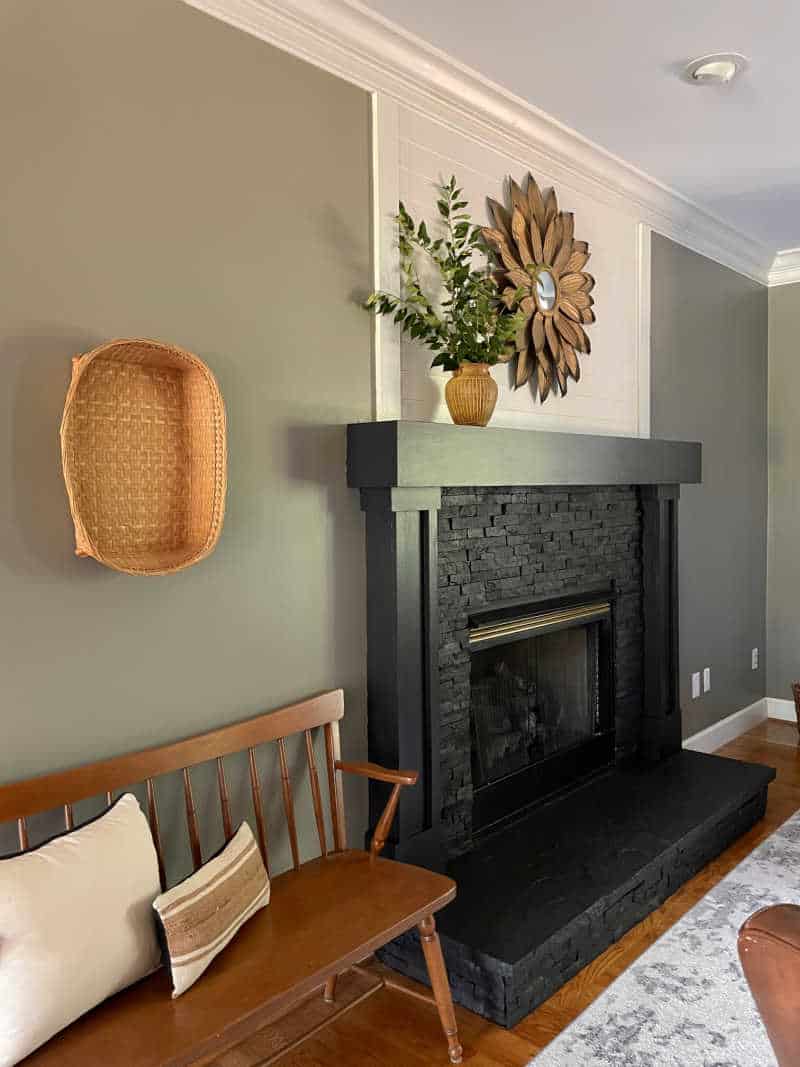
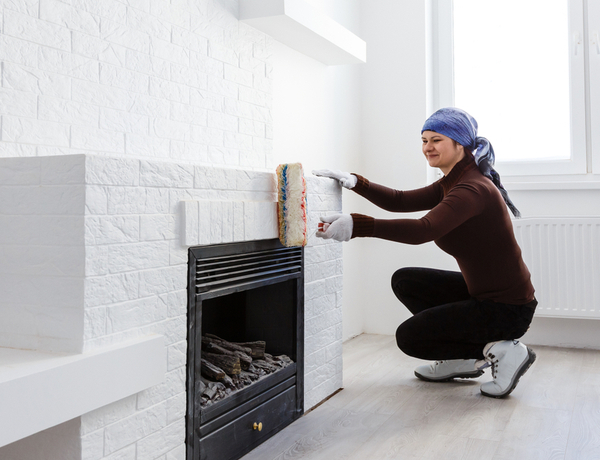
The fireplace is the place in your house where you sit and spend time with your family. If you are looking to uplift it or paint it to make your time more fun and engaging, then the blog below is for you. In the blog, we will explore ways to paint your fire tiles and make sure that they turn out in the way you always imagined.
Whether you’re trying to change the outdated tile, cover up unsightly stains, or simply want a new look, it’s a DIY-friendly process. The blog below will take you through the essential steps, materials, and techniques required to successfully paint fireplace tile, letting you enjoy a revamped and stylish focal point in your home.
Different Materials You Need to Paint Fireplace Tile
1. Cleaner to Clean Your Tiles
Before you start painting, it’s important to thoroughly clean the fireplace tile to remove any kind of dirt, soot, or residue. A specialized tile cleaner is needed for this task as it makes sure that you have a clean surface for the paint to stick onto.
2. Sandpaper to Sand off All the Dirt
To make sure that proper paint is stuck to your tiles, use medium-grit sandpaper (typically 120-220 grit) to roughen up the tile’s surface. This step creates a slightly textured surface that helps the primer bond effectively and makes sure that your paint stays longer on the tiles.
3. Painter’s Tape for Finishing
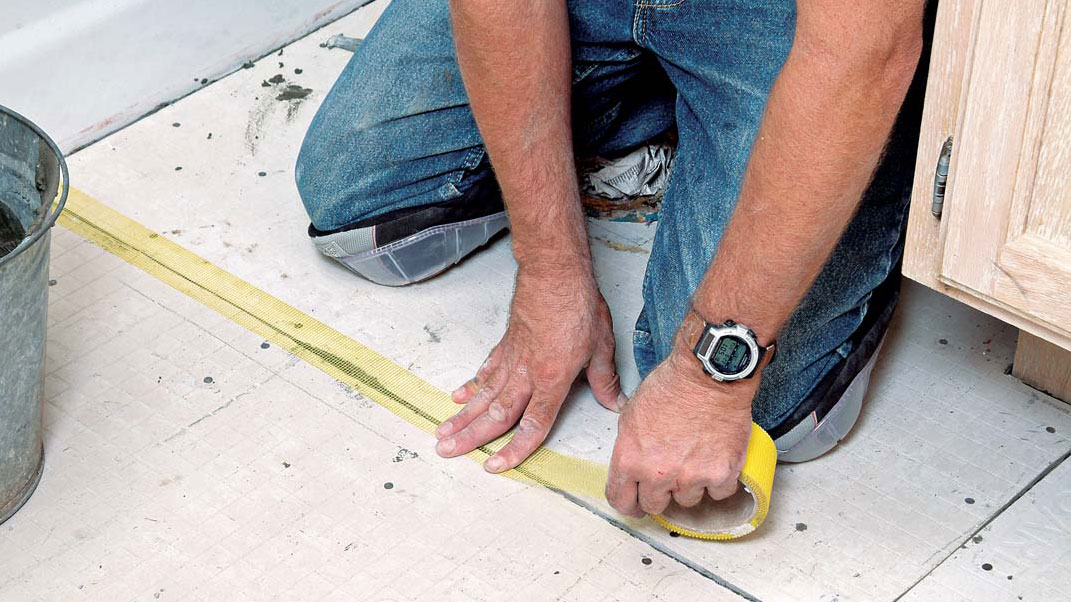
When you are painting, there is a lot of chance that the paint might go to places that do not require paint. To protect these places, use tape that can Protect adjacent surfaces from accidental paint splatters by using painter’s tape. This will also give your painting a professionally finished look.
4. Shield for Protection
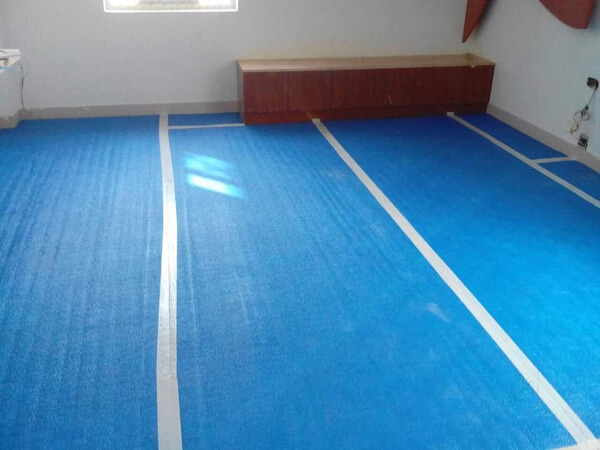
Another way to protect your big objects that you can not cover with tape is by using plastic sheeting that will shield your floor and nearby areas from paint spills and drips. This will reduce your work while cleaning. It might look like extra work, but trust us, this shield would be a game-changer for you.
5. Primer
A primer is the first layer of paint, and you should invest in a high-quality bonding primer designed especially for tile surfaces. The primer is important for creating a strong bond between the paint and the tile, ensuring long-lasting results. The base should always be strong, and this primer will ensure that the base is strong.
6. Paint of Your Choice
One of the best things about painting your own fireplace is that you get to choose your own paint color, and isn’t that exciting? Paint fireplace tile by selecting a heat-resistant paint specifically made for use on fireplaces or stoves, and look at the vibe that would be changing around your house.
7. Paintbrushes and/or Rollers

When you sit to paint your fireplace tiles, you will need paintbrushes and rollers for applying both the primer and paint. Choose brushes that are perfect for minute work and tight spaces, while rollers help achieve smooth, even coverage in larger areas.
8. Paint Tray and Liners
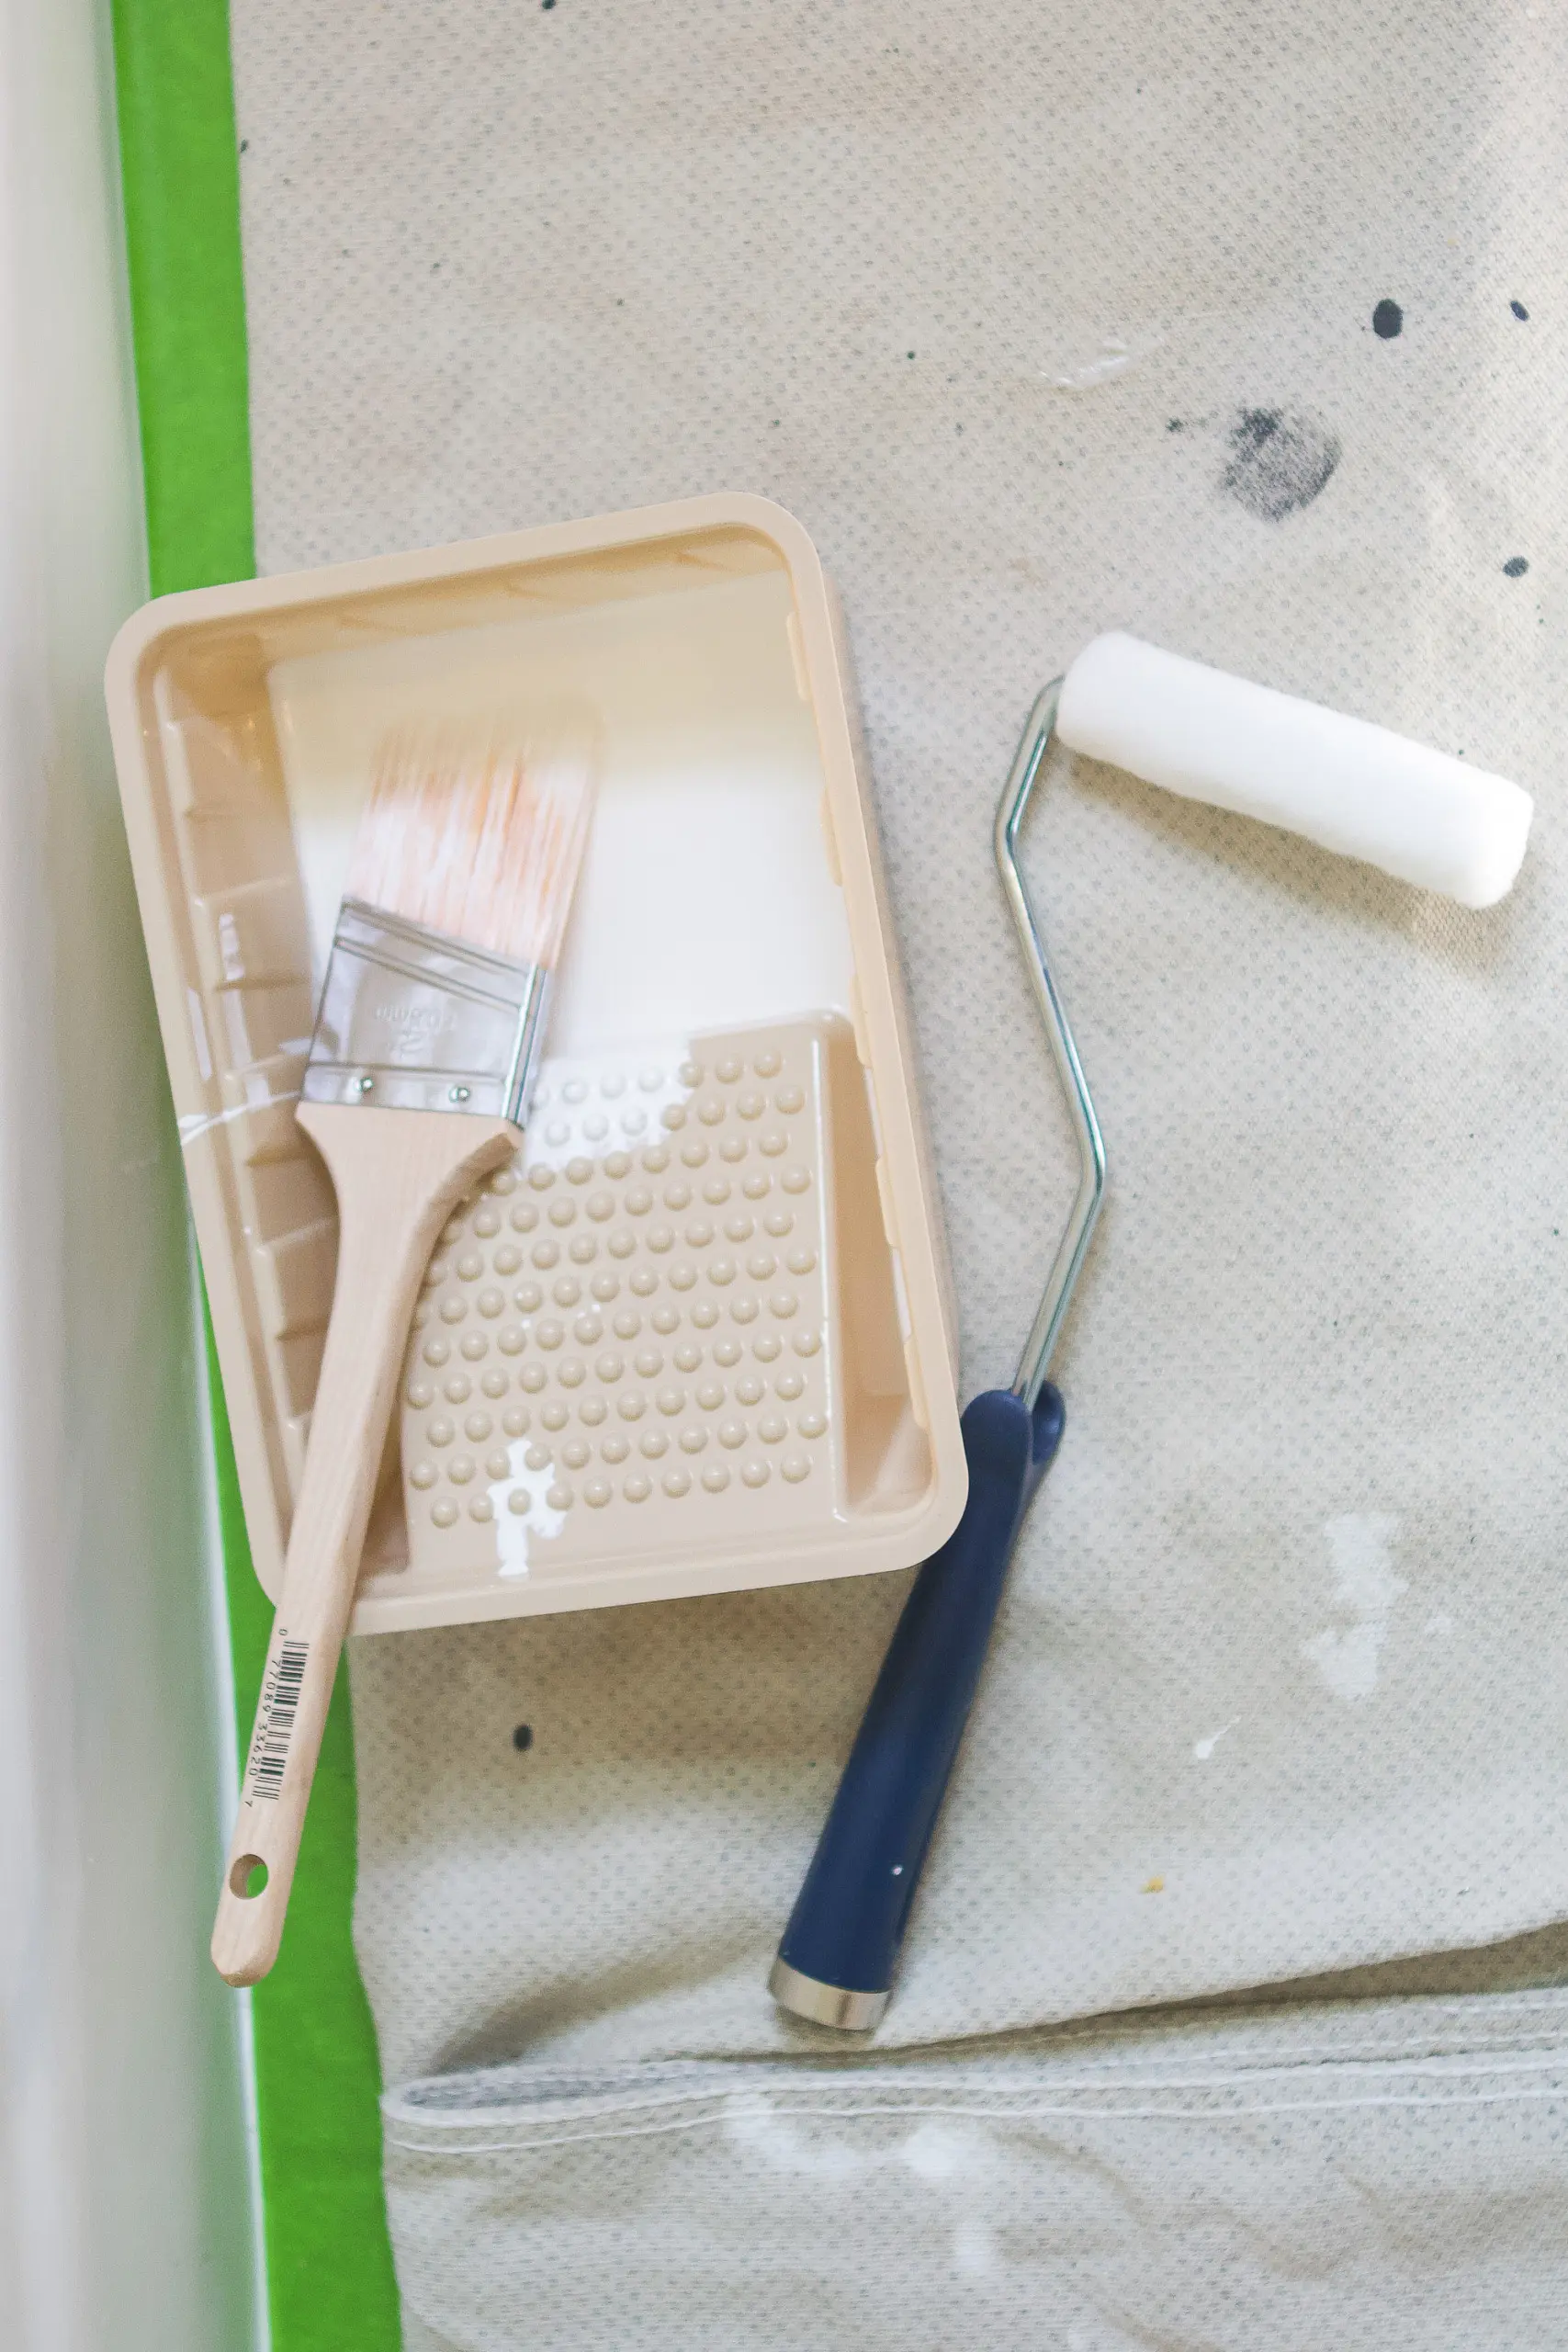
A paint tray with disposable liners makes it convenient to hold and apply the paint. This is a convenient way to paint your fireplace, it is also messy-free as once you are done using the tray you can just discard it and go on as you want to.
9. Clean Cloth
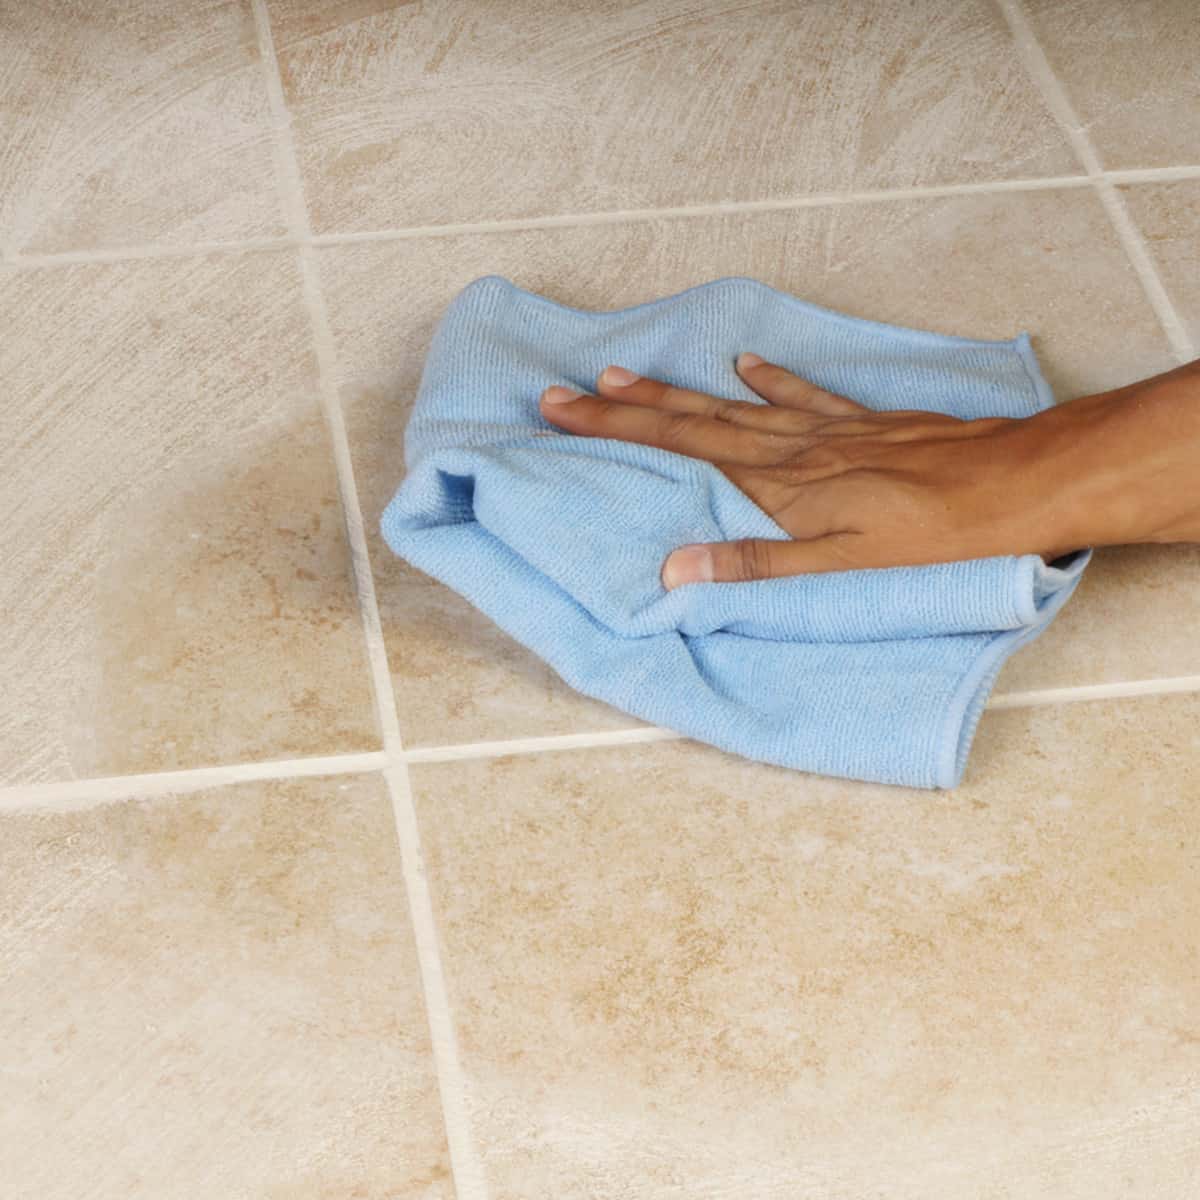
You will need a clean cloth while painting your fireplace. After sanding and cleaning the tile, use a clean cloth or sponge to wipe away any residual dust or cleaning residue. This step might look overdone, but it is very important for your fireplace as it makes the place look shiner and better.
10. Mask for Protection
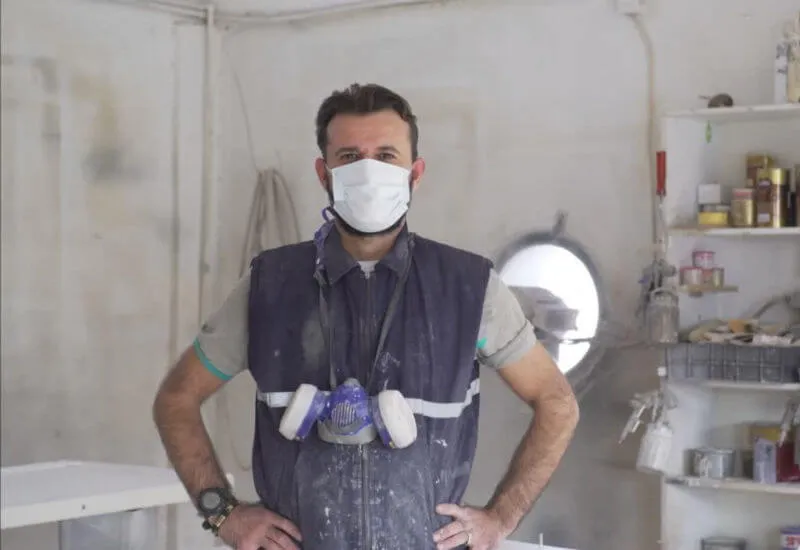
Paint can be harmful to your respiratory health. To prevent this, you should wear a respirator mask when working with paint and primer. It will protect you from inhaling fumes and dust particles.
10. Gloves
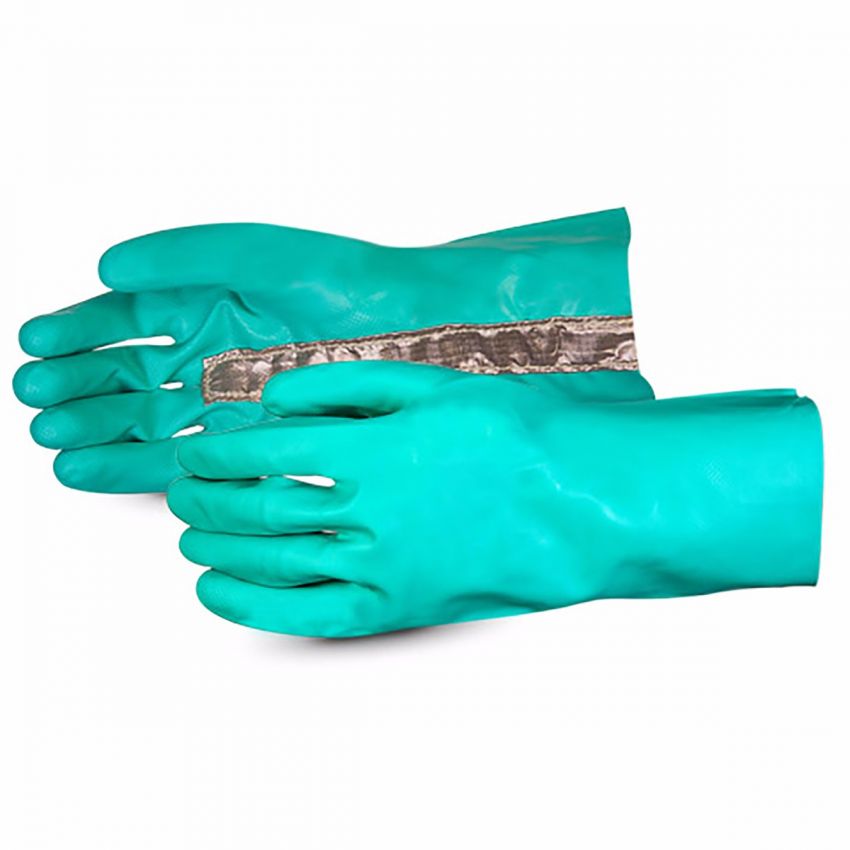
Wear gloves while painting. This will help you protect your hands from potential skin irritation caused by chemicals in the cleaning products and paints. Gloves will keep your hands clean during the painting and will also prevent any kind of medical emergency.
How to Paint Fireplace Tile
Step 1: Prepare the Area
The very first step to paint fireplace tile is to start by removing any furniture or decorative items from the area near the fireplace. This will give you space to work and prevent these items from getting accidentally ruined with paint. After that, take the important step of protecting your floor and surrounding areas, lay down drop cloths or plastic sheeting to catch any paint drips or spills, ensuring that your flooring and adjacent surfaces remain clean and undamaged during the process.
You should also open windows or use fans to ensure good airflow in the room. Adequate ventilation helps dissipate paint fumes and speeds up drying times. It’s important for your comfort and safety throughout the project.
Step 2: Wipe off the Tiles
Clean the tiles before you start to paint them by cleaning the fireplace tile thoroughly. Over time, fireplace tiles can accumulate dirt, soot, and residue, which can hinder paint adhesion.
Use tile cleaner on the tile surface, ensuring complete coverage. Use a scrub brush or a cloth to scrub the tile to clean it perfectly. Pay close attention to any particular stains or deposits. Clean the tile thoroughly with clean water to remove all traces of the cleaner.
After cleaning the tiles, let them dry. Adequate drying time is crucial for achieving a durable and long-lasting finish on your fireplace tile. Once the tile is dry, you can proceed to the next stage of the project, which involves sanding the tile surface.
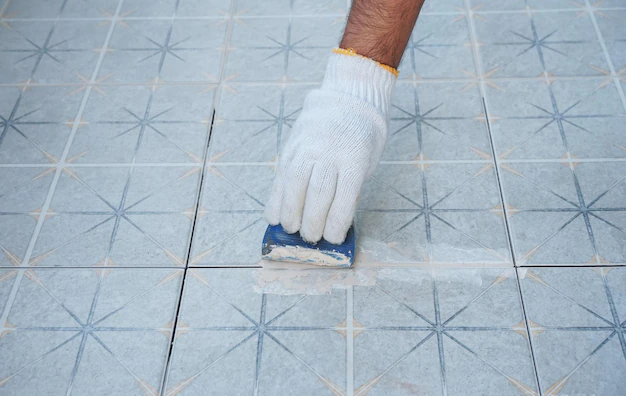
Step 3: Sand the Tile
Paint fireplace tile by sanding the tile is an important step in preparing the surface for paint. This process creates a slightly rough texture on the tile, uplifting the adhesion of the primer and paint. Start off by using medium-grit sandpaper, typically in the range of 120 to 220 grit. Then, sand the entire tile surface, working with small sections at a time. The goal is not to remove the tile’s finish but to tide it up slightly. This provides a better surface for the primer to grip onto. Be thorough but gentle to avoid damaging the tile.
As you sand, dust and dust will be generated. Wipe down the tile with a clean, damp cloth or sponge after sanding each section. This step removes any loose particles and prepares the tile for the next step.
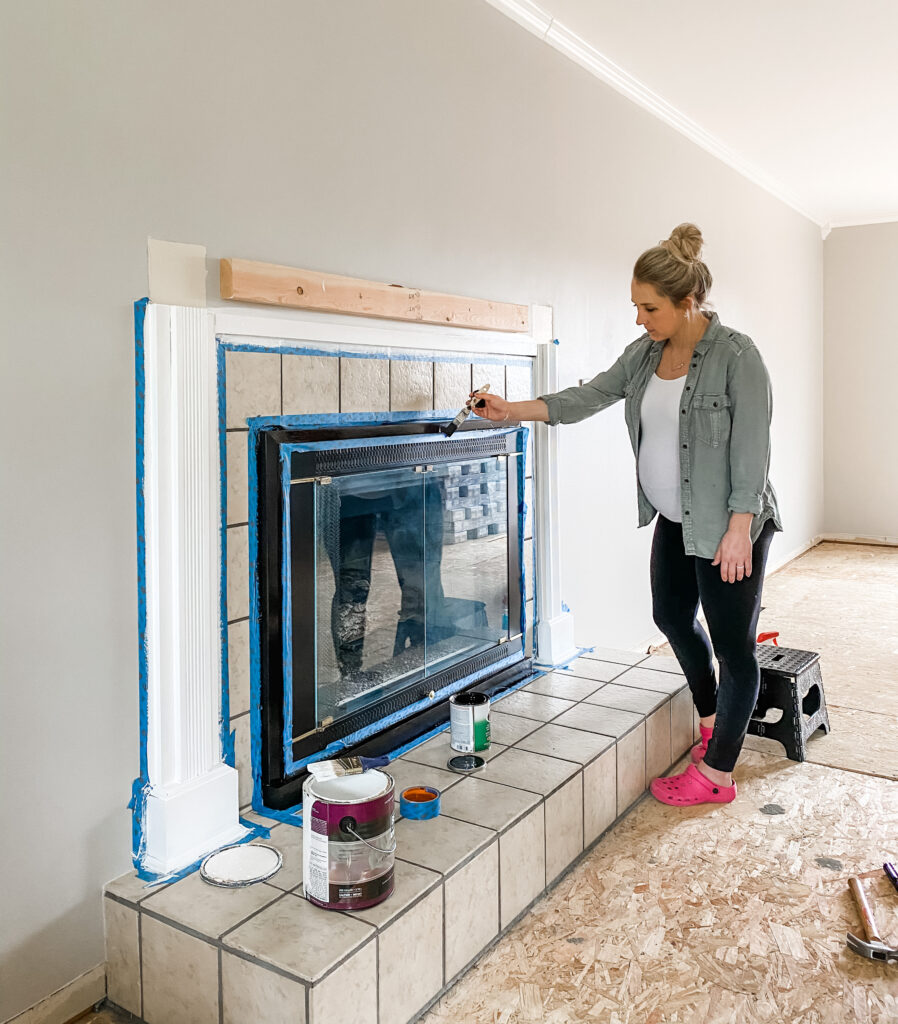
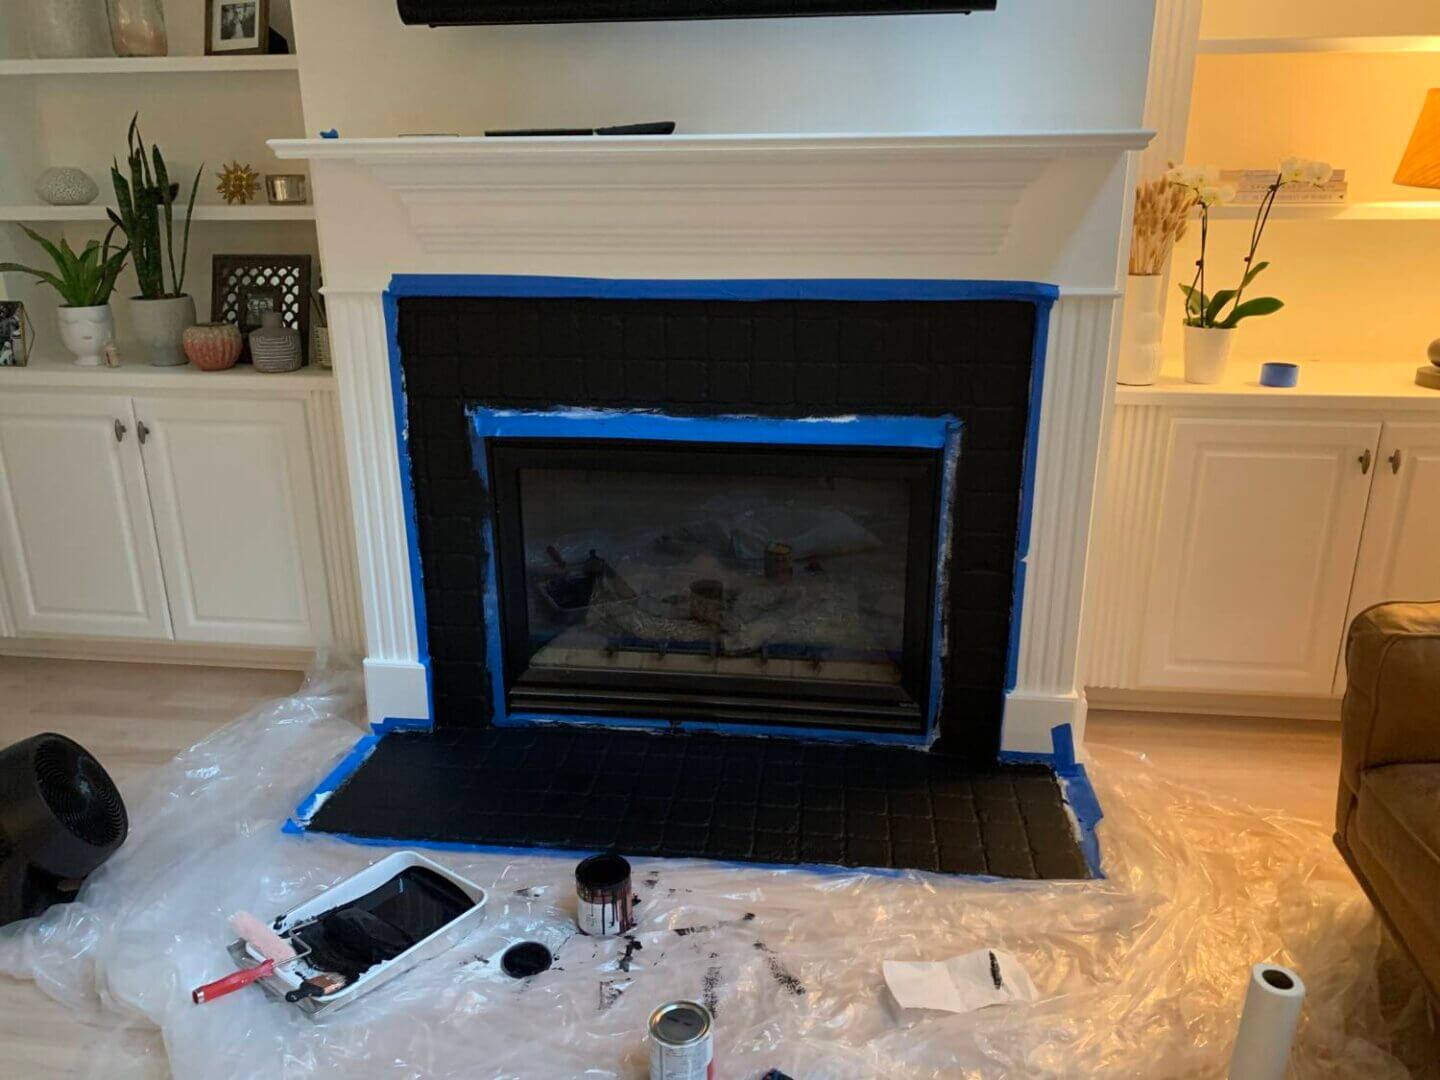
Step 4: Tape off Surrounding Areas
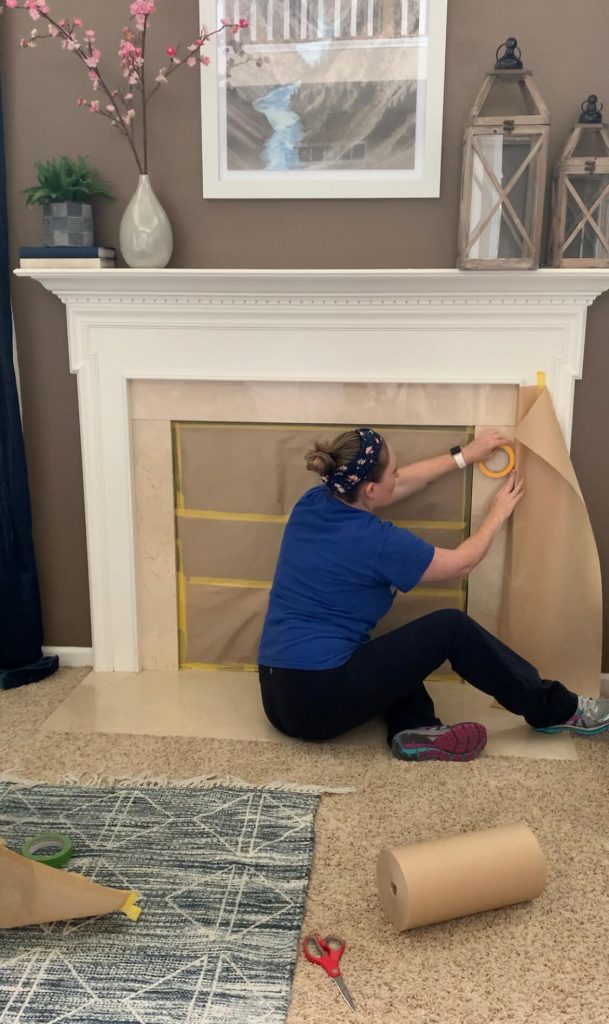
Taping off the surrounding areas is an important step to ensure a clean and professional finish for your fireplace tile painting project. It prevents unintended paint from reaching surfaces like the mantel, walls, or adjacent tiles. Start by carefully applying painter’s tape along the edges of these surfaces, creating clean and precise boundaries. Be smart in your application to avoid any gaps or overlaps in the tape that could allow paint to seep through. Also, ensure that the tape adheres firmly to the surfaces you’re protecting.
Take your time during this step to make sure that all the areas you want to keep paint-free are properly covered. This step will make your cleaning process easy.
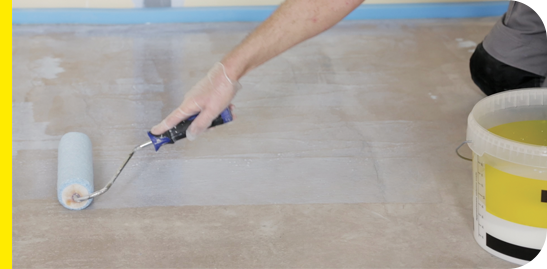
Step 5: Apply Primer
Applying the primer is a critical step in the process of painting fireplace tile. The primer creates a strong bond between the tile surface and the paint. Choose high-quality bonding primers made for tile surfaces. This type of primer is formulated to promote adhesion and prevent the paint from peeling or chipping over time. It’s available in both oil-based and water-based varieties, so select the one that suits your preferences.
To apply the primer, you can use either a paintbrush or a roller, depending on the size and area of the tile surface. Ensure that you cover the entire tile evenly, working in manageable sections to prevent the primer from drying too quickly. Pay special attention to any grout lines, as they should also receive a coat of primer.
After applying the primer, allow it to dry thoroughly according to the manufacturer’s instructions. Usually, this drying period ranges from a few hours to overnight.
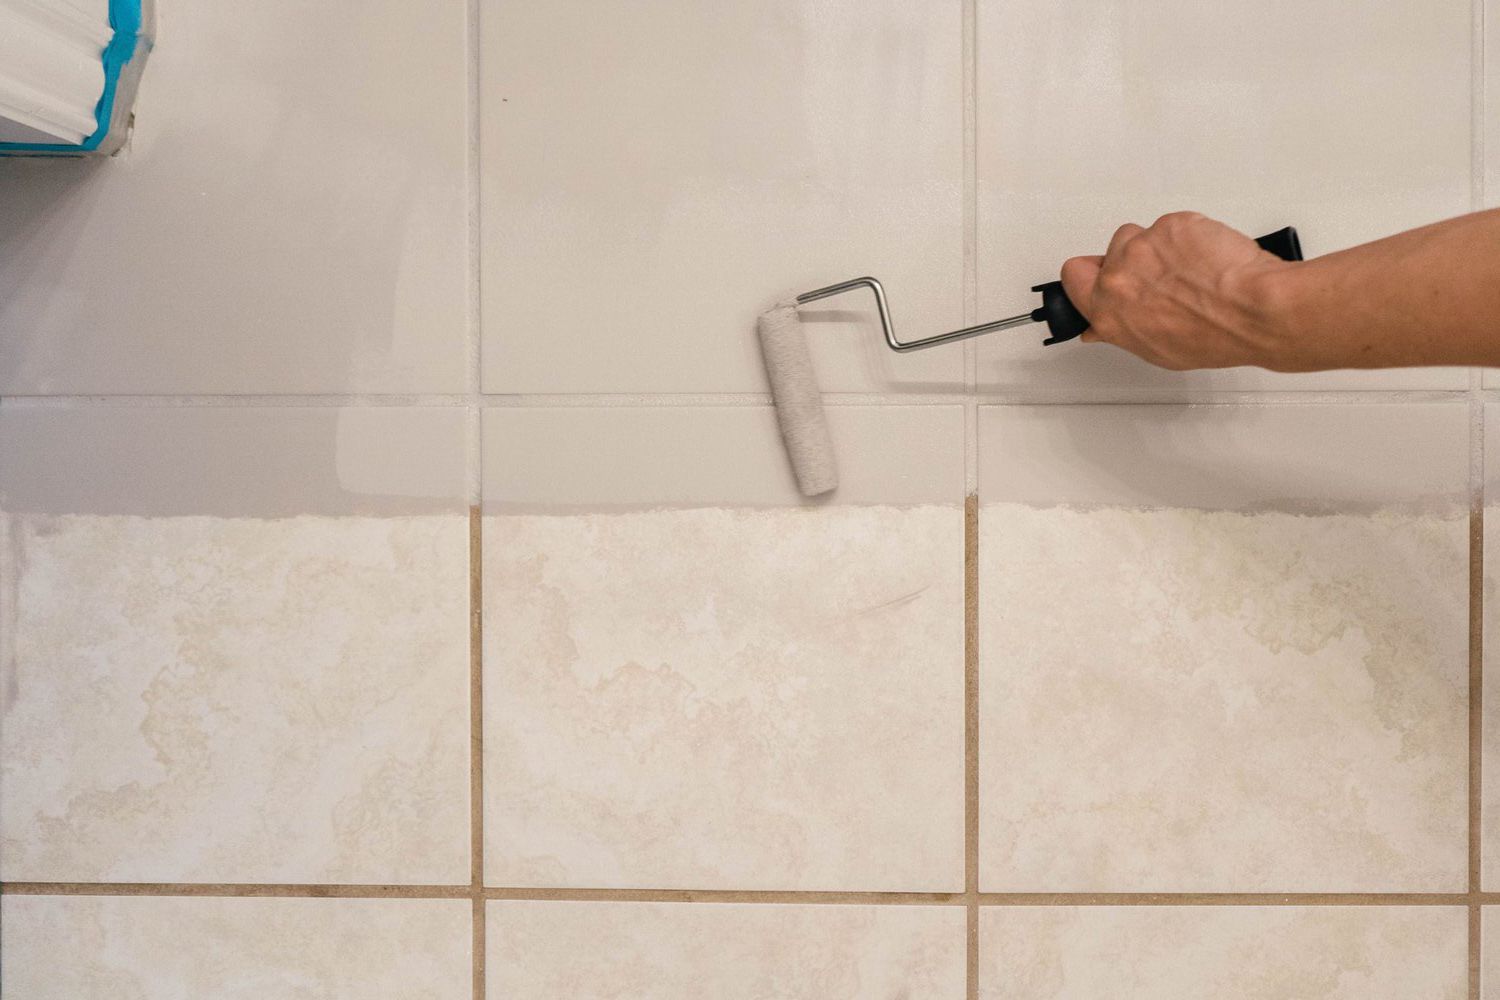
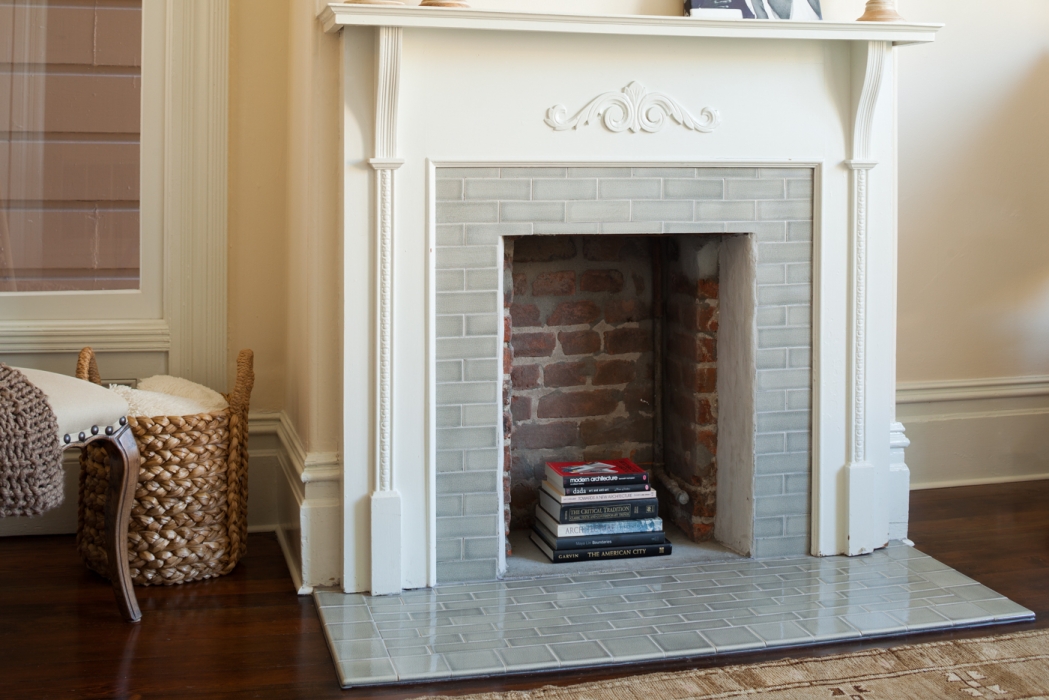
Step 6: It is Time to Paint Titles
Paint fireplace tile starts by painting the tiles. Begin by ensuring that the primer you applied in the previous step is completely dry. Once the primer is ready, you can start applying the heat-resistant paint of your choice.
Start with a thin, even coat of paint. It’s better to apply multiple thin coats than one thick one, as thick coats can lead to drips, uneven coverage, and longer drying times. Wait until each coat of paint is dried. The instructions on the paint will specify the recommended drying times, but this typically ranges from a few hours to overnight.
Step 7: Cure the Paint
Curing the paint is a crucial step in the fireplace tile painting process when using heat-resistant paints. Curing involves allowing the paint to fully set and harden, ensuring that it can withstand high temperatures without peeling or deteriorating.
Most heat-resistant paints come with specific curing. These instructions typically detail the recommended curing time and temperature.
Be smart and save your time by following the manufacturer’s recommendations closely during the curing process. It’s essential to be patient and not rush this step.
Failure to adequately cure the paint can lead to issues such as peeling or discoloration, which you’ll want to avoid, so take time and do everything slowly.
Step 8: Remove Painter’s Tape
Now you are almost there. Once you have finished painting your fireplace tile and allowed it to dry and cure, it’s time to carefully remove the painter’s tape. This step is essential to reveal clean, sharp lines and edges, giving your project a professional and polished appearance.
Start off by inspecting the painted area to ensure that it is thoroughly dry. It’s smart to remove the tape while the paint is in this state to prevent it from bonding with the tape and potentially peeling when removed. Paint fireplace tile is an art, and removing the painter’s tape clearly is an art.
Step 9: Clean Up
Cleaning your painting brushes and materials is crucial to maintain their longevity and ensure that they can be used for future projects. Cleaning up after painting fireplace tile is an easy process, but it’s important to follow the steps.
Start by cleaning your brushes and rollers. If you use water-based paint, rinse them nicely with water until the water runs clear. For oil-based paints, use the appropriate solvent, as recommended by the paint manufacturer.
Gently work the solvent or water through the bristles or nap of the rollers until all traces of paint are removed. Wipe down any paint trays or containers you use, ensuring they are entirely free of paint residue. If you use disposable tray liners, simply discard them.
Dispose of any used painter’s tape and plastic sheeting. Be sure to collect any paint chips or debris and dispose of them properly as well.
Conclusion
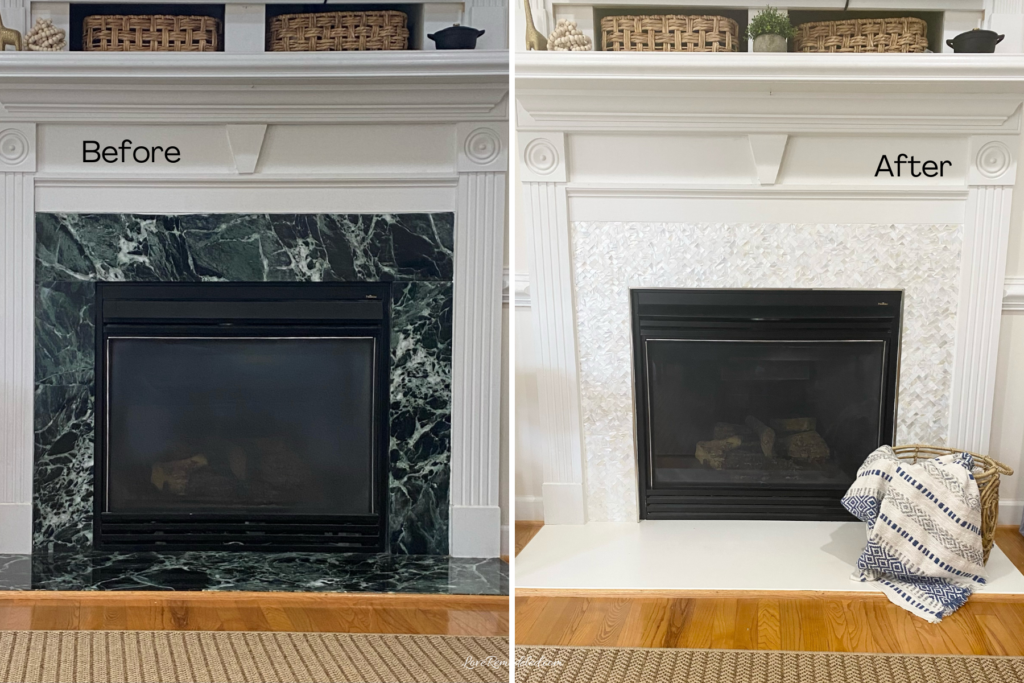
Painting fireplace tile can be a transformative and pocket-friendly way to update the look of your fireplace without the need for a full renovation. This project, when executed with care and attention to detail, can give new life to your living space and enhance its aesthetic appeal.
By following the step-by-step guide outlined above, you can get professional-looking results that not only refresh the appearance of your fireplace but also ensure durability and heat resistance.
If you are looking forward to changing your interior or are fond of reading what is going on in the interior industry, then follow our blog for all the insights and solutions for interior decoration.

Tommy Hardy, an alumnus of the Georgia Institute of Technology with a degree in Mechanical Engineering, has been a go-to figure in residential upkeep and innovation for over 18 years. His career commenced in a leading home appliance manufacturing company, where he mastered the intricacies of household systems. Joining our platform in 2020, Tommy quickly became a reader favorite for his practical and easy-to-follow guides. He took the helm of our DIY section in 2019, consistently delivering content that empowers homeowners. Beyond his professional pursuits, Tommy is a passionate gardener and enjoys woodworking, skills enhancing his hands-on approach to home care.