
Transforming a brick fireplace with tile can refresh your living space. This guide will walk you through the process step by step. You’ll learn everything you need, from choosing the right tile to finishing the project neatly.
We will cover tools, preparation, tiling steps, and maintenance tips. You will also find common mistakes to avoid and cost details to help you plan better. If you feel unsure about starting, don’t worry.
This article explains each part carefully, using trusted methods that work for beginners and experienced DIYers. Every step is broken down into small, simple actions so you won’t feel overwhelmed. You came here looking for help with tiling a brick fireplace.
You’ll leave knowing exactly what to do, with clear directions and no confusion. Whether fixing old bricks or changing the style, you will have the right plan to get it done. This guide provides all the information you need in one place so you can work with confidence.
Why Tile Over a Brick Fireplace?

Tiling over a brick fireplace is a simple and smart upgrade. It helps cover old, damaged bricks, giving your space a cleaner, fresher look. It also makes your fireplace much easier to care for in the long run.
It’s also an effective way to add color, texture, or pattern to your room. You can choose tiles that match your walls, floors, or overall style. Additionally, tile offers numerous design options that brick can’t match.
Tile holds up better to heat, smoke, and cleaning over time. Bricks can wear down, crack, or trap odors. Tile stays strong, looking good for years with very little upkeep. It’s a practical upgrade that combines beauty and ease.
Modernize the Look

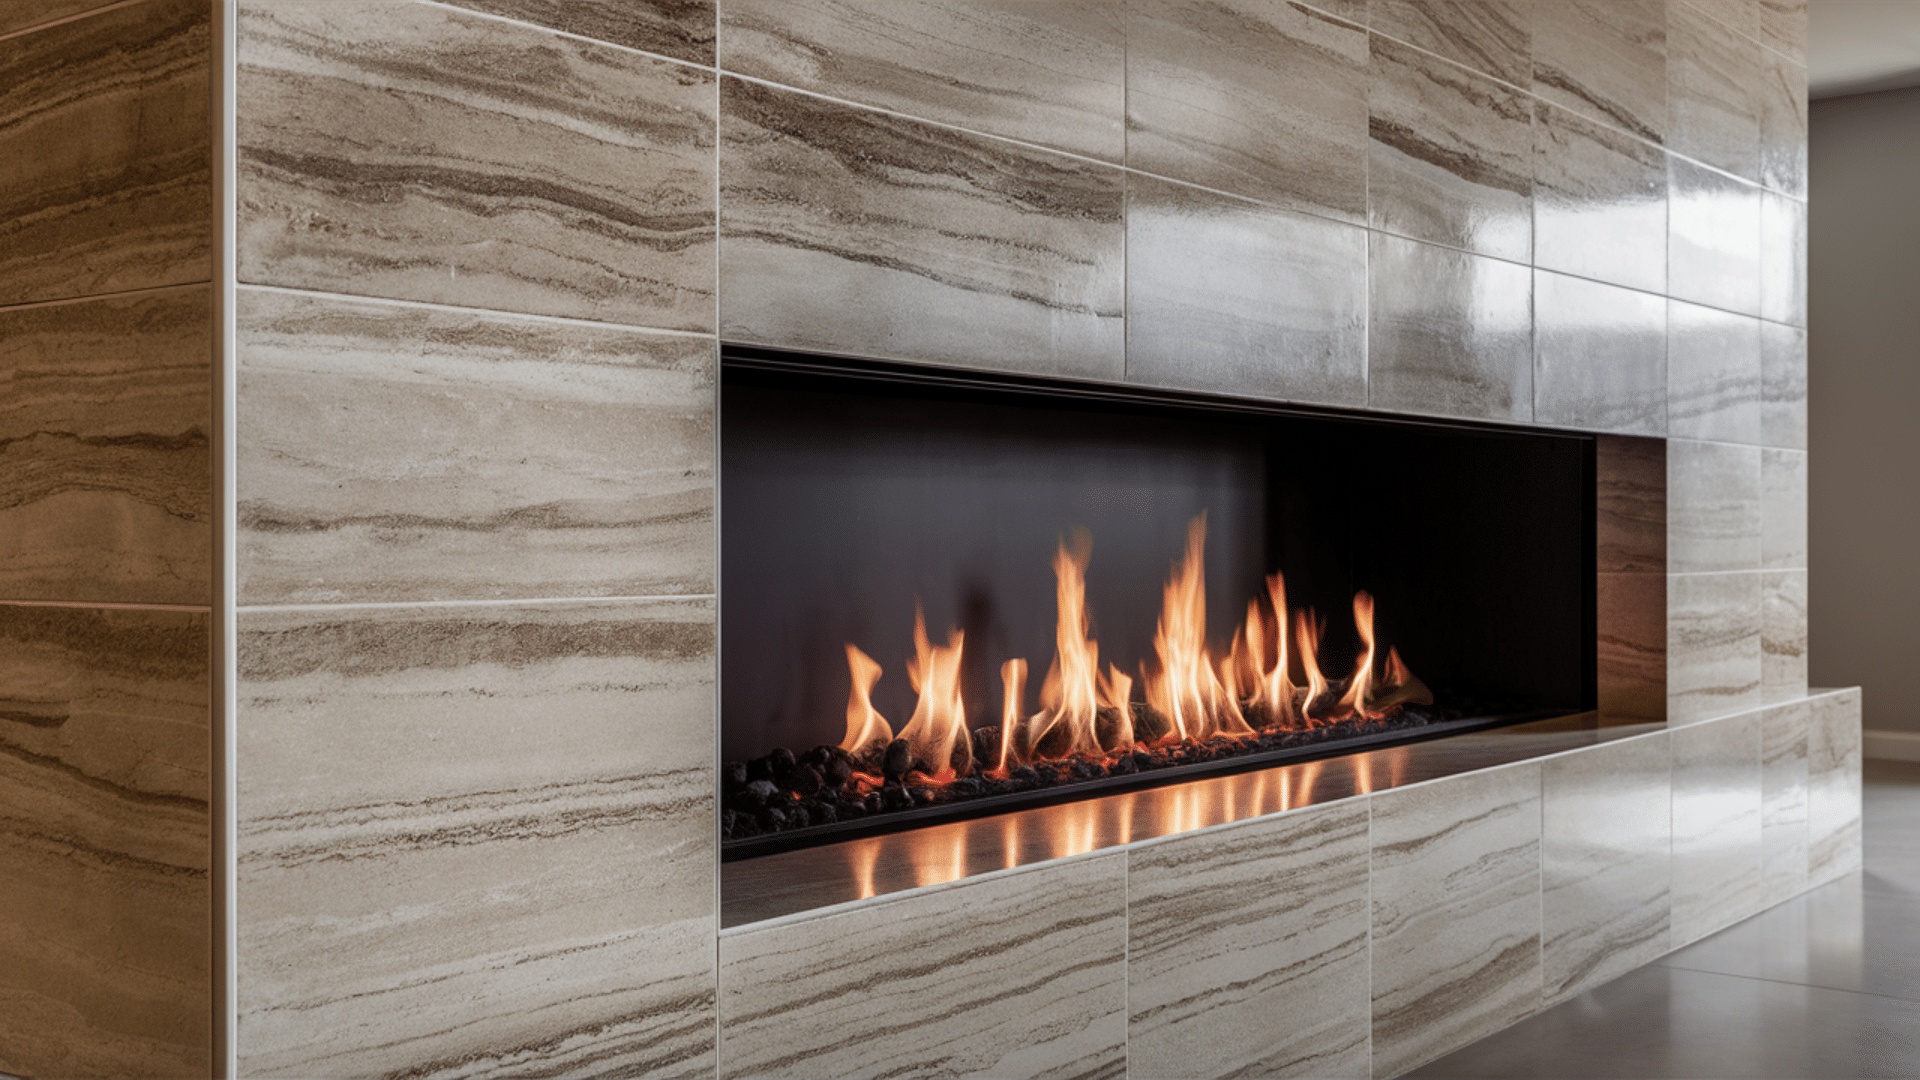
Tiles give your fireplace a fresh and stylish appearance without needing a full rebuild. Brick can sometimes make a room feel dark, heavy, or outdated.
Tile brings clean lines and lighter textures that open up the space, making it feel vibrant. You can match tile designs with modern, farmhouse, rustic, or even minimal styles depending on the look you want.
Cover Imperfections
Old brick fireplaces often show cracks, stains, chips, and uneven surfaces after years of use. Tiling over the Surface hides these flaws quickly without the need for costly repairs.
Instead of trying to fix each damaged spot, tiles create a smooth, clean finish across the entire fireplace. This gives the area a refreshed look in much less time.
Easy Maintenance
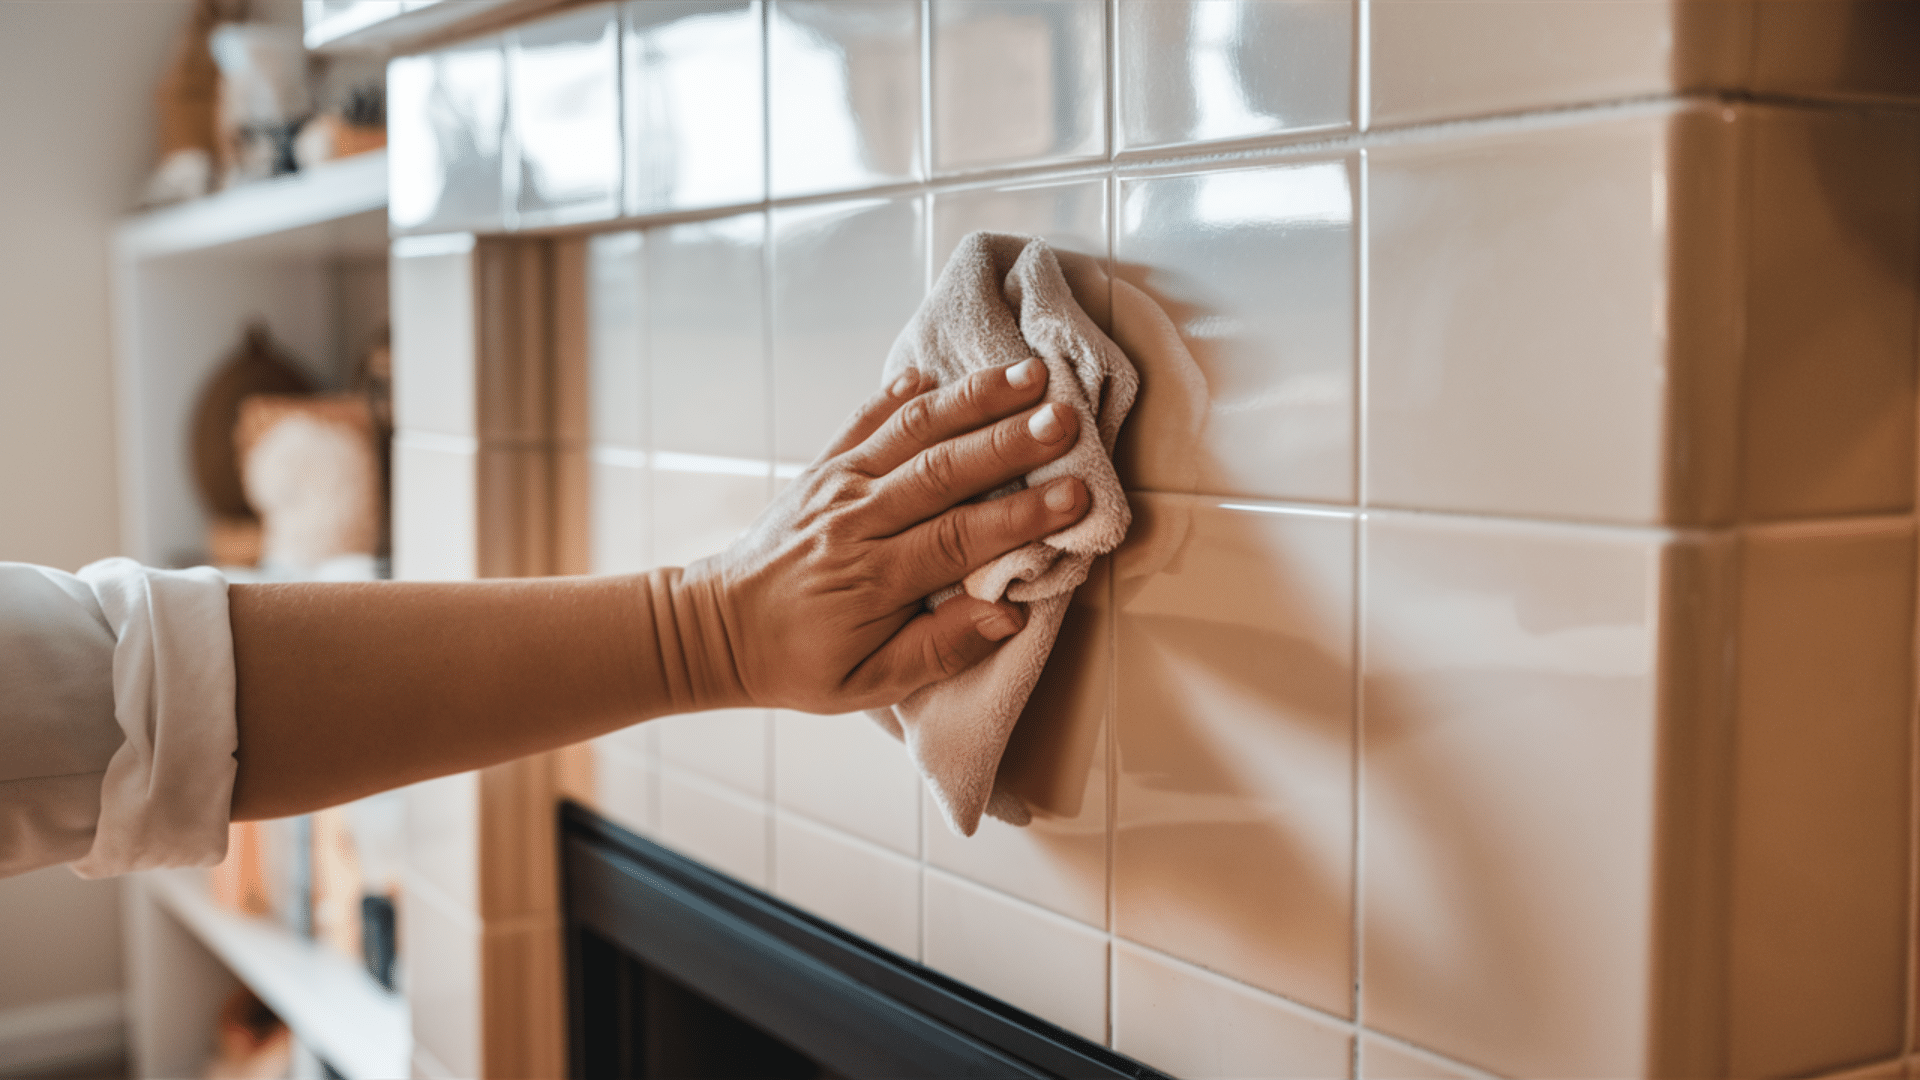
A tiled fireplace is much easier to keep clean than a brick one. Brick has a rough surface that traps dust, dirt, and soot, making it hard to maintain. Tile.
On the other hand, it is smooth and simple to wipe clean. This makes regular cleaning faster and helps your fireplace look neat and fresh with minimal effort.
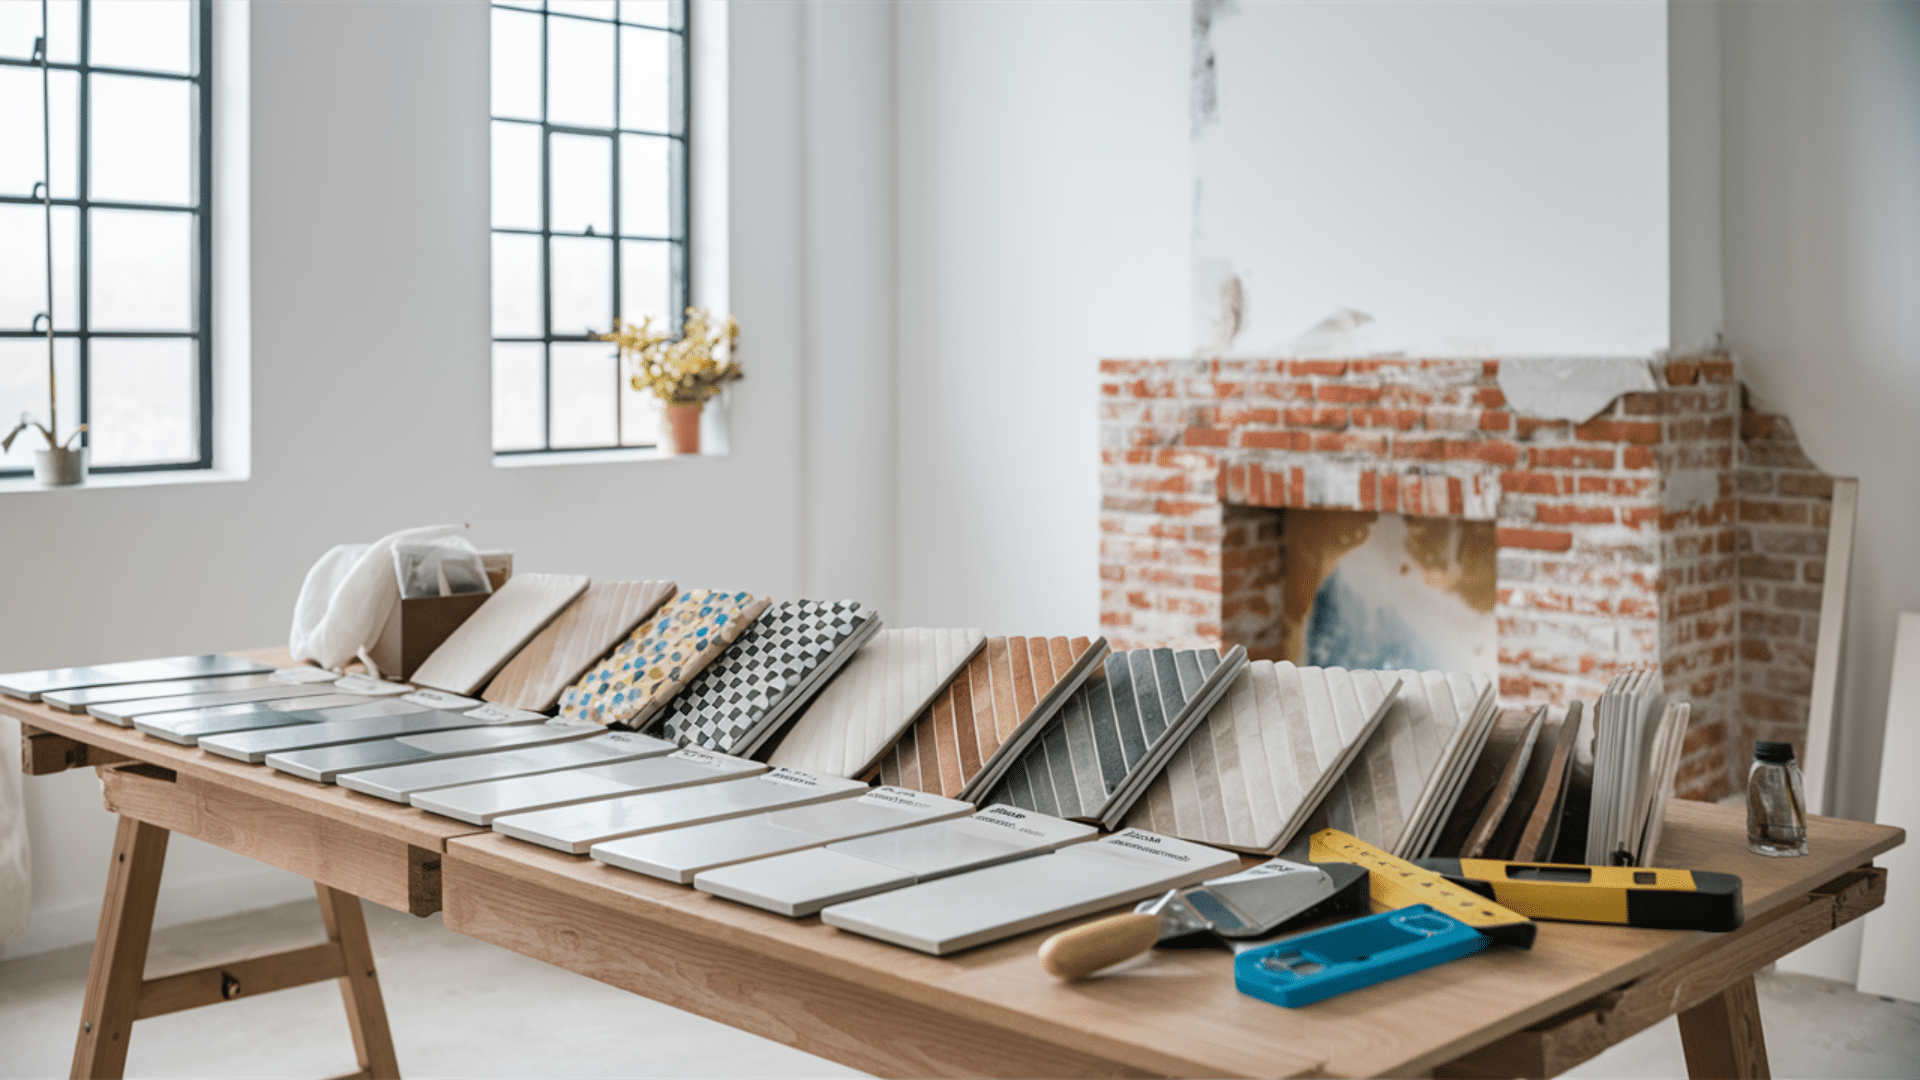
Choosing the Right Tile for Your Fireplace
Selecting a suitable tile for a fireplace is crucial for both its appearance and performance. Not every material is appropriate in this setting, especially when heat and design are key factors. Some tiles are designed for durability, while others are optimized for ease of use or affordability.
The ideal tile should suit your space and remain reliable over time. Select materials that can withstand high temperatures and everyday wear and tear. Also consider how the tile complements your room’s color palette and the scale of the fireplace.
Common Tile Options
Several tile types are available, each with its advantages. Some are more cost-effective, others offer better heat resistance, or require less maintenance. When working with a fireplace, it’s essential to consider how well the tile performs under high heat.
Ceramic

Ceramic tiles are widely accessible and budget-friendly. They come in a broad range of colors, patterns, and shapes, making it simple to coordinate with your interior. Ceramic works well for projects where the fireplace does not produce excessive heat. However, it’s more prone to chipping or wearing over time compared to other options.
Porcelain
Porcelain tiles are dense, durable, and highly resistant to heat. They are a solid option for fireplaces used regularly, as they handle temperature fluctuations without damage. Porcelain also resists stains and is easy to clean, making it a practical choice for long-term use.
Natural Stone

Natural stone offers a distinctive and textured appearance, adding character to a fireplace. Each tile is unique, contributing to a more organic and warm feel. These tiles are a strong match for cozy or rustic designs, though they often require sealing to guard against moisture or discoloration. They tend to be heavier and more expensive than those made of ceramic or porcelain.
Key Considerations
Selecting tile for a fireplace involves more than appearance. Functionality, safety, and long-term reliability are just as important. Here are the main factors to keep in mind:
- Heat Tolerance: Always select tiles that perform well in high-heat environments. Porcelain and natural stone are generally the best candidates for this environment.
- Size and Fit: Smaller tiles are generally more suitable for complex or uneven surfaces. Mosaic tiles, for example, are easier to position in tight or irregular areas.
- Color and Design: Look for tones that either coordinate well with or contrast effectively against the rest of the room. Lighter shades can help open up a space, while subtle patterns can introduce style without overwhelming the overall look.
Tools and Materials You’ll Need
Tiling over a brick fireplace requires the right set of tools and materials to ensure a secure and visually appealing finish. Using clean, reliable tools will make the process smoother and help the tiles stay in place over time. Here’s a detailed overview of everything you’ll need to get started.
Tiles
Select tiles that are specifically designed for wall applications and can withstand high temperatures. Porcelain and ceramic tiles are excellent choices because they are easy to maintain and affordable. If you prefer a more textured or classic appearance, natural stone is a suitable option.
Tile Adhesive

You’ll need thin-set mortar that is approved for use in high-temperature environments. This adhesive is responsible for securely holding the tiles in place against the brick surface. Mix it fresh for each use and apply it to small sections at a time to prevent it from drying out.
Grout
Once the tiles are fixed, grout is applied to fill the spaces between them. This step not only locks the tiles in place but also gives the fireplace a complete, polished appearance. Sanded grout is typically better for wider joints, while unsanded grout is smoother and better suited to narrow gaps.
Notched Trowel
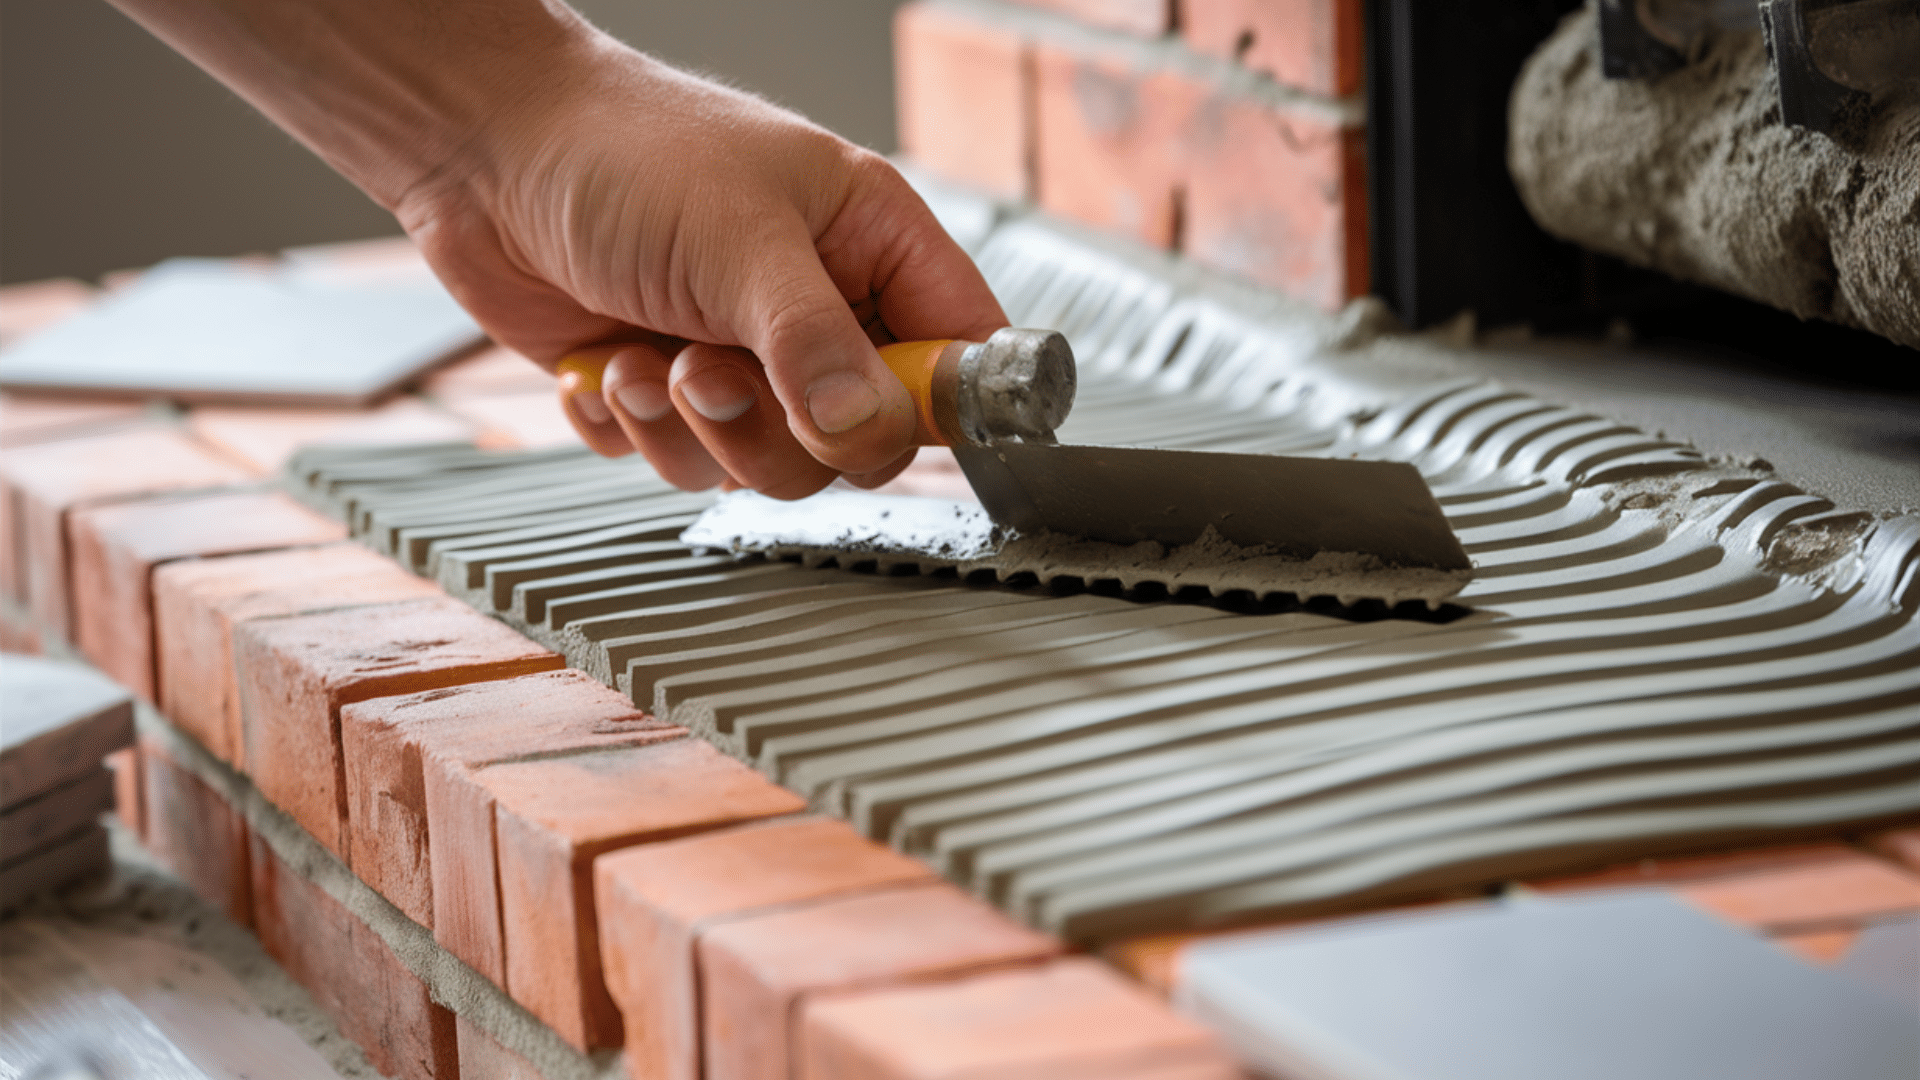
A notched trowel is used to spread mortar evenly onto the brick in a uniform pattern. Start by using the flat side of the trowel to apply the adhesive, then switch to the notched side to create ridges. These ridges help the tiles grip the Surface more effectively.
Tile Cutter
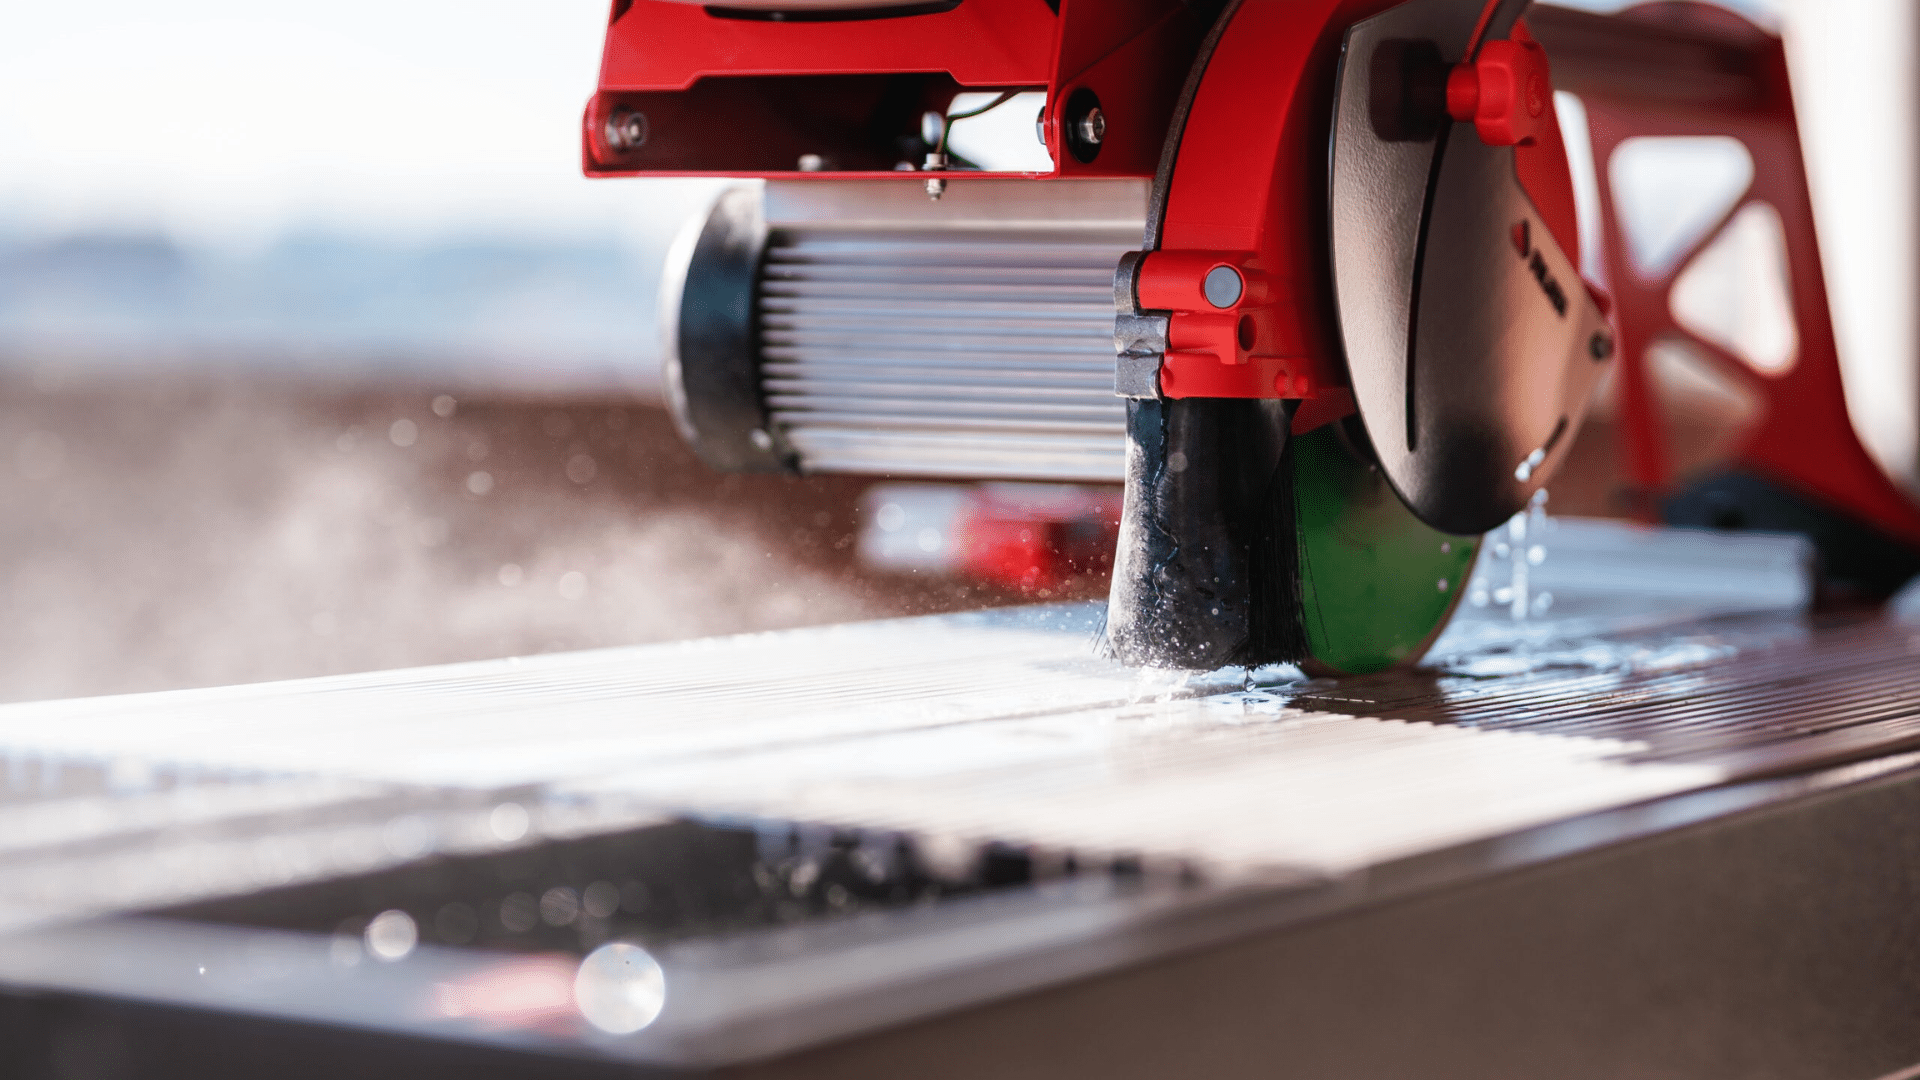
You’ll likely need to trim some tiles to fit around the edges or corners of your fireplace. A manual tile cutter can handle basic, straight cuts, while a wet saw is more effective for cutting through thicker or denser materials, such as stone.
Level
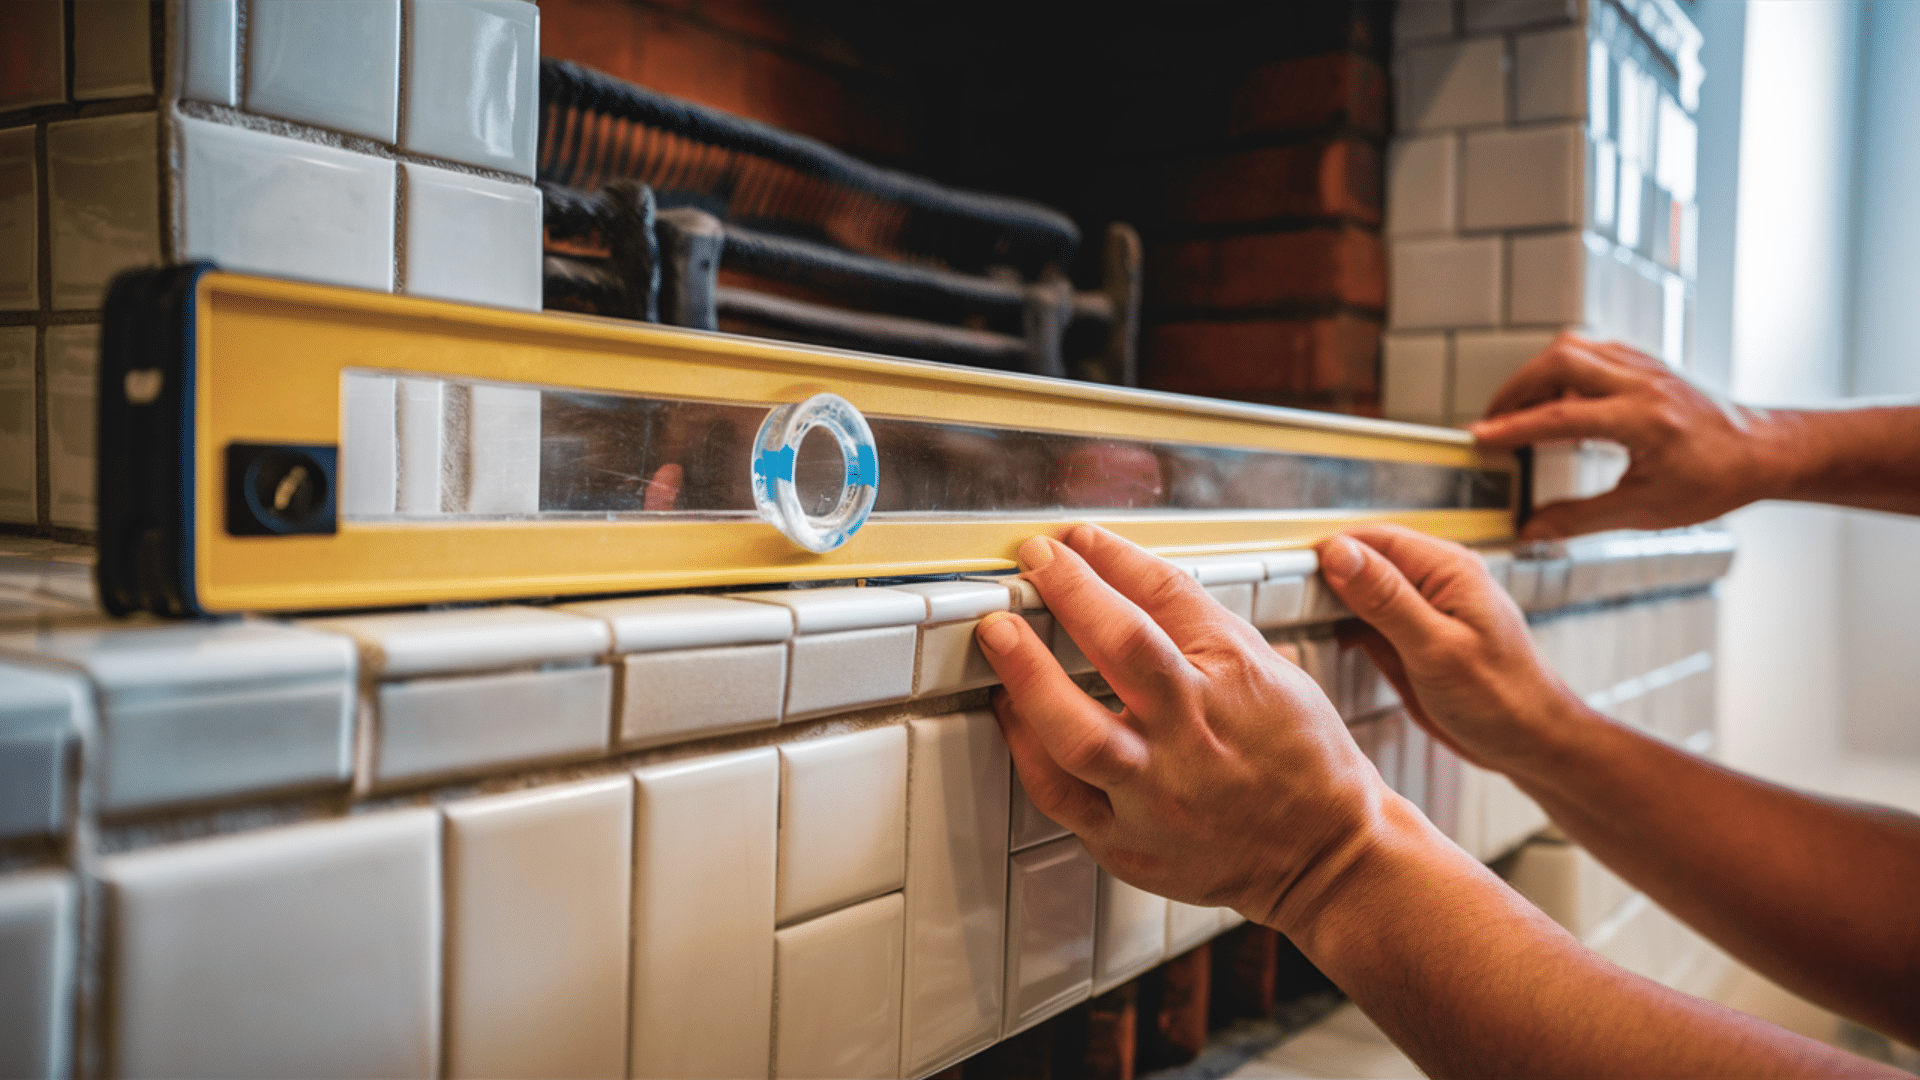
Keeping your tiles straight is essential for a professional-looking result. Begin tiling from the center of the Surface and work outward, checking your alignment frequently with a bubble level or laser. Make adjustments right away, as the adhesive can harden quickly.
Spacers

Tile spacers help maintain consistent spacing between each tile, which is important for both appearance and stability. Insert them as you go along, making sure the gaps remain even. Once the adhesive has started to firm up, carefully remove the spacers before applying the grout.
Sponge and Bucket
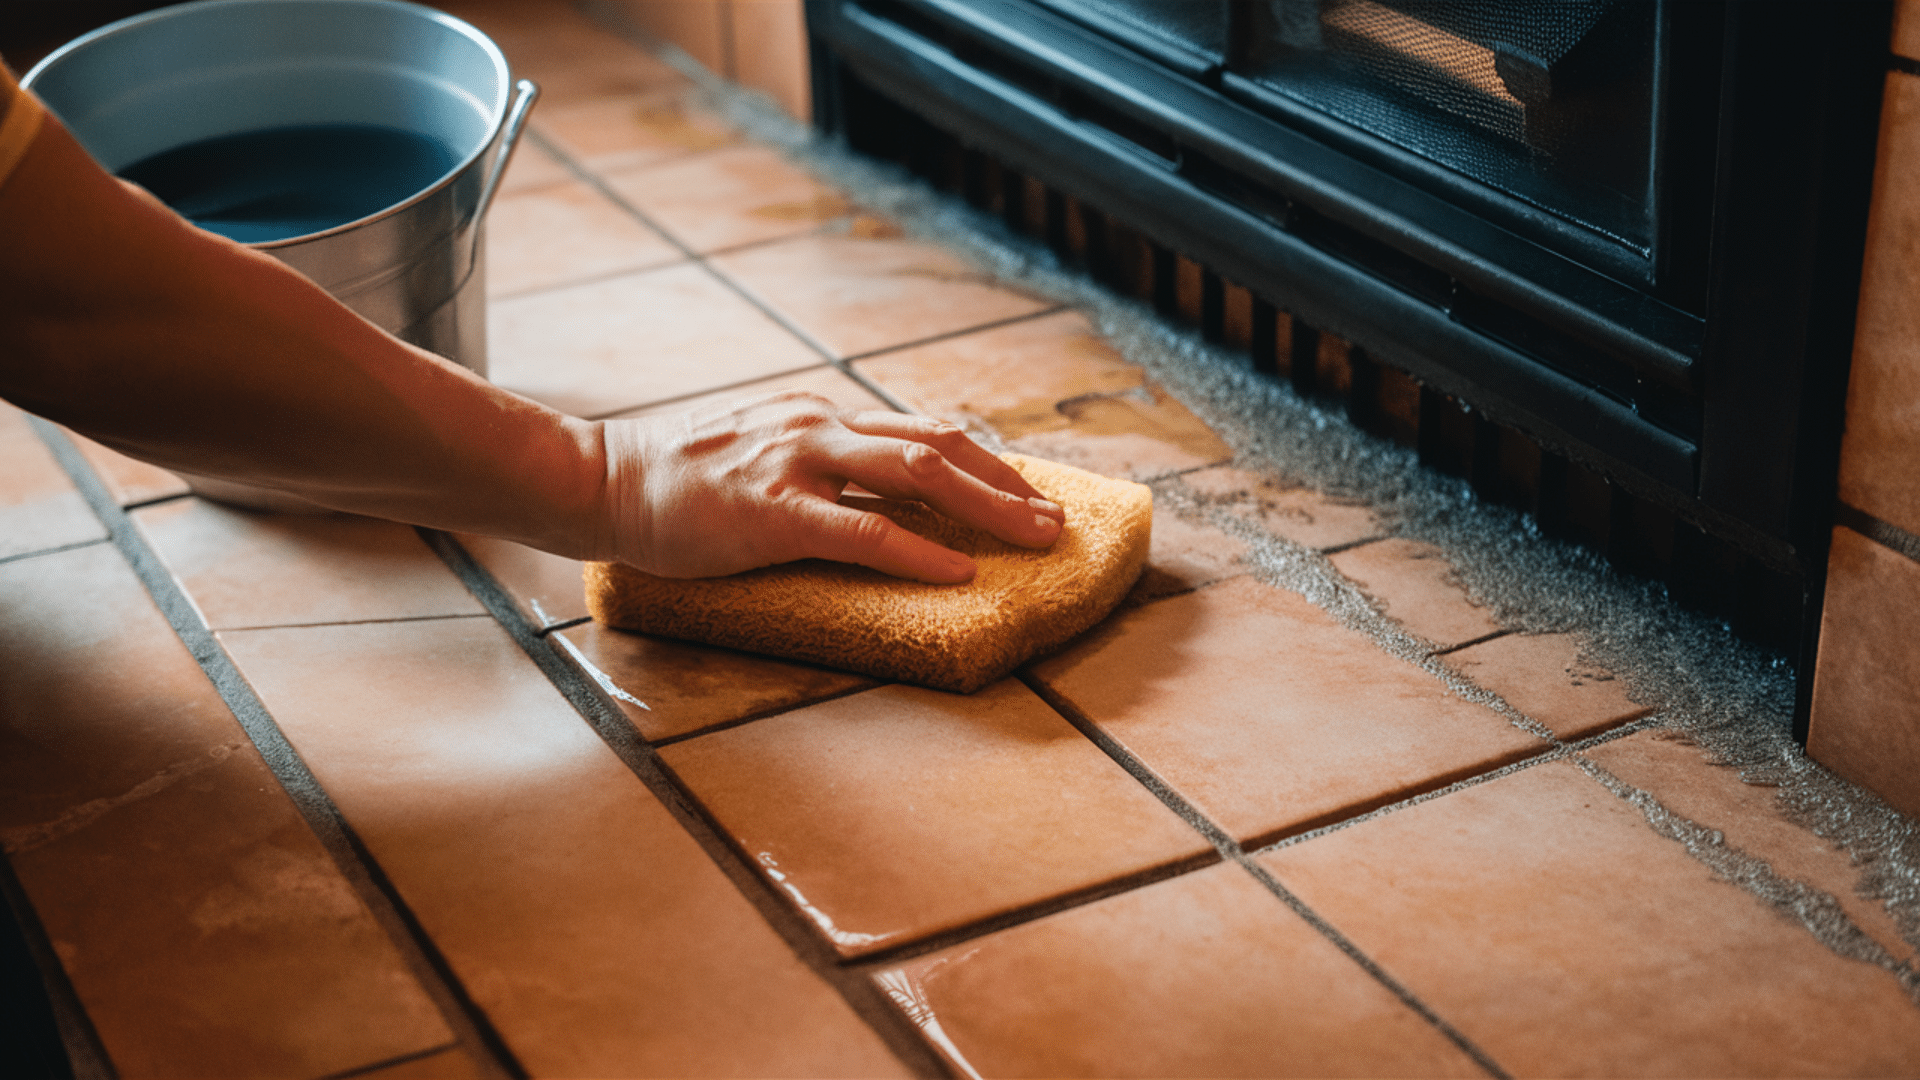
Cleaning up after grouting is crucial to prevent residue from drying on the tile surface. Use a damp sponge and clean water to wipe away excess grout in small circles gently. Rinse the sponge frequently and refresh the water as needed to keep the Surface clean and streak-free.
Preparation Steps
Before adding tile over a brick fireplace, you need to prepare the Surface. This ensures the tile adheres properly and lasts longer. Skipping this step can result in tiles falling off or looking uneven. Follow these key actions to create a solid foundation.
1. Clean the Brick Surface
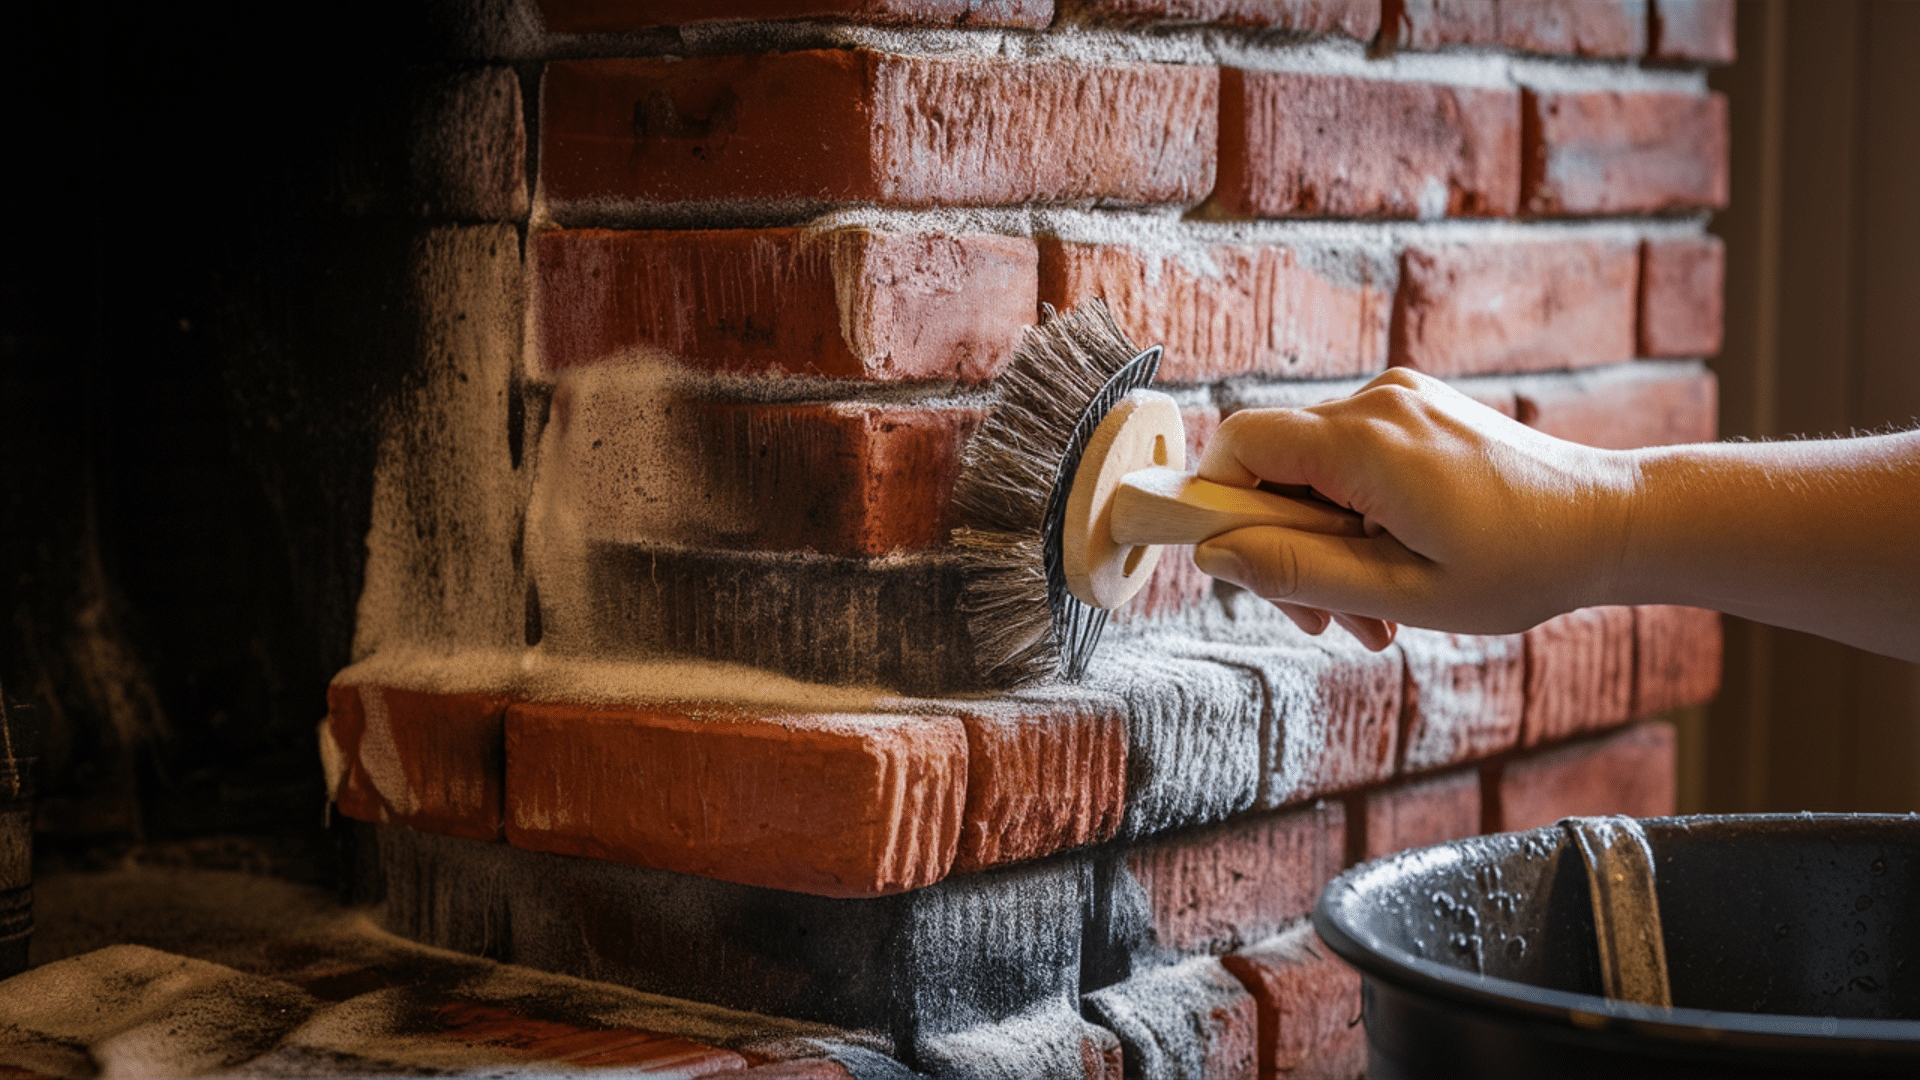
Remove any dirt, soot, and loose debris using a wire brush and a solution of soapy water. Start with a dry scrub to eliminate ash and dust. Then, clean the brick with warm water and mild detergent. Rinse the Surface using a damp cloth and allow it to dry thoroughly before proceeding.
2. Repair Damages
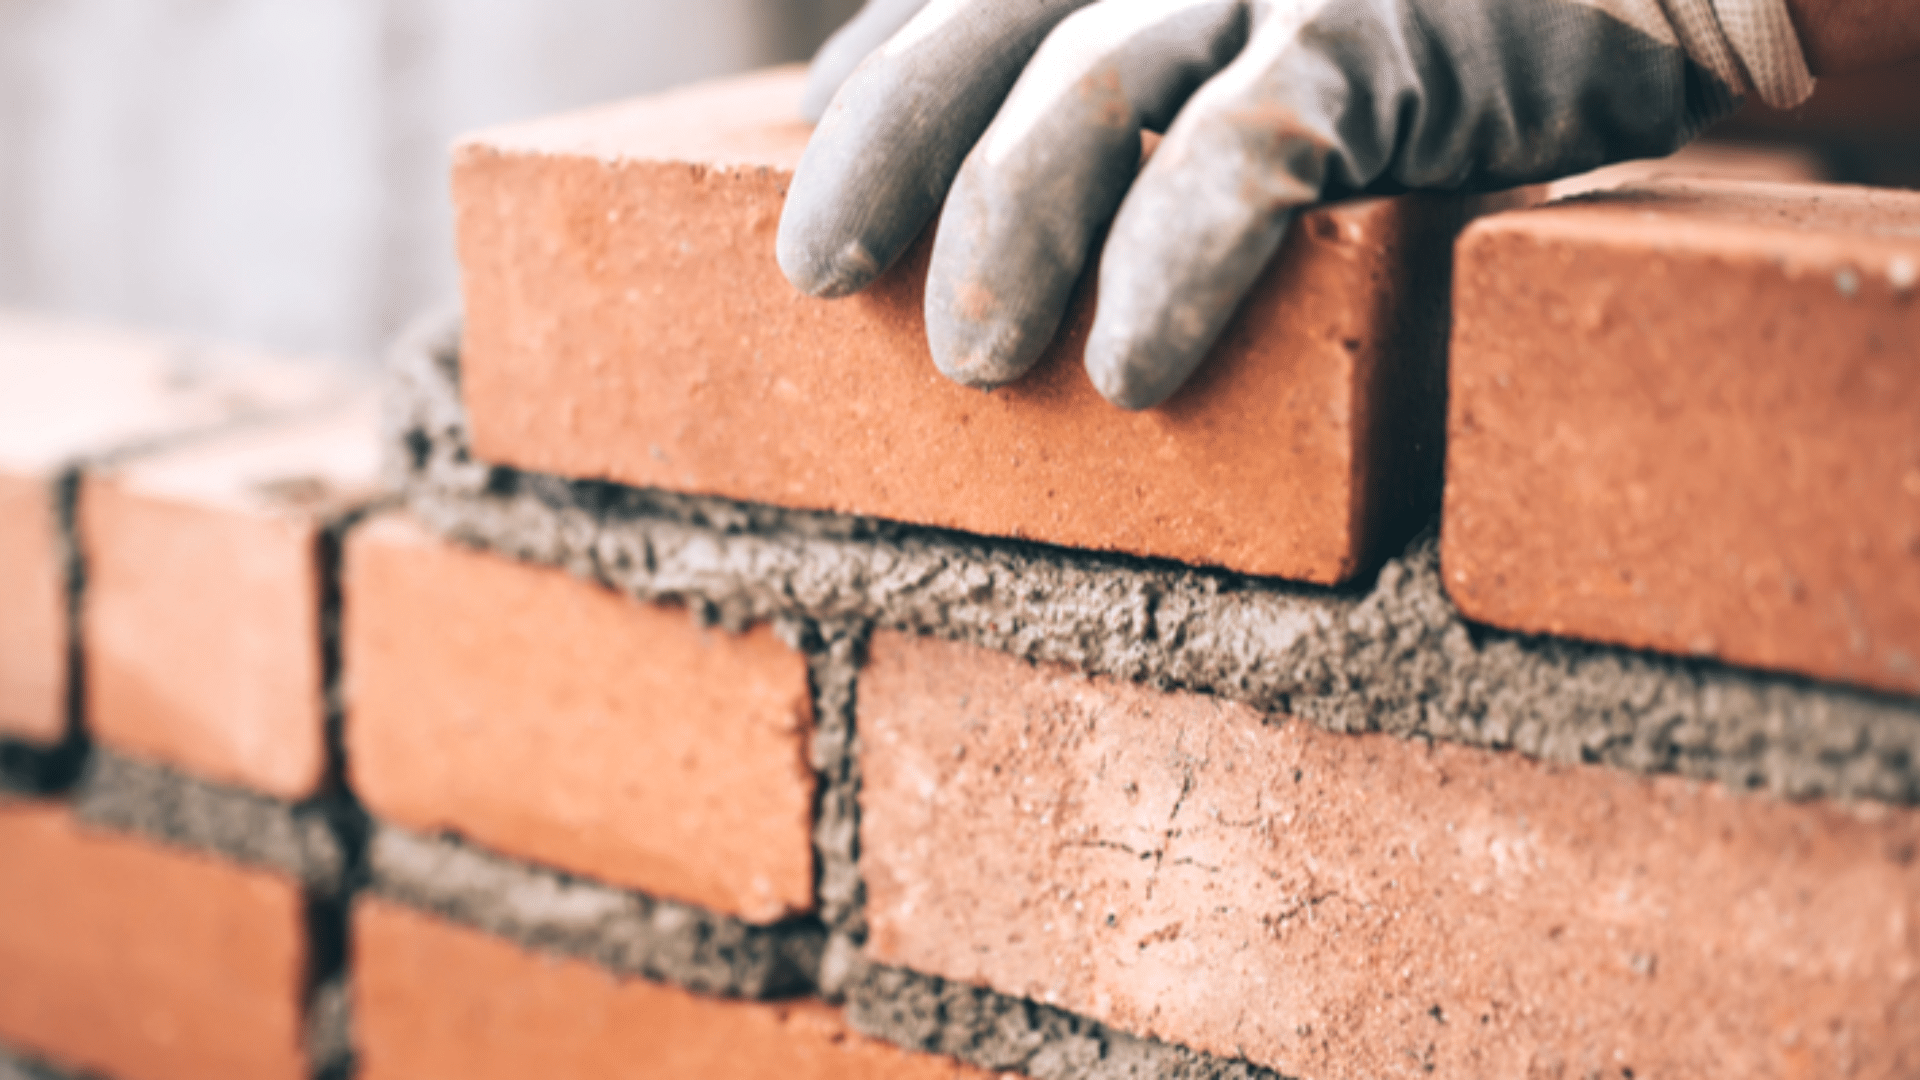
Fix any cracks, holes, or broken bricks to smooth out the Surface. Use mortar or a cement patch to fill gaps or missing joints. Replace bricks that are beyond repair. Allow the repairs to cure for 24–48 hours before proceeding to the next step.
3. Apply a Primer
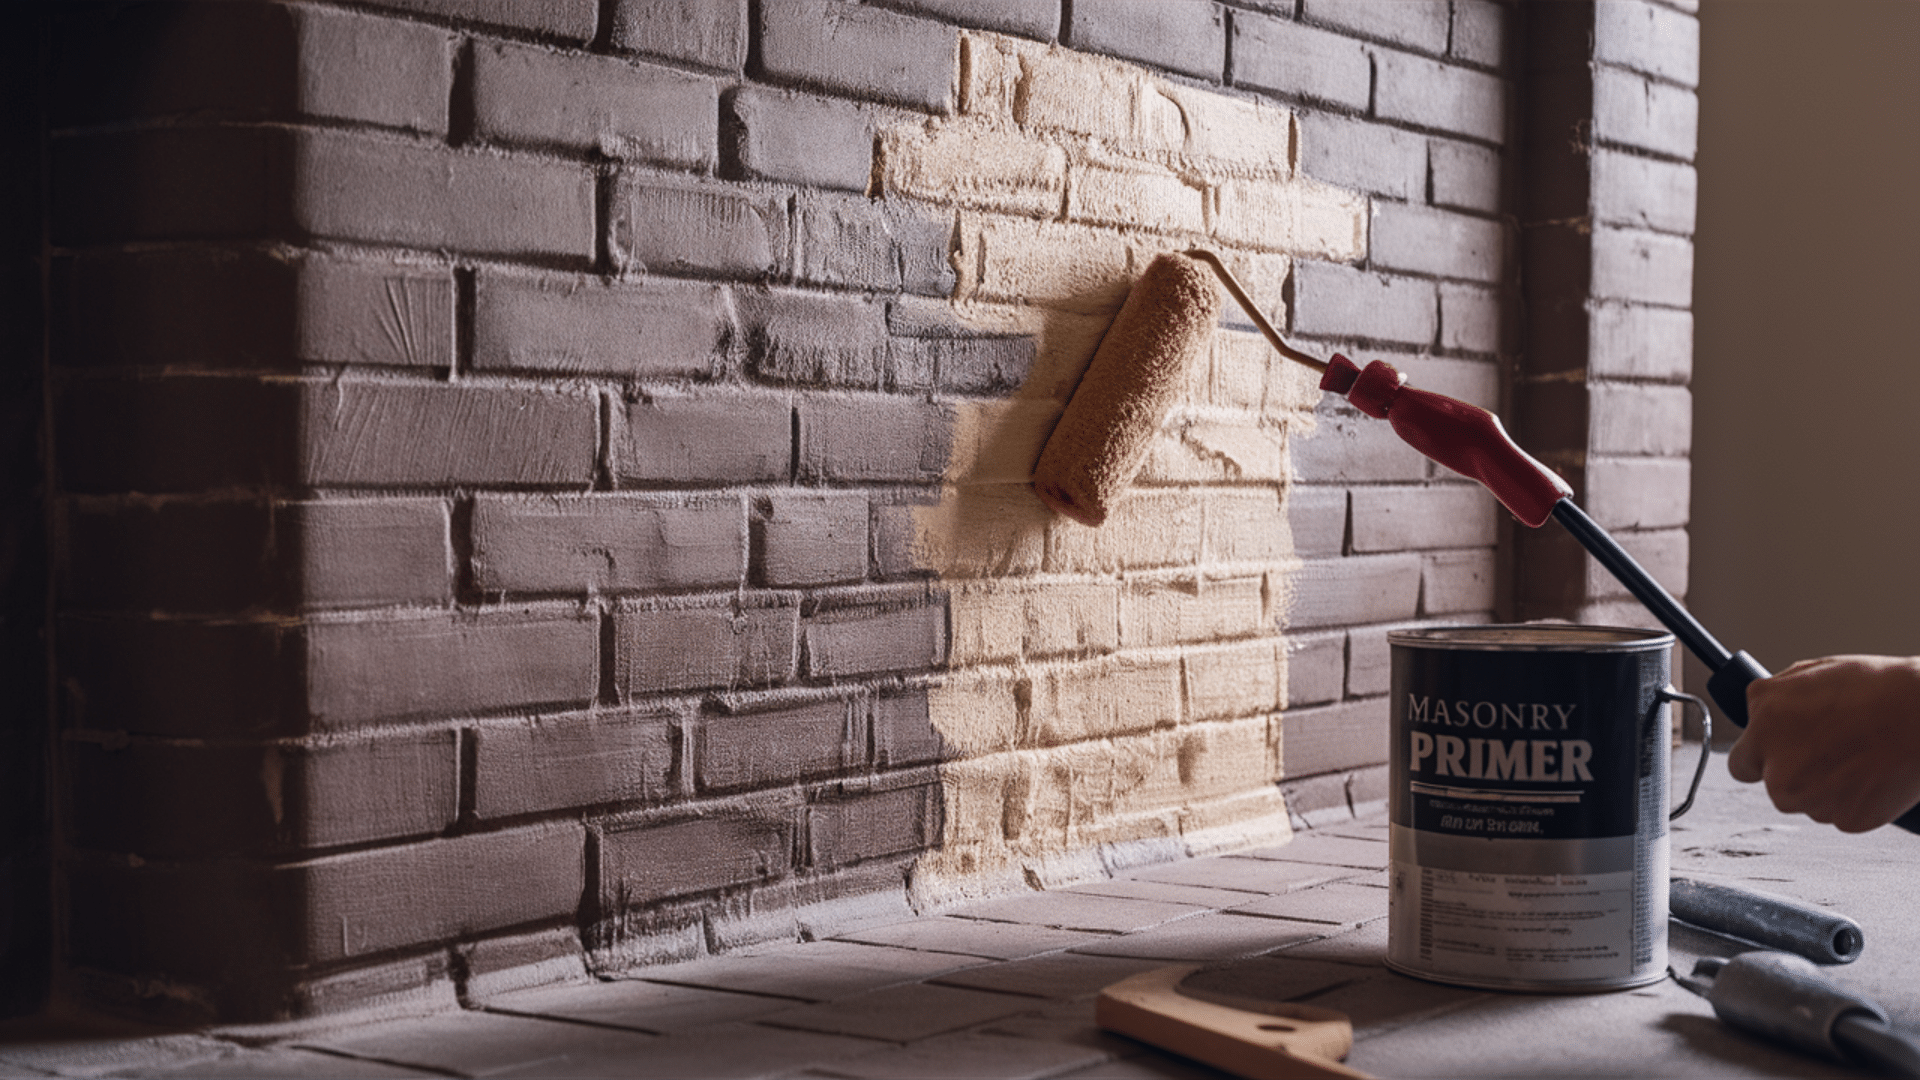
A primer improves adhesion and seals dust or porous areas in the brick. Select a bonding primer specifically formulated for use on tile or masonry surfaces.
Use a brush or roller to apply an even coat of paint. Let the product dry completely according to the manufacturer’s directions before installing the tile.
Tiling Process
Tiling needs careful steps and a slow hand. Each stage is crucial for achieving a clean, lasting finish. This guide is concise and straightforward. Just follow the steps one by one.
Step 1: Plan Your Layout
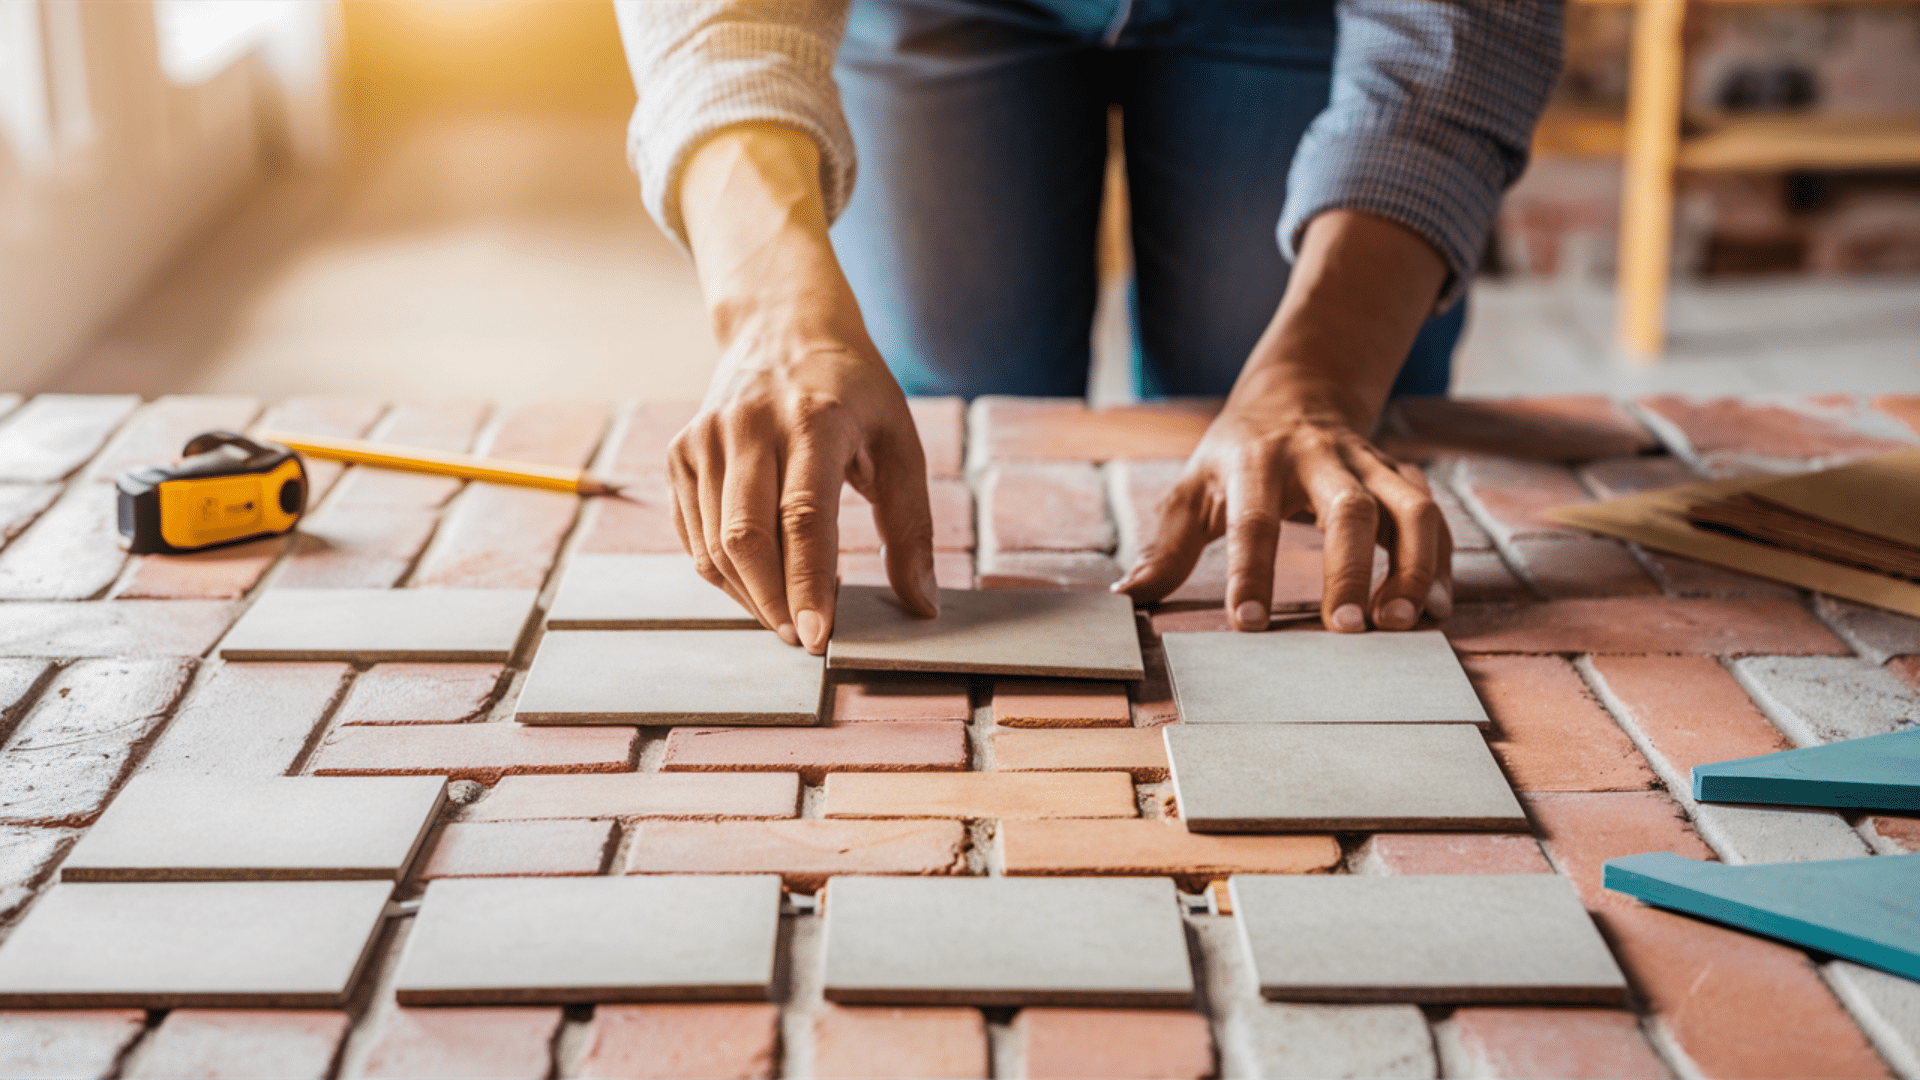
Planning helps avoid messy cuts and wasted tiles. Start by laying out your tiles without any glue. This allows you to see how they’ll fit and make adjustments. Find and mark the center point of the Surface so your tiles look even from all sides.
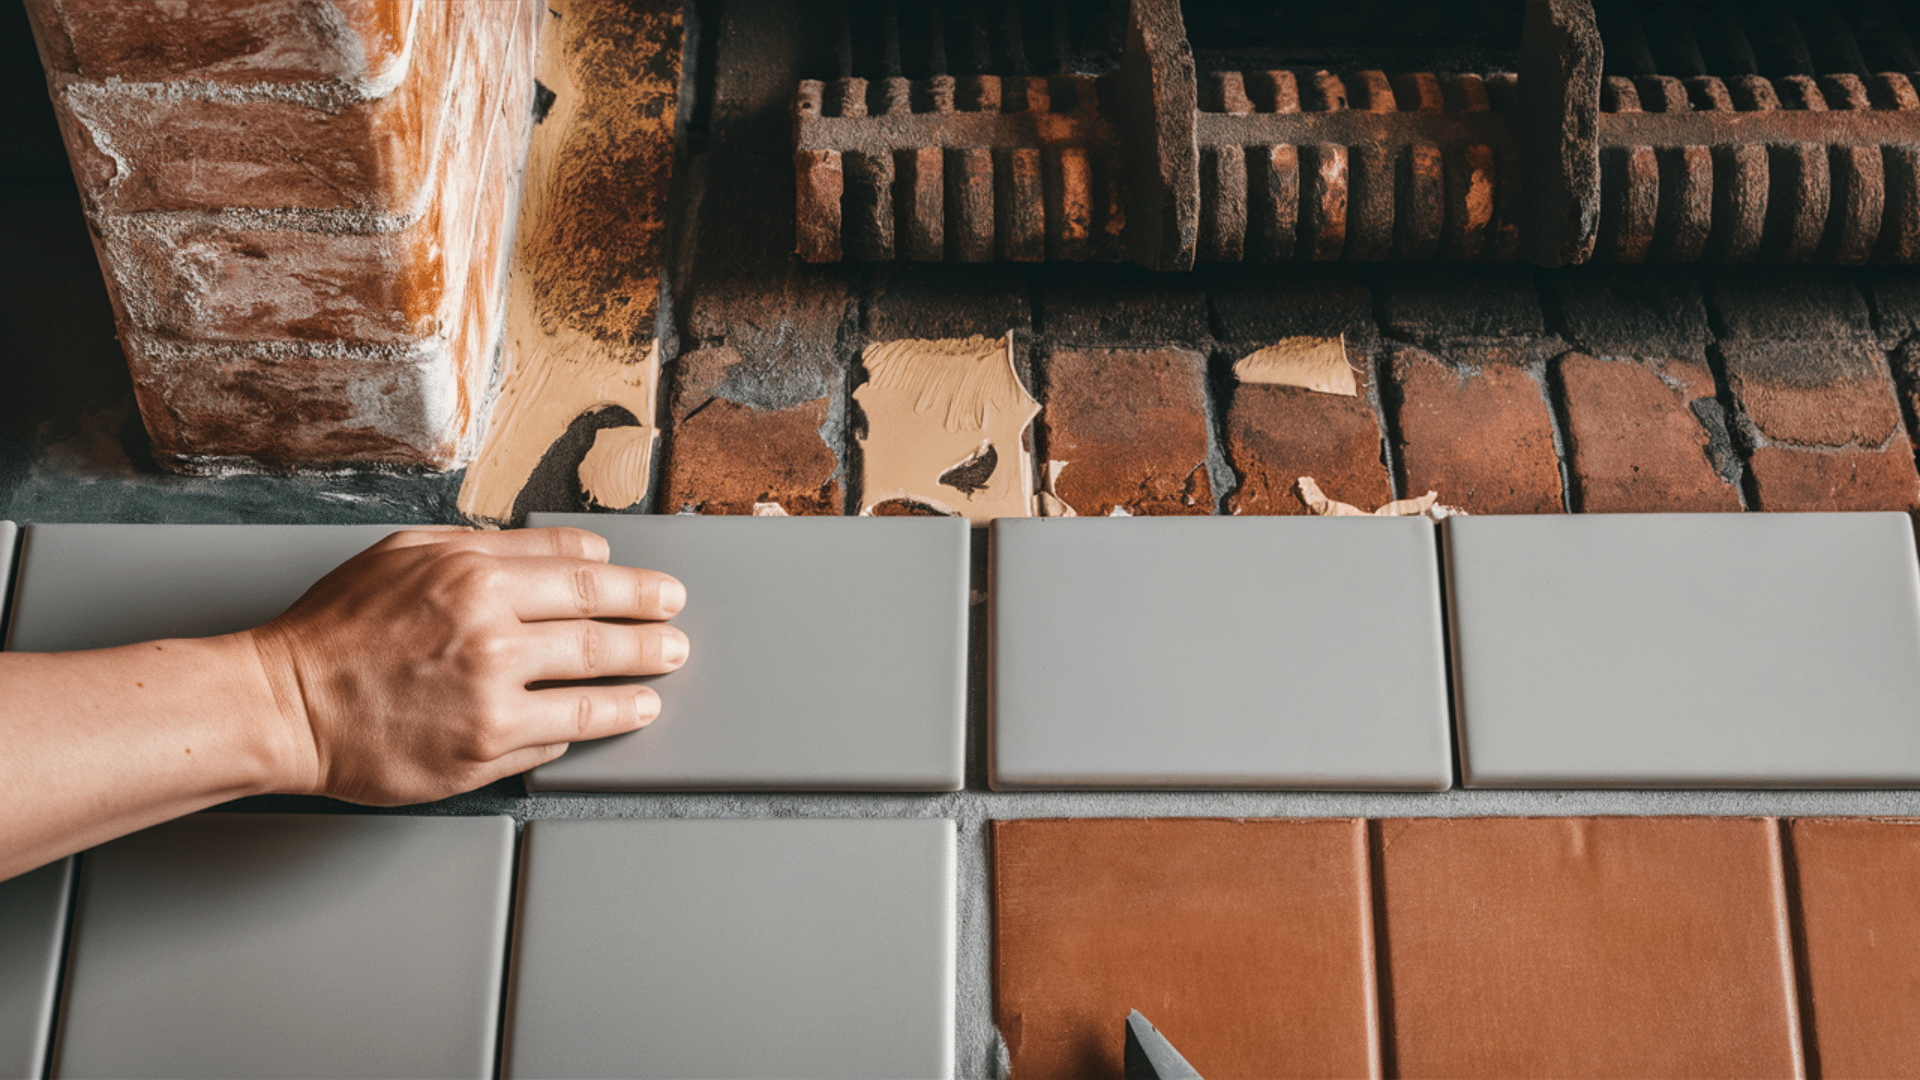
Step 2: Apply Adhesive
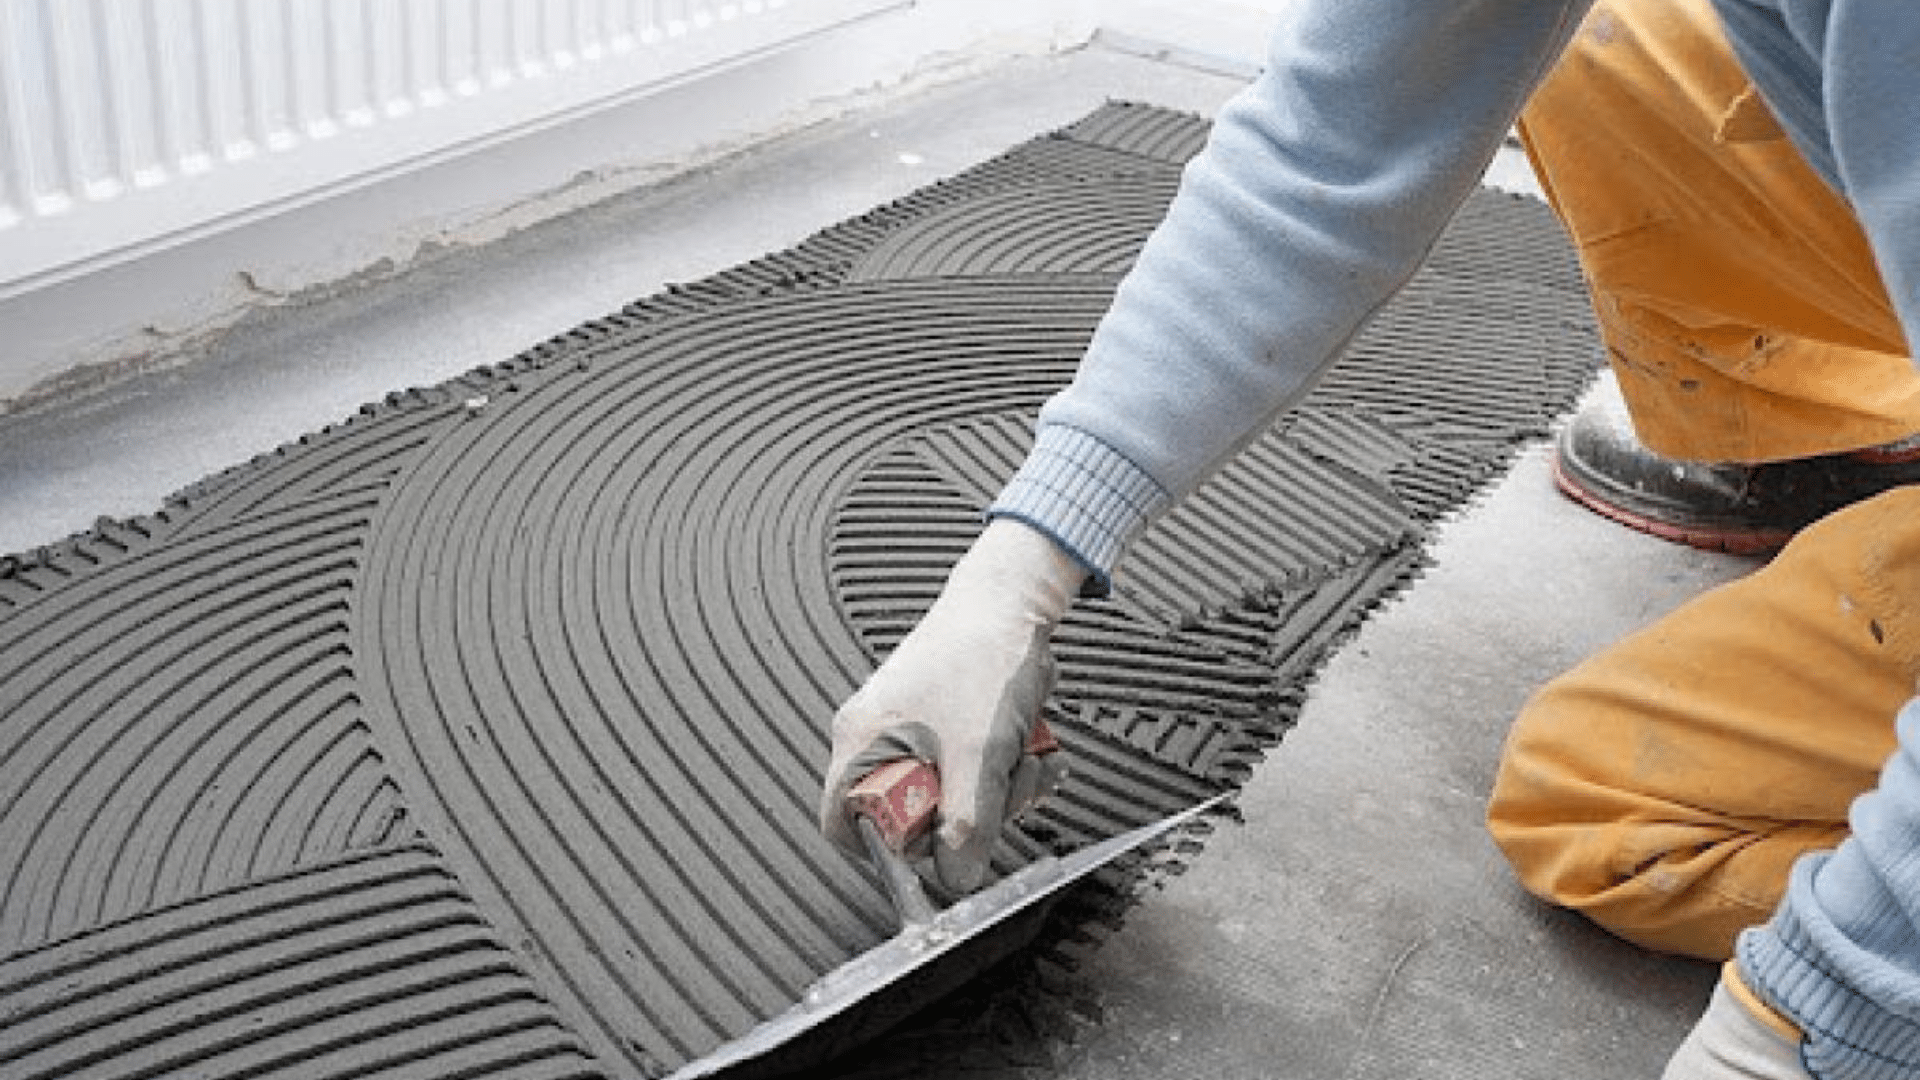
Once your layout is ready, it’s time to apply tile adhesive. Work in small areas to prevent the glue from drying out. Use a notched trowel to spread the adhesive evenly. Press each tile firmly into place and adjust it as needed to ensure it remains level.
Step 3: Cutting Tiles

Some tiles will need to be cut to fit at corners or edges. Measure the space carefully and mark the tile. Use a tile cutter or wet saw for smooth, clean cuts. Always check the fit before gluing the cut tile down.
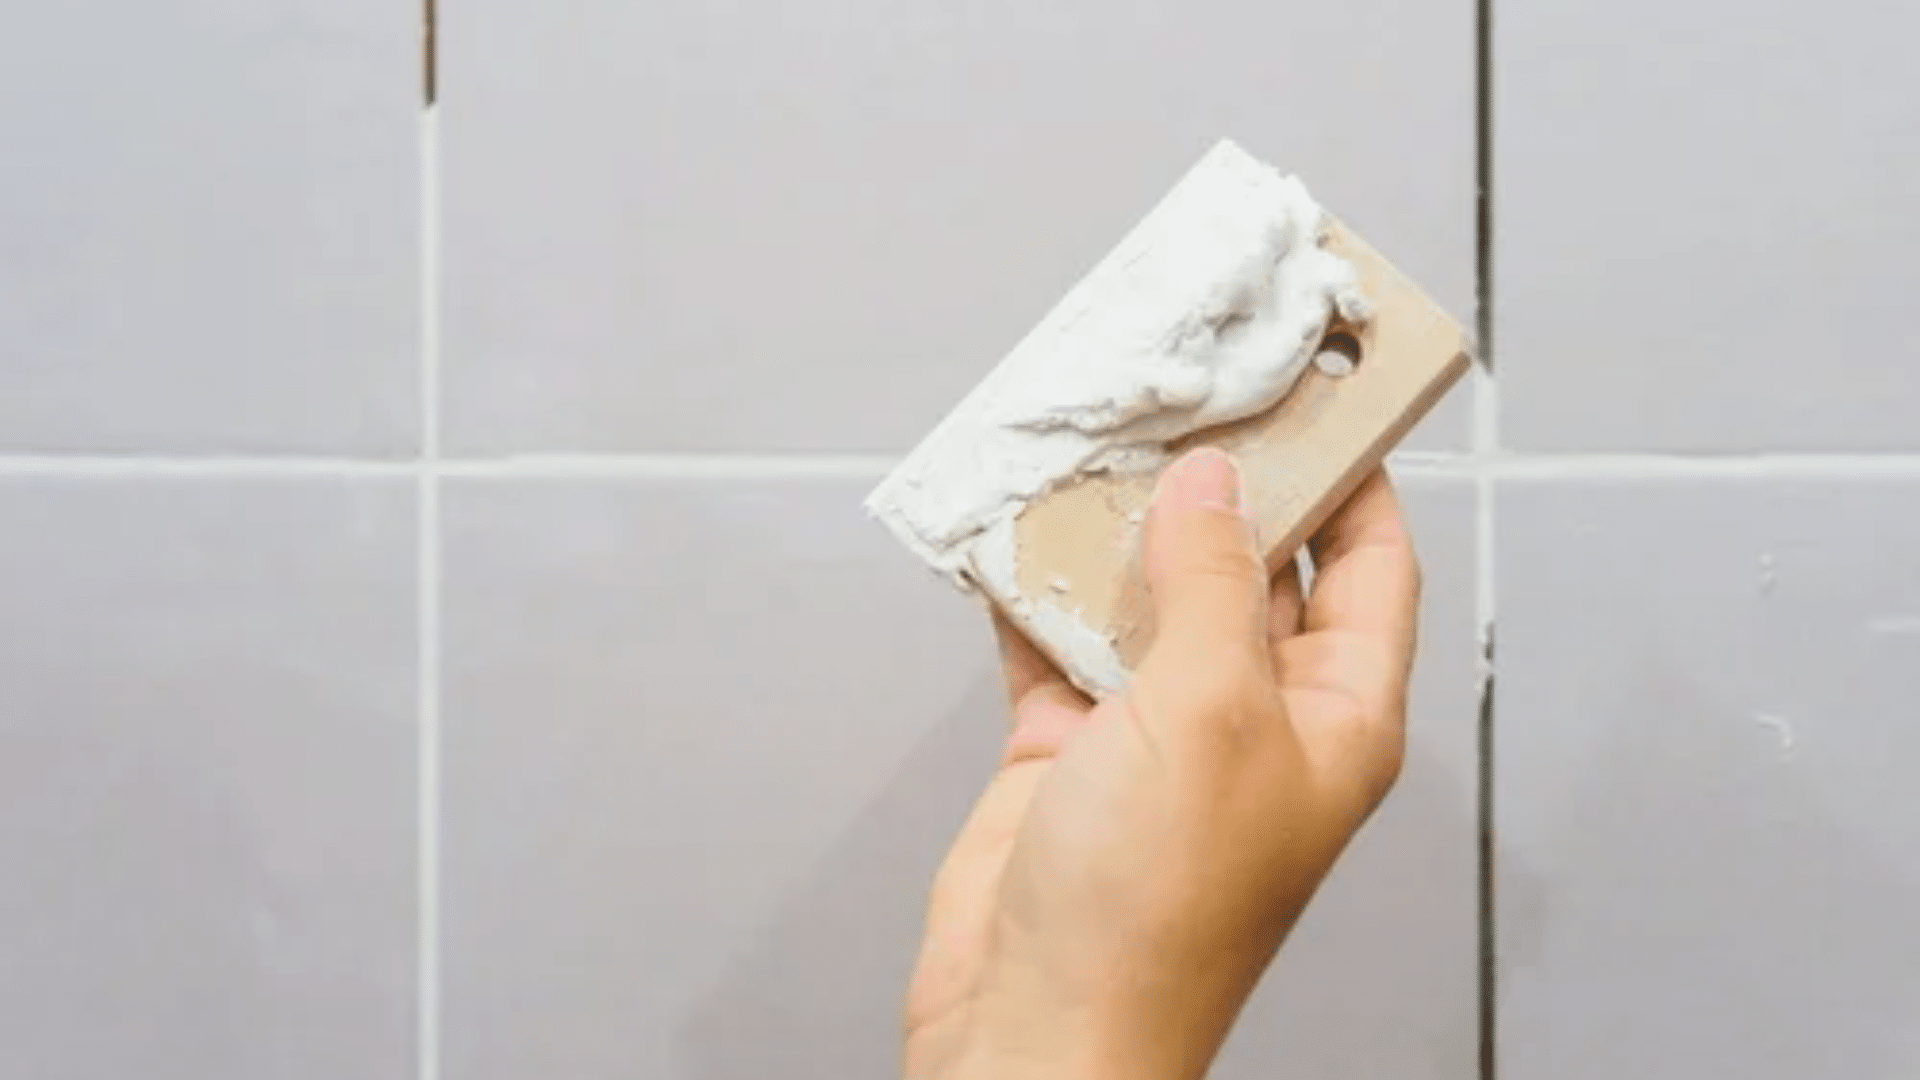
Step 4: Grouting
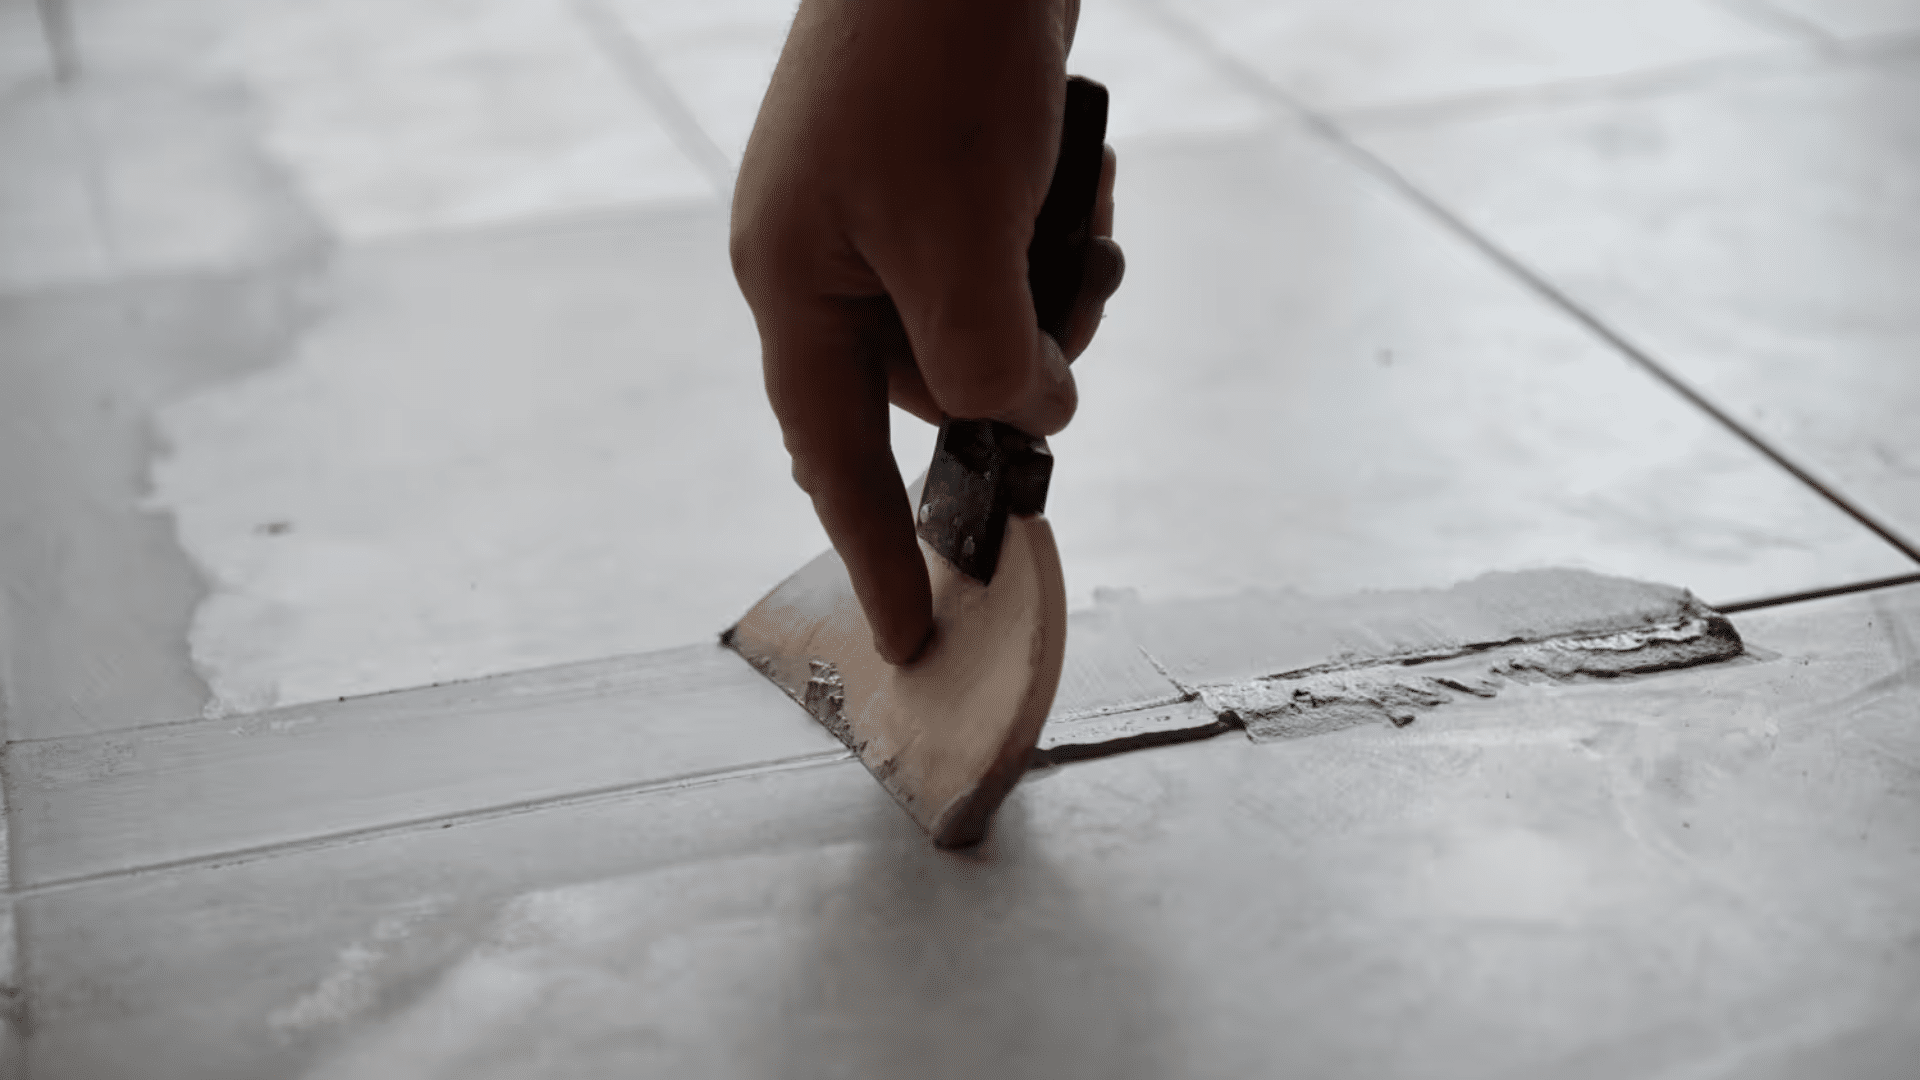
Allow the adhesive to dry completely before beginning the grouting process. When ready, spread grout over the tiles and press it into the joints. Wipe off the extra with a damp sponge before it dries. Allow the grout to cure before using the Surface.
Common Mistakes to Avoid
Some missteps can negatively affect your tile-over-brick fireplace project. They may seem minor, but they often lead to more significant issues over time. It’s essential to be thorough and prepared. Here are the most frequent problems to steer clear of:
- Skipping Surface Preparation: Failing to clean and level the brick surface can cause adhesion issues. This often leads to tiles becoming loose or uneven.
- Using Inappropriate Adhesive: Standard glue may deteriorate under high temperatures. Be sure to use heat-resistant mortar to keep your tiles secure over time.
- Lack of Planning: Without a clear layout in mind, your tiles may end up misaligned. A well-thought-out plan ensures a neat, consistent finish.
- Ignoring Expansion Gaps: Tiles naturally expand and contract in response to changes in temperature. Without proper spacing, they risk cracking or detaching later on.
Cost Consideration
When budgeting for tiling over a brick fireplace, consider that tile prices can vary significantly depending on the material you choose.
Along with the tile itself, account for the cost of supplies such as adhesive, grout, spacers, and the necessary tools. If you choose to hire a professional, labor charges will be applied and can substantially increase the total project cost.
Maintenance Tips
Keeping your tile in good shape is easy if you stay consistent. You don’t need fancy tools or expensive cleaners. Just simple habits can help your tile last a long time. Here’s how to care for your tile properly:
- Regular Cleaning: Wipe down your tiles every few days to maintain their cleanliness. Use a soft, dampened cloth. This removes dust and small dirt particles. It also helps prevent buildup over time.
- Check Grout Lines: Inspect grout lines often. If you notice cracks or gaps, repair them immediately. Damaged grout allows water to seep in, which can loosen the tiles and cause further damage. Quick repairs save you from bigger problems later.
- Use Mild Cleaners: Stick to gentle, pH-neutral cleaners. Avoid strong acids or bleach. Harsh chemicals can fade the tile surface and eat away grout. Mild soap and water are the most effective for regular cleaning.
Conclusion
Tiling over a brick fireplace is a rewarding DIY project that can dramatically refresh the look of your space. In this blog, we walked you through everything you need to know—from prepping the brick surface, choosing the right tile and adhesive, to laying the tiles and finishing with grout.
We covered key tips to help you avoid common mistakes and achieve a polished, professional-looking result. By following the steps carefully, you can give your old fireplace a clean, updated style without the need for a full renovation.
Whether you prefer a sleek modern look or a cozy rustic feel, tiling offers endless design possibilities. Now that you understand the process, you’re ready to tackle this project with confidence and create a centerpiece for your home.

With a Master in Architectural Studies from University of Pennysylvania, Marwa Haydar has pioneered living spaces since 2005. Her expertise, initially honed in a prestigious architectural firm, is evident in her approach to creating environments. Marwa became part of our team in 2019 and has since been a driving force in our home improvement section, known for her practical yet stylish solutions. She’s been spearheading our design workshops since then, infusing her passion for teaching into her work. In her leisure time, Marwa enjoys exploring historic architecture and is an enthusiastic pottery hobbyist, further enriching her understanding of form and texture.