Want a cozy spot in your backyard that’s smoke-free and easy to control?
A propane fire pit fits the bill perfectly.
Building your own propane fire pit saves money and gives you exactly what you want.
While some people worry that making one seems hard, this guide breaks down every step to make it simple and safe.
In this article, you’ll learn:
- The basic materials you need (and what they cost)
- Step-by-step building instructions with safety tips
- Common mistakes to avoid
- How to test and maintain your fire pit
As someone who has helped hundreds of homeowners build their own fire pits, I’ll show you the exact process I use.
You don’t need special tools or skills—follow along with my tested method, which has worked for beginners like you.
Ready to start building?
Let’s get going!
Materials Required for DIY Propane Fire Pit
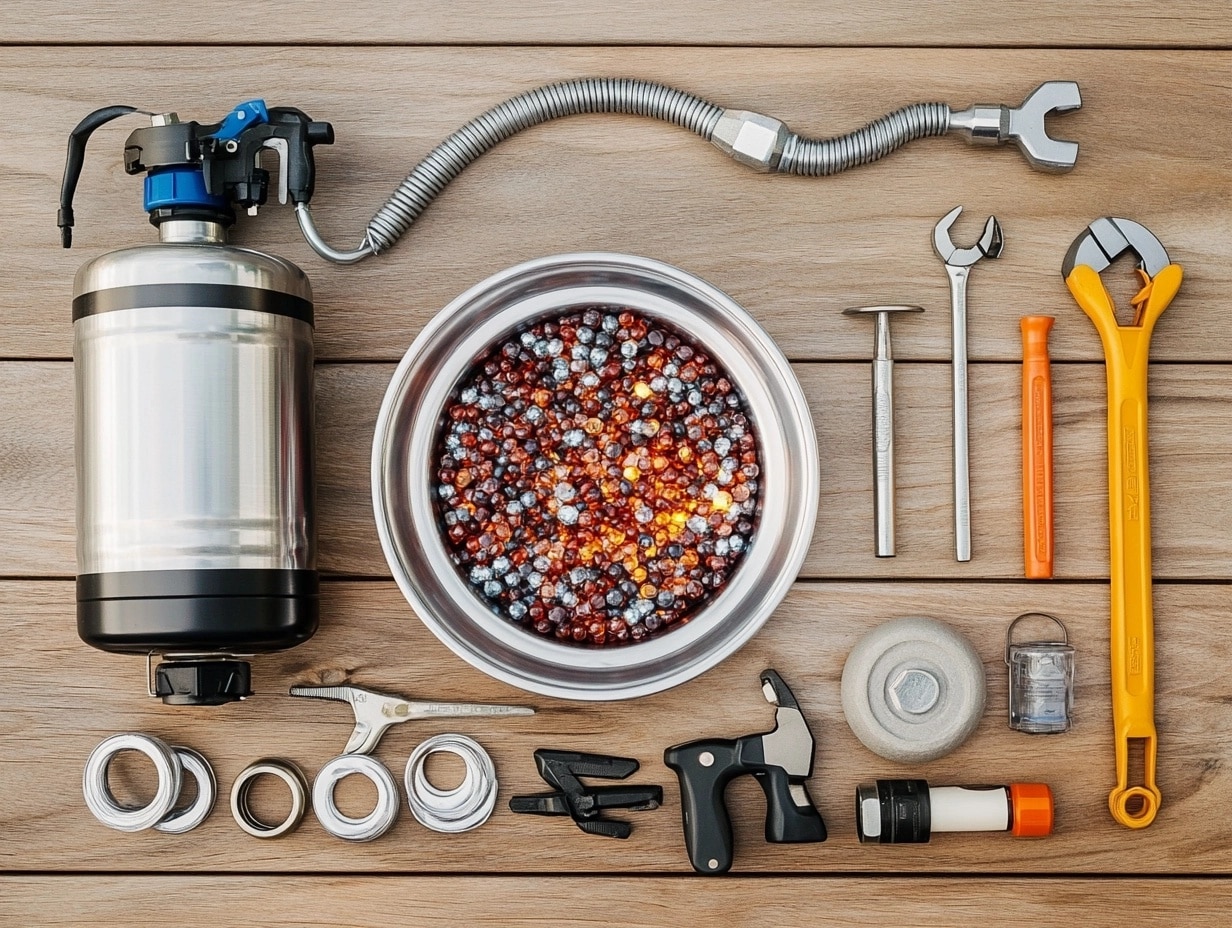
Before you start building, let’s gather the right materials, tools, and everything you’ll need.
Here’s your complete shopping list:
- Propane tank and hose assembly: Ensure it’s compatible with your burner kit.
- Burner kit: Choose one size for your fire pit.
- Fire-resistant bowl or base: Metal, stone, or concrete are safe options.
- Lava rocks or fire glass: These materials distribute heat evenly and add style.
- Heat-resistant adhesive: Essential for securing parts exposed to high temperatures.
- Basic tools: A wrench, drill, and level are the minimum tools required.
Tips for sourcing materials
- Look for discounts at local hardware stores or online platforms.
- Reuse or upcycle materials like old basins or bricks for the base.
- Buy propane kits that include a burner, hose, and regulator to save money.
Having these materials ready will make your project smoother and more enjoyable.
Always prioritize quality and safety when choosing components.
Step-by-Step DIY Propane Fire Pit Guide
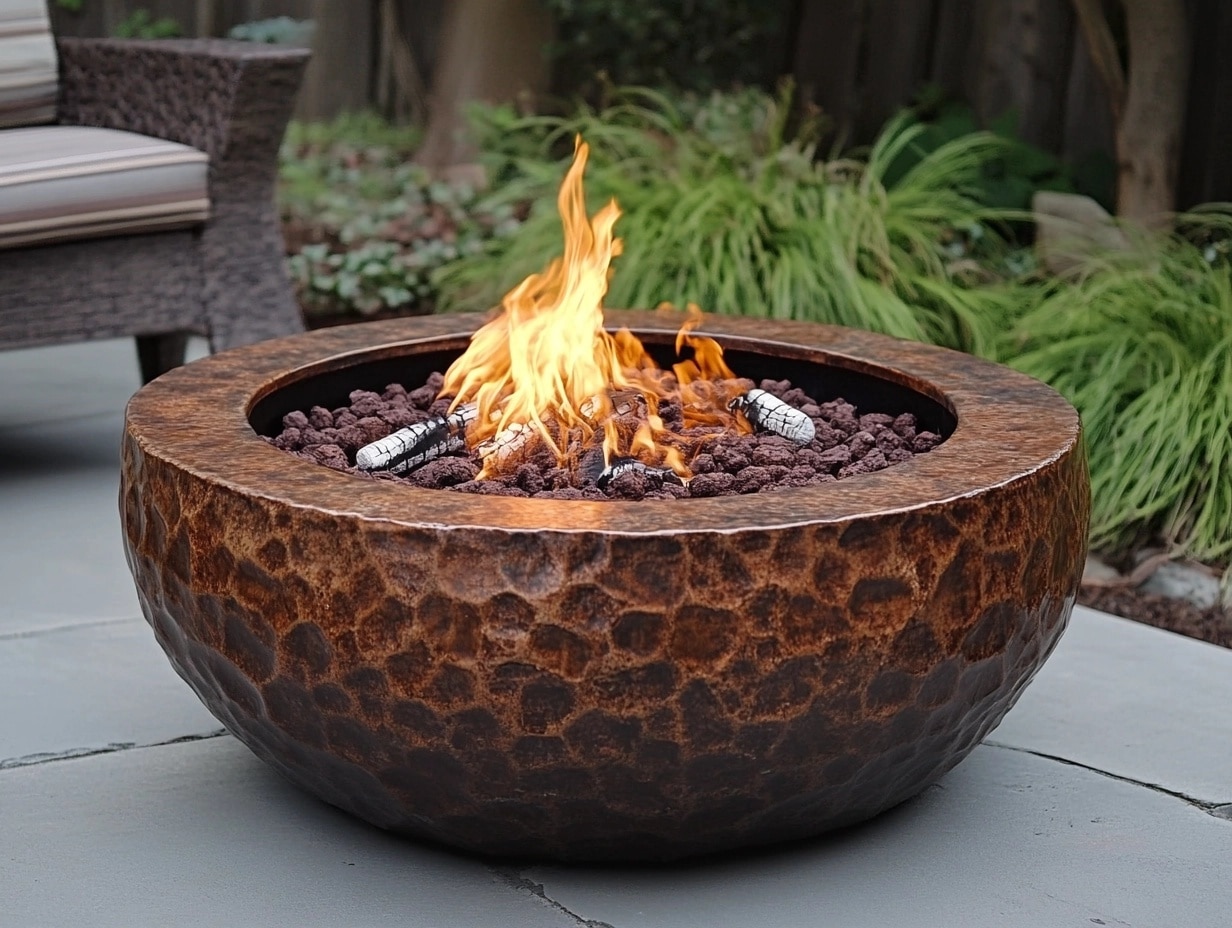
Follow these simple steps to build your own propane fire pit. Each step ensures safety, durability, and functionality.
1. Choose the Right Location
- Pick an outdoor spot with plenty of ventilation.
- Keep the fire pit at least 3 meters away from walls, furniture, or flammable items.
- Avoid placing it under low-hanging branches or overhangs.
- Use a flat, stable surface like concrete or gravel for stability.
2. Prepare the Base
- Choose a fire-resistant material like concrete, stone, or metal for the base.
- Level the surface to prevent tilting or wobbling.
- If using bricks or pavers, stack them securely with heat-resistant adhesive.
- Ensure the base can handle the weight of the burner, rocks, and decorations.
3. Install the Burner Kit
- Place the burner in the center of the fire pit base.
- Attach the propane hose and regulator according to the kit’s instructions.
- Check for a snug fit to avoid leaks.
- Keep the propane tank at a safe distance, ideally outside the fire pit structure.
4. Add Lava Rocks or Fire Glass
- Evenly distribute a layer of lava rocks or fire glass over the burner.
- Cover the burner enough to hide it but leave space for flame circulation.
- Choose fire-safe materials that won’t crack under heat.
5. Test the Fire Pit
- Turn on the propane and test the connections for leaks using soapy water.
- If bubbles form, tighten the connections and retest.
- Ignite the burner and observe the flame for evenness.
- Adjust the flame height if needed, following the manufacturer’s guidelines.
Completing these steps will give you a safe, functional, and attractive propane fire pit for your outdoor space.
Always test and maintain it regularly for long-term use.
Affordable DIY Propane Fire Pit Designs
Creating a propane fire pit doesn’t have to break the bank. Here are five affordable designs, each with unique features to suit your style and space.
1. Concrete Bowl Design
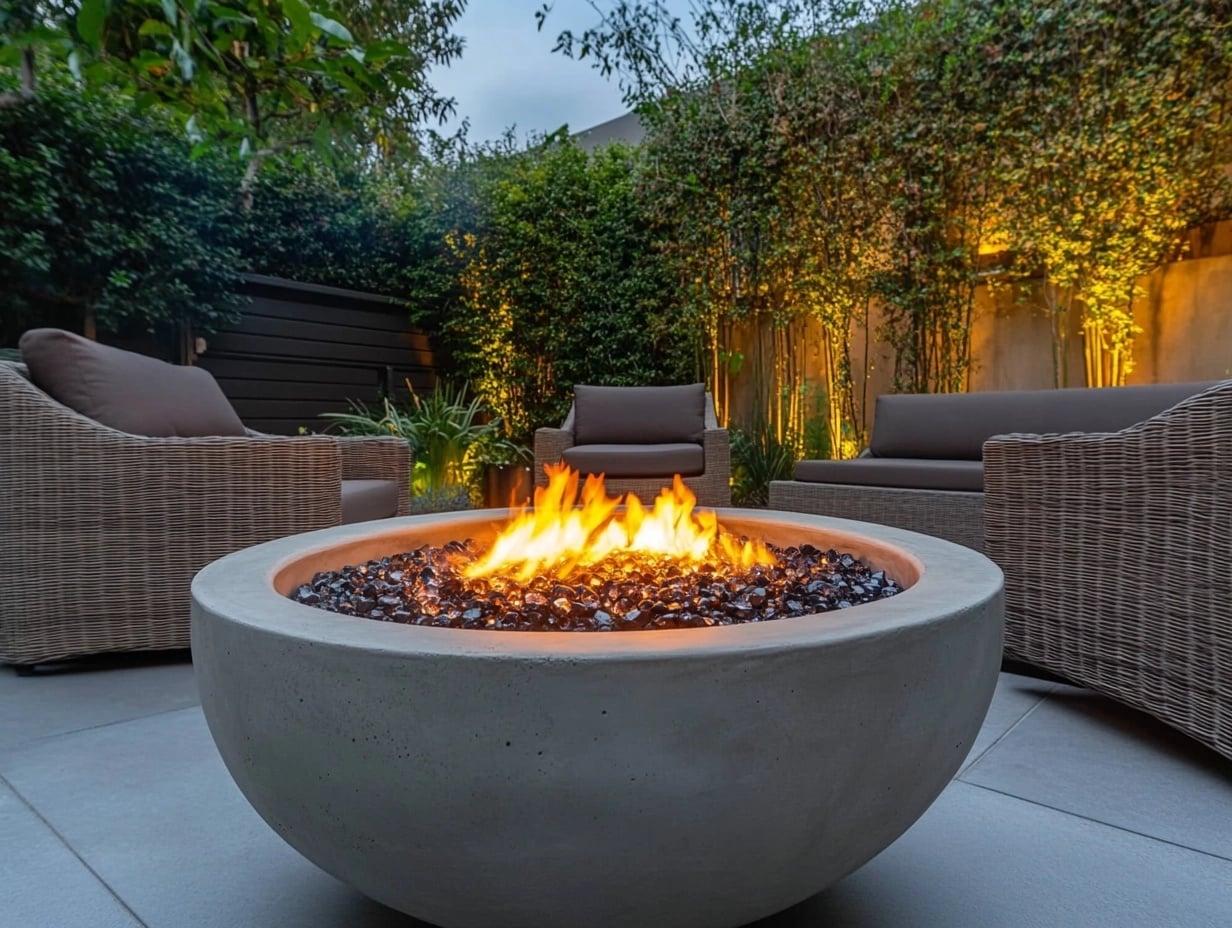
- Use a large concrete bowl as the base.
- Its clean, modern lines make it perfect for contemporary outdoor spaces.
- The bowl’s heat resistance ensures safety and durability.
- Add fire glass or lava rocks to enhance its sleek look.
2. Brick or Paver Fire Pit
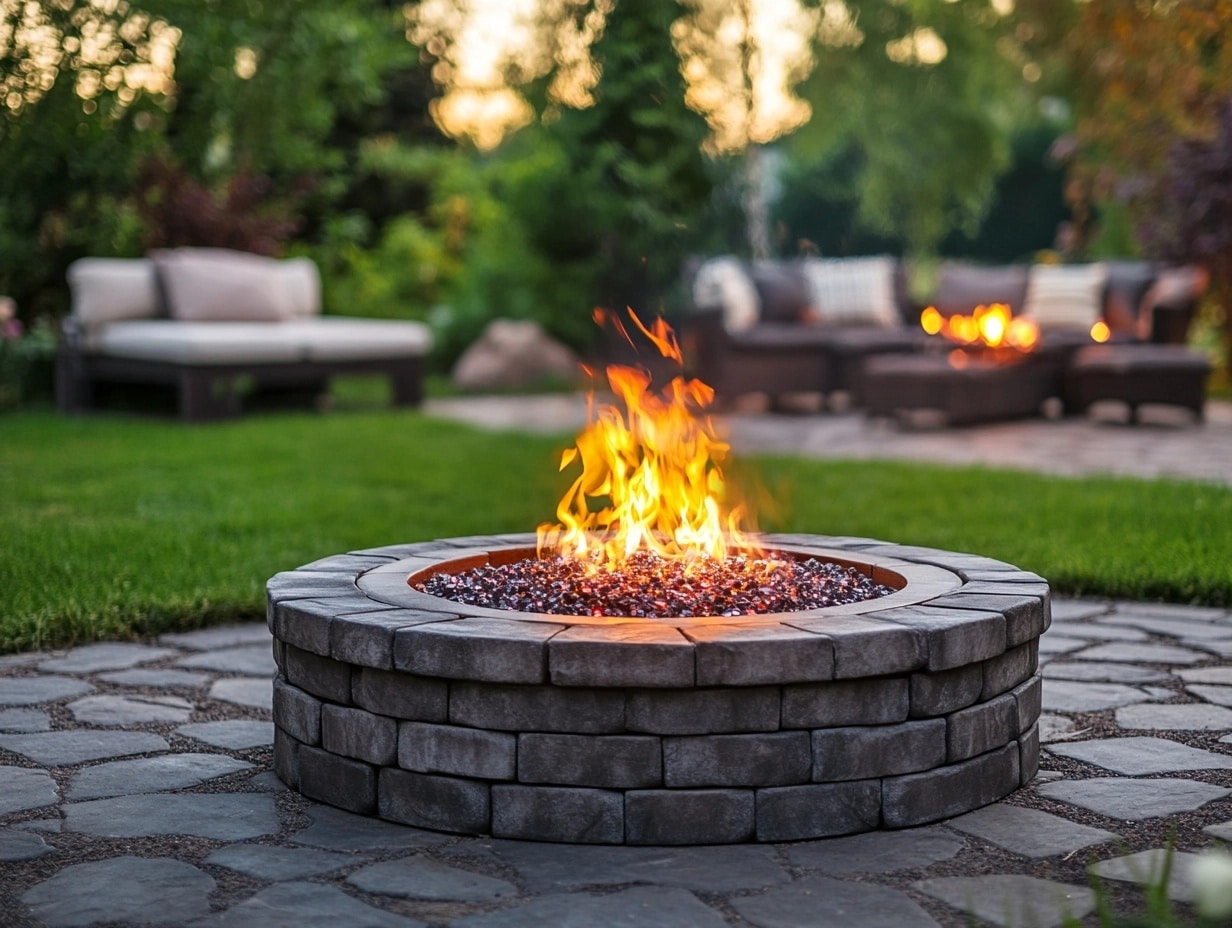
- Build a circular or square pit using bricks or pavers.
- Bricks are durable and allow for easy customization of shape and size.
- Secure the layers with heat-resistant adhesive for added stability.
- This design blends well with rustic or classic outdoor settings.
3. Metal Bowl Fire Pit
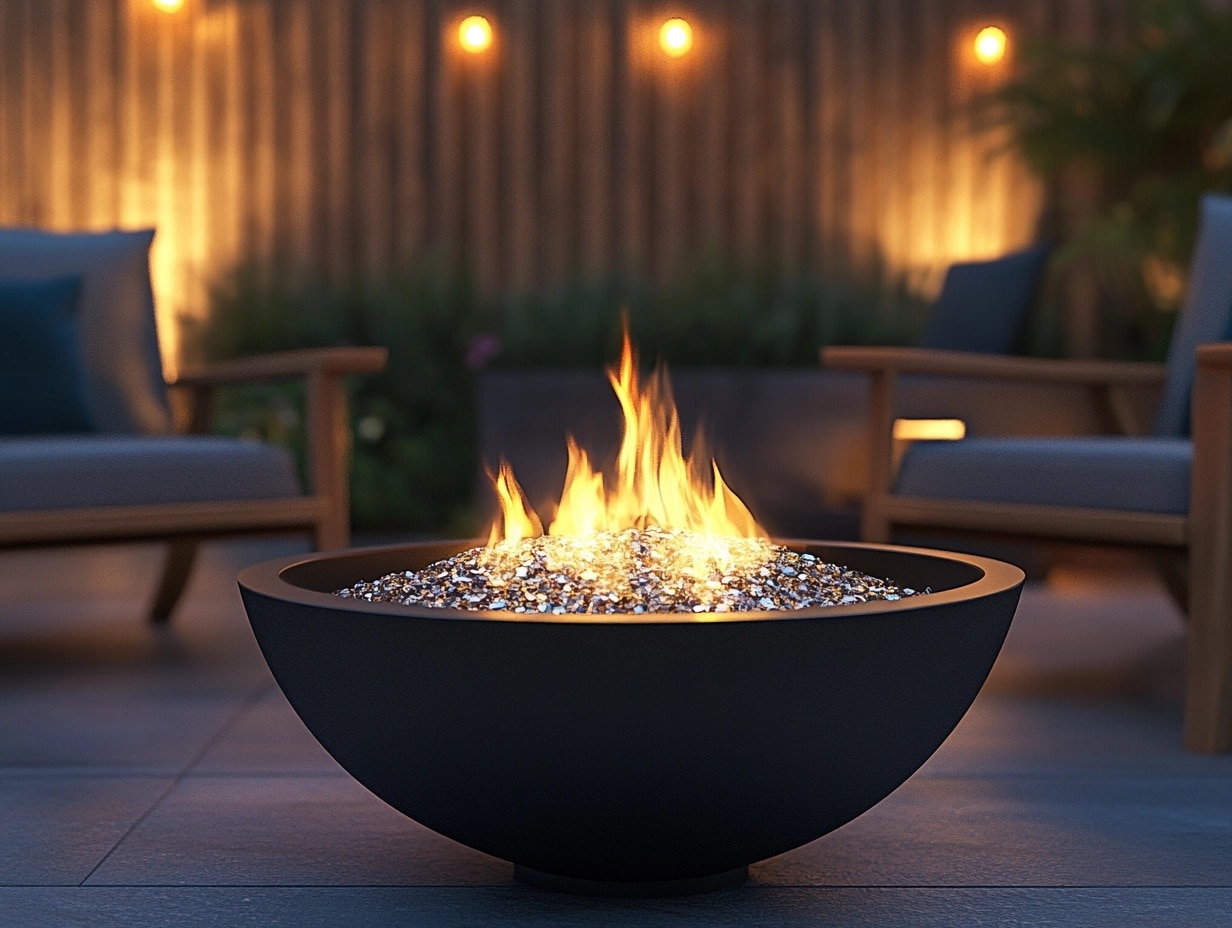
- Repurpose a metal basin, bowl, or washing tub.
- Metal is lightweight, durable, and easy to move.
- Add a burner kit and decorative rocks to complete the look.
- This design works well for industrial or minimalist aesthetics.
4. Wood-Accented Fire Pit
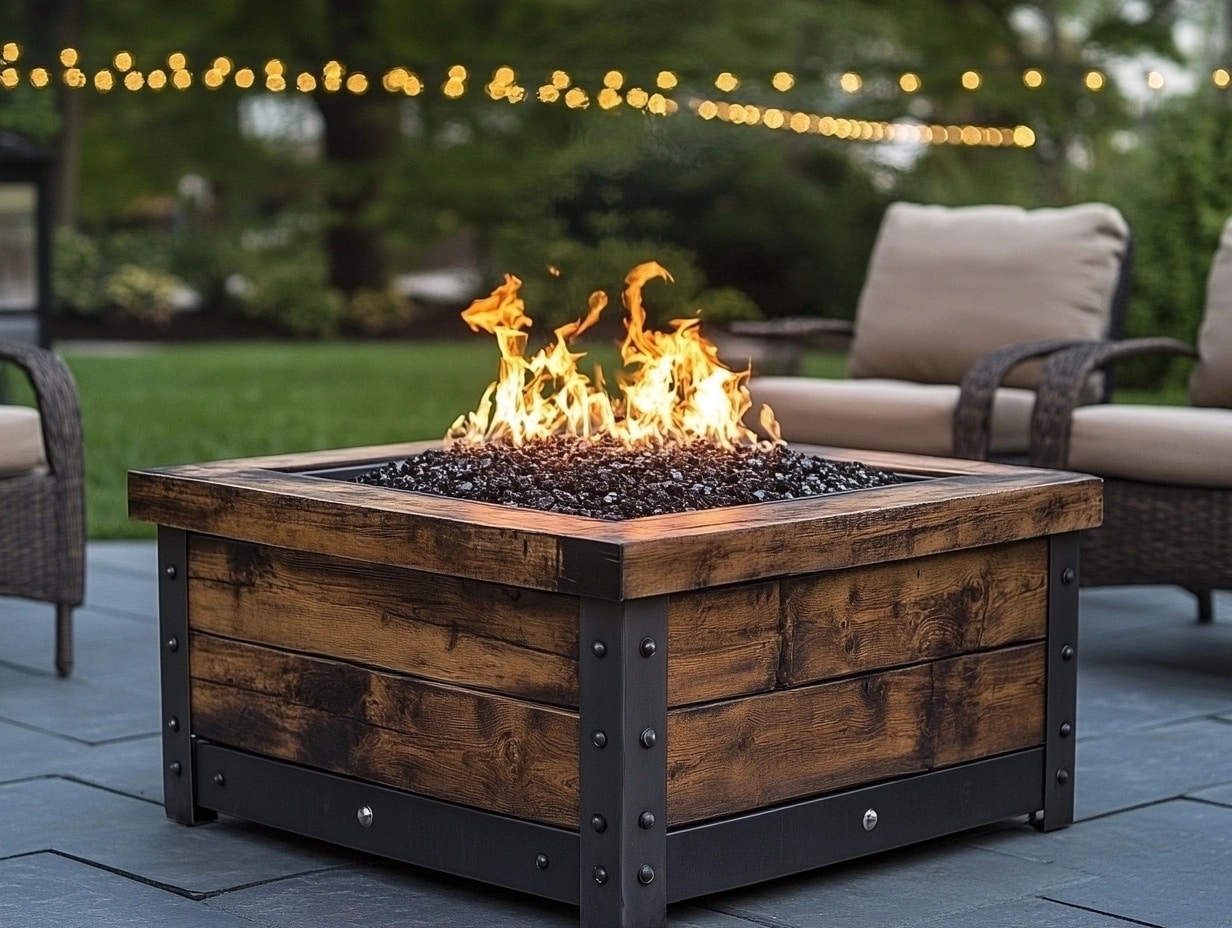
- Incorporate treated, fire-safe wood as part of the structure or surround.
- Use wood to create a frame or trimaround a metal or stone base.
- The warm tones of wood bring a cozy, rustic feel to your fire pit.
- Ensure the wood is kept away from direct flames for safety.
5. Tabletop Propane Fire Pit
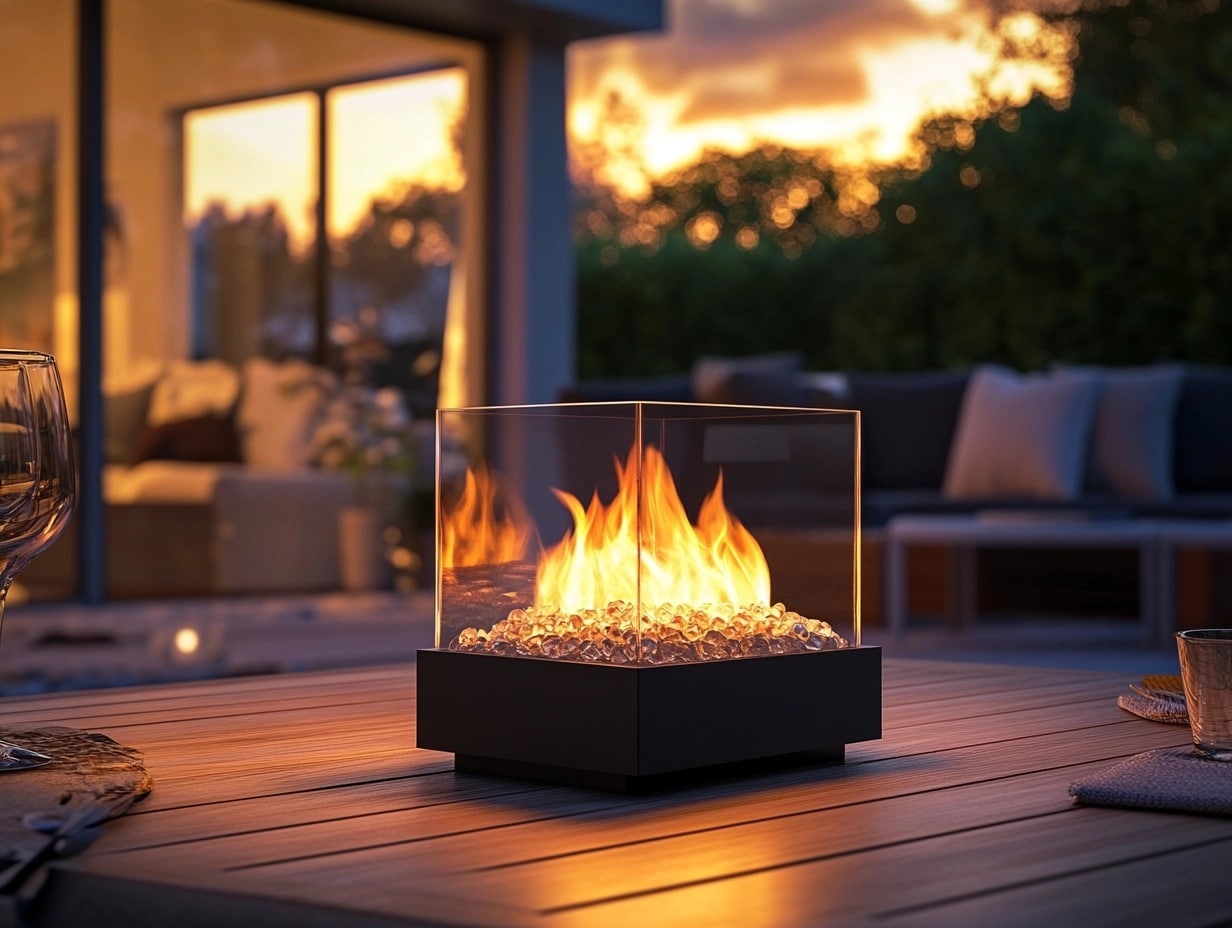
- Ideal for small patios or balconies.
- Use a small, heat-resistant container, such as a planter box or shallow tray.
- Add a mini burner kit and cover with lava rocks or fire glass.
- This compact design is easy to build and store when not in use.
Each of these designs combines affordability and creativity.
Choose one that fits your space, style, and budget for a DIY project you’ll enjoy.
Safety Measures
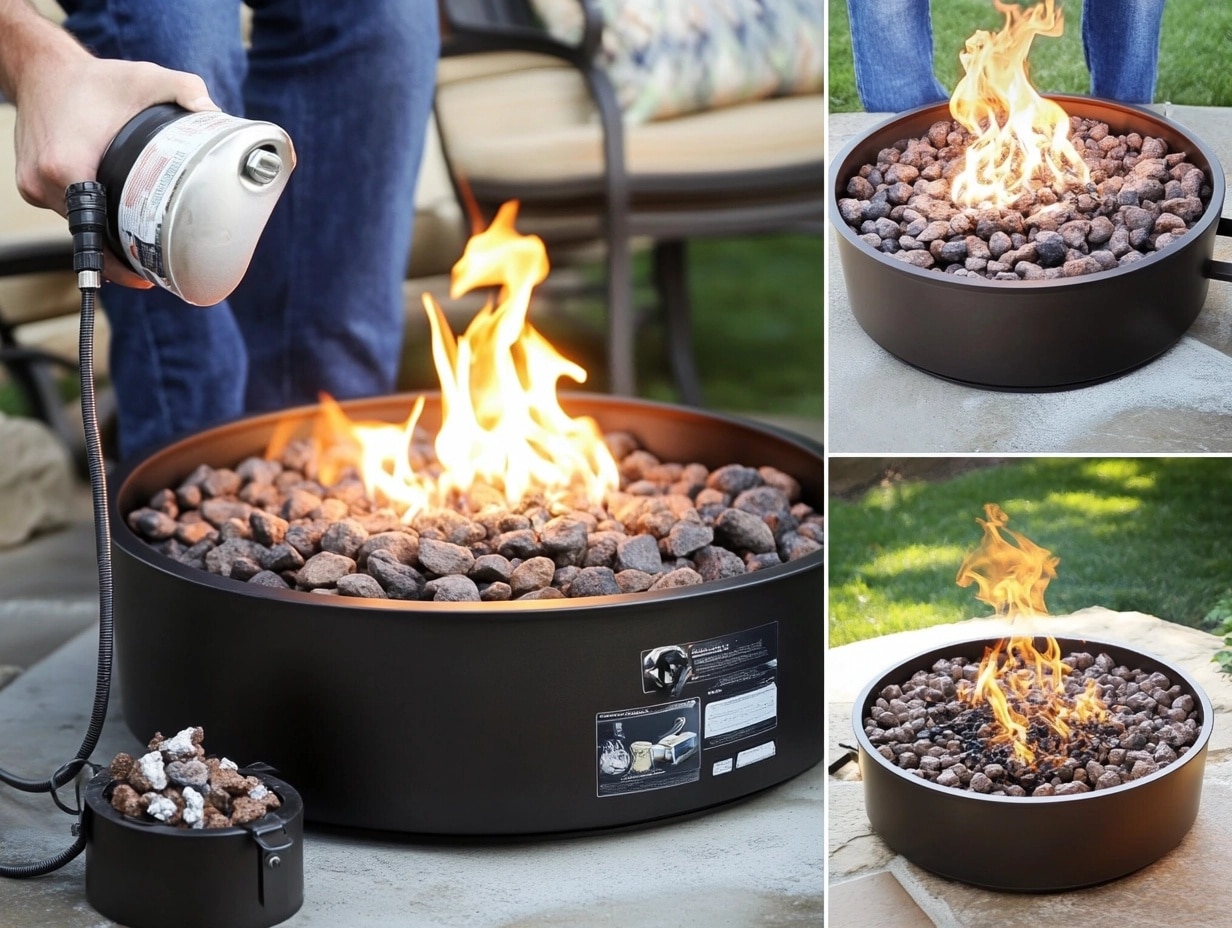
When working with a propane fire pit, safety should always come first.
Here are key tips to ensure safe use and avoid accidents.
1. Safe Handling of Propane
- Inspect regularly for leaks: Use soapy water to check connections for bubbles. Tighten fittings if needed.
- Store propane tanks carefully: Keep them in a dry, ventilated area, away from direct sunlight or heat sources.
- Position the tank safely: Place the propane tank away from the fire pit, ensuring it’s not too close to the flame.
2. Fire Pit Placement
- Always set up your fire pit in a well-ventilated area to avoid gas buildup.
- Maintain a safe distance from walls, overhangs, and flammable objects.
- Use a flat, stable surface to prevent tipping or shifting.
3. Extinguishing Flames Properly
- Turn off the propane supply completely after use.
- Allow the fire pit to cool before handling or cleaning.
- Never pour water on the fire pit; it can damage the materials and cause cracking.
4. Keep Fire Extinguishers Nearby
- Always have a fire extinguisher rated for gas fires within reach.
- Please familiarize yourself with how to use it in case of emergencies.
Regular Maintenance
Clean your burner holes monthly. Look for spider webs in the tubes – they can block gas flow. Replace worn-out parts immediately.
Never run propane lines underground or through walls. Test the emergency shutoff valve every time you use the pit.
Remember: A safe fire pit is a fun fire pit.
When in doubt, turn it off and check everything twice.
Conclusion
Building a propane fire pit creates a cozy outdoor space for family and relaxation, all at a lower cost.
You’ve learned how to create a safe, good-looking fire feature that costs less than store-bought options.
Pick a design that works for you – whether it’s a simple metal bowl or a full brick setup.
Remember to focus on safety first and take your time with each step. The result will be worth it.
Built a fire pit before? Share your experience or questions in the comments!
Your questions and tips help other readers with their projects, too.
Happy building, and enjoy those warm evenings around your new fire pit!
Want more outdoor DIY ideas? Check out our other backyard project guides.
Frequently Asked Questions
Can I use a propane fire pit indoors?
No, propane fire pits require proper ventilation and are only safe for outdoor use.
How do I check for propane leaks?
Apply soapy water to connections and look for bubbles.
If bubbles appear, tighten connections and retest.
What’s better: lava rocks or fire glass?
Both work well.
Lava rocks are budget-friendly, while fire glass offers a sleek, decorative finish.
How often should I inspect my propane fire pit?
Inspect it before each use, focusing on the propane connections and burner for damage or leaks.
Is it safe to leave a propane fire pit outside?
Yes, but cover it when not in use to protect it from weather damage and debris.

