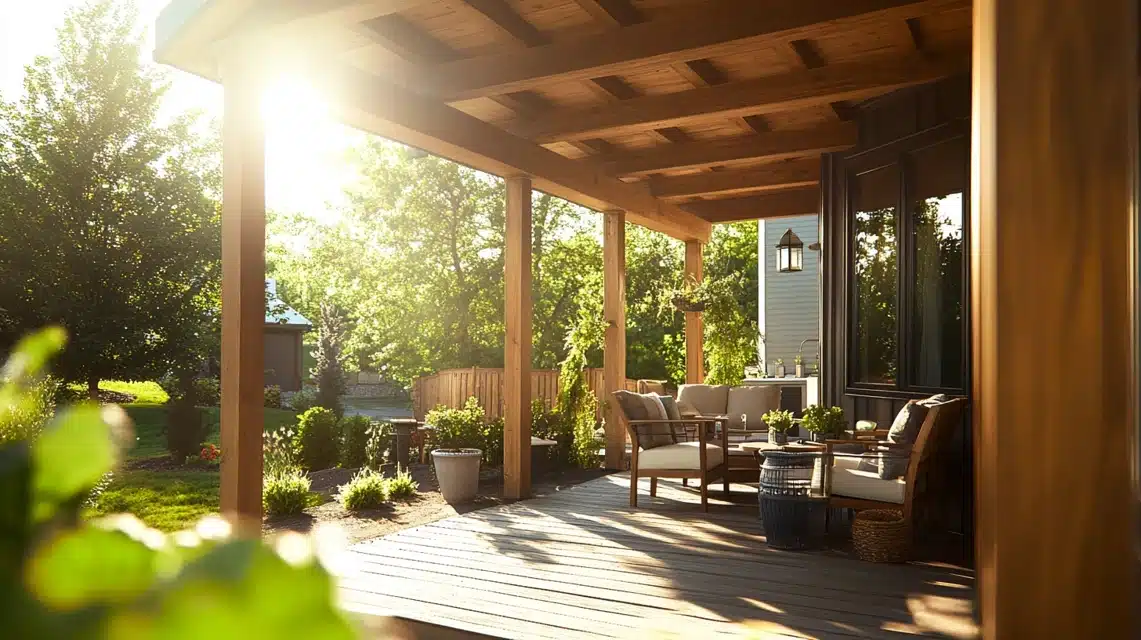
I recently finished putting up a wood ceiling on my porch, and I wanted to share what I learned during this project.
Picking the right wood for your porch ceiling matters a lot – it needs to stand up to weather, bugs, and moisture while still looking good.
Wood ceilings add warmth and style to any porch, plus they protect the space from the elements.
In this guide, I’ll walk you through the exact steps I took to install my porch ceiling, share my top wood choices, and tell you what worked (and what didn’t) during the process.
Materials Required
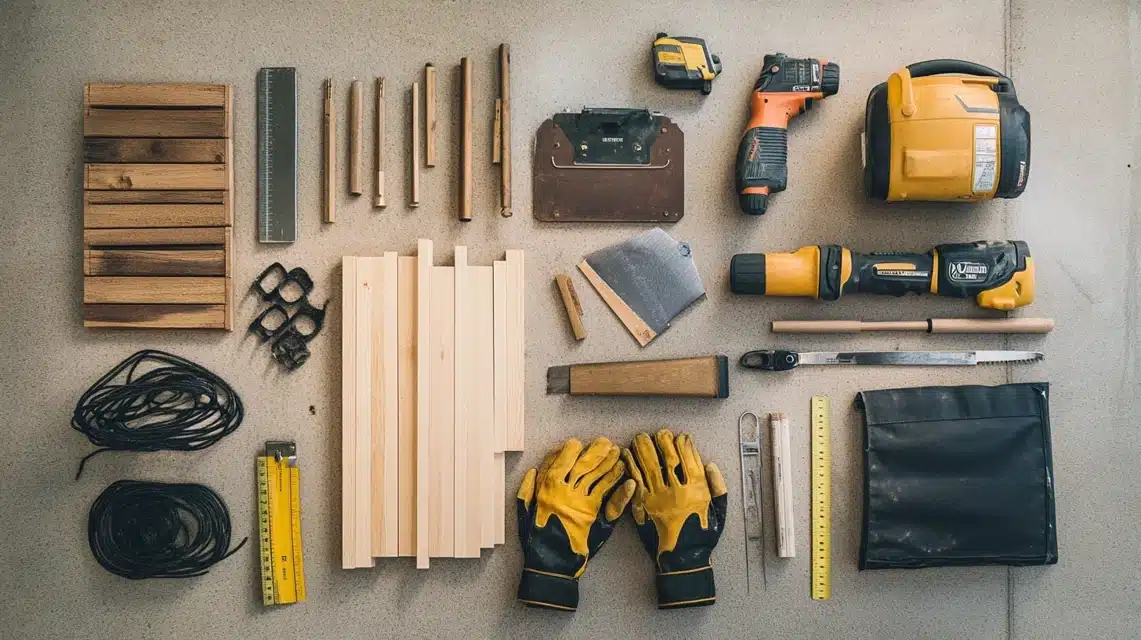
Here’s everything I needed for my porch ceiling project. Getting these items ready before starting made the whole process smoother:
Main Materials:
- 2×8 lumber (I used 12-foot lengths, but you’ll need to measure your space)
- 2×4 lumber for the borders (optional, depending on your porch size)
- Early American wood stain
- 4-inch outdoor screws (I chose bronze ones to match the wood)
Tools:
- Electric sander and sandpaper
- Miter saw for clean cuts
- Compact driver for screws
- Jigsaw (if you’re adding lights)
- Measuring tape
- Level
- Pencil for marking
- Safety glasses
- Work gloves
- Dust mask
A helper made the installation much easier, especially when handling longer boards. Make sure you have enough space to lay out and work with the lumber before starting.
Step By Step Guide To Install Wood Porch Ceiling
1. Sanding And Staining

I learned that sanding is key to getting the best results.
Start with a medium-grit sandpaper to remove any rough spots and splinters.
Pay special attention to any marks or stamps on the wood – these need to be completely sanded away.
Sand in the direction of the wood grain to avoid scratches. I noticed this step also helped remove the reddish color from the wood.
Once the surface feels smooth, wipe away all the dust with a clean cloth.
For staining, I used Early American because it gives a nice, warm brown color without looking too red or orange.
Apply the stain evenly with a brush or cloth, and let it dry completely before handling the boards.
2. Markings
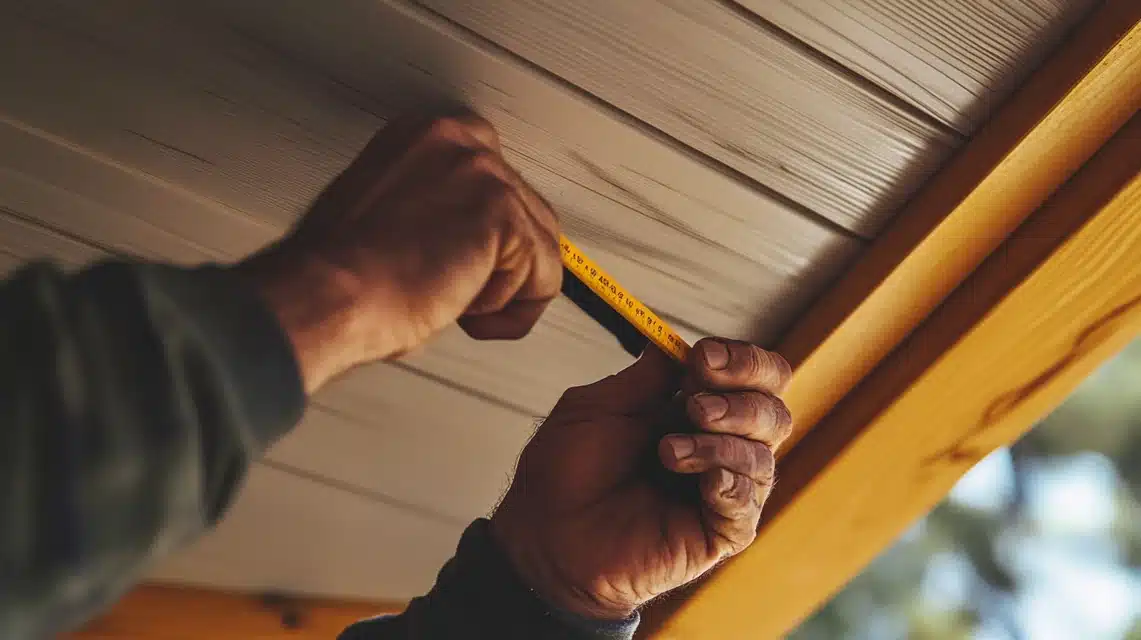
Before putting up any boards, I took time to find and mark all the ceiling studs.
This step is crucial – it’s what keeps everything sturdy and secure.
I used a stud finder to locate each one, then made clear pencil marks across the ceiling.
I measured from wall to wall and marked every 16 inches (that’s usually where studs are placed).
I made my marks long enough to see them while working, but light enough to cover up later.
A good tip I found: draw a line along the entire ceiling where each stud runs.
This makes it much easier to line up the boards when you’re holding them overhead.
3. Mark Holes
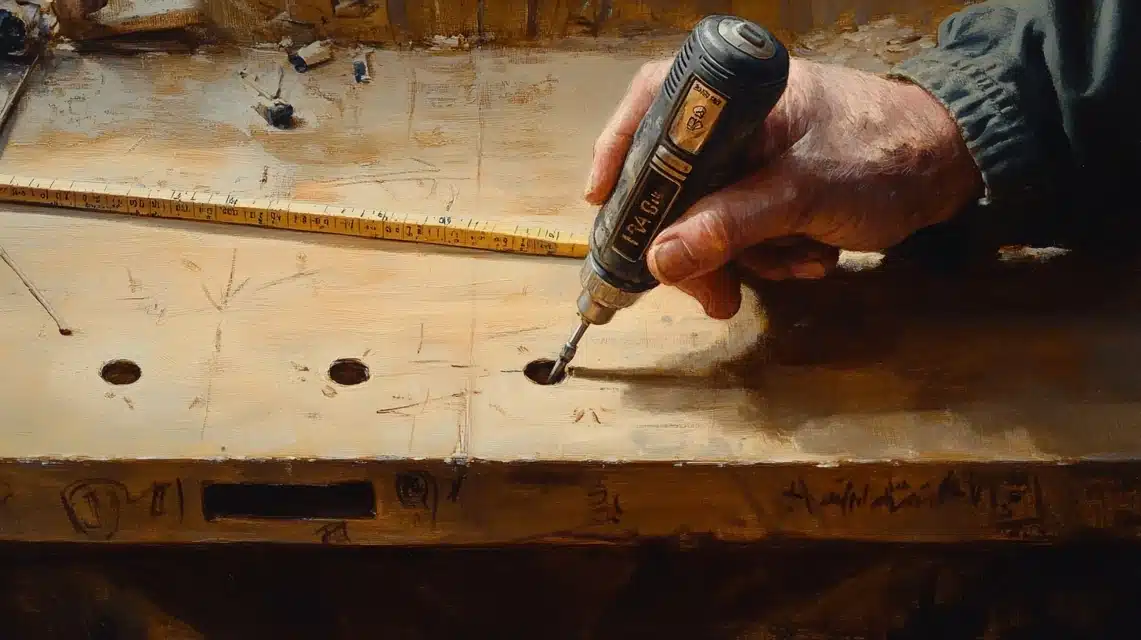
Getting the holes right saved me from splitting any boards.
Here’s what worked for me: I measured and marked where each screw would go, making sure they lined up with the ceiling studs I marked earlier.
I used a drill bit that was just a bit smaller than my screws – about 1/8 inch smaller works well.
This creates a pilot hole that guides the screw but still lets it grip the wood.
Make your marks carefully and keep them straight – crooked holes mean crooked boards.
4. Measure And Cut
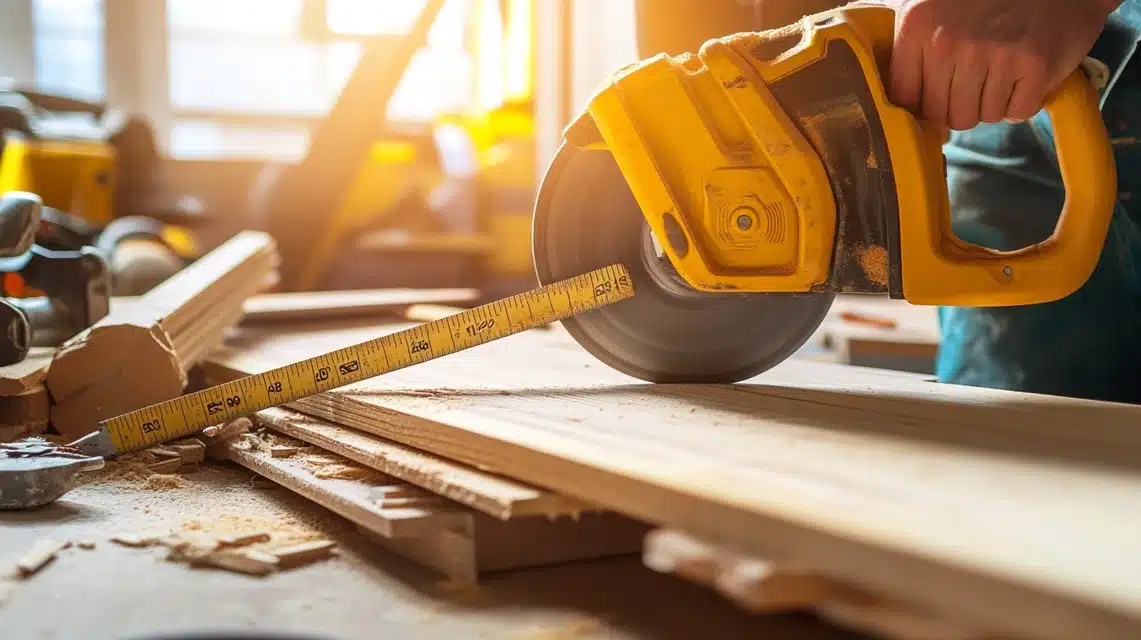
This step needs careful attention to detail.
I measured each section three times before cutting – you know what they say about measuring twice!
For the best fit, I measured from wall to wall where each board would go, since walls aren’t always perfectly straight.
When cutting, I set up my miter saw on a flat surface and marked my cut lines clearly.
I made sure each cut was straight and clean.
For the best results, I cut slightly long (about 1/16 inch) and then trimmed if needed. This gave me wiggle room to get a perfect fit.
5. Hang And Fix
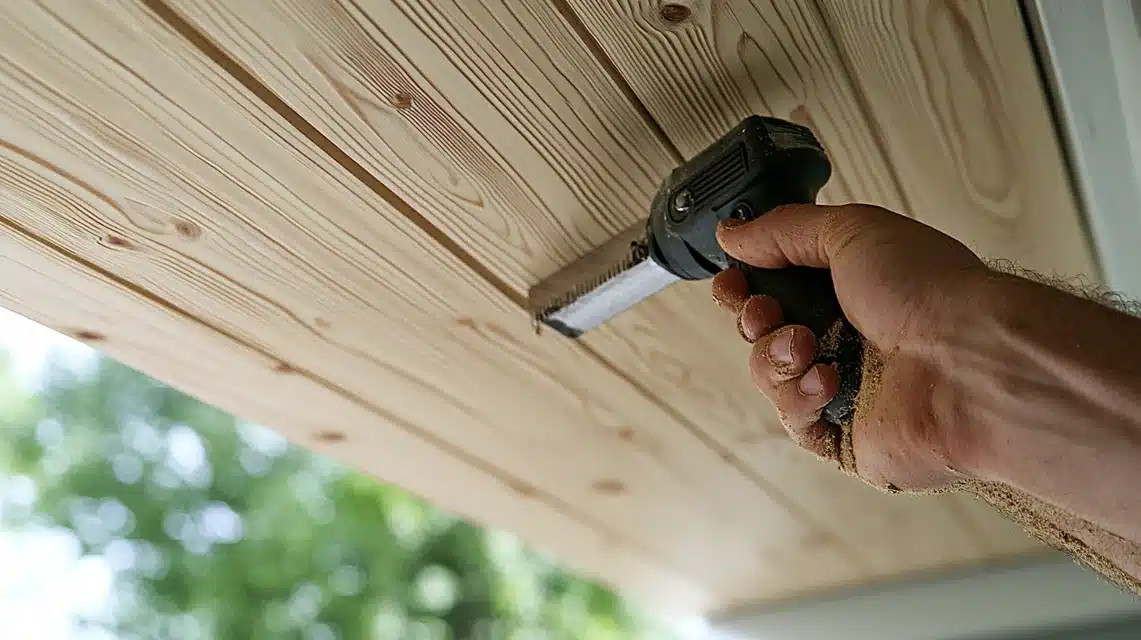
After marking and cutting, I started hanging the boards.
I found it works best to start from one end of the porch and move toward the other.
Starting at the wall gives you a straight edge to work from.
I lined up each board with my stud marks and secured it with screws.
A tip that saved me time: I used a level on every board before securing it fully.
I put in one screw first, checked the level, then added the rest.
When putting in screws, I went slowly to avoid splitting the wood. The screws should go in until they’re just below the surface – not too deep.
6. Repeat Steps With Every Piece
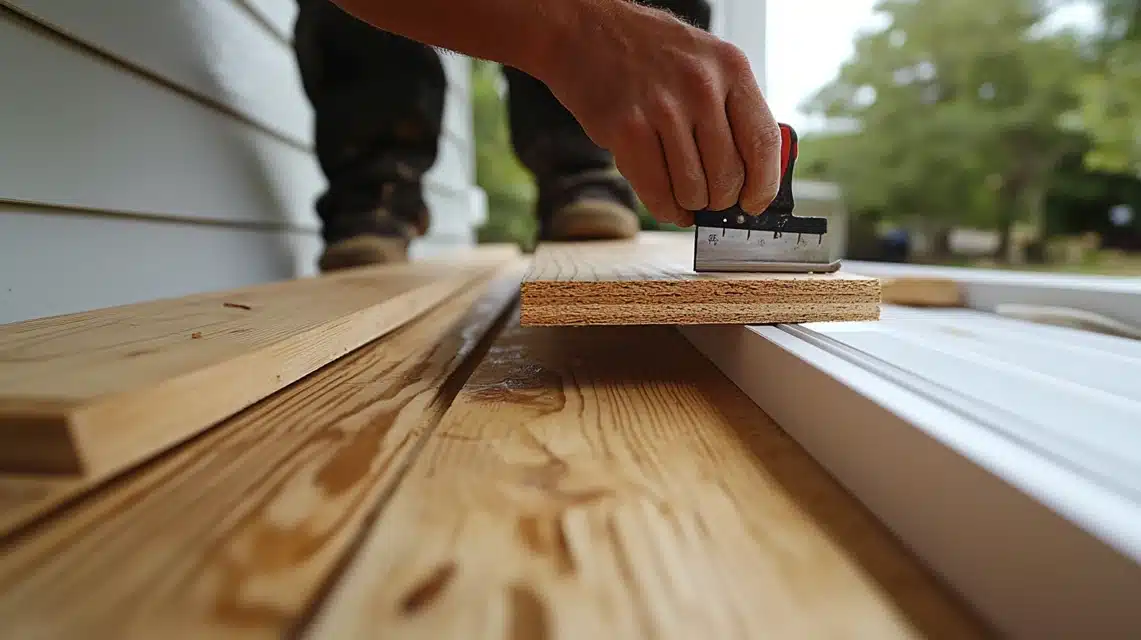
Working my way across the ceiling, I kept each board tight against the previous one.
I checked the level of each board and made sure the seams lined up nicely.
The key is taking your time – rushing leads to gaps and uneven spots.
I found it helpful to step back every few boards to look at the overall pattern. This helped me spot any issues before they became bigger problems.
If you notice a board isn’t quite right, it’s better to fix it right away than to keep going.
7. Do This In Case You Are Adding Lights
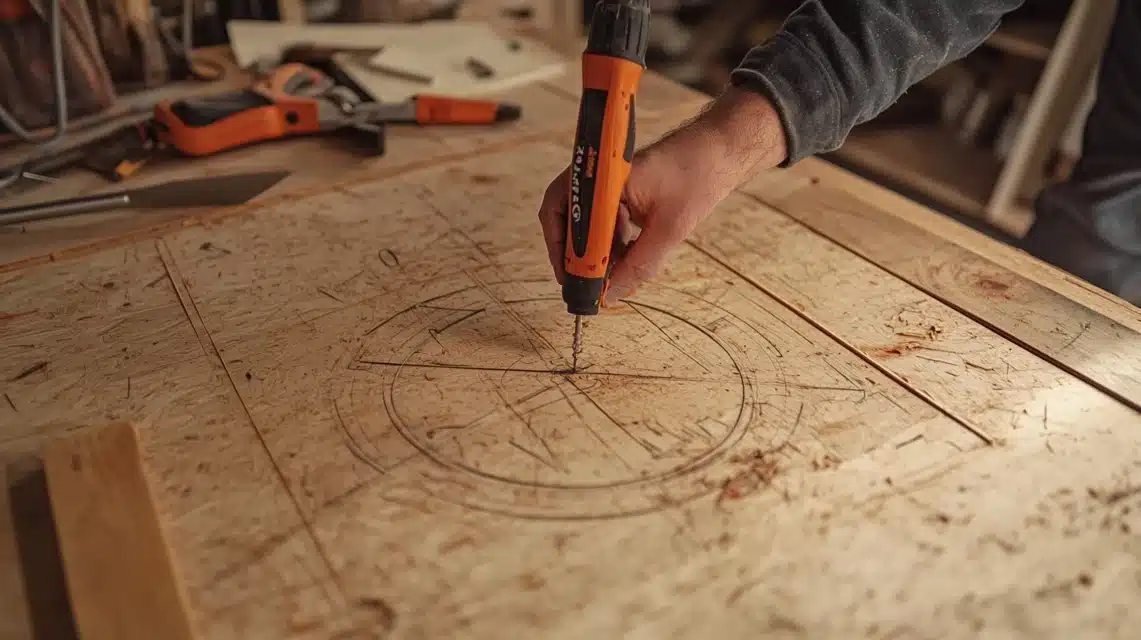
For my light fixtures, I made paper templates first.
I traced around each light fixture to get the exact size, then transferred this pattern to cardboard to make a sturdy template. This extra step helped me get clean, accurate cuts.
When cutting the holes, I drilled a starter hole first, then used my jigsaw to carefully follow my template lines.
I went slowly around curves to keep the cuts smooth.
Testing the light fixture in each hole before moving on saved me from having to make adjustments later.
Best Woods For Porch Ceiling
When choosing wood for a porch ceiling, selecting materials that can handle outdoor conditions while looking good is important.
From my research and experience, certain woods stand out for their strength and natural beauty. Let’s look at the top choices that work well in different climates and conditions.
| Wood Type | Weather Resistance | Insect Resistance | Maintenance Needs | Grain Pattern |
|---|---|---|---|---|
| Cypress | High | High | Low | Distinct knots |
| Cedar | High | High | Medium | Fine, even |
| Hemlock | Medium | High (modified) | Medium | Traditional |
| Southern Pine | Medium | Medium | High | Straight, clean |
| Douglas-Fir | Medium | High | High | Mixed |
| Ipe | Very High | Very High | Low | Rich, dense |
Cypress
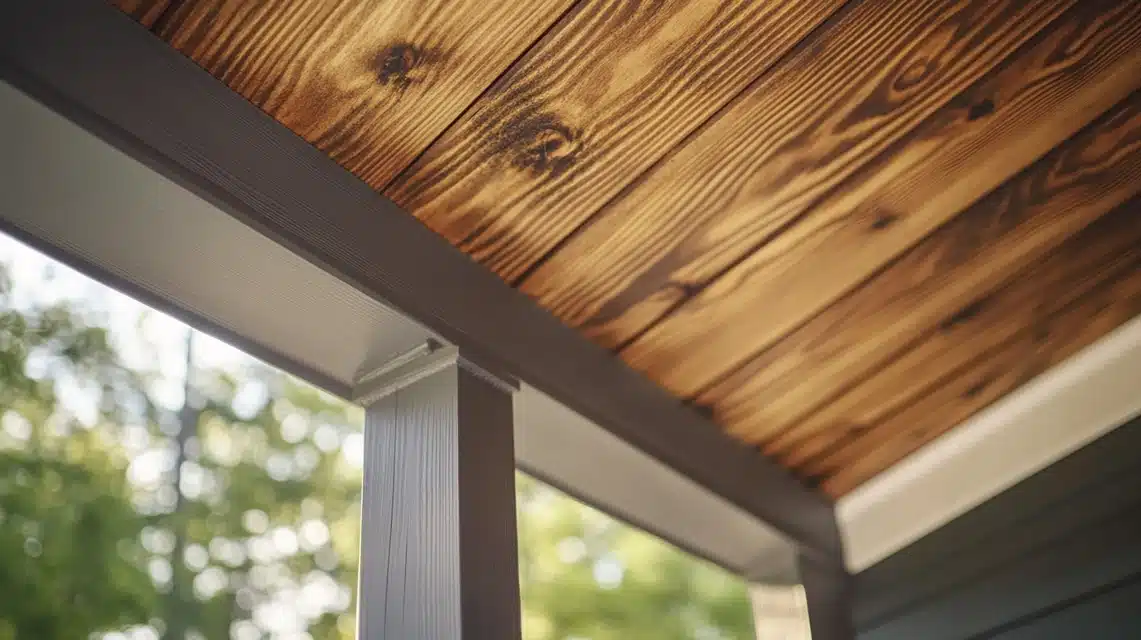
This wood stands out for its natural ability to fight off decay and bugs.
I found that cypress handles Florida’s tough weather exceptionally well.
At about $1.15 per linear foot, it’s a good deal for what you get. The boards come in different lengths – 8, 10, 14, and 16 feet – which helps with installation.
The wood has clear grain patterns and knots that give it character.
When you add stain, some parts take it differently than others, creating nice color changes throughout the boards. This natural look adds warmth to any porch space.
Cedar
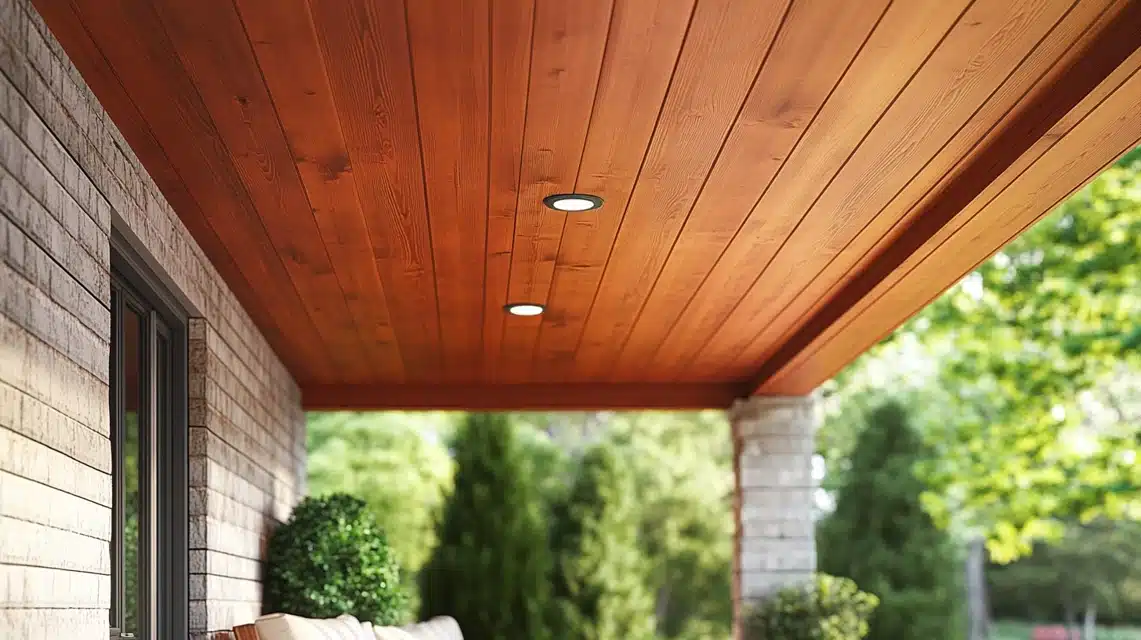
Western red cedar and Alaskan yellow cedar stand out for their natural oils that fight off damage.
These woods work great without any treatment, though they’ll turn gray over time if left natural.
The wood has natural compounds that keep fungus and insects away.
One important note I learned: you need stainless steel nails or screws with cedar.
Regular galvanized fasteners will rust and leave marks on the wood, especially if they touch pressure-treated lumber.
The wood itself has a clean look and pleasant smell that lasts for years.
Hemlock
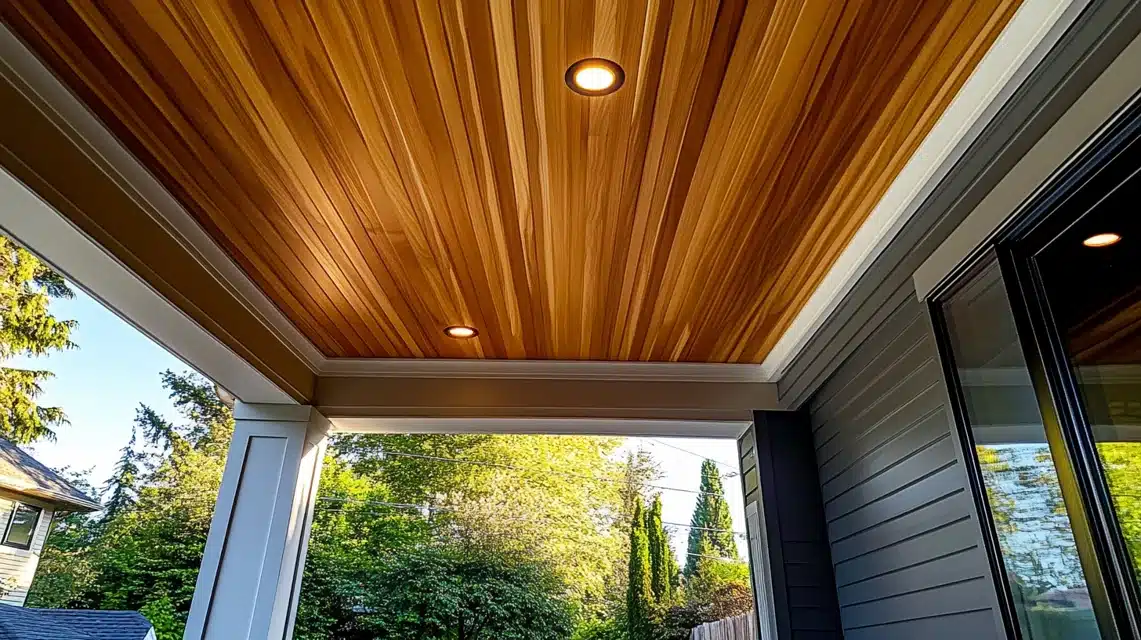
If you want the cedar look without the high price, hemlock is worth considering.
When treated with heat, it becomes stronger than cedar and fights off bugs better.
You can get it with or without knots, and in different grain patterns – flat grain looks more traditional, while vertical grain gives a modern feel.
Vertical grain costs more but stays straighter over time.
For fasteners, stick with stainless steel to be safe.
Some say galvanized works fine, but why take the risk? The wood takes stain well and can last many years with proper care.
Southern Yellow Pine
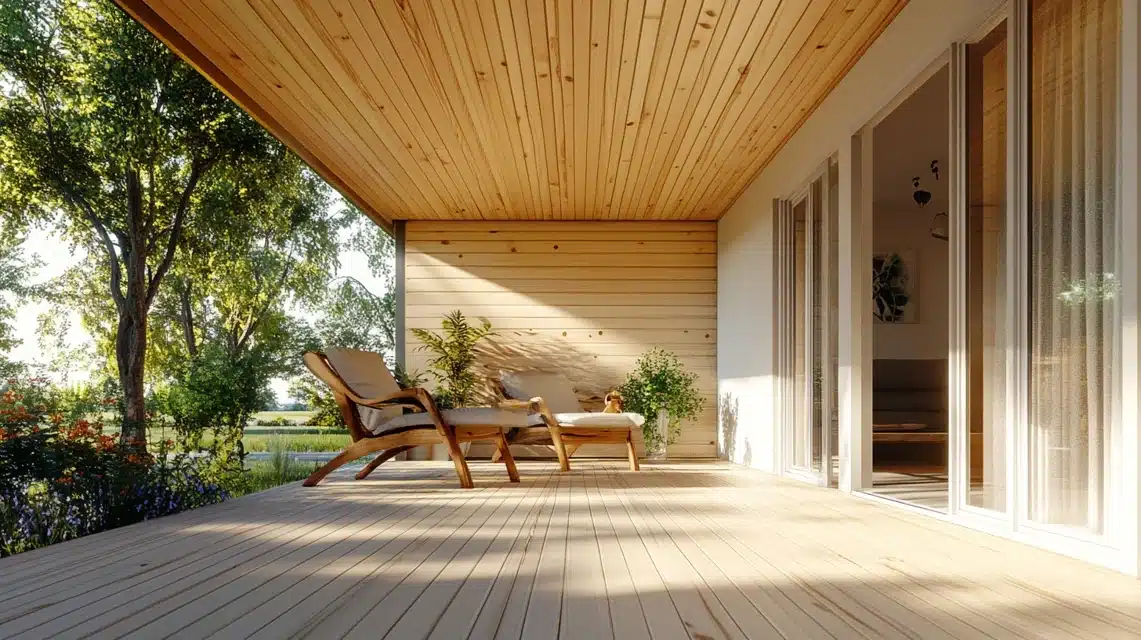
This wood gives you good value for money.
Unlike other pines, southern yellow pine handles outdoor use well when sealed properly.
The wood has fewer knots than most options, with clean, straight grain patterns that look neat and organized.
You can use hot-dipped galvanized or stainless steel fasteners with this wood. The grain pattern stays consistent, making it good for spaces where you want a clean, uniform look. Just remember to seal it well and maintain it regularly.
Douglas-Fir
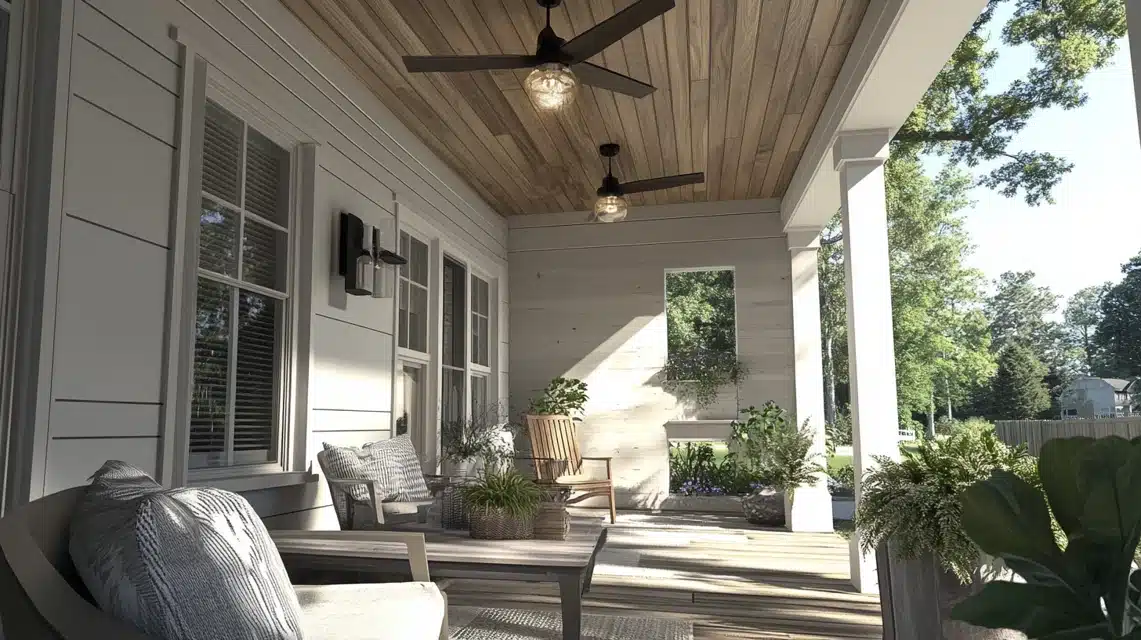
Douglas-fir combines good looks with strength. It has natural compounds that help fight off rot and bugs, much like cedar.
While it needs more protection from moisture than cedar, treating it with heat or sealing it every couple of years keeps it in good shape.
For fasteners, both hot-dipped galvanized and stainless steel work well, but stainless steel gives better long-term results.
The wood offers a mix of light and darker tones that work well in many design styles.
With proper care, it stays strong and keeps its good looks.
Ipe
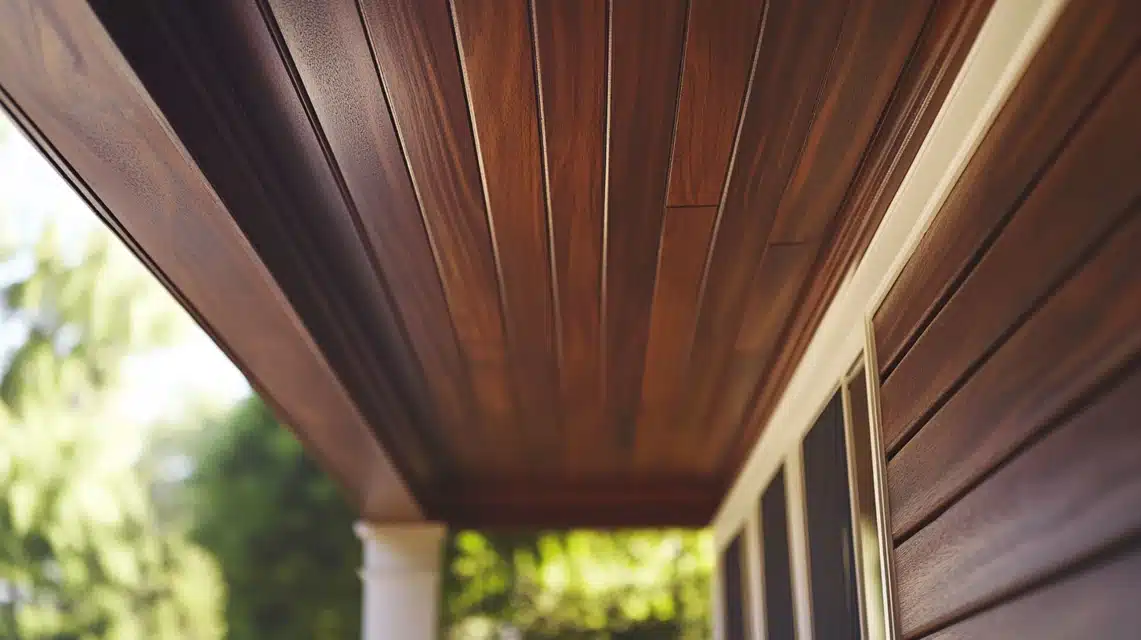
This wood is incredibly tough – so strong it matches brick in fire resistance.
It can last 75 years or more when exposed to weather, and even longer under a porch roof. The wood naturally fights off moisture, rot, and bugs without help.
However, finding true ipe can be hard, and it costs more than other options.
The wood has a dark brownish-red color that’s hard to change.
If you use ipe, you must use stainless steel fasteners – galvanized ones won’t last against this dense wood.
Woods To Be Avoided
Some woods might look good at first, but don’t hold up outdoors. Here’s a quick guide to woods that aren’t right for porch ceilings:
| Wood Type | Main Issue | Best Use Instead |
|---|---|---|
| Northern White-Fir | Weak against bugs and rot | Indoor trim work |
| Eastern White Pine | Poor outdoor durability | Indoor furniture |
| Engineered Bamboo | Falls apart in moisture | Indoor paneling |
| Redwood (new) | It is not as strong as old-growth | Indoor projects |
Northern White-Fir
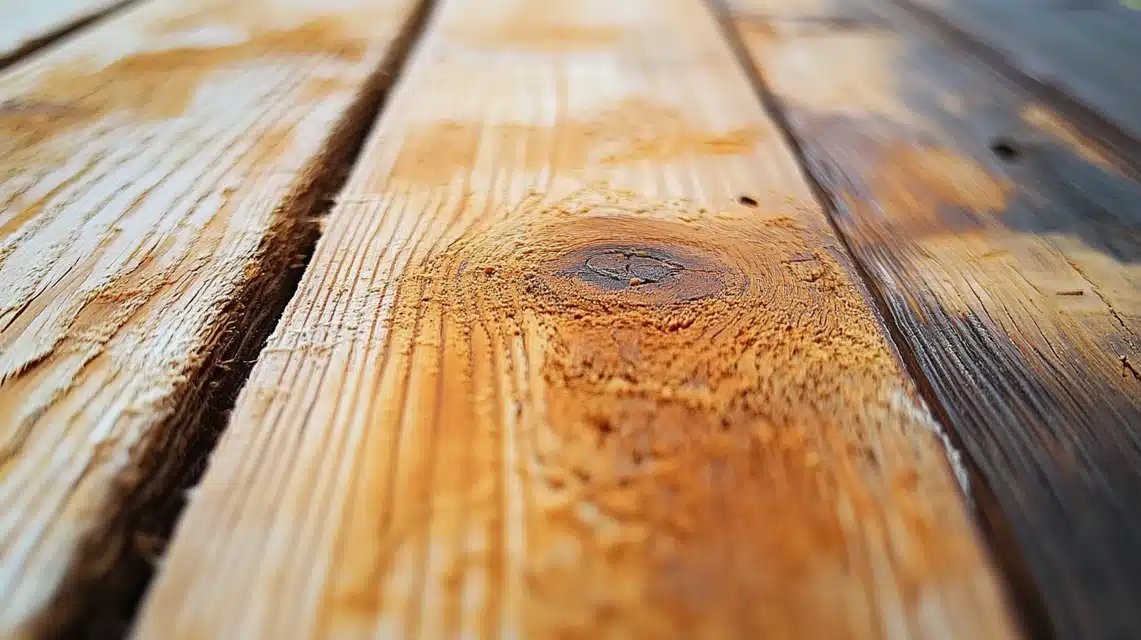
While this wood looks nice and works well with tools, it’s not made for outdoor use.
The main problem is how easily bugs can damage it, plus it tends to rot when it gets wet.
This wood works much better inside homes where it stays dry and protected.
Eastern White Pine
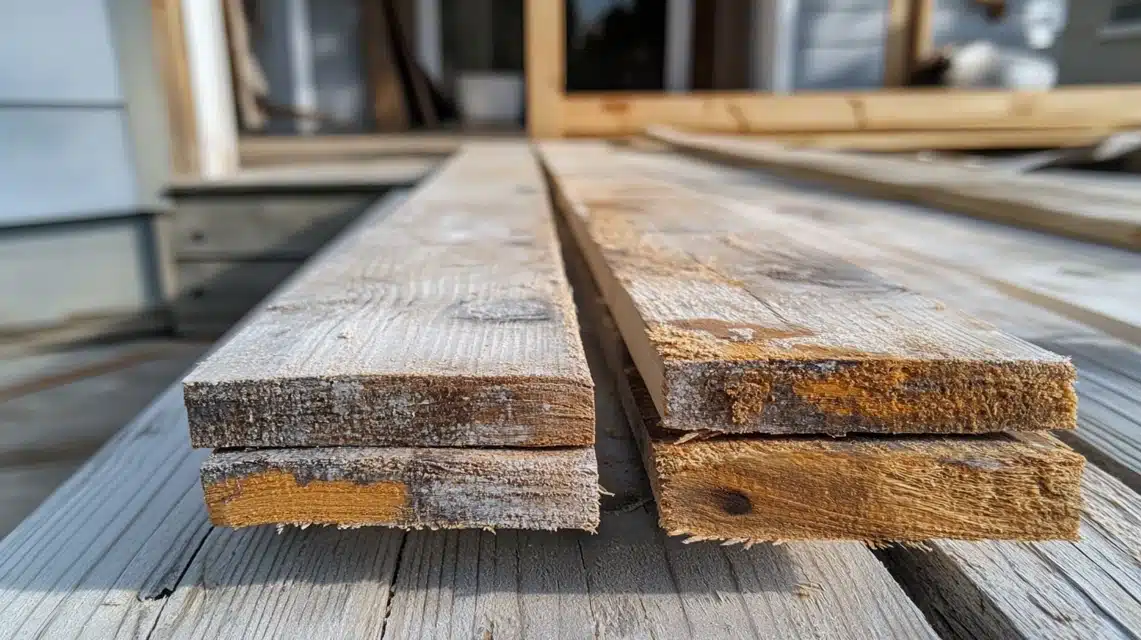
Eastern white pine simply can’t handle outdoor conditions like other woods can.
It rots more easily than cedar or douglas-fir, making it a poor choice for porch ceilings.
This wood shines in indoor projects like furniture and trim work, where it stays protected from weather.
Engineered Bamboo
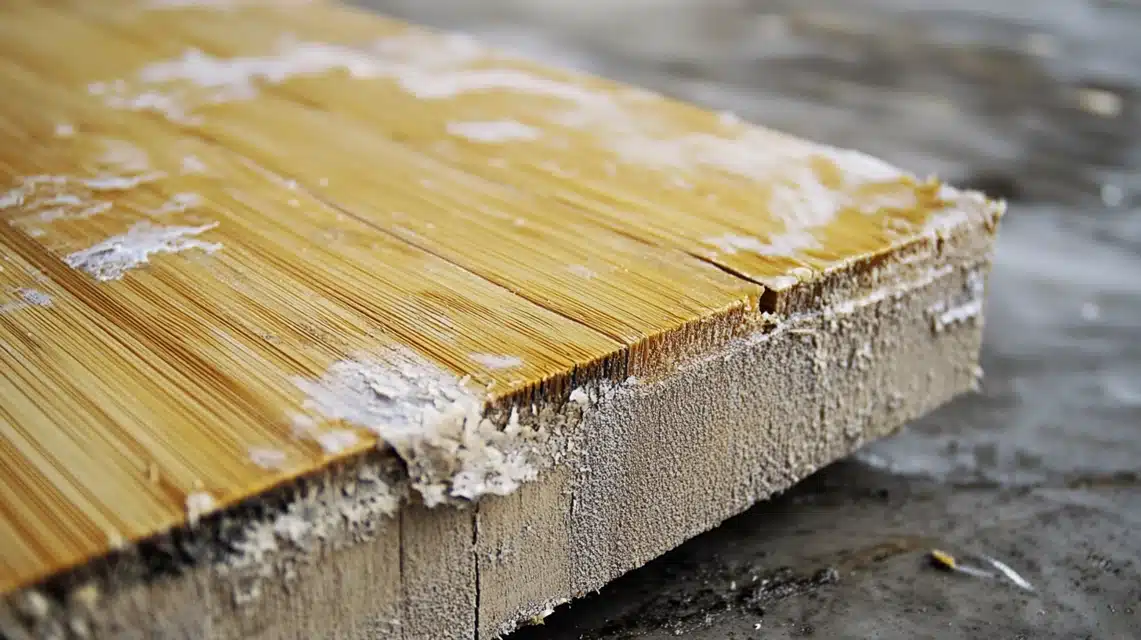
Think of engineered bamboo like pressed wood – it’s made from bamboo pieces held together with glue.
While it might seem like a good choice, it falls apart quickly outside.
Moisture makes it swell and creates perfect spots for mold to grow. It’s better to use this material for indoor projects only.
Redwood
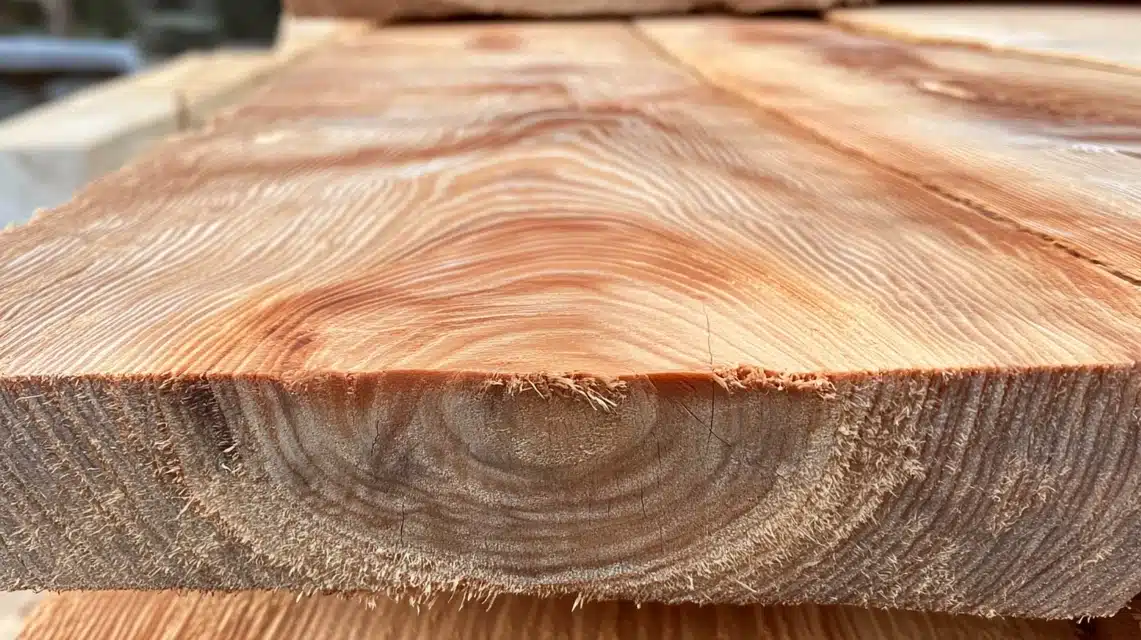
Modern redwood isn’t what it used to be.
Today’s redwood comes from young trees cut after about 20 years, making it weaker than old-growth redwood. This newer wood doesn’t fight off weather and bugs as well as the old stuff did.
Save this wood for indoor projects where its good looks can shine without fighting the elements.
Conclusion
I’ve learned a lot while researching and working with different woods for my porch ceiling.
From my experience, cypress and cedar are hard to beat if you want something that lasts.
They cost a bit more upfront but save money over time since they need less care.
Whatever wood you pick, make sure it matches your local weather and how much time you want to spend on upkeep.
Think about what looks good to you, what fits your budget, and what works best in your climate. Good planning now means fewer problems later.
Frequently Asked Questions
What is the Best Material to Use for an Outdoor Porch Ceiling?
Cypress is the best choice for porch ceilings. It naturally fights off decay, weather damage, and insects while being cost-effective and looking attractive.
Can I Paint Pressure Treated Wood?
Yes, you can paint pressure-treated wood, but you must wait until it’s completely dry – typically 3-4 months after installation – before painting.

