Basement floors are often one of the most overlooked areas in a home, but with a little effort, they can be changed into a beautiful and functional space.
Painting your basement floor is an affordable and simple way to update the look of your basement, making it feel more inviting and well-maintained.
Not only does it enhance the visual appeal, but it also provides protection against moisture, dirt, and wear and tear. With the right materials and techniques, you can create a floor that’s durable, easy to clean, and reflective of your style.
Painting your basement floor is a practical solution if you want to give the space a fresh, clean look or create a more spirited and unique design.
This guide will walk you through the process step by step, helping you achieve a professional finish that will last for years.
Why Choose Painted Floors for Your Basement?
Durability and Protection
Basements are often exposed to moisture and heavy foot traffic, which can cause significant wear and tear. Painted floors, especially those using specialized paints like epoxy or concrete floor paint, provide a durable solution.
These paints create a strong protective layer that helps safeguard the floor against:
- Moisture Penetration: The paint acts as a barrier, preventing water from seeping into the floor and causing damage, such as mold or mildew growth.
- Everyday Foot Traffic: Painted floors are designed to endure daily wear from walking, heavy items, and other activities, maintaining their appearance and integrity.
- Dirt and Stains: A well-applied paint finish resists dirt buildup and stains, making it easier to clean and maintain.
- Potential Structural Damage: By protecting the floor from moisture and debris, painted floors help reduce the risk of structural issues like cracks or erosion.
Cost-Effectiveness
- Significantly cheaper than installing tiles or hardwood: Painted floors offer a much more affordable alternative to costly options like tile or hardwood flooring, making them ideal for those on a budget.
- Minimal material costs: The materials required for painting are relatively inexpensive, especially when compared to the price of other flooring options.
- Painting your basement floor is an easy DIY project that saves on professional installation fees. It is straightforward and doesn’t require expensive professional installation, helping homeowners save money.
- Quick modification without extensive renovation: A painted floor can quickly change the look of a space without the need for lengthy or costly renovations, providing an efficient and cost-effective way to update the basement.
Types of Paint for Basement Floors
1. Epoxy Paint
Pros:
- Exceptional durability
- Superior moisture and stain resistance
- Handles heavy foot traffic
- Creates an effortless, glossy finish
Application Tips:
- Requires thorough surface preparation
- Mix components carefully
- Follow precise curing instructions
- Best for high-moisture and high-traffic areas
2. Concrete Floor Paint
Pros:
- Specifically designed for concrete surfaces
- Allows the floor to “breathe”
- Resists wear and tear
- Available in multiple colors
Best Uses:
- Ideal for relatively dry basements
- Provides a protective yet breathable coating
- Easy application process
3. Latex Paint
Pros:
- Budget-friendly option
- Quick-drying
- Easy to apply
- Flexible color and finish options
Considerations:
- Less durable than epoxy or concrete paints
- Better suited for low-traffic areas
- May require more frequent repainting
Materials Required and Estimated Price
| MATERIALS | ESTIMATED PRICE |
|---|---|
| Carpet Removal Tools | $8-$12 |
| Adhesive Remover (Dollar Tree) | $3-$5 |
| Paint Scraper | $5-$10 |
| Nail Remover Tool | $7-$12 |
| Rubber Mallet | $8-$15 |
| Crack and Patch Repair Compound | $5-$15 |
| Rust-Oleum Quick Prep 3-in-1 | $15-$20 |
| Paint (Light Gray, Glidden) | $20-$30 |
| Paintbrush and Roller | $10-$15 |
| Total Estimate | $88-$137 |
DIY Guide to Painting Basement Floors
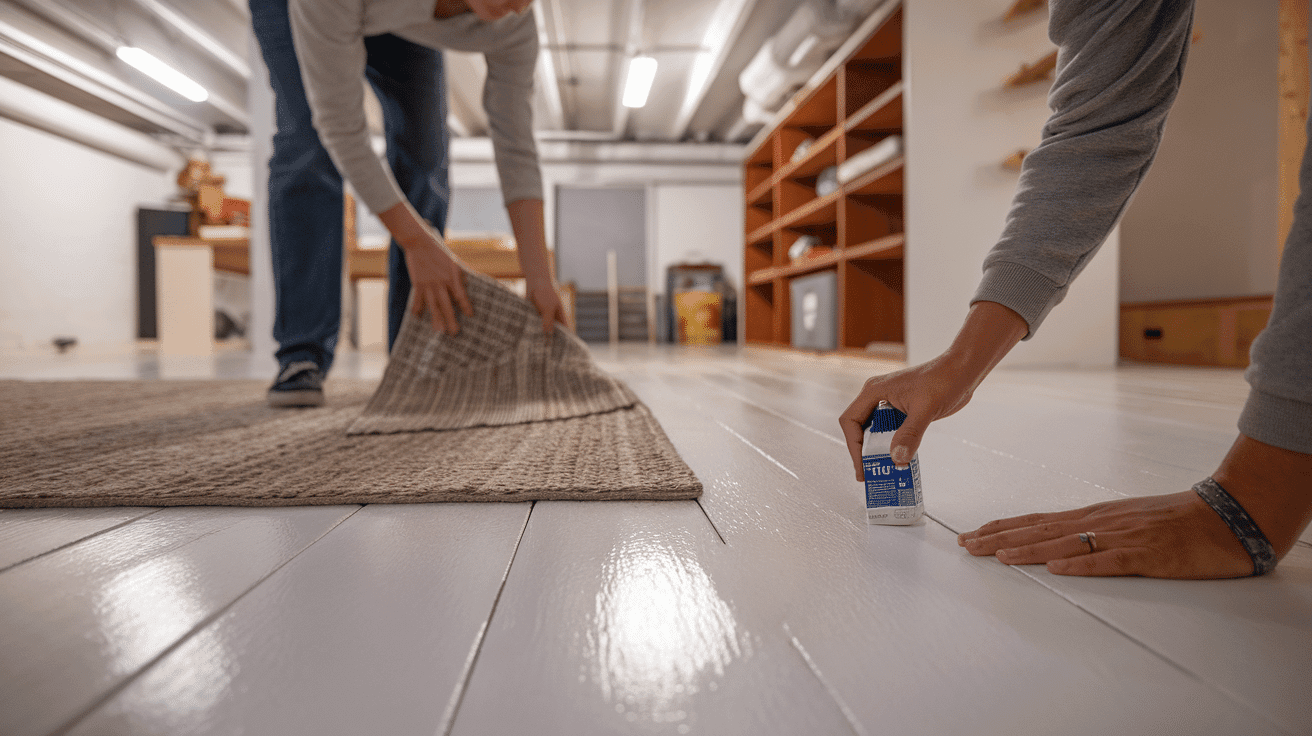
STEP 1: Remove Carpet and Adhesive
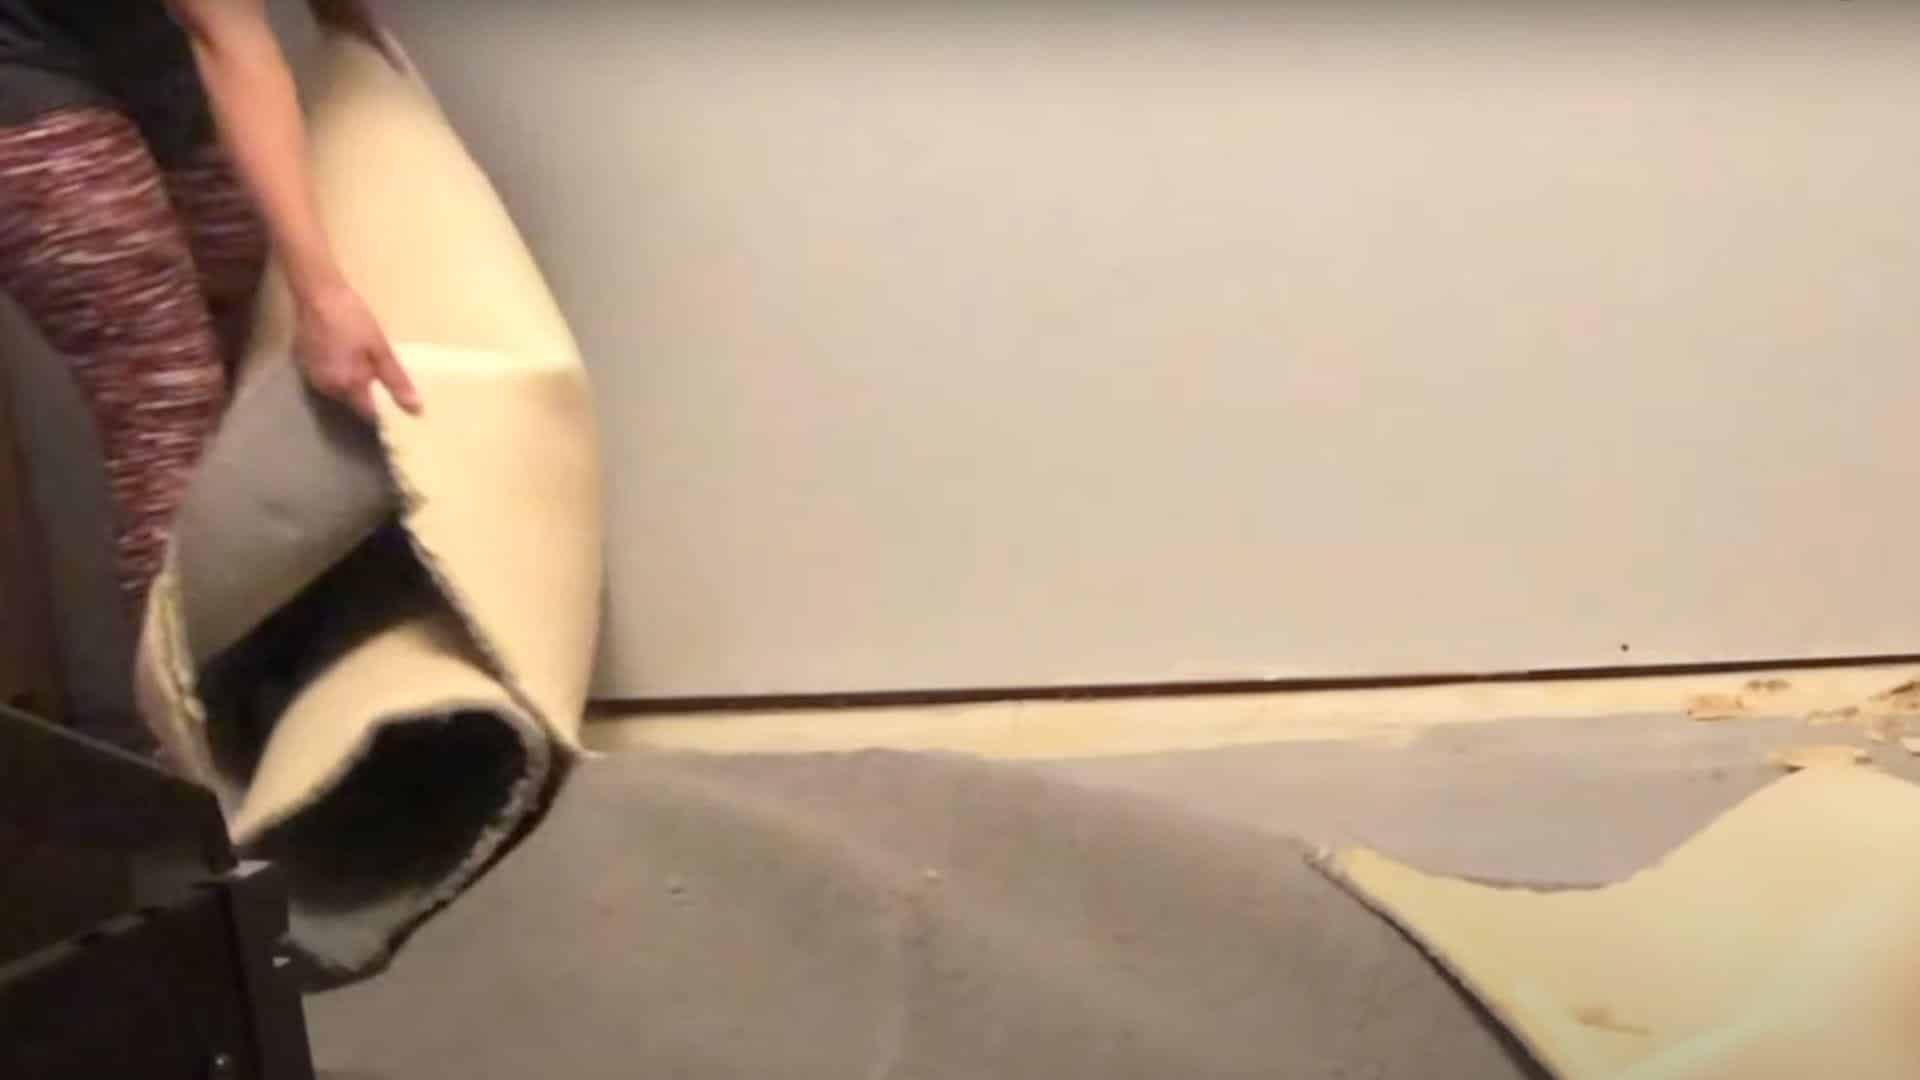
Before starting the painting process, remove any existing carpet from the basement. Once the carpet is gone, you will likely find adhesive stuck to the concrete floor. The easiest way to remove the adhesive is to spray it with water, let it soak, and peel it off.
STEP 2: Remove Stubborn Glue with Cleaner
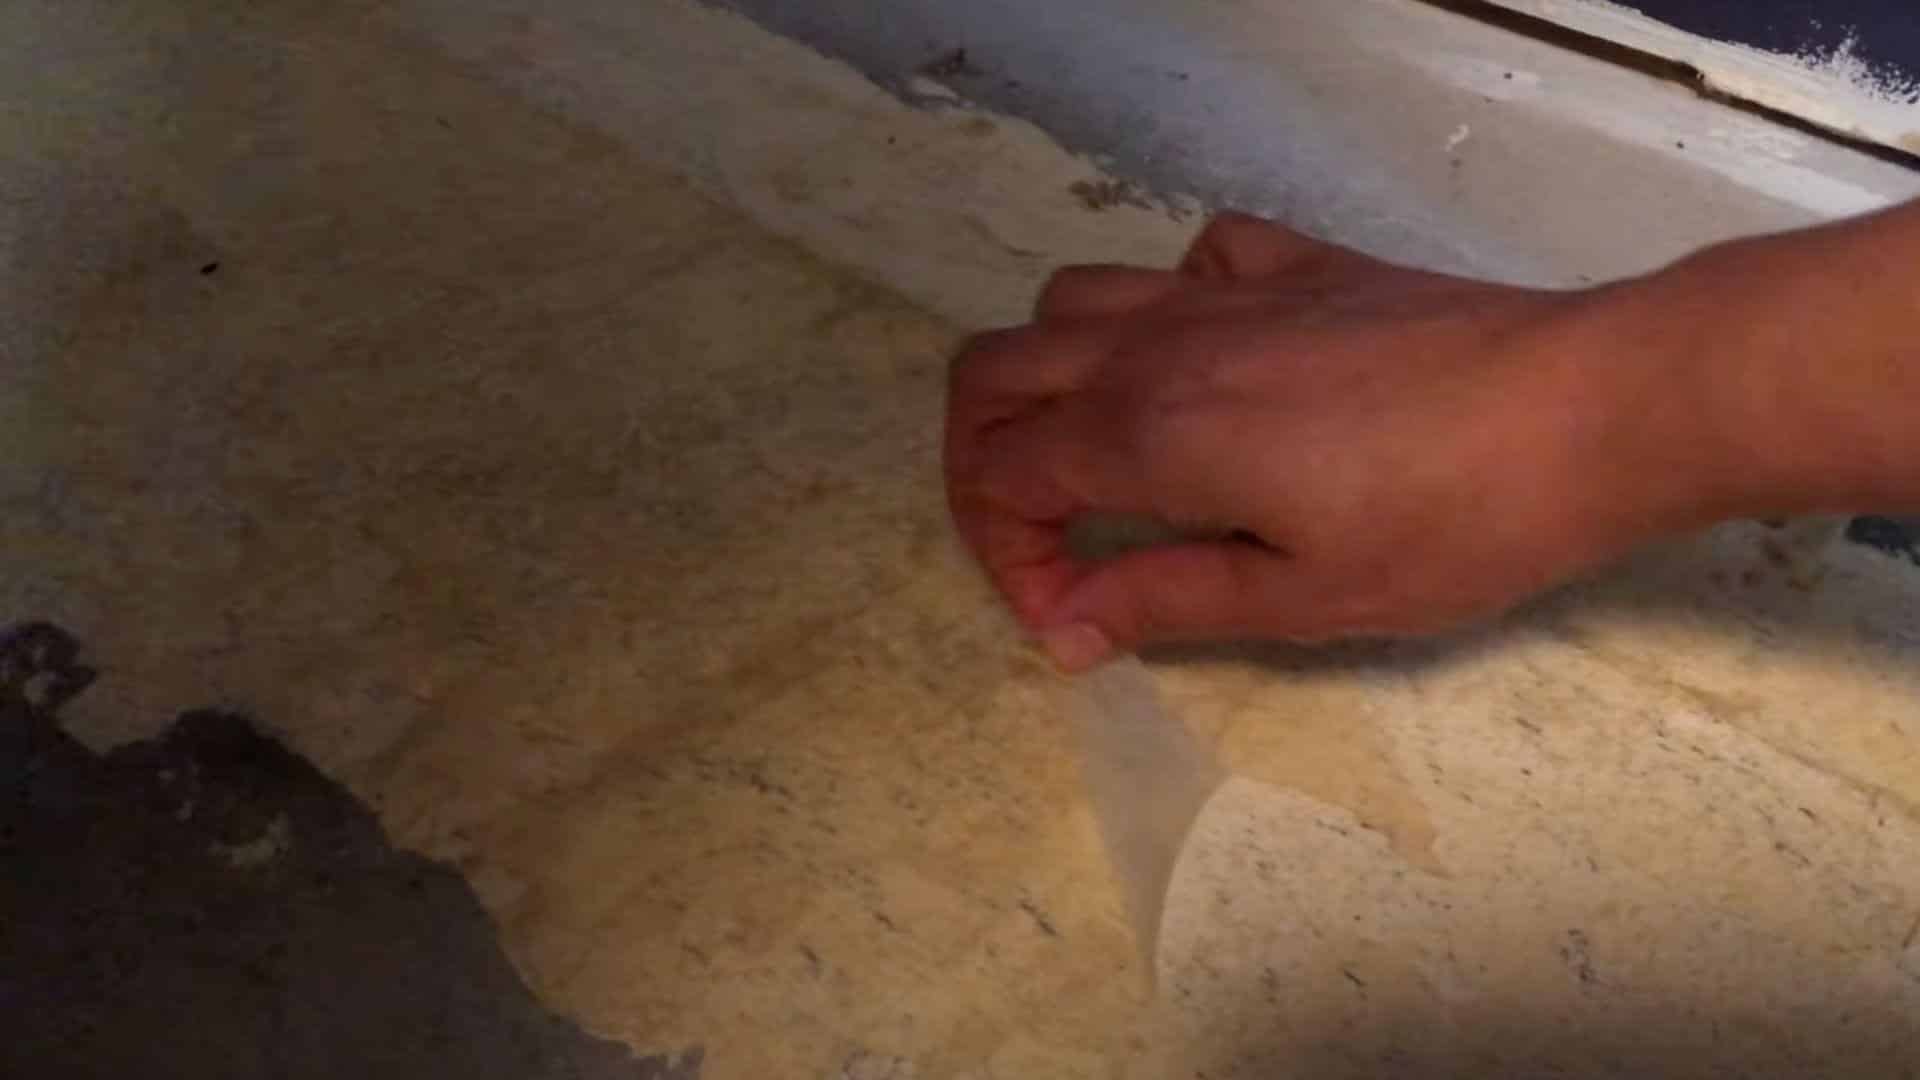
In areas where the glue remains stuck, use a powerful adhesive remover from Dollar Tree. Dilute the cleaner with water, scrub with a brush, and then use a paint scraper to remove any remaining stubborn glue from the floor.
STEP 3: Remove Nails from the Concrete
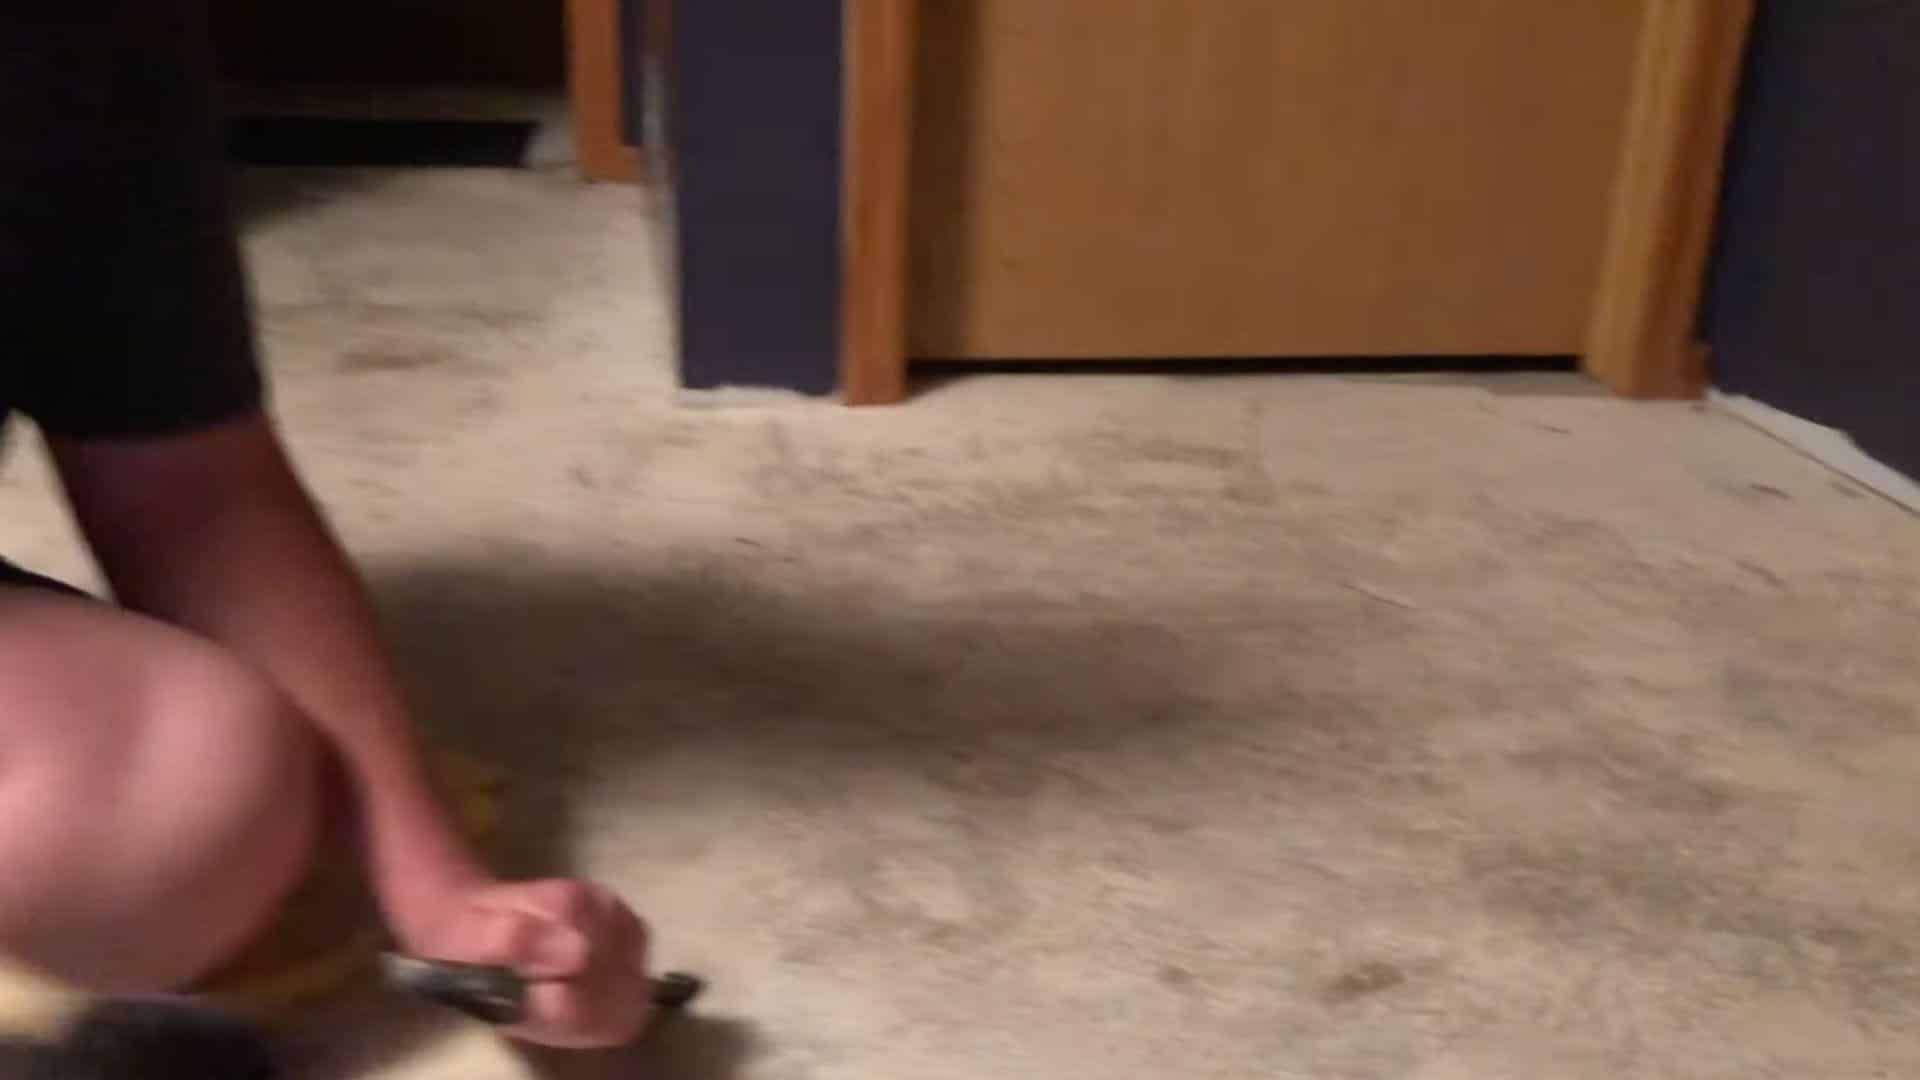
If there are nails left embedded in the concrete, use a small nail remover tool and a rubber mallet. Tap the nail remover into the nail with the mallet and apply pressure to pop the nails out. This will ensure the floor is free of any metal debris that could interfere with the painting.
STEP 4: Fill Cracks and Holes in the Concrete
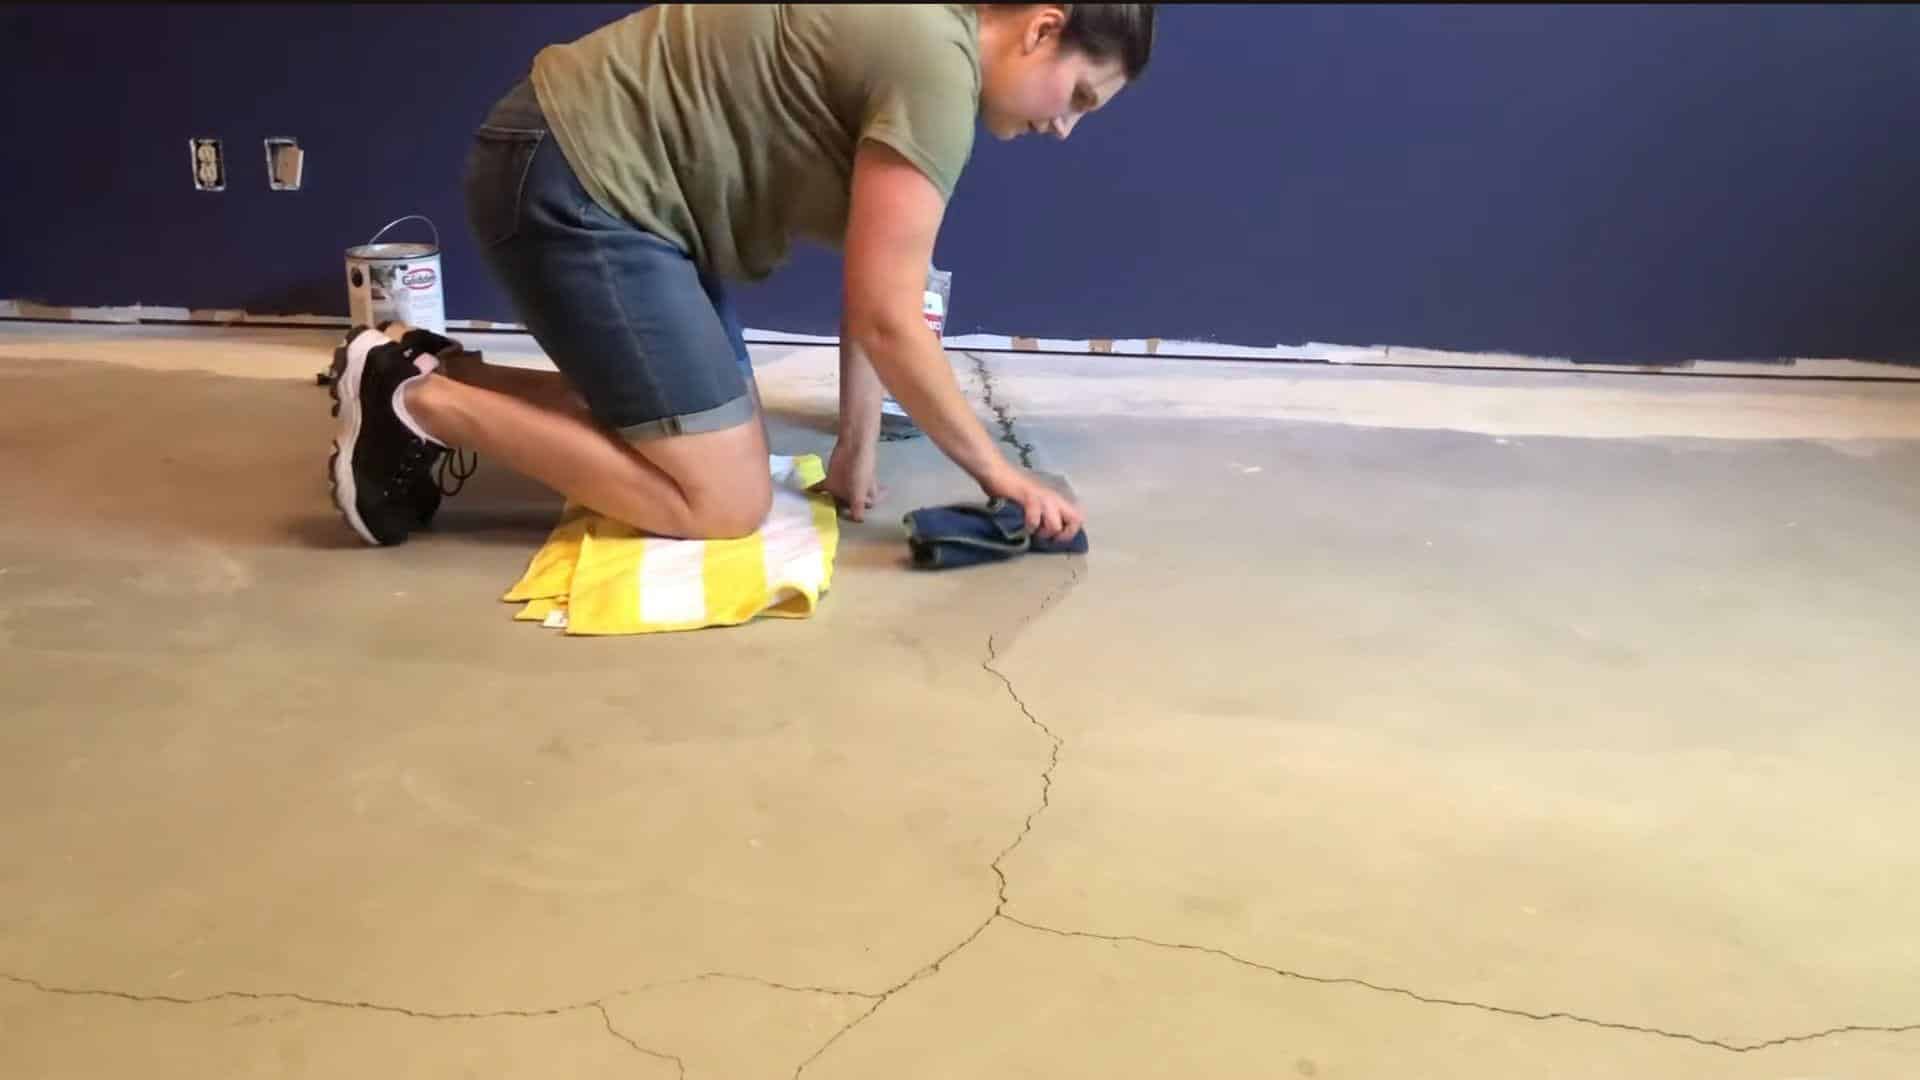
Inspect the concrete for cracks, crevices, or holes. Use a concrete patch repair compound to fill in these areas. Mix the compound with water as directed, apply it to the cracks, and smooth it out. A pre-mixed compound might be easier to work with and less messy.
STEP 5: Clean and Etch the Floor
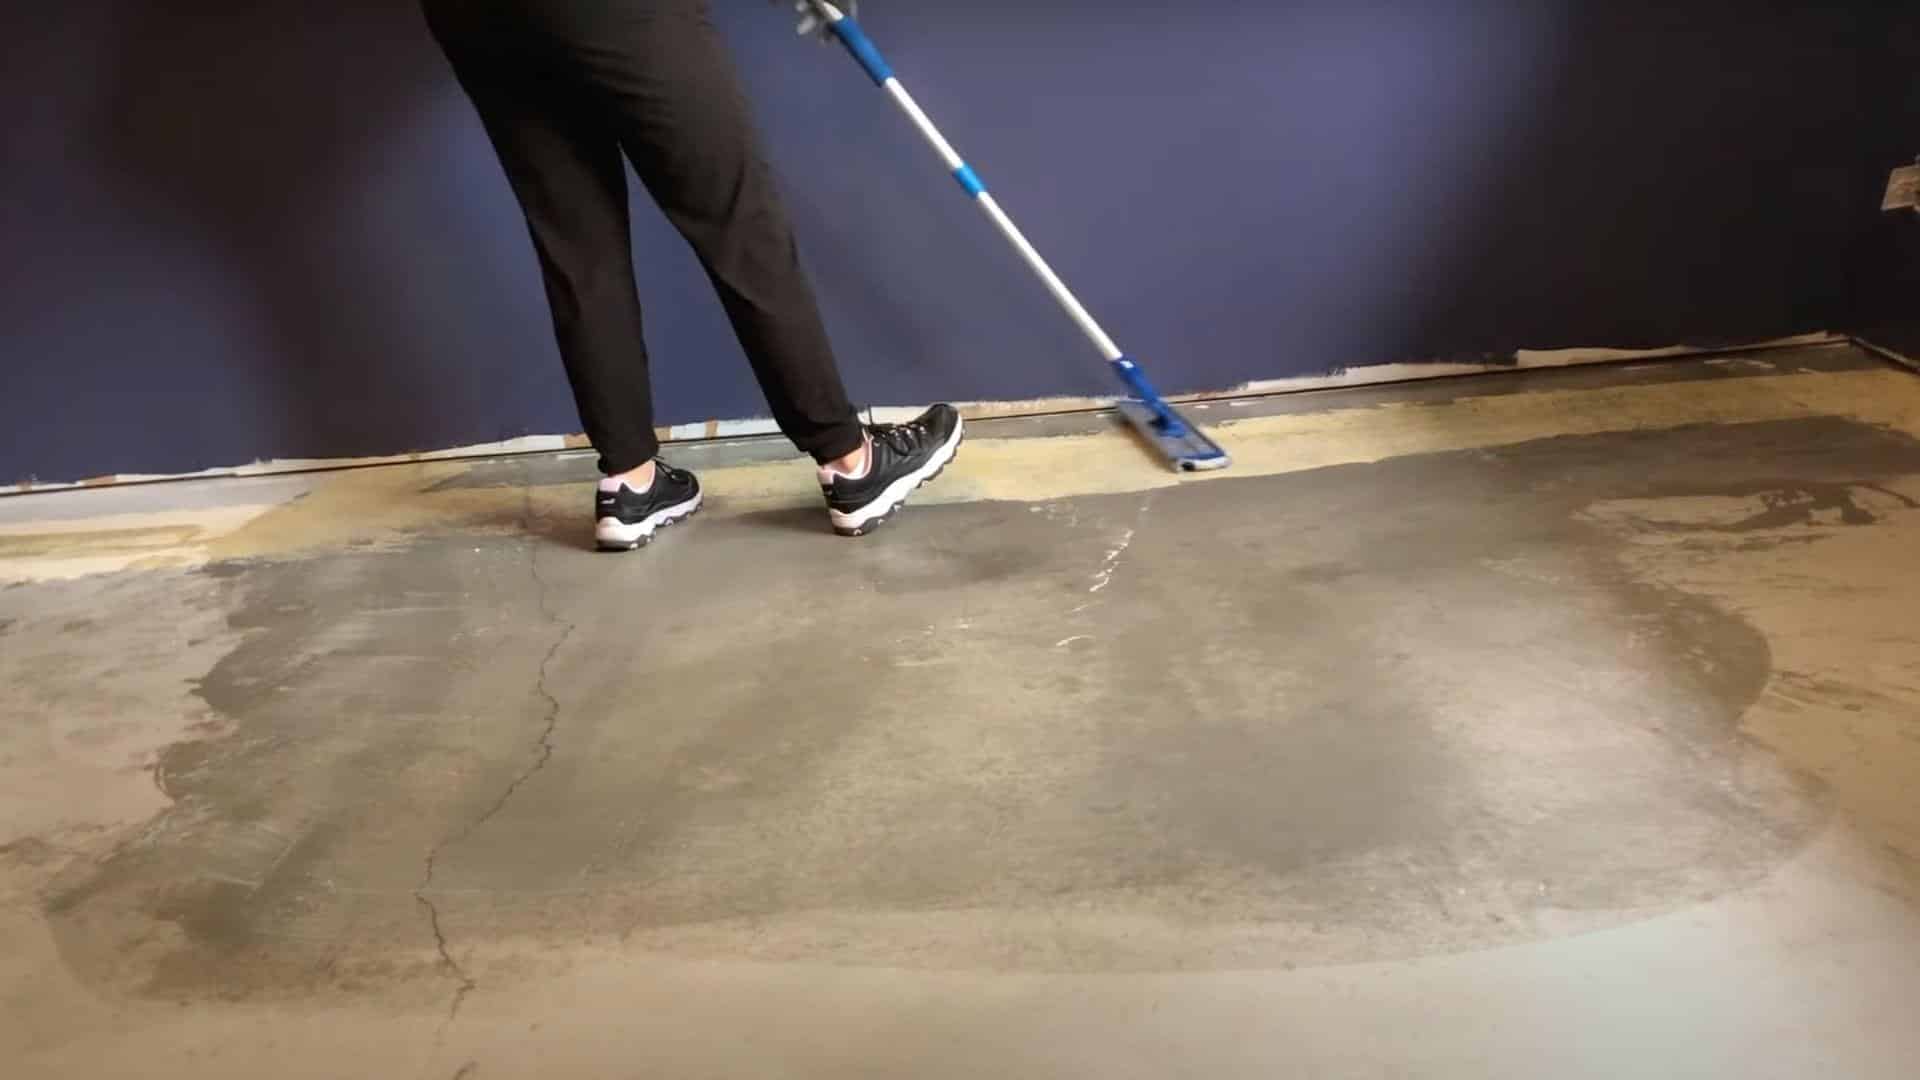
Before painting, it’s essential to clean and etch the floor so that the paint adheres well. Wet the floor with water, then use a product like Rust-Oleum Quick Prep to clean and etch the concrete. Scrub the floor thoroughly with a brush, and rinse it with water multiple times to ensure there is no residue left.
STEP 6: Allow the Floor to Dry
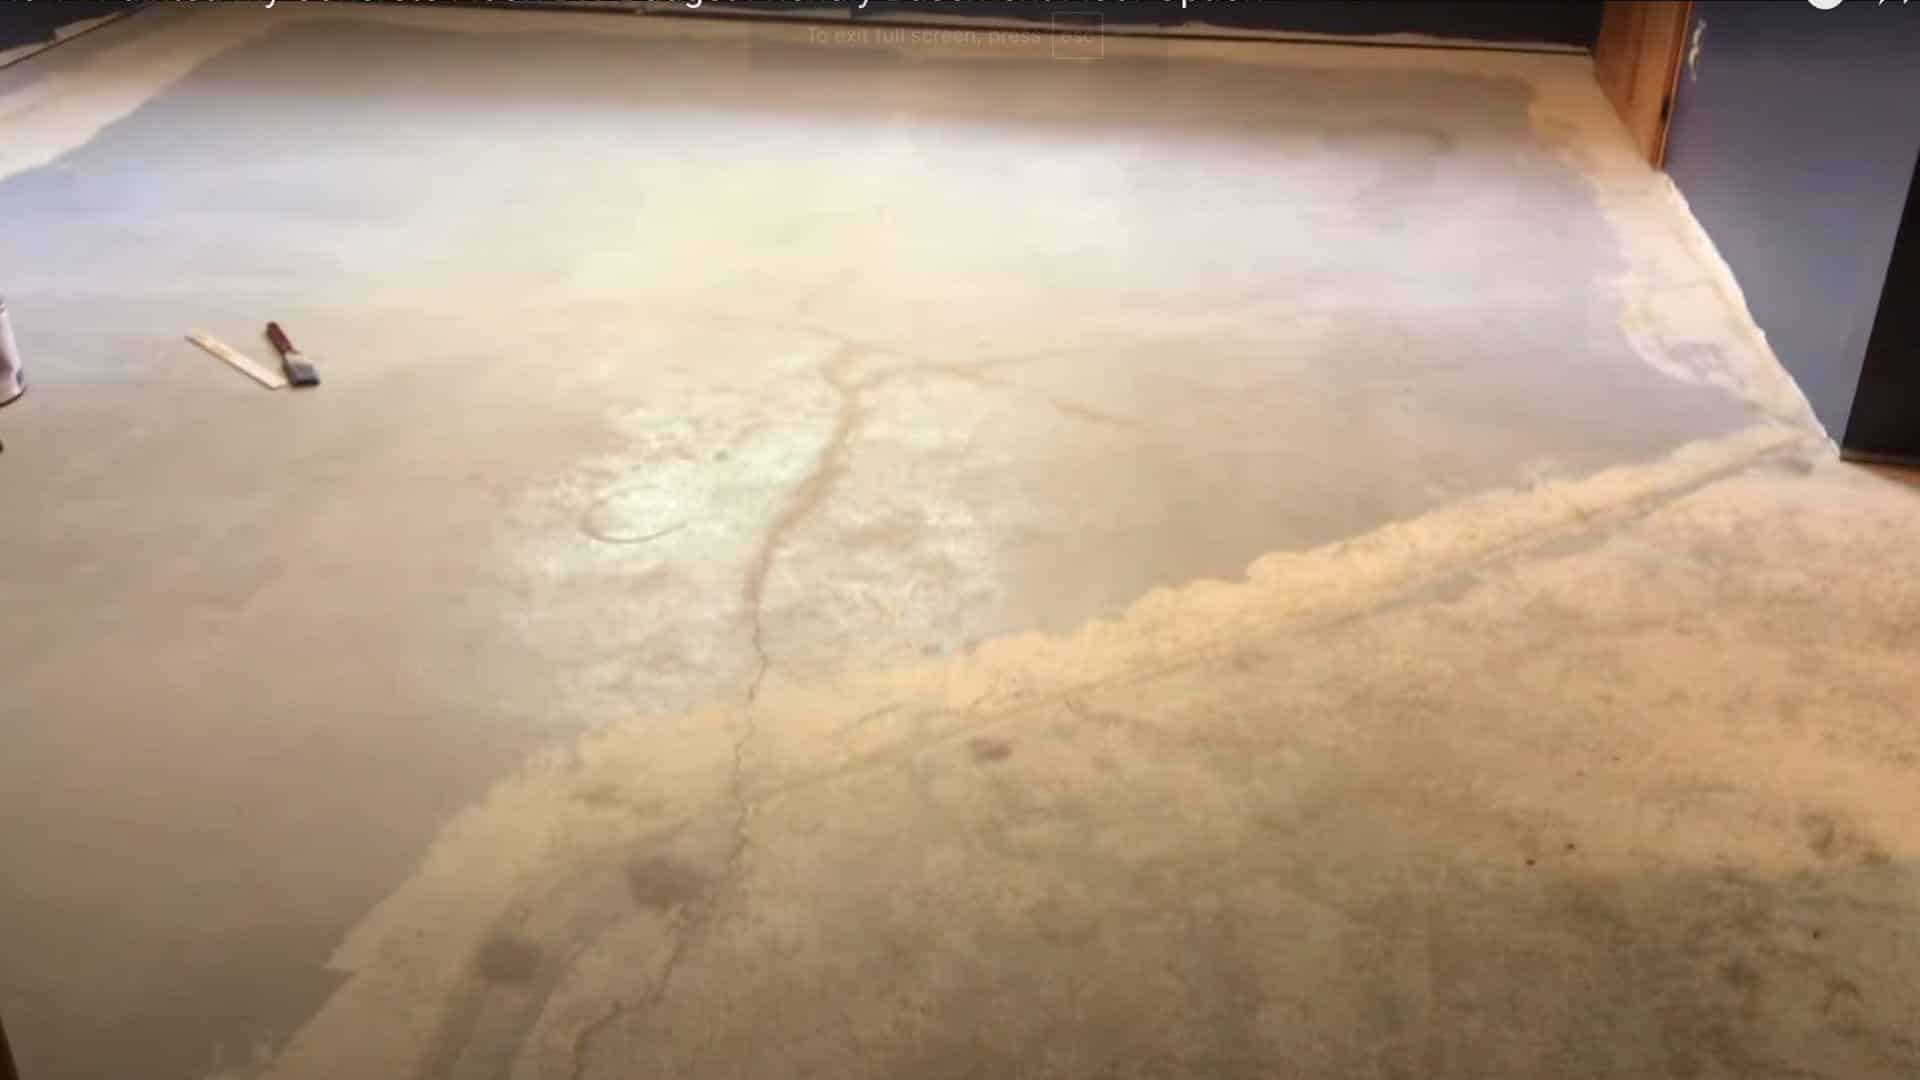
After cleaning and etching the floor, make sure the surface is completely dry before proceeding with the paint. This may take several hours, depending on the humidity and temperature of your space. Avoid painting over any damp areas to ensure the paint bonds properly.
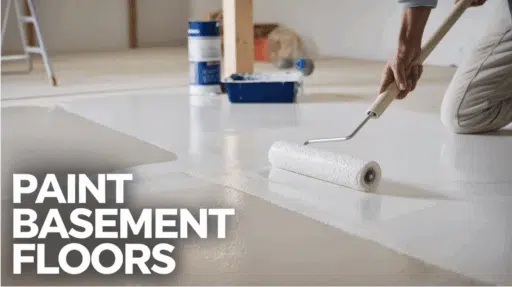
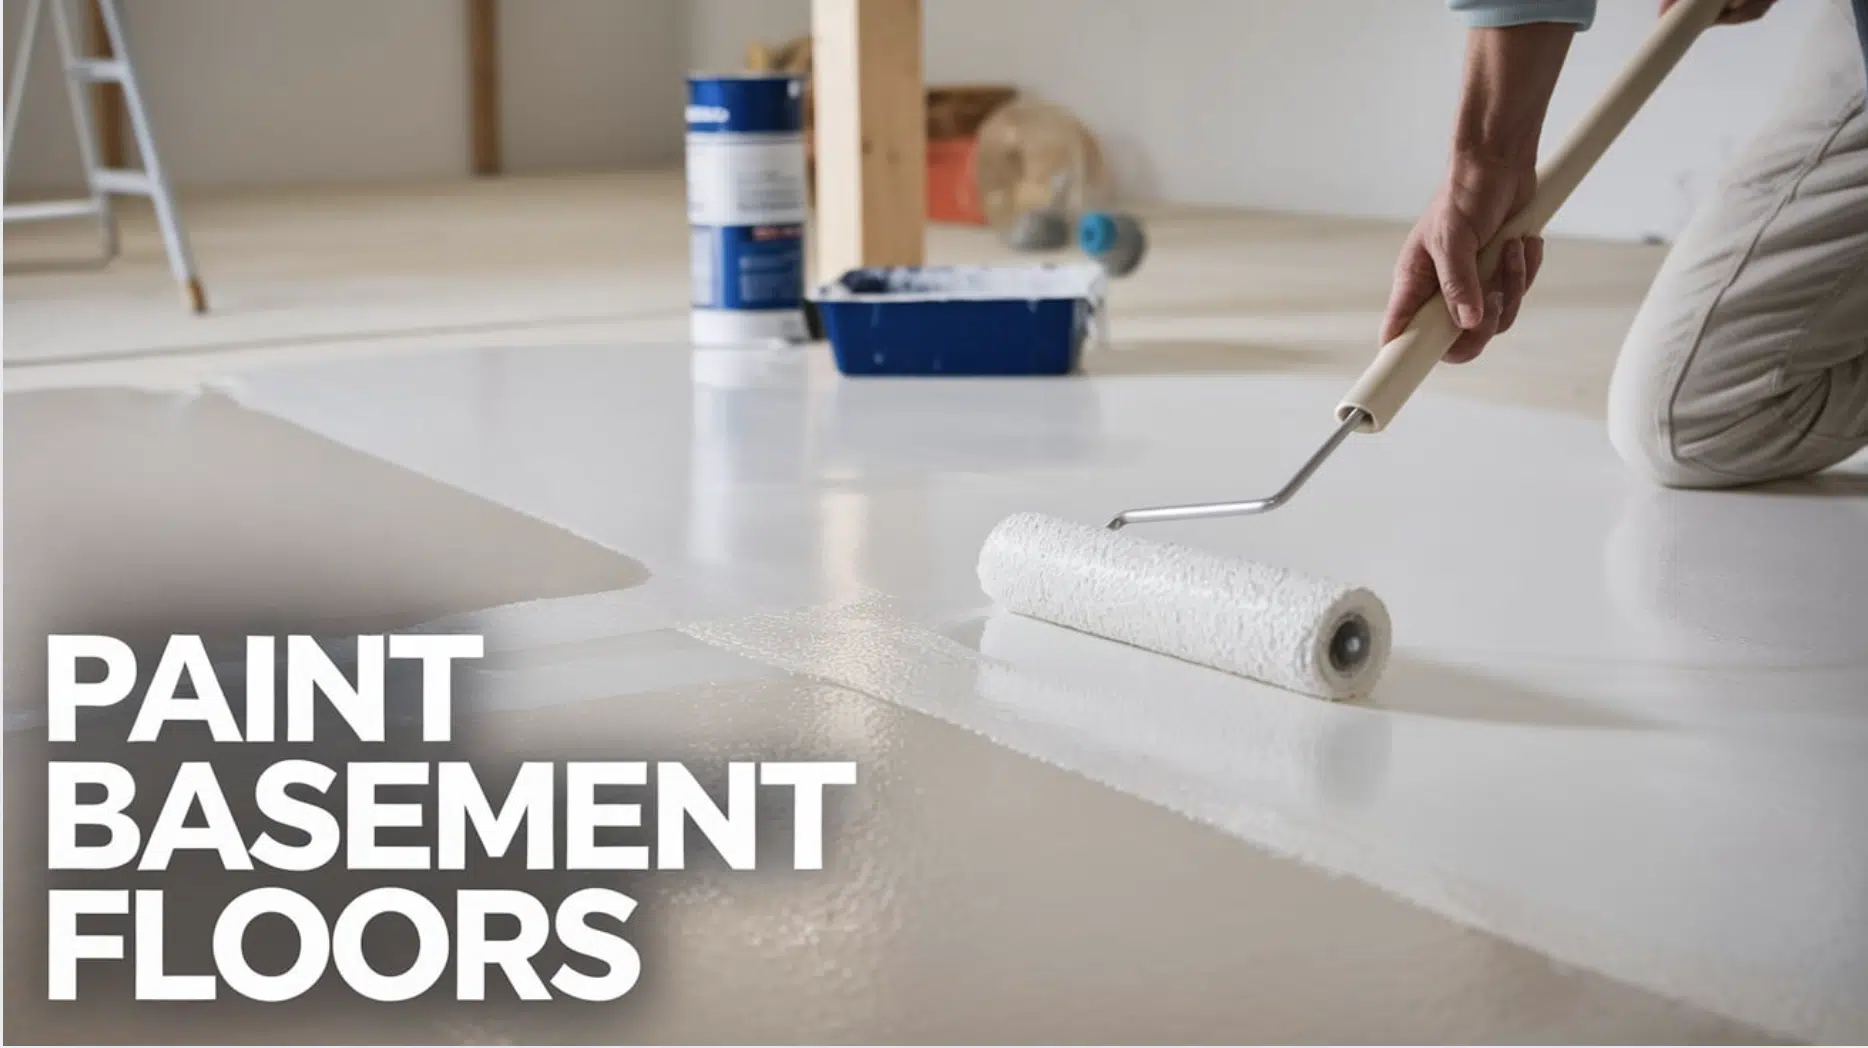
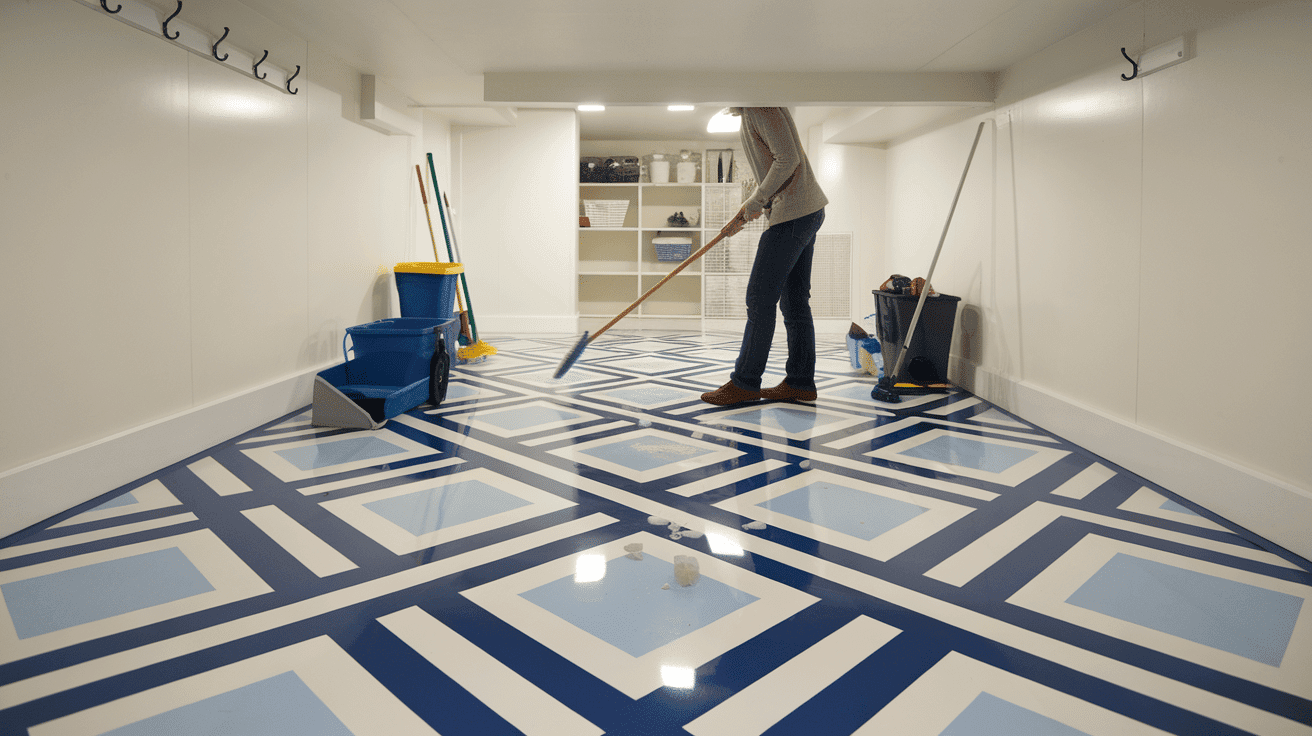
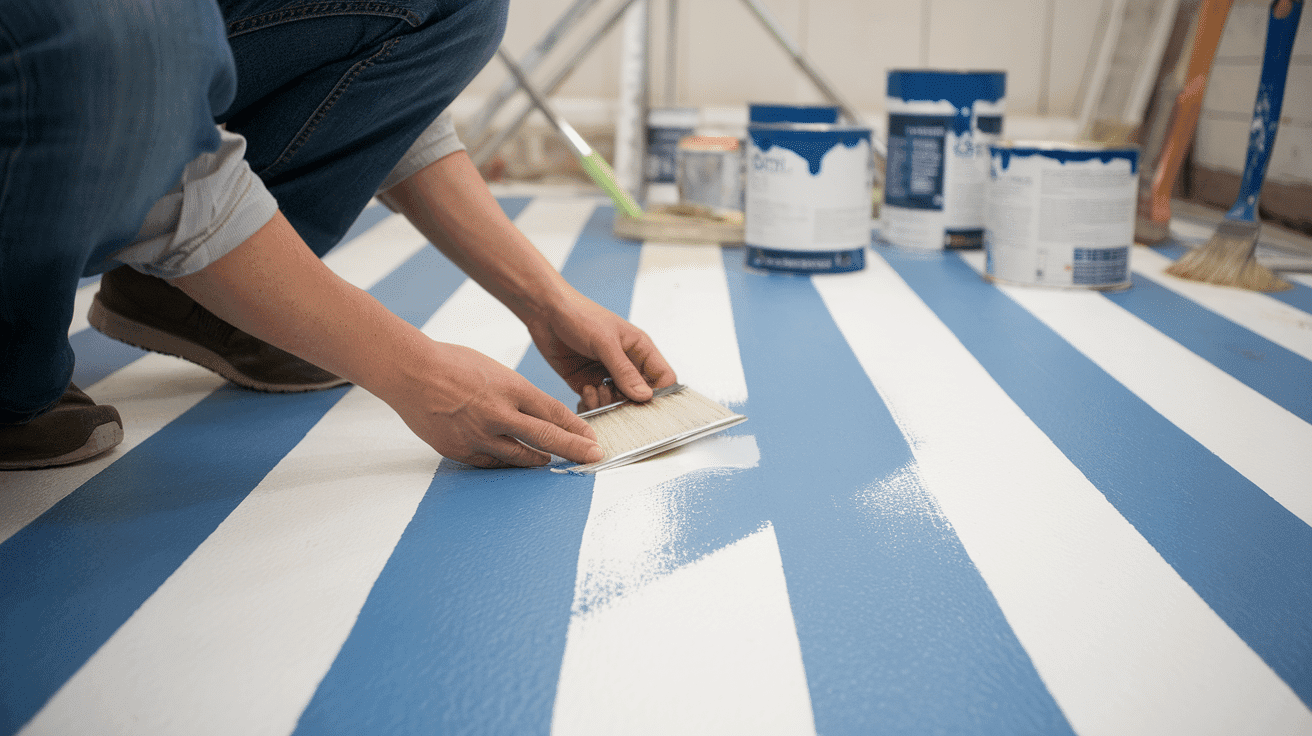
STEP 7: Apply the Paint
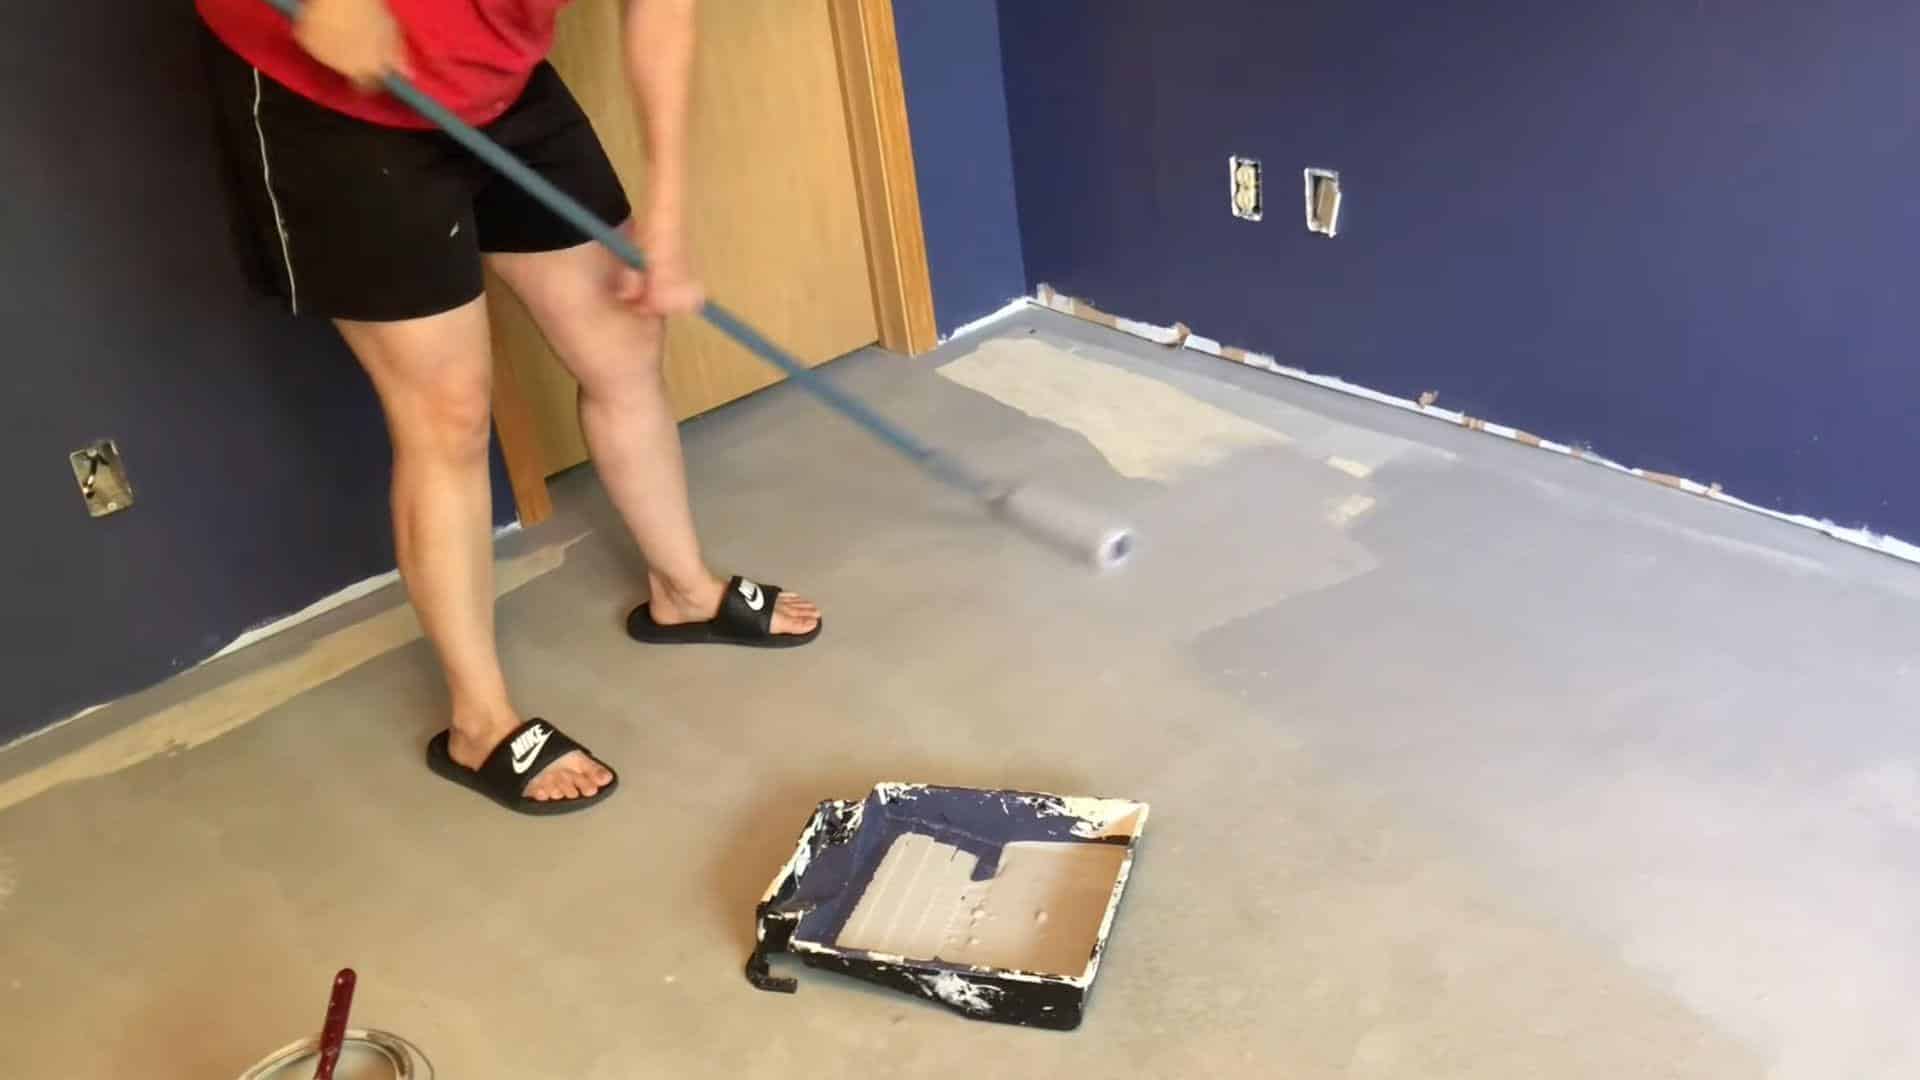
Once the floor is dry and prepped, it’s time to apply the paint. Begin by trimming the edges with a paintbrush. For the rest of the floor, pour the paint into a tray to make it easier to roll. Start painting from one side of the room and work your way across, applying an even coat.
STEP 8: Let the Paint Dry and Apply Additional Coats
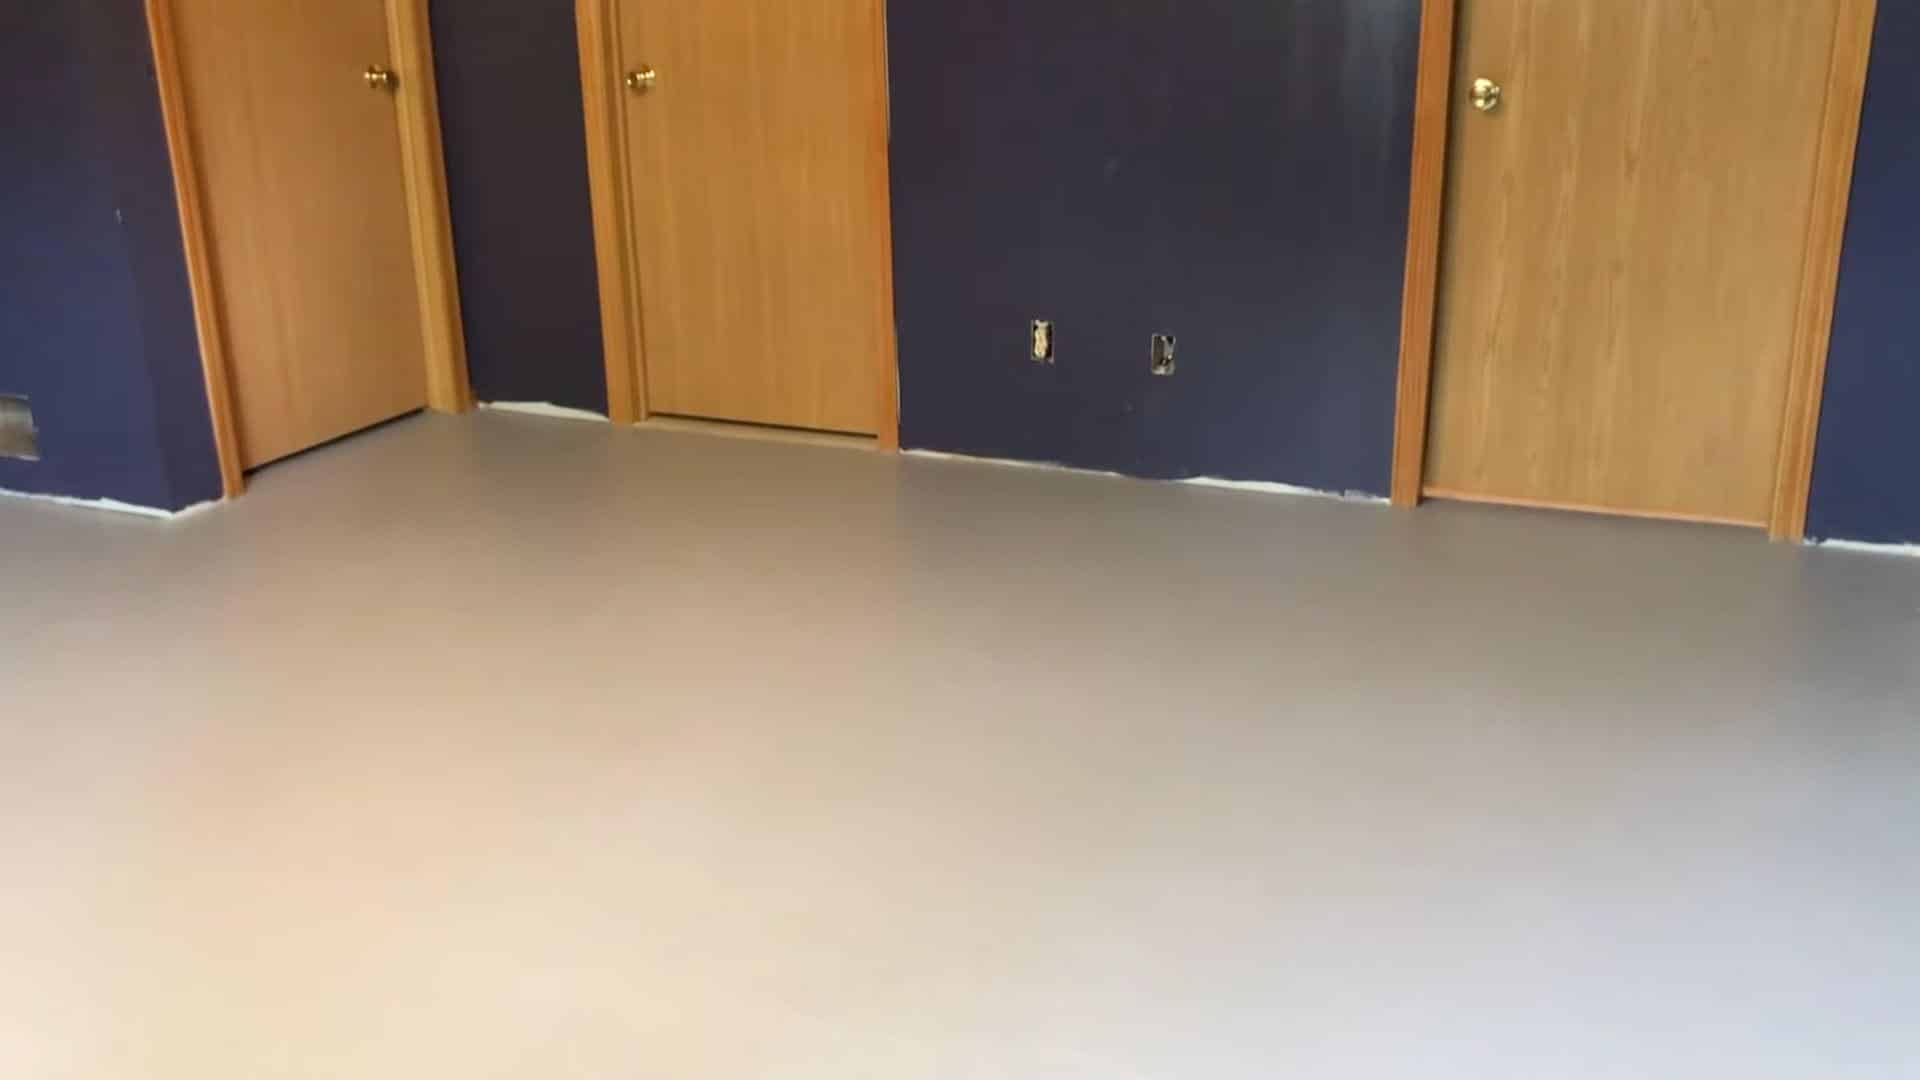
Allow the first coat of paint to dry completely before applying a second coat if needed. Depending on the paint and desired finish, you may need multiple coats for full coverage. Let each coat dry thoroughly before applying the next.
Check Out This Detailed Video Tutorial by Emily Wilson
Maintenance Tips for Painted Basement Floors
Regular Cleaning
- Sweep Frequently: It is crucial to keep your basement floor free from dirt, dust, and debris. Sweep the floor regularly to prevent these particles from damaging the paint. Dirt can act like sandpaper, slowly wearing away the surface over time.
- Mop with Mild, Non-Harsh Cleaners: When mopping, always use a mild, non-abrasive cleaner. Harsh chemicals or acidic cleaners can damage the paint’s finish, leading to fading or peeling. Stick to gentle cleaning products specifically designed for painted surfaces to preserve the paint’s integrity.
- Immediately Clean Up Spills: If left untreated, spills can cause stains or discoloration on painted floors. Whether it’s food, liquids, or other substances, cleaning spills right away ensures that the paint isn’t exposed to damage from staining agents. Be sure to use a soft cloth or mop to clean the spill gently.
- Use Soft Cloths for Stain Removal: For tough stains, avoid using rough scrubbing tools like steel wool or abrasive sponges. Instead, opt for soft cloths or sponges that are gentle on the paint. This will help prevent scratches and preserve the painted finish.
Preventing and Repairing Damage
Place Rugs or Mats in High-Traffic Areas: Protect your painted basement floor by using rugs or mats in high-traffic spots to prevent scuffs, scratches, and dirt buildup.
Touch Up Scratches and Chips Promptly: Fix minor scratches or chips right away to prevent further damage. Use a matching paint touch-up kit for quick fixes.
Sand Lightly Before Applying Touch-Up Paint: Lightly sand damaged areas before applying touch-up paint to ensure proper adhesion and a smooth, seamless finish.
Repainting Considerations
- Evaluate Floor Condition Every Few Years: Even the best-maintained painted floors need to be evaluated over time. Regularly check the floor’s condition—look for signs of peeling, fading, or wear, especially in high-traffic areas. Every few years, assess whether it’s time for a fresh coat of paint or if touch-ups will suffice.
- Follow Manufacturer’s Maintenance Guidelines: Each type of paint comes with specific maintenance guidelines provided by the manufacturer. These instructions will offer the best advice on how to clean, maintain, and protect your painted floor. Following these guidelines ensures you are using the right products and methods for long-lasting results.
- Consider Repainting Based on Traffic and Moisture Levels: If your basement sees a lot of foot traffic or is prone to high humidity or moisture, the paint may degrade faster. In such cases, you may need to repaint more frequently. Pay attention to the amount of moisture in the area and consider repainting the floor based on how the paint is holding up. High-traffic areas might need more frequent attention to maintain a smooth, even surface.
Conclusion
Painting your basement floor is an affordable and effective way to protect and improve this often-overlooked area of your home.
With the right choice of paint, thorough surface preparation, and proper maintenance, you can change your basement floor into a durable, attractive space.
This upgrade enhances the overall appearance and adds value to your home by making the basement more functional and appealing.
If you’re aiming for a clean, professional look or a more creative design, a painted floor offers infinite possibilities while ensuring long-lasting protection against moisture and wear.
With regular upkeep, your basement floor can remain in great condition, adding both beauty and practicality to your home for years to come.

Tommy Hardy, an alumnus of the Georgia Institute of Technology with a degree in Mechanical Engineering, has been a go-to figure in residential upkeep and innovation for over 18 years. His career commenced in a leading home appliance manufacturing company, where he mastered the intricacies of household systems. Joining our platform in 2020, Tommy quickly became a reader favorite for his practical and easy-to-follow guides. He took the helm of our DIY section in 2019, consistently delivering content that empowers homeowners. Beyond his professional pursuits, Tommy is a passionate gardener and enjoys woodworking, skills enhancing his hands-on approach to home care.