
Are you tired of looking at your outdated brick fireplace? Want to give it a fresh, modern look without breaking the bank? You’ve come to the right place.
In this article, I’ll guide you step-by-step through the process of whitewashing your brick fireplace. No need to hire a professional—this DIY project is simple and cost-effective. You’ll be amazed at how much of a difference it can make in your home.
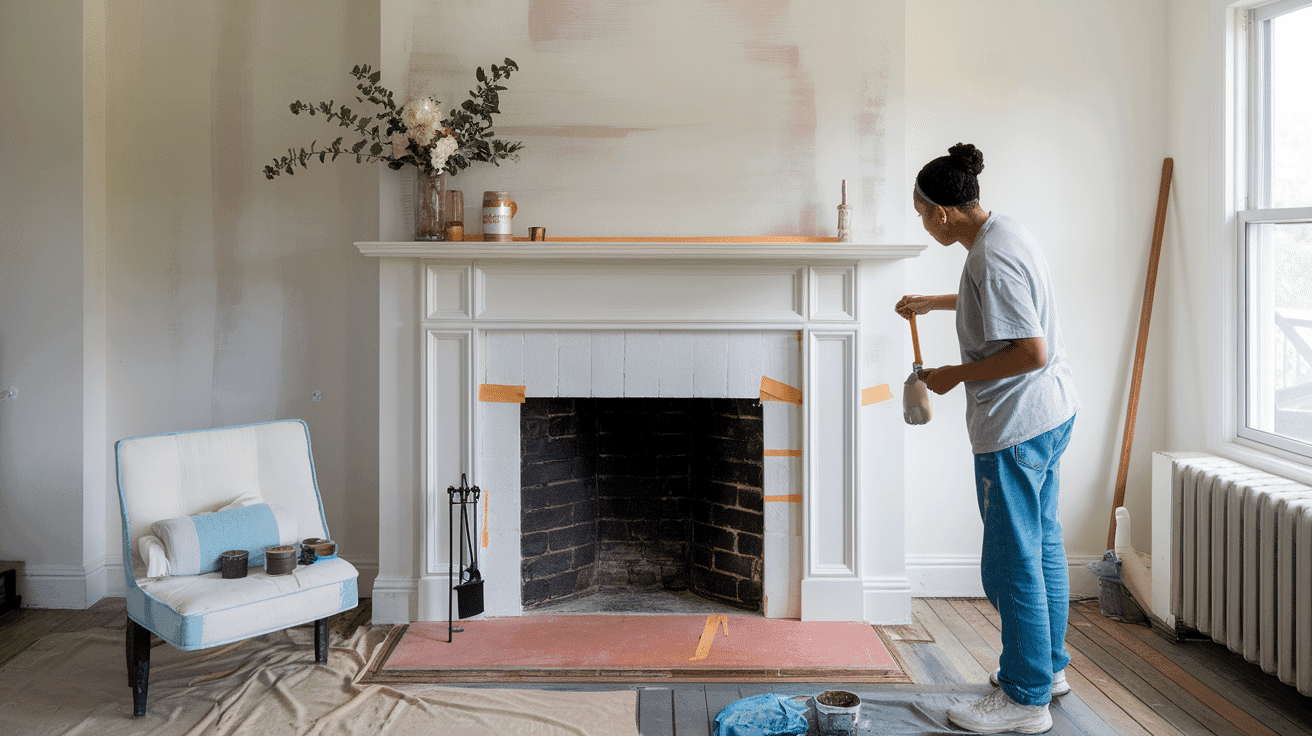
Whitewashing is a great way to brighten up your space while still keeping the natural texture of the brick. It’s a quick way to update your fireplace, and I’m here to make sure you get it right.
I know you want to solve this problem, and I’m confident this guide will help you do just that. Stick with me, and you’ll have a beautiful whitewashed fireplace in no time!
What is a Whitewashed Brick Fireplace?
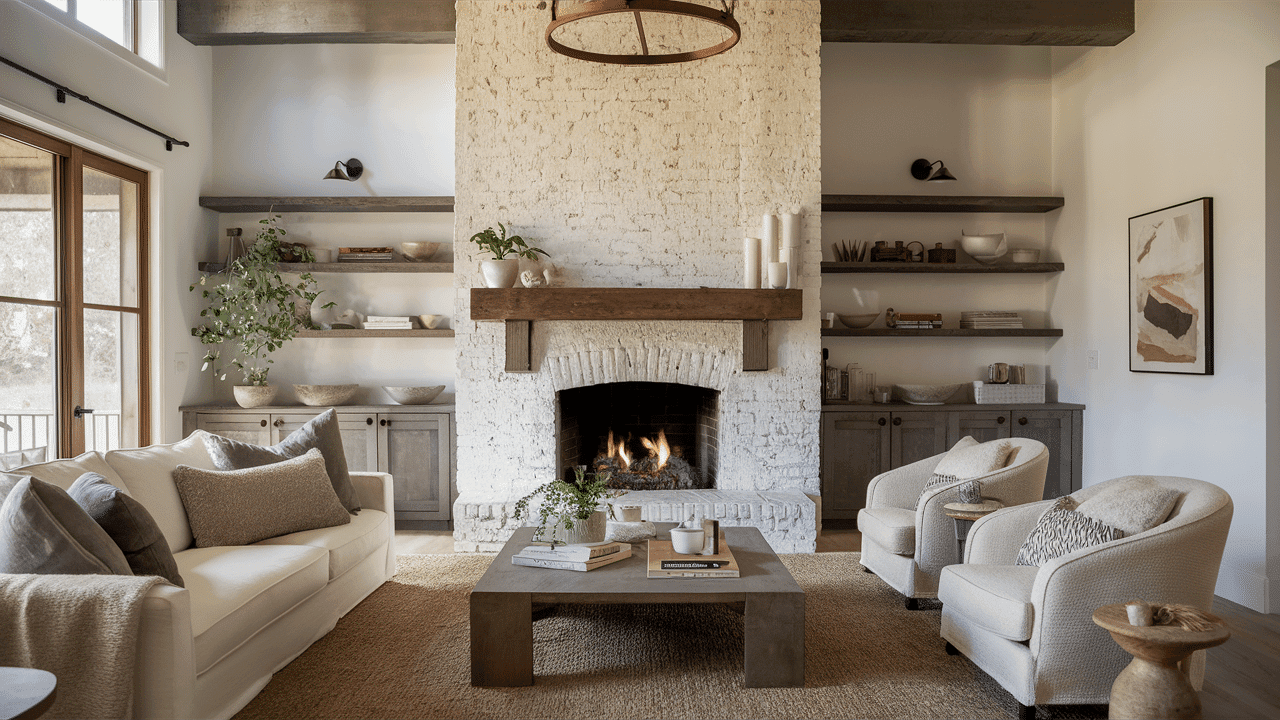
A whitewashed brick fireplace is one in which the natural brick is coated with a special white paint mixture. The paint is diluted with water, resulting in a soft, translucent appearance. This technique highlights the texture and details of the brick, letting the beauty of the material shine through.
So, why should you whitewash your fireplace?
Whitewashing is perfect for updating your space. It lightens up the room while keeping the charm of the original brick. It’s a simple way to make a fireplace feel more modern without covering up the natural feel of the brick.
Here’s why it works so well:
- It creates a rustic yet contemporary look.
- It complements a wide range of interior styles, including farmhouse, coastal, and modern.
- It brightens up the room without looking too flashy.
- Ready to change your fireplace? This could be the solution you’re looking for.
Materials You’ll Need
Before we begin, let’s ensure you have everything you need. Gathering these materials first will help the process go smoothly.
1. Paint: Choose a white or light-colored latex paint. A matte or satin finish works best for whitewashing because it gives the paint a soft, subtle appearance. Avoid glossy paints, as they can make the whitewash look too shiny and artificial.
2. Water: Water is crucial because it dilutes the paint, making the whitewash mixture thinner. The right amount of water will help you achieve the translucent look.
3. Brushes: A 2-inch chip brush is ideal for applying the whitewash. The stiff bristles help you reach all the crevices and cracks in the brick. It’s also important to use a brush that can hold a good amount of paint without dripping too much.
4. Rags or Sponges: You’ll need rags or sponges to wipe off any excess paint after applying it. This helps you control the opacity of the whitewash, ensuring you don’t cover up too much of the natural brick.
5. Painter’s Tape: Apply the tape carefully to create clean lines where you want the whitewash to end. If you’re working near other surfaces, this will help you avoid making any accidental marks or smudges.
6. Drop Cloths: Cover your floor and any nearby furniture with drop cloths. This is one of the easiest ways to protect your space from paint splatters. It’ll also save you time on clean-up later.
7. Cleaning Supplies: Before you begin, the brick needs to be cleaned thoroughly. Use TSP (trisodium phosphate) or a mild dish soap solution to scrub off dirt, soot, and debris.
Once you have everything ready, you’ll be all set to begin!
Step-by-Step Guide to Whitewashing a Brick Fireplace
Step 1: Clean the Brick Surface
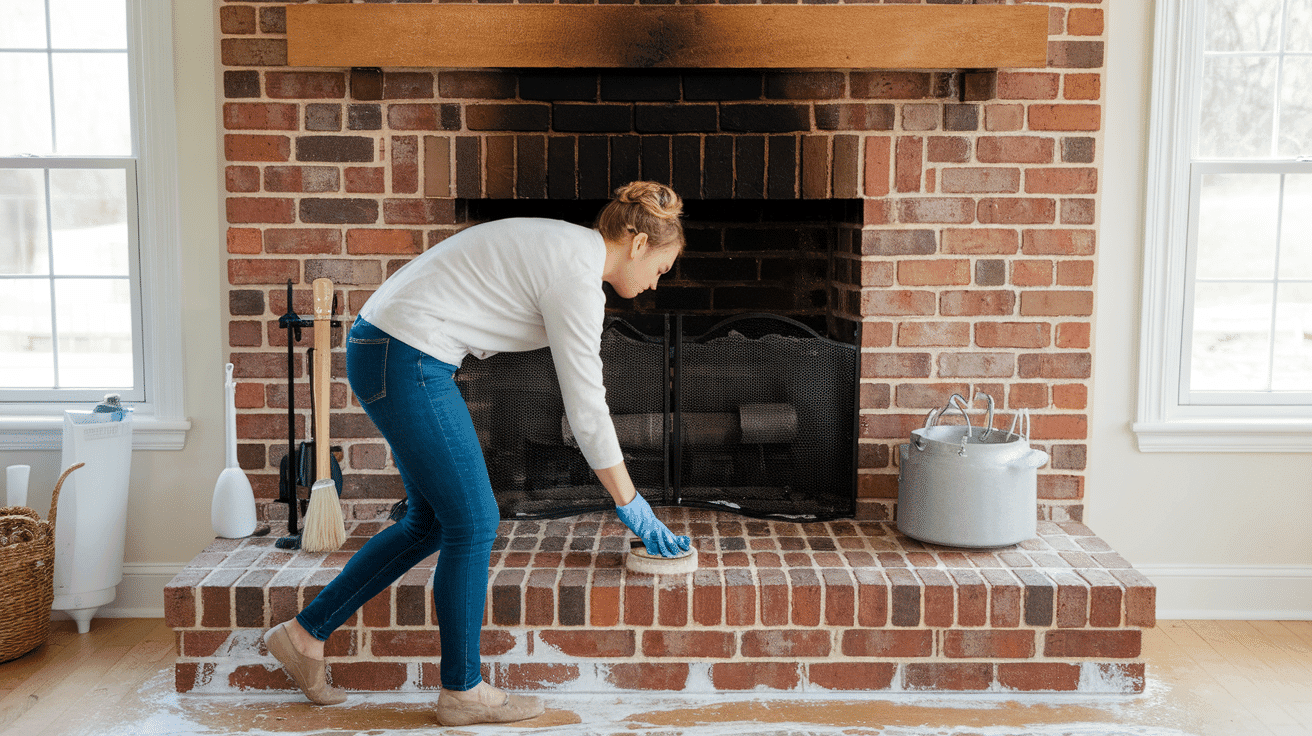
Cleaning is the first step, and it’s crucial. If you skip this step, the whitewash won’t adhere well. Dirt, soot, or old coatings can interfere with the paint, resulting in uneven or patchy finishes.
Here’s how to clean it:
- Use a stiff brush to scrub the brick. This will remove dust and grime.
- Mix a TSP solution (trisodium phosphate) or use mild dish soap and water.
- Scrub the surface well, paying attention to the grout lines and corners.
After scrubbing, ensure that you rinse thoroughly. You don’t want any cleaning solution left on the brick.
Now, here’s the important part: Let the brick dry completely. If any moisture remains, it could become trapped under the whitewash and cause problems later.
Step 2: Prepare the Whitewash Mixture

Now it’s time to mix the paint. This is where the magic happens.
Start with equal parts of latex paint and water. A 1:1 ratio is perfect for a transparent finish. This will allow the natural texture of the brick to show through, giving it a soft, subtle appearance.
Want it a bit thicker? No problem. For a more opaque look, use a 2:1 ratio (2 parts paint to 1 part water). This will give you a bolder whitewash, with less of the brick showing.
Next, check the consistency. The mixture should be milky and smooth, similar to heavy cream. If it’s too thick, add a bit more water. If it’s too thin, add more paint.
Step 3: Apply the Whitewash

Now, let’s get started with applying the whitewash.
Use your chip brush to start applying the mixture. Work in small sections. I recommend starting at the top and working your way down. This helps prevent drips from running onto areas you’ve already done.
Once you’ve applied the whitewash, you don’t want it to be too thick. That’s where the rag or sponge comes in. Wipe off the excess paint gently. This allows the texture of the brick to show through, giving it a more natural and soft appearance.
For a thicker, more opaque look, you can apply additional coats. But, here’s the trick: Let each layer dry before adding the next. This gives you more control and ensures a clean finish.
Step 4: Clean Up and Final Touches
You’re almost there! Let’s finalize everything and ensure it looks perfect.
First, clean your brushes and tools right after use. Use water to rinse them. If you wait too long, the paint will dry on them, and it’ll be harder to clean. Trust me, it’s easier to do it now.
Next, remove the painter’s tape. Do this while the paint is still slightly wet. This will help you get clean lines without pulling off any paint. Work slowly and carefully for optimal results.
Finally, you’ll need to let the whitewash cure. This is important. Allow the paint to dry for at least 24 hours before using the fireplace. It requires time to set fully, so don’t rush it.
Tips for a Successful Whitewash
Here are a few tips to help you get the best results with your whitewash project.
- Test the mixture first. Always try the whitewash on a small, hidden area of the brick before applying it to the entire surface. This will help you see if the finish is what you want. You can adjust the mixture if needed.
- Make sure the room is well-ventilated. Open windows or use a fan to help the paint dry more quickly and minimize any fumes. It’s important to have fresh air while working with paint.
- Lastly, protect yourself. Wear gloves and eyewear to keep your skin and eyes safe from any splashes. Better safe than sorry!
With these tips, you’ll have a smooth and easy whitewashing experience.
Common Mistakes to Avoid
Whitewashing can be simple, but there are a few common mistakes to avoid.
Not cleaning properly is a big one. If you skip cleaning the brick, the whitewash won’t stick well. This can lead to an uneven finish. Always clean the surface thoroughly before you start.
Another mistake is applying too much paint at once. It’s tempting, but too much whitewash can make the finish too thick and opaque. The beauty of whitewashing is in its light, translucent look. Less is more!
And don’t rush the process. Take your time. Apply thin coats, and let each layer dry before adding more. This is how you get a smooth, even finish that looks professional.
By avoiding these mistakes, your whitewashed fireplace will turn out just how you want it.
Conclusion
Whitewashing your brick fireplace is a straightforward DIY project that can dramatically enhance your living space. It’s an easy way to give your fireplace a fresh, modern look without the cost of a full renovation.
With the right materials and techniques, you can achieve a professional-looking finish. The process is straightforward: clean the brick, mix the whitewash, and apply it in thin coats. Remember to take your time and let each layer dry properly. The more attention you give to the details, the better the result.
The best part? You don’t need to be an expert to do this. With a little patience and the right approach, anyone can pull off this project.
So, are you ready to transform your fireplace? Gather your materials, follow the steps, and get started on this rewarding DIY project today! You’ll be amazed at the significant difference it can make.
Looking to update your home with a simple yet effective change? Check out our latest article Guide on White Walls and White Trim for easy tips and ideas to refresh your space.
Frequently Asked Questions
Can I Whitewash a Painted Fireplace?
Yes, you can whitewash a painted fireplace, but ensure you remove any peeling paint before applying the whitewash for the best results.
How Long Does It Take to Whitewash a Fireplace?
It usually takes 2-3 hours to apply the whitewash, plus drying time. Ensure that you wait at least 24 hours for the whitewash to cure completely.
Can I Use Chalk Paint for Whitewashing?
Chalk paint can be used for whitewashing, but it’s thicker than regular latex paint. Dilute it with water to get a more translucent finish.

With a Master in Architectural Studies from University of Pennysylvania, Marwa Haydar has pioneered living spaces since 2005. Her expertise, initially honed in a prestigious architectural firm, is evident in her approach to creating environments. Marwa became part of our team in 2019 and has since been a driving force in our home improvement section, known for her practical yet stylish solutions. She’s been spearheading our design workshops since then, infusing her passion for teaching into her work. In her leisure time, Marwa enjoys exploring historic architecture and is an enthusiastic pottery hobbyist, further enriching her understanding of form and texture.