
Make your kitchen or bathroom better with a tile backsplash.
This project looks great and is easy for most people to do.
A backsplash updates your space affordably, protects walls from splashes, and adds style.
This guide shows you each step, from picking tiles to adding the final sealer.
Don’t worry about working with tile; with good prep, tools, and methods, you can get very good results.
Even first-time tile users can make a nice backsplash that makes the whole room look better.
Prepare for a weekend project to enhance your space with a stylish tile backsplash.
How to Choose a Backsplash?
Picking the right backsplash tile means looking at style, use, and cleaning needs.
Here are the main things to think about:
1. Material Types
Common choices include ceramic, porcelain, glass, and stone.
Ceramic is cheap and works in many styles, while porcelain lasts longer but has fewer options.
Glass and metal look modern but may need more care.
Pick a material that fits your kitchen’s needs and how much cleaning you want to do.
2. Color and Design
Match your tile with your kitchen’s colors, counters, and cabinets.
Think about whether you want your backsplash to blend in or stand out.
Neutral colors last longer in style, while bold colors or patterns make a statement.
Laying out tiles before you stick them helps you see how they will look.
3. Tile Size and Shape
Tile size affects both looks and use.
Smaller tiles (like mosaics) add texture but need more grout and cleaning.
Larger tiles look smooth with less grout, but can be too much in small spaces.
When picking tile sizes, consider your kitchen’s size, ceiling height, and cabinet style.
4. How Long Does It Last
Avoid porous or uneven tiles in busy kitchens, as they can stain or hold water.
Pick materials that resist heat, stains, and water to last longer.
Also, consider how much time you want to spend cleaning.
5. Budget
Consider both material and setup costs.
Ceramic is usually cheap, while glass and stone cost more.
Remember to add the cost of grout, sealer, and any special tools you’ll need.
6. Your Style
Find a balance between timeless looks and what you like.
Trendy patterns can add style but may look dated quickly.
Classic subway tiles or neutral colors stay in style longer.
Most of all, pick what you’ll enjoy seeing each day.
Considering these factors helps you select a backsplash tile that enhances your kitchen, withstands daily use, and suits your lifestyle.
Purpose and Benefits
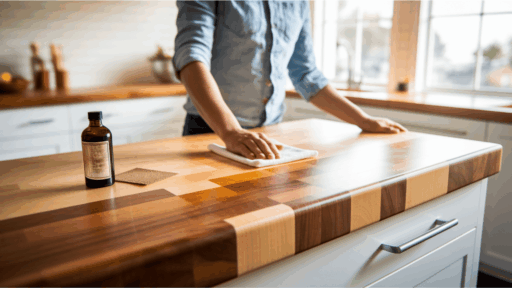
A tile backsplash is more than just pretty- it’s a useful upgrade for any kitchen or bathroom.
It guards your walls from splashes, stains, and water, making daily cleanup much easier and keeping your home safe from water damage.
Adding a backsplash can also make your space worth more and look better, with many design choices to match any style.
Best of all, it doesn’t cost too much, and most people can do it themselves.
Plus, it’s easy to fix if needed.
Design and Planning
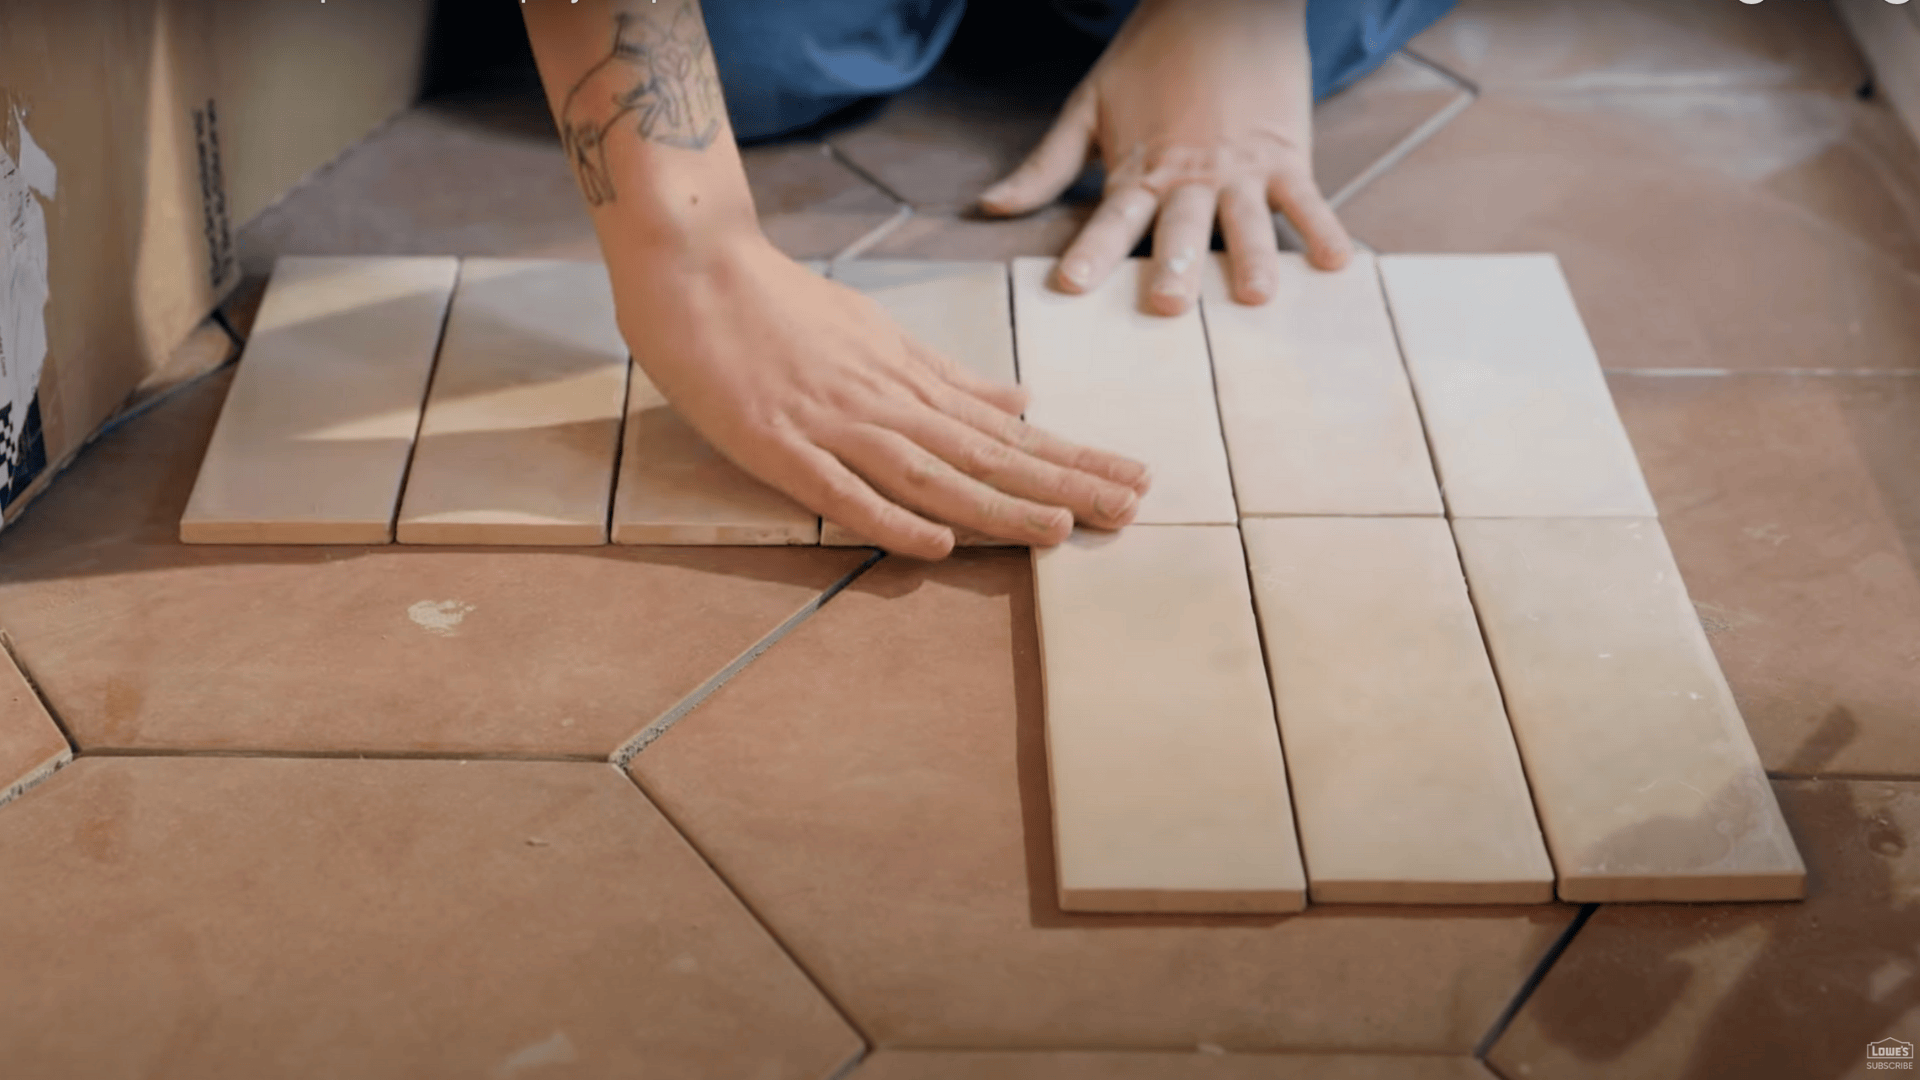
Plan your tile layout before you start.
Find a main spot, often behind the stove or sink, and center your design around it for a professional look.
Lay out your tiles with spacers to see the pattern and avoid odd cuts at the edges.
Popular backsplash layouts include:
- Brick pattern – classic look for subway tiles
- Grid pattern – clean, simple look
- Herringbone – eye-catching design
- Diagonal – creates more visual interest
Always measure well to ensure both sides match.
Centering tiles around key spots creates a clean, put-together look that will improve your kitchen design.
Materials and Tools Required
Before starting your backsplash project, it’s important to have the right materials on hand.
The list below covers everything you’ll need to prepare the surface, install the tiles, and finish the job cleanly.
These items form the foundation of a smooth and strong backsplash.
| CATEGORY | ITEMS INCLUDED | ESTIMATED COST |
|---|---|---|
| Main Materials | Tiles, mortar, grout, caulk, joint compound | $75 – $300 |
| Wall Prep | Backer board, drywall screws, ledger board | $25 – $60 |
| Tools | Trowel, spacers, sponge, grout float, tape, bucket, mixer, drill | $60 – $150 |
| Cutting Tools | Oscillating tool, wet tile saw | $100 – $300 |
| Protection | Plastic sheets, craft paper, cleaner (optional) | $10 – $30 |
Total Estimated Cost: $213 – $675
Stick to this list, follow each step, and you’ll be set up for success.
These tools and installation supplies help with everything from demolition to tile cutting and grout application.
Having these materials ready will save you time and help avoid mid-project delays.
With a solid plan and the right supplies, your backsplash will come together with ease and look great for years to come.
A Step-by-Step Guide for Installing Backsplash
Installing a kitchen backsplash might seem tricky, but it’s very doable with the right steps.
It can change the look of your space and protect your walls from splashes and stains.
Gather your tools, prep your surface, and follow this simple guide.
Step 1: Choose the Right Tile and Plan Ahead
Select a tile that complements your kitchen’s style and color palette.
Use a square footage calculator to estimate the number of tiles needed, and always order about 10% extra to cover cutting errors or damage.
Decide on a pattern before installation begins to ensure a smooth layout.
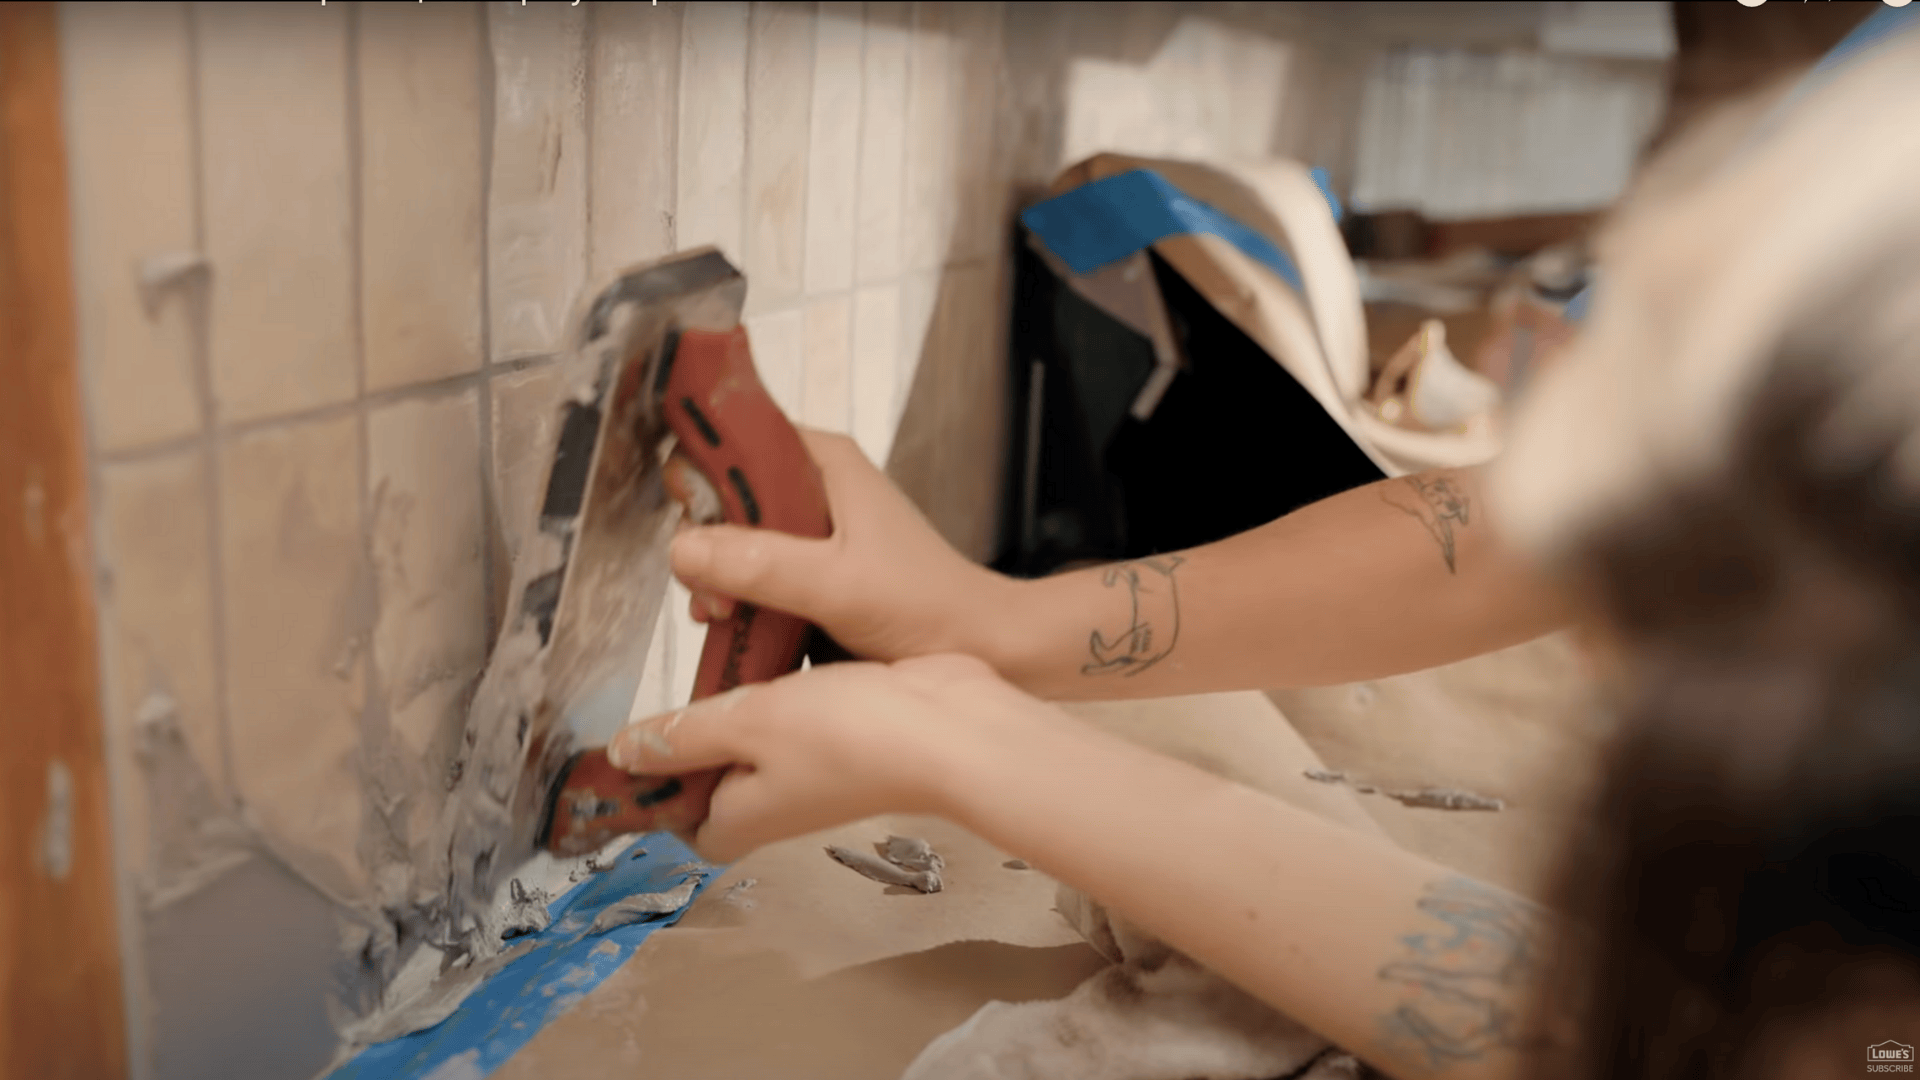
Step 2: Remove the Old Backsplash and Prep the Wall
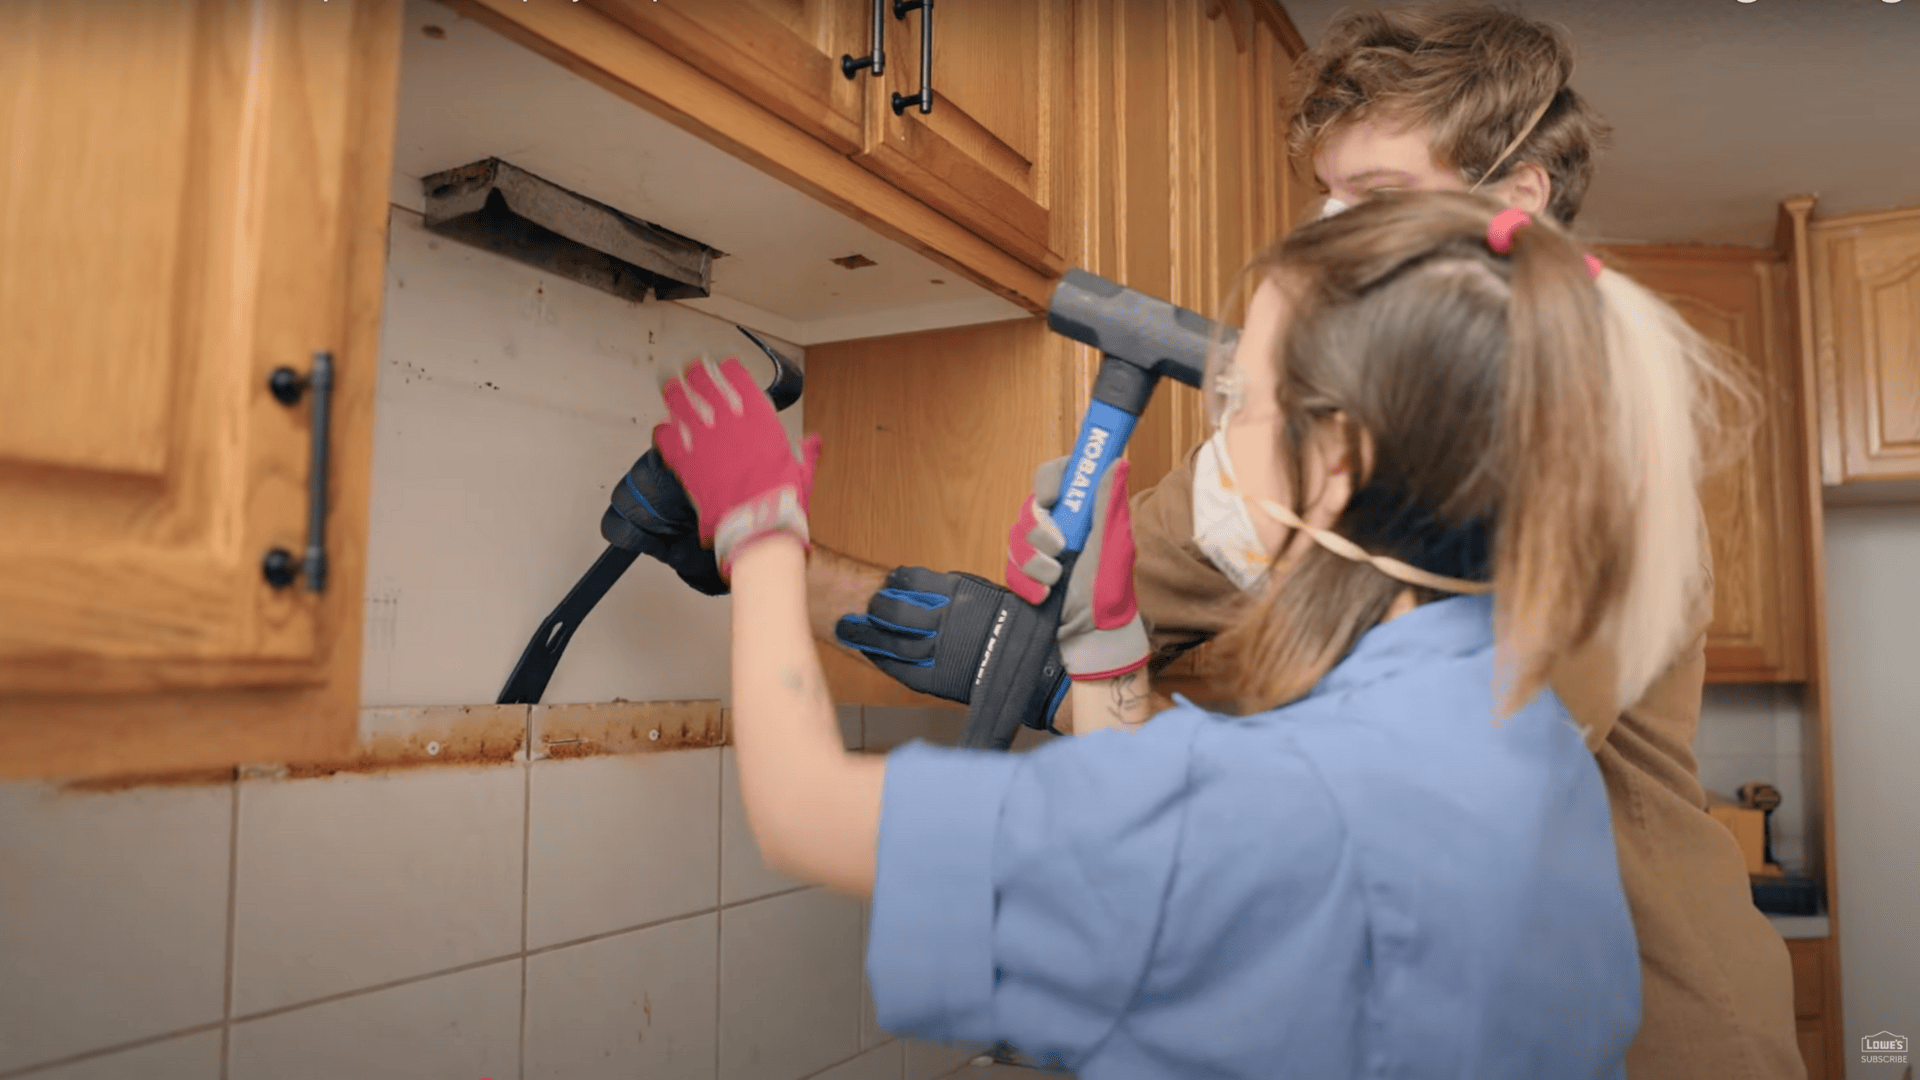
Carefully remove the old tiles using a pry bar and hammer.
Protect nearby surfaces with painter’s tape and craft paper.
Turn off the power and remove outlet covers.
Repair or replace damaged drywall with joint compound or GoBoard to create a clean, stable surface for tiling.
Step 3: Install a Ledger Board
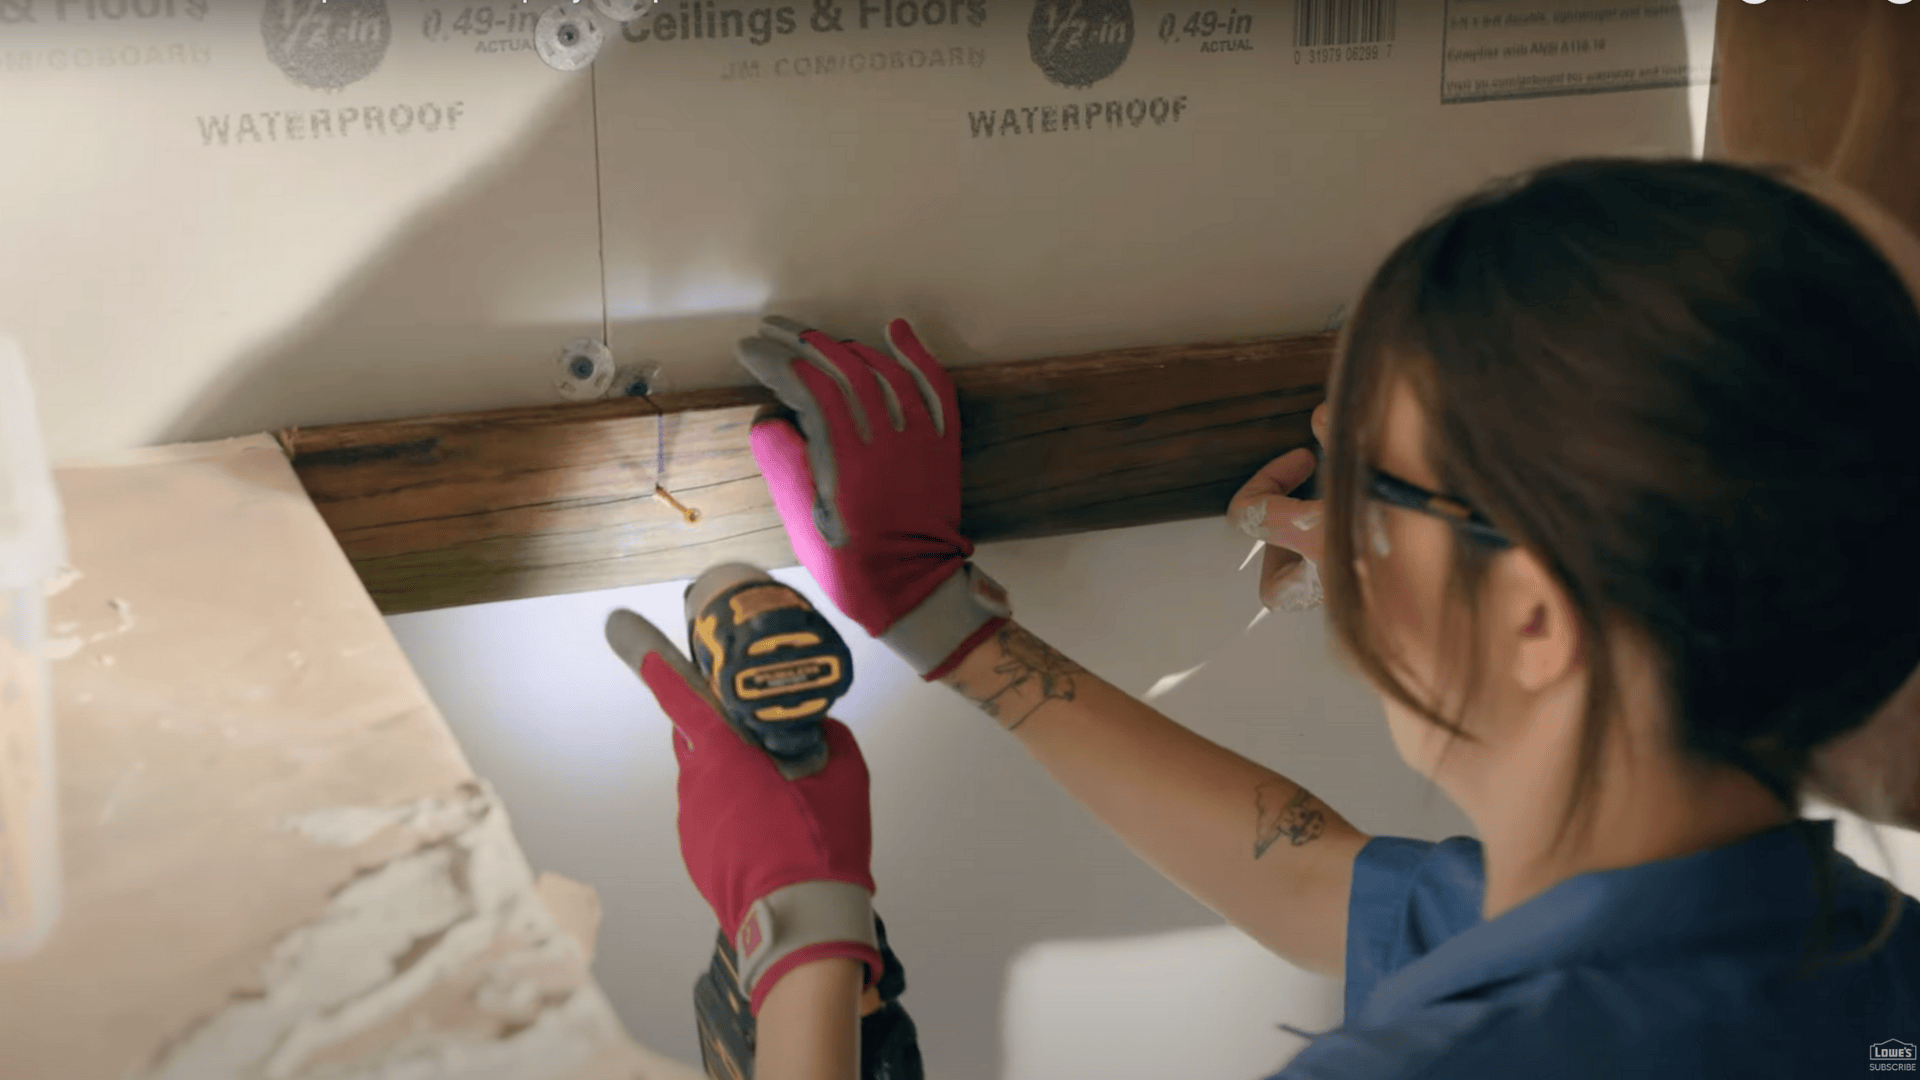
If your tile design extends beyond countertops or cabinets, add a ledger board to support the tile while the adhesive cures.
Secure it to the wall level with your intended tile line.
This prevents tiles from slipping and keeps the first row perfectly aligned.
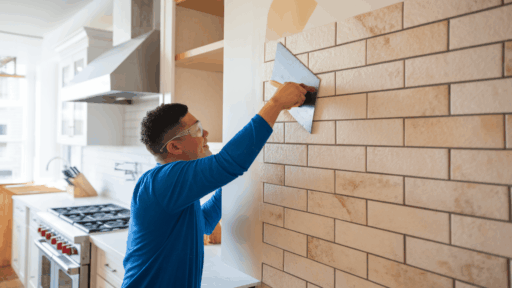
Step 4: Set the Tiles
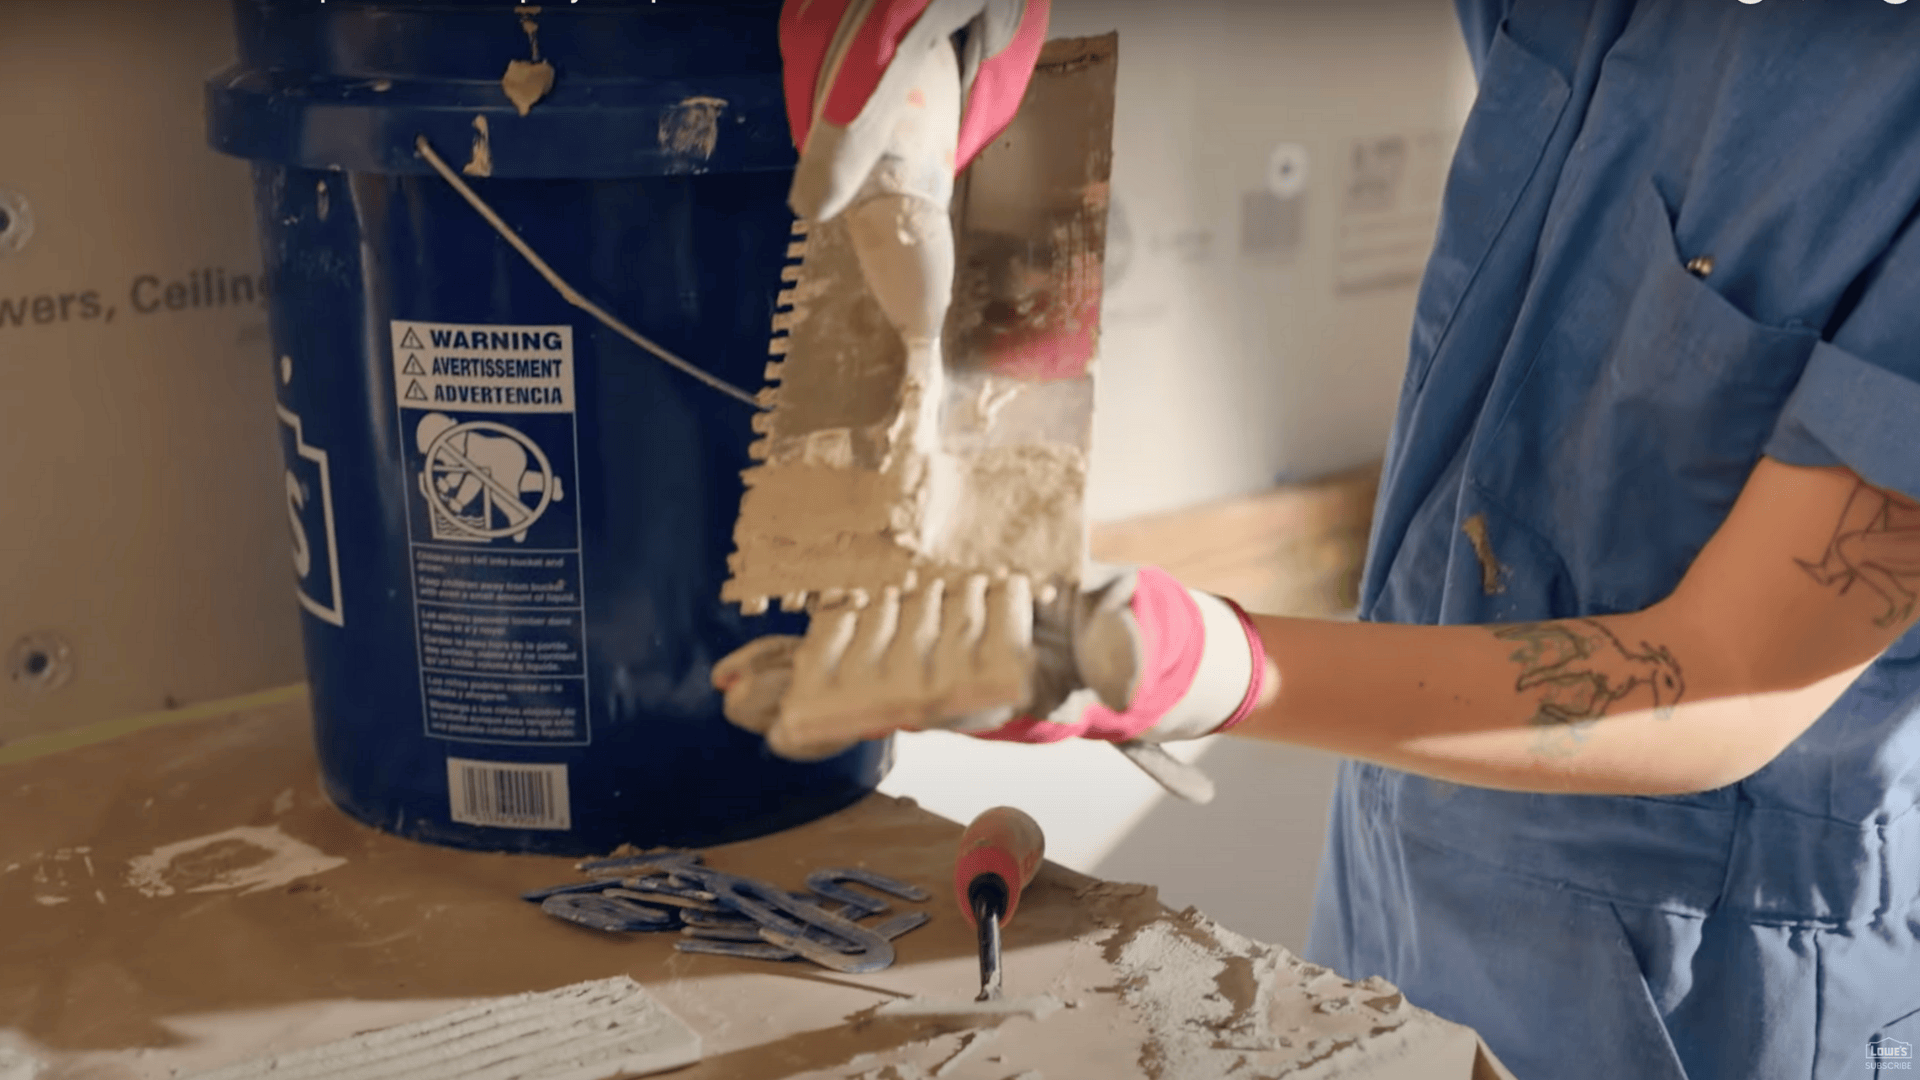
Mix the thin-set mortar according to the bag’s instructions.
Spread it on the wall and back-butter tiles using a notched trowel at a 45° angle.
Firmly press tiles into place and insert spacers for even grout lines.
Use a wet saw for custom cuts and a level for accuracy.
Step 5: Grout, Caulk, and Finish the Look
After 24 hours, apply grout diagonally using a rubber float, pressing it into the gaps.
Wait 10 minutes, then use a damp sponge to wipe away excess.
Shape grout lines and rinse often.
Once dry, caulk the edges for a clean seal and polish away any haze.
Watch How It’s Done: How to Install Backsplash
For more information and a full step-by-step guide, check out the video by Lowe’s Home Improvement
Longevity and Care
Keep your backsplash looking good with regular cleaning using a soft cloth and mild soap.
Avoid harsh chemicals and rough tools that can harm grout or tile surfaces.
Wipe spills right away, and check grout lines for cracks or color changes.
Care tips for lasting beauty:
- Reseal grout every 6–12 months
- Clean often with gentle soaps
- Wipe spills right away to stop staining
- Use steam cleaners for once-in-a-while deep cleaning
- Look for and fix damaged grout quickly
With good care, your DIY backsplash will stay nice and useful for years.
DIY Creative Ideas
Make your backsplash special with these fun DIY ideas:
- Mix materials – Combine glass accent tiles with ceramic base tiles
- Create a focal point – Install a pretty design behind the stove
- Add a pop of color – Use colorful grout instead of plain white
- Install under-cabinet lighting – Show off your nice new backsplash
- Go higher than normal – Take tile all the way to the ceiling in some areas
- Add small shelves – Make custom spots for cooking items
- Use leftover tiles – Make matching coasters or hot pads
- Frame your backsplash – Use fancy trim tiles to create a “picture frame” look
Don’t be scared to make your backsplash match your style and make your kitchen work better.
Conclusion
Great job
You now know all you need to make a nice, useful tile backsplash that will make your home better for years to come.
Remember that while this takes many steps, going slow and focusing on quality will give you the best results.
Don’t worry about small problems, even pro tilers make changes as they go.
The best part of a DIY backsplash isn’t just the money you save, but also how good it feels to improve your space with your own hands.
With care, your tile backsplash will remain attractive and functional for years, making it a rewarding home project.
Roll up your sleeves and get it done—here are more great ideas to refresh your space.
- 18 Stylish Backsplash Ideas for Butcher Block Counters
- Top 17 Rustic Farmhouse Kitchen Brick Backsplash Ideas
So get your tools, enjoy the process, and have fun watching your plan come to life, one tile at a time.

Stephanie Grace, a graduate with a degree in Fine Arts from the Savannah College of Art and Design, has been inspiring DIY enthusiasts with her creative and practical guidance for over 14 years. Her career in design and crafting began in a small artisan workshop, where she developed a passion for transforming everyday materials into beautiful and functional items. Stephanie joined our website in 2018, rapidly gaining popularity for her easy-to-follow DIY tutorials and innovative project ideas. Since then, she has been the creative mind behind our DIY section, helping readers bring their artistic visions to life. Outside her professional pursuits, Stephanie enjoys pottery and urban gardening, hobbies that showcase her love for hands-on creativity and nature.