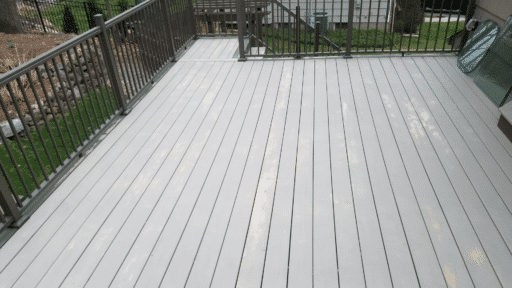
A deck is a great spot to relax, entertain, or just enjoy the view.
However, I know how bugs, rain, wind, or excessive sun can cut that time short. That’s why enclosing a deck can really change how you use your space.
By adding walls, screens, or windows, I’ve been able to enjoy my deck for more months out of the year, and even all year round.
You don’t have to build something fancy. It can be a simple screen room or a fully insulated four-season space, depending on what works for your home and budget.
In this guide, I’ll walk you through the key steps I’ve learned, how to plan, what to build, and how to keep it in good shape.
If you’re ready to get more out of your outdoor space, enclosing your deck is a smart way to start.
Why Enclose a Deck?
An enclosed deck can:
- Protect from insects, rain, snow, and sun
- Create additional usable square footage
- Improve your home’s resale value
- Offer privacy and noise reduction
- Enhance year-round comfort with the right materials
From affordable screened-in options to luxurious glass-walled rooms, there’s an enclosure type to match every lifestyle and budget.
Assessing Your Needs and Goals
Before choosing an enclosure type, ask yourself how you plan to use the space. Your answers will guide every decision that follows.
- Do you want protection from bugs or full weather control?
- Do you need a room for year-round use or just warmer months?
- Is your budget modest, or are you ready to invest in a permanent structure?
- Will this space serve as a dining area, a reading nook, a family room, or an indoor garden?
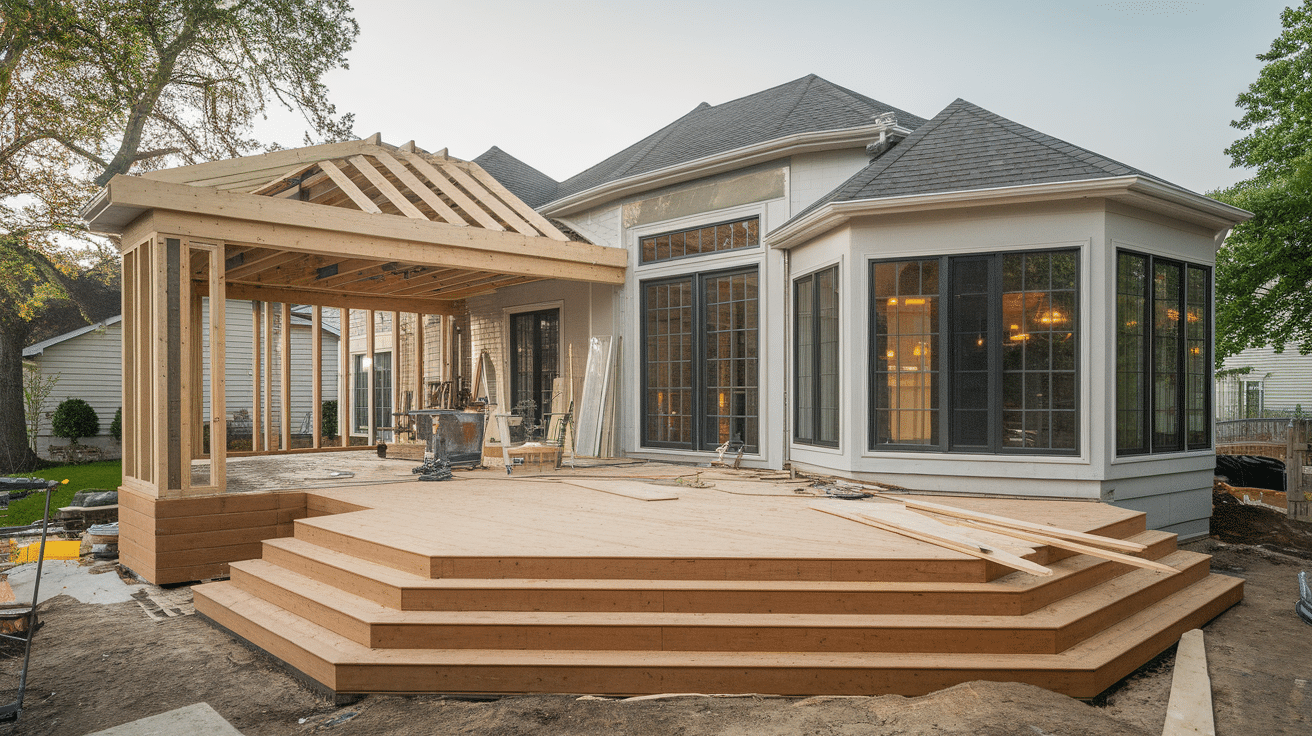
Also, consider the current structure. Are you enclosing an existing deck or building something entirely new?
The condition and layout of your current deck may limit your enclosure options or require structural upgrades.
Understanding Your Enclosure Options
Each enclosure type has different features, benefits, and cost ranges. Below are the most common options.
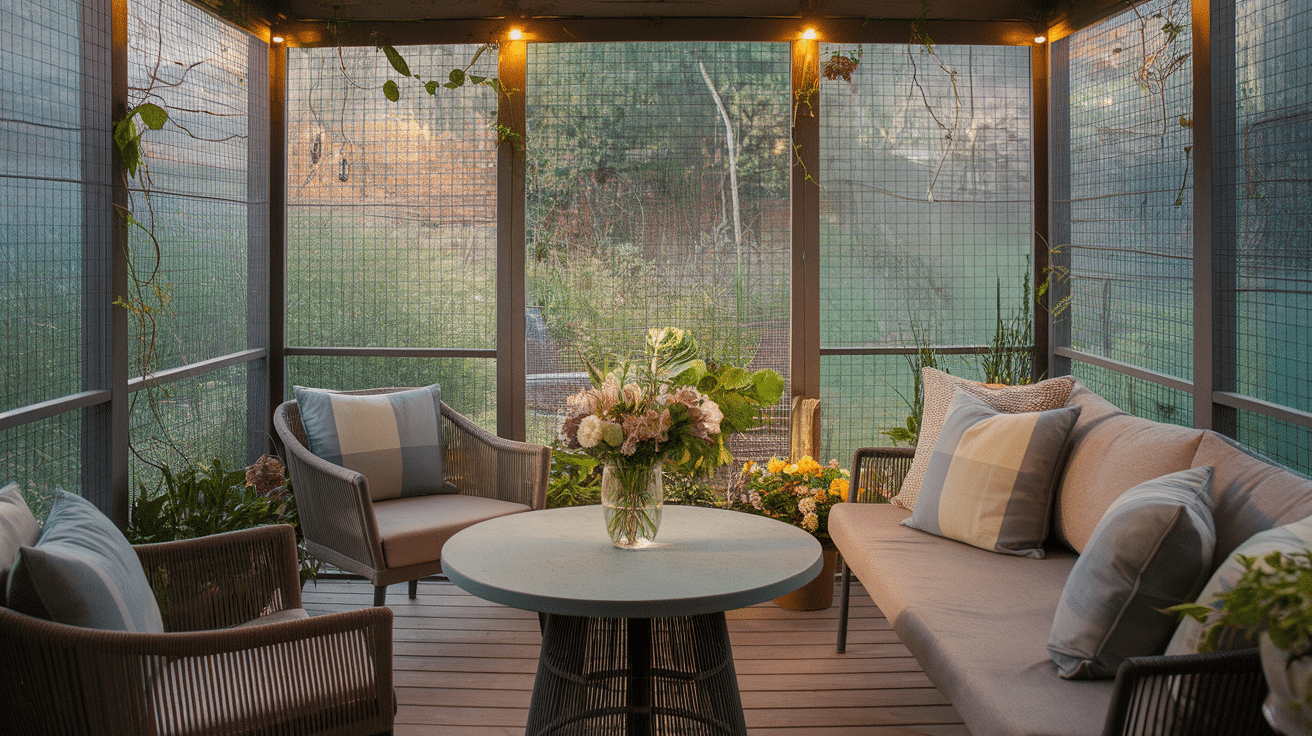
1. Screen Rooms
A screen room is the most affordable and basic way to enclose a deck. It uses mesh screens instead of solid walls or windows.
Features:
- Insect protection
- Great airflow and visibility
- Lower material and labor costs
Drawbacks:
- Offers little insulation
- Doesn’t protect from wind or cold weather
Best for: Seasonal use in spring through fall, in areas with mild weather.
2. Three-Season Rooms
A three-season room adds walls with single- or double-pane glass windows to provide better protection from rain, wind, and cooler temperatures.
Features:
- Windows can be opened or closed
- Blocks wind and rain
- Some insulation (but not fully climate-controlled)
Drawbacks:
- Not intended for use in freezing winter conditions
- No permanent heating or cooling
Best for: Homeowners who want to use their deck from spring through fall, especially in variable climates.
3. Four-Season Rooms
Four-season enclosures are designed to be used year-round and typically integrate with your home’s HVAC system.
Features:
- Double-pane insulated glass
- Fully sealed and weatherproof
- Supports heating and air conditioning
- Often includes drywall or vinyl paneling
Drawbacks:
- Most expensive enclosure option
- Requires professional design and installation
Best for: Homeowners looking to expand living space with full comfort permanently.
4. Solariums
Solariums offer a high-end enclosure experience with glass walls and ceilings for full panoramic views.
Features:
- Floor-to-ceiling glass
- Excellent natural light
- Often engineered for HVAC and insulation
Drawbacks:
- High construction costs
- May overheat in summer without proper ventilation
Best for: Indoor gardening, stargazing, or sunroom enthusiasts who want the ultimate indoor-outdoor connection.
Planning and Design Considerations

Before you start building, thoughtful planning is essential to ensure your enclosed deck is safe, functional, and visually appealing. From permits to materials, these key factors can make or break your project.
Check Local Codes and Permits
Always consult your local building department before starting any project.
Many municipalities require permits for enclosed structures, especially if electrical work or permanent roofing is involved.
Evaluate Structural Integrity
Make sure your current deck can support the added weight of walls, windows, and a roof.
If it was originally designed for open-air use only, you may need to reinforce the foundation or framing.
Plan for Drainage, Insulation, and Ventilation
Proper drainage and airflow are essential to prevent water damage and mold.
If you’re enclosing for year-round use, invest in proper insulation.
Rigid foam boards, spray foam, and insulated glass all contribute to indoor comfort. Ventilation also matters.
Consider adding ceiling fans, operable windows, or even skylights. This is especially important in solariums or glass-heavy designs.
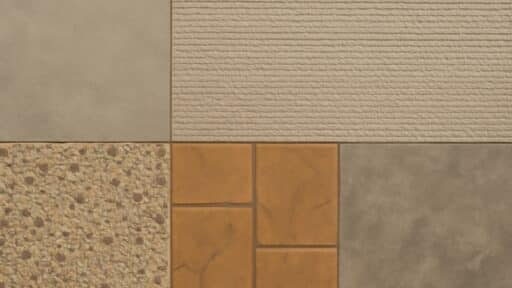
Match Materials to Your Home
Choose exterior finishes, windows, and trim that complement your existing siding, color palette, and architectural style.
A well-matched enclosure blends seamlessly with your home.
If you want to add charm, consider including beadboard ceilings, wood-look vinyl flooring, or even a faux fireplace to create a cozy interior feel.
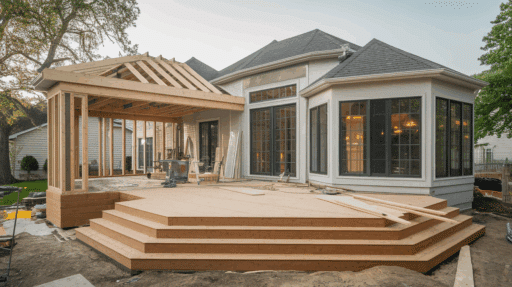
Step-by-Step Guide: How to Enclose a Deck
Ready to turn your open deck into a protected, usable space? Follow these step-by-step instructions to guide your build from prep to finishing touches.
Step 1: Preparation
Start by clearing the deck of all furniture and debris.
Inspect the deck for signs of wear, such as loose boards or unstable posts.
Take accurate measurements of the area to determine how much framing and finish material you’ll need.
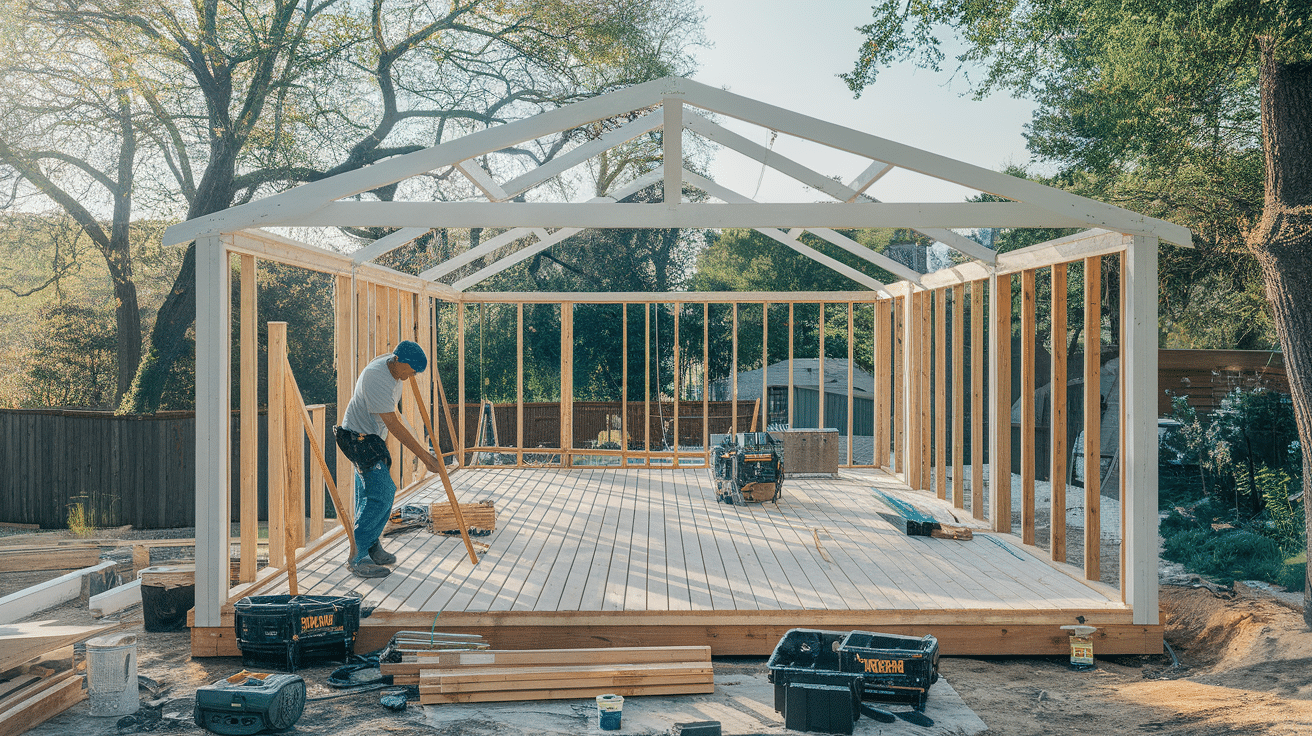
Step 2: Framing
Install support beams if necessary, especially if you’re adding a roof or glass walls.
Frame the walls to match the window, screen, or panel design you’ve chosen.
Be sure everything is level and securely anchored to the existing structure.
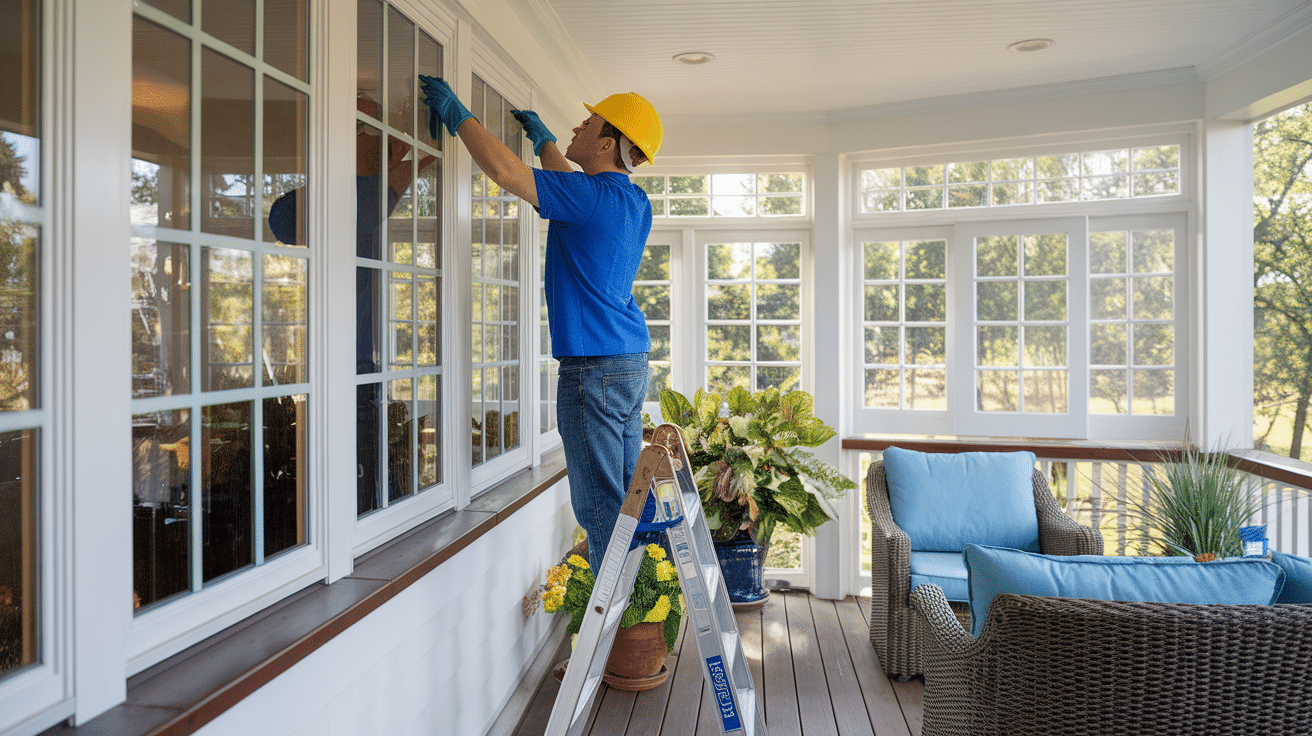
Step 3: Installing Panels or Windows
For screen rooms, stretch and attach mesh screen to the framed walls using spline or screen track systems.
For glass enclosures, install windows, sliding panels, or solid walls as planned. Use waterproof sealing and flashing around all openings.
Step 4: Roofing
If your deck doesn’t already have a cover, build a roof frame and install the appropriate roofing material, shingles, metal panels, or even glass for a solarium.
Add insulation if your room is intended for year-round use.
Step 5: Finishing Touches
Install doors, flooring, ceiling fans, and lighting to make the space livable.
You might also add baseboards, drywall, curtains, or heaters, depending on your design.
Finally, paint or stain wood finishes to protect them from moisture and to tie everything together visually.
Maintenance and Upkeep
To get the most out of your enclosed deck, plan for regular maintenance:
- Clean screens and windows seasonally to keep visibility clear
- Inspect seals and weatherproofing annually to prevent drafts and leaks
- Check structural elements like beams, fasteners, and supports every year
- Maintain paint and finishes to prevent moisture intrusion and prolong the life of your materials
In cold climates, also winterize your space by checking heating units, sealing gaps, and removing snow from roofing surfaces when necessary.
Conclusion
Enclosing a deck is one of the best ways I’ve found to make the most of outdoor space while adding comfort and value.
It transforms a basic deck into a space I can enjoy in more seasons and different weather conditions.
I’ve seen how a breezy screen room, a cozy three-season setup, or even a fully climate-controlled four-season room can totally change the way a home feels.
Each option brings its own perks, and it all comes down to what fits your lifestyle best.
By considering your needs and taking a step-by-step approach, it’s easy to create a space that seamlessly blends outdoor charm with indoor comfort.
For me, it became a favorite spot, perfect for morning coffee or quiet evenings. And it’s nice knowing the added comfort also boosts my home’s overall value and flexibility.

With a Master’s in Architecture from the University of California, Berkeley, Alexander Martin has dedicated the last 18 years to enhancing outdoor living through thoughtful and robust structure design. His career kicked off in urban planning, giving him a unique perspective on integrating structures into diverse environments. In 2019, Alexander brought his expertise to our website, offering insights into creating versatile outdoor spaces. Since then, he has been the lead advisor for our outdoor design projects and is known for his ability to merge functionality with environmental consciousness. Alexander enjoys rock climbing outside of work and participates in community development projects, activities that reflect his passion for the outdoors and sustainable design.