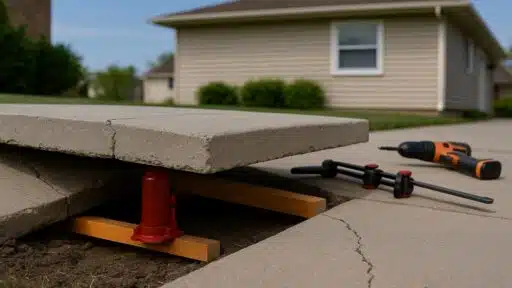

Are you dealing with sinking concrete slabs or settling foundation issues that create dangerous trip hazards?
Foam jacking foundation repair might be precisely what you need to solve these frustrating problems!
This modern technology uses expanding polyurethane foam to lift and stabilize concrete through small injection holes.
Foam jacking is gaining popularity because it requires minimal excavation, works quickly, and is less expensive than traditional methods.
Unlike heavy mudjacking or expensive concrete replacement, this method takes just hours to complete with lasting results.
You’ll learn how foam jacking works, what problems it addresses, the step-by-step process, and the associated costs.
Get ready to know why homeowners and contractors choose this innovative solution for foundation repairs.
Understanding Foam Jacking Foundation Repair
Foam jacking foundation repair is a modern method that lifts and stabilizes sinking concrete using expanding polyurethane foam.
Unlike traditional concrete lifting that uses heavy mud or cement, foam jacking requires minimal excavation and equipment.
The process uses specialized polyurethane foam that expands up to 20 times its original size when injected underground.
This method is most effective for addressing concrete slabs, driveways, sidewalks, and foundation settlement issues resulting from soil-related problems.
The science involves injecting liquid foam through small holes drilled in the concrete surface.
As the foam expands, it fills voids and lifts the concrete back to its proper level.
Professional equipment controls the injection pressure and foam flow for precise lifting and stabilization results.
The entire process typically takes just a few hours, and the foam reaches full strength within minutes.
Warning Signs Your Foundation Needs Repair
Your home and property often exhibit clear warning signs when foundation problems begin to develop underneath.
Recognizing these symptoms early helps you take action before expensive structural damage occurs.
- Uneven or sinking concrete slabs that create trip hazards.
- Cracks in foundation walls or floors that allow water entry.
- Doors and windows that stick when opening or closing.
- Gaps between walls and floors that grow larger over time.
- Visible foundation settlement where parts sink below normal levels.
Don’t ignore these warning signs, as foundation problems often worsen without proper professional attention.
The sooner you address foundation issues, the more money you’ll save on major structural repairs later.
Types of Foundation Problems: Foam Jacking Fixes

Foam jacking effectively addresses many common foundation and concrete problems that affect residential and commercial properties.
This versatile repair method is effective for addressing both minor settling issues and major structural concerns.
- Concrete slab settling causes uneven interior floors and structural movement throughout your home.
- Sidewalk and driveway lifting to raise sunken walkways and eliminate dangerous trip hazards around your property.
- Foundation void filling that addresses empty spaces under your foundation caused by soil erosion or settling.
- Soil stabilization issues that strengthen weak or shifting ground underneath your home’s foundation and concrete surfaces.
- Pool deck and patio repairs that restore level outdoor concrete surfaces for safe family use and entertainment.
These applications show why foam jacking has become a popular choice for foundation professionals nationwide.
The method’s versatility suits almost any concrete lifting or stabilization project.
Materials and Equipment Required
If you’re considering a DIY or small-scale contractor foam jacking project, understanding the material costs can help you plan more effectively.
The table below shows affordable price estimates for the tools and supplies you’ll need.
| MATERIAL | ESTIMATED COST (USD) |
|---|---|
| Polyurethane Trailer Unit (rental) | $500–$1,500 per day |
| Polyurethane Foam Injection Gun | $350–$500 |
| Polyurethane Foam (Lift Grade) | $200–$700 per 100–200 lb kit |
| Long Injection Hose | $120–$200 |
| Power Drill | $50–$150 |
| Concrete Drill Bit | $10–$50 |
| Carpet Tools (lifting/resetting) | $20–$50 |
| Concrete Hole Filler or Plug | $10–$25 |
| Door Frame Level or Gauge | $15–$40 |
| Clean Cloth and Sweeper | $10–$20 |
| Safety Gloves and Glasses | $10–$25 |
| Work Boots and Protective Clothing | $40–$100 |
These prices make it easier to decide if DIY foam jacking is right for your budget.
Renting tools and buying only what you need can help keep costs low.
Total Material Cost Range
If renting equipment: $1,335 – $3,360
If you already own basic tools: $1,000 – $2,000
NOTE: Material costs only, labor excluded. Foam jacking repair prices vary by location, project size, and equipment ownership.
The Foam Jacking Process Step-by-Step
Foam jacking foundation repair follows a proven five-step process that ensures precise lifting and professional results.
The process involves setting up equipment, accessing the concrete, drilling injection points, monitoring the lifting, and restoring the area.
STEP 1: Set Up the Polyurethane Trailer and Equipment
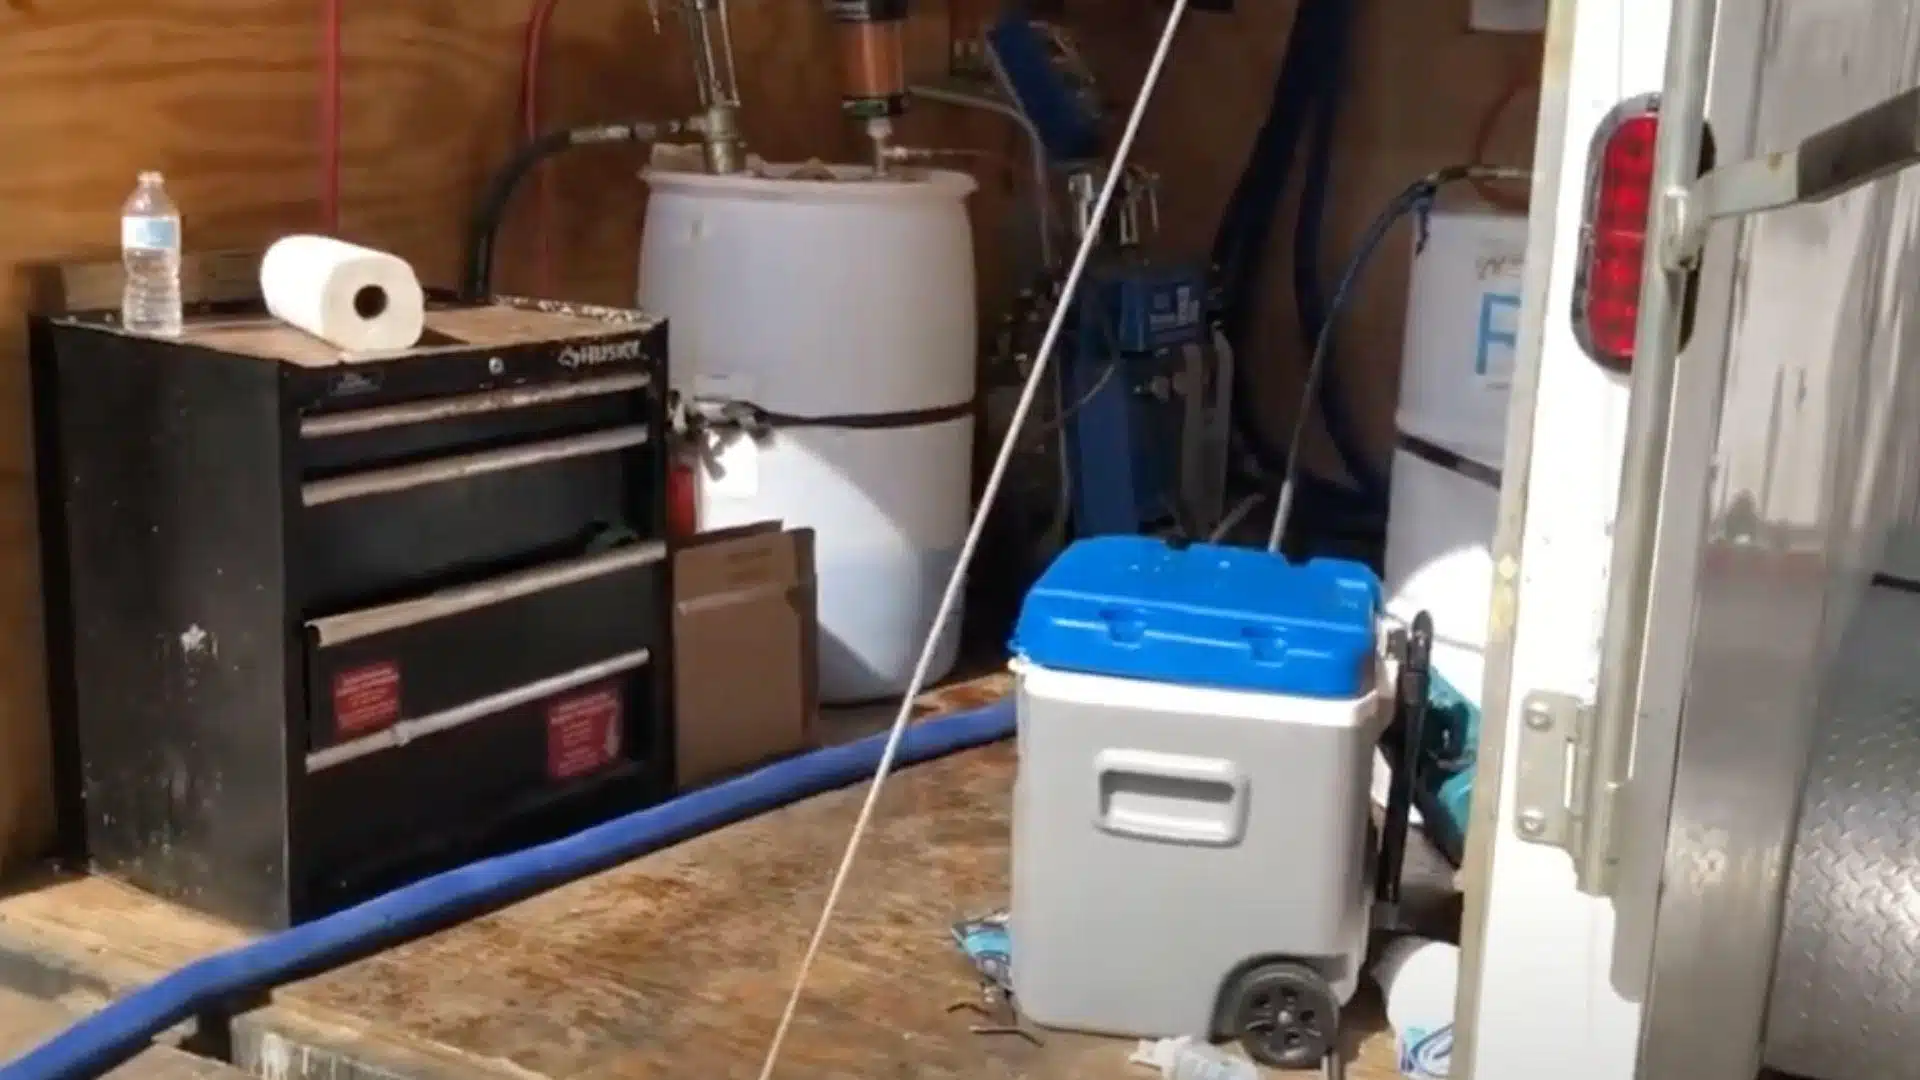
Start by parking the polyurethane trailer close to the home.
This trailer carries all the necessary lifting equipment for the job.
Run a hose from the trailer directly into the house to reach the area that needs to be lifted.
This setup makes the whole process easier and keeps the work area clean and organized throughout the job.
Expert Advice
- Park the trailer close for easier access to the hose.
- Use a long hose to reach deep inside the house.
- Keep the path clear to avoid tripping hazards.
STEP 2: Pull Back Carpet to Access Concrete
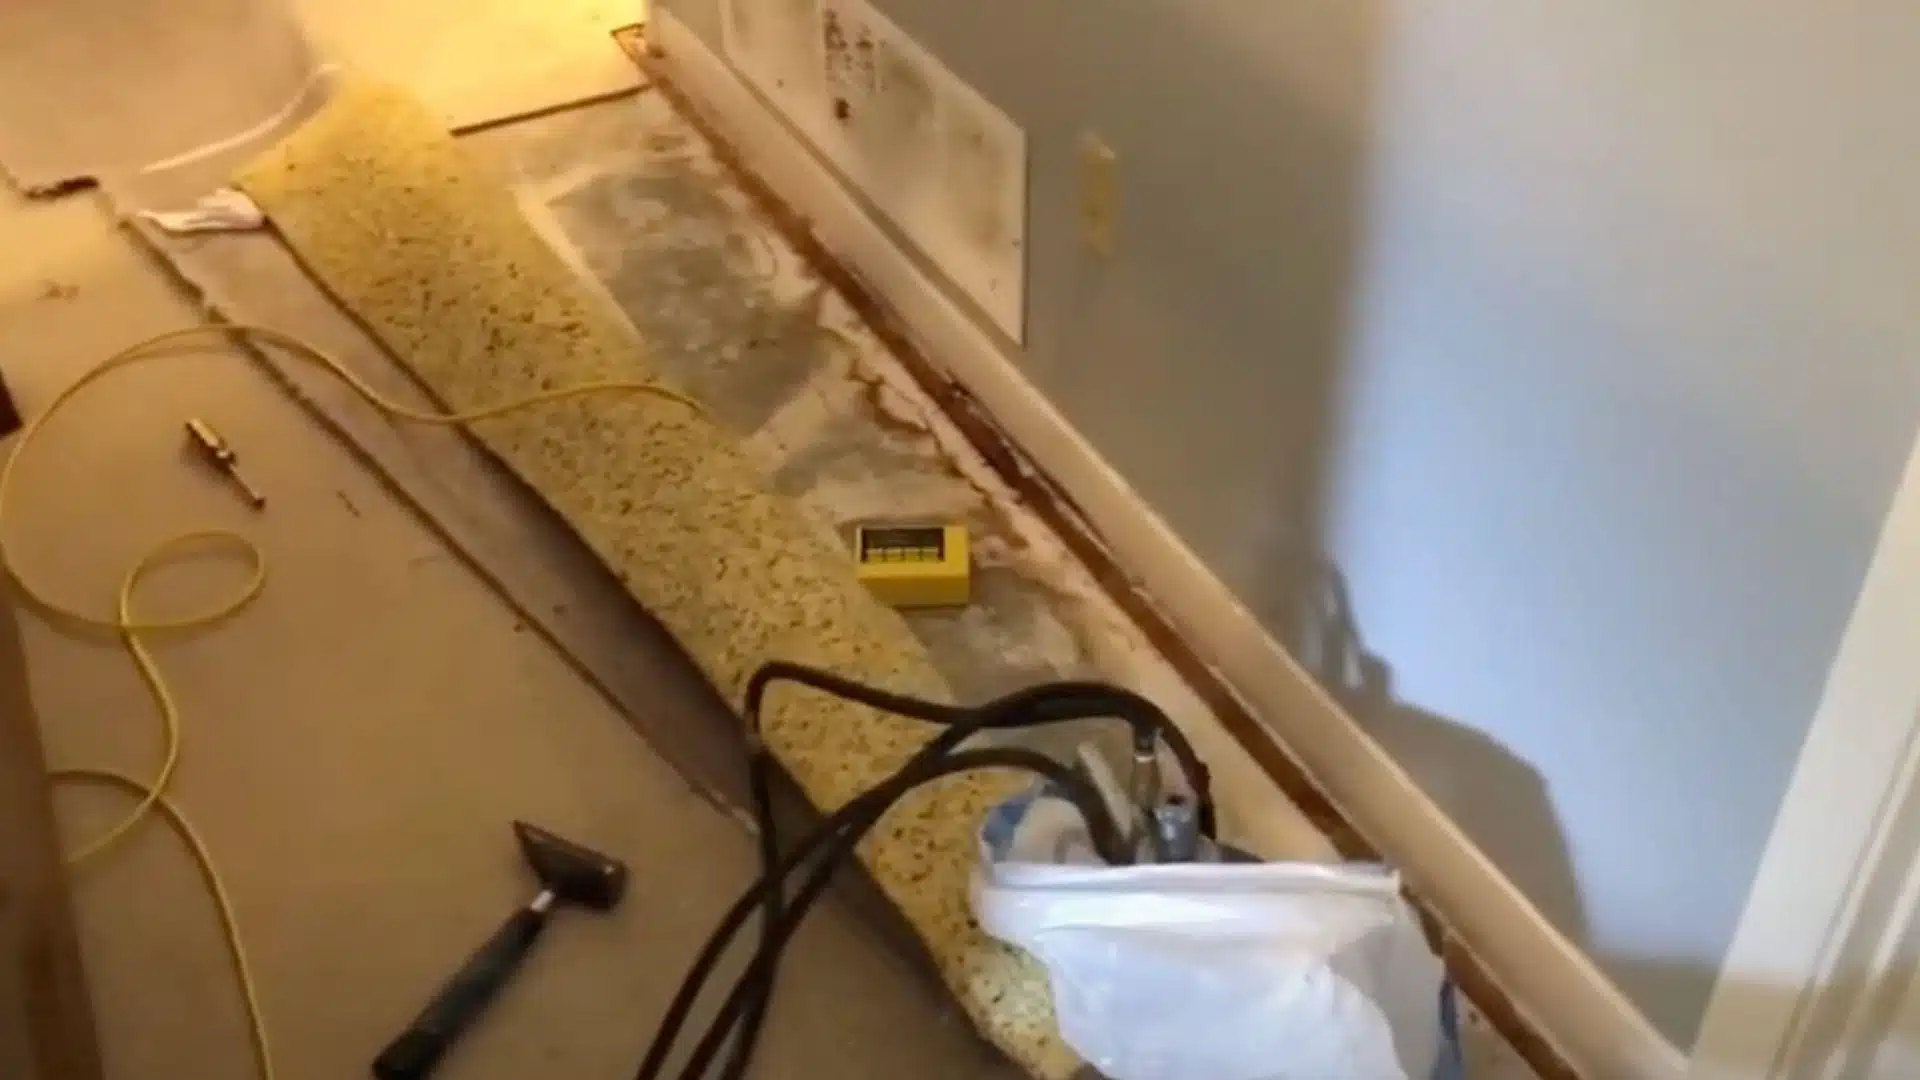
Go inside and move furniture if needed.
Carefully pull back the carpet to uncover the concrete slab underneath the floor.
This step helps you determine the ideal location to drill the hole for polyurethane injection.
Ensure the area is clear and ready for drilling before you start.
Expert Advice
- Fold carpet gently to avoid tearing or damage.
- Sweep away dust or dirt before starting to drill.
- Mark drill points based on door and floor gaps.
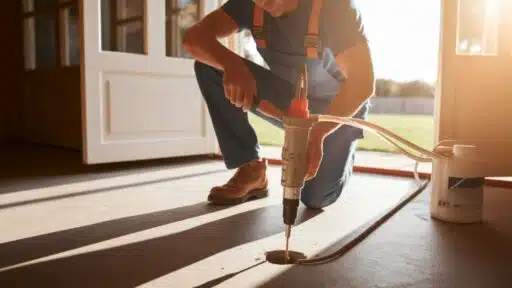
STEP 3: Drill a Small Hole and Inject Polyurethane
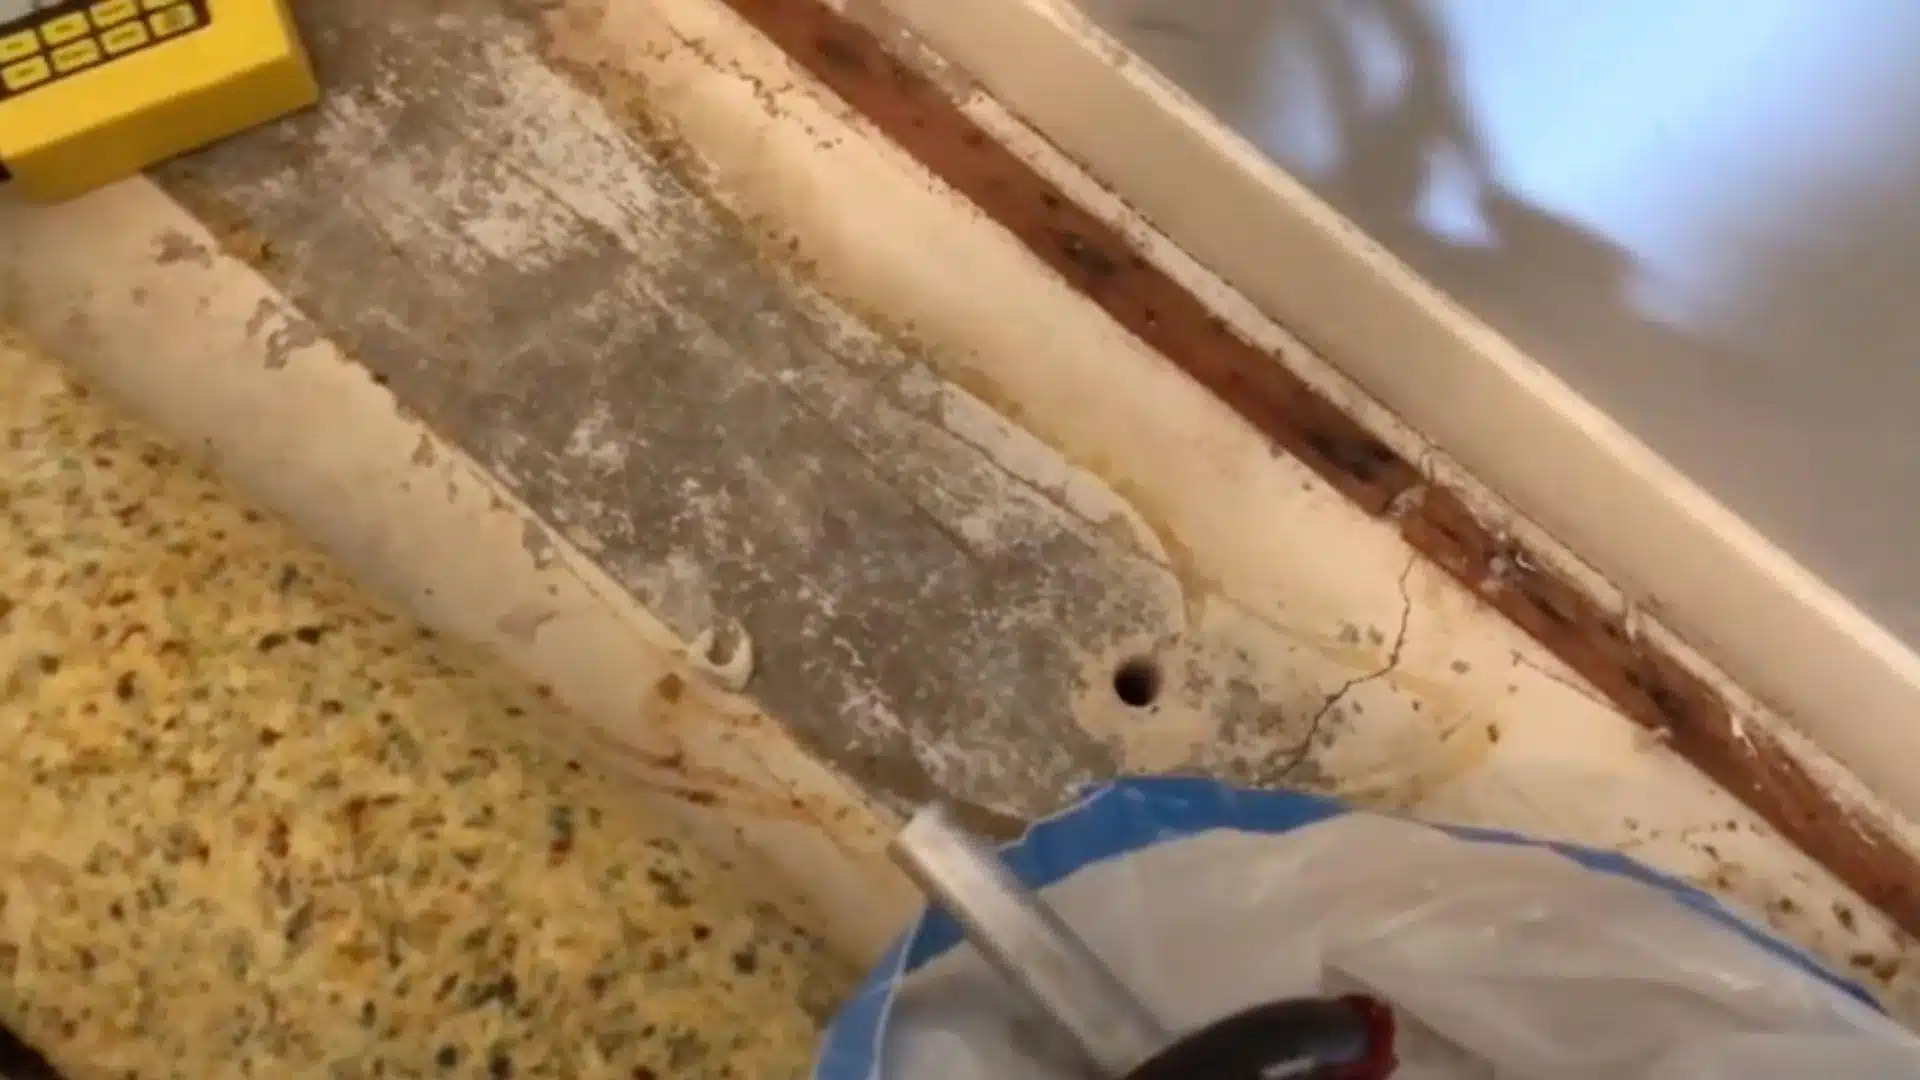
Use a drill to make a small hole through the concrete foundation.
Insert the injection gun through this hole and slowly pump the foam.
The polyurethane expands under the slab, fills any empty space, and lifts the sunken area back up evenly.
This step is slow but very precise and controlled.
Expert Advice
- Drill straight down to avoid cracking the slab.
- Inject foam slowly for controlled, even lifting.
- Watch for resistance, which means the void is filled.
STEP 4: Watch for Signs of Leveling During Injection
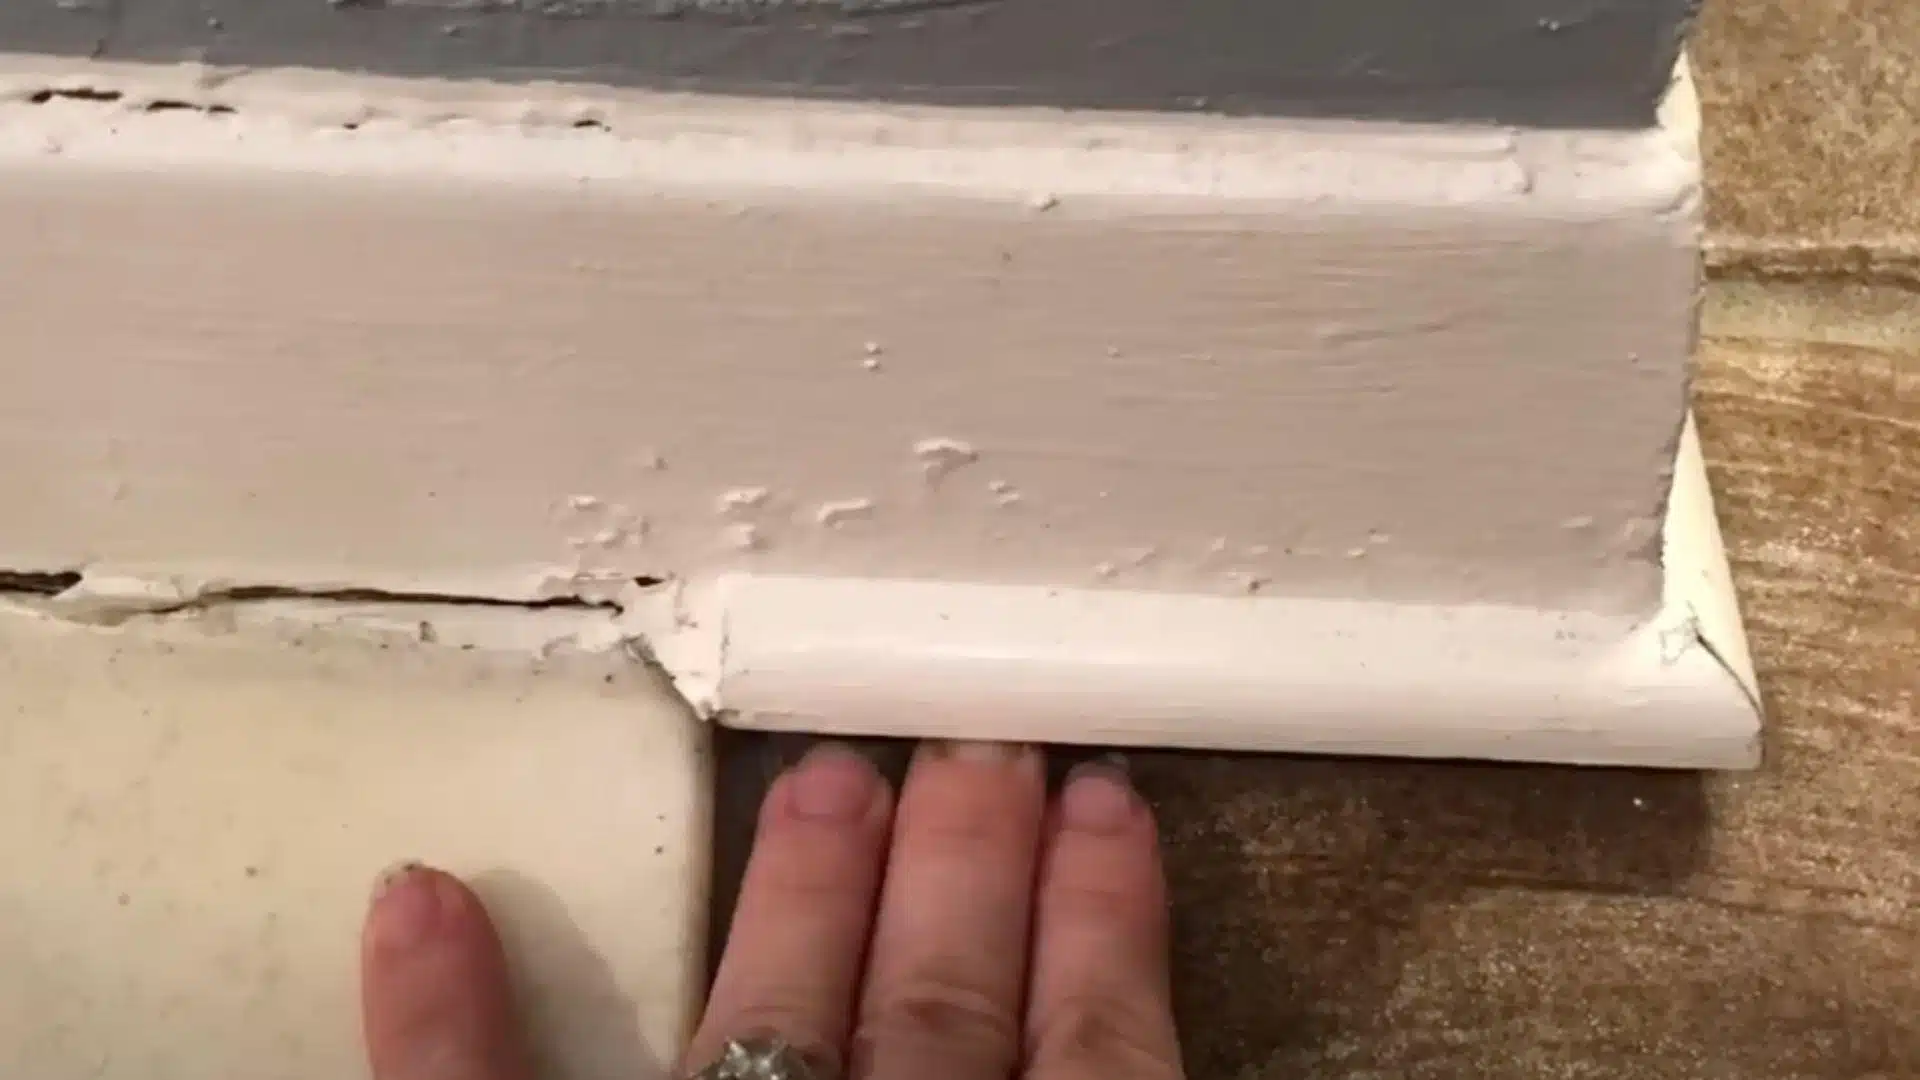
Look for changes like the gap in a door frame closing or tile edges moving closer to the baseboard.
These signs mean the floor is rising.
Continue slowly until the gaps are closed and doors latch properly.
You may need to adjust foam flow based on the changes you see.
Expert Advice
- Check door frames as a guide for leveling.
- Watch the tile gaps to measure the lifting effect.
- Stop injecting once everything looks even.
STEP 5: Clean Up and Restore the Area
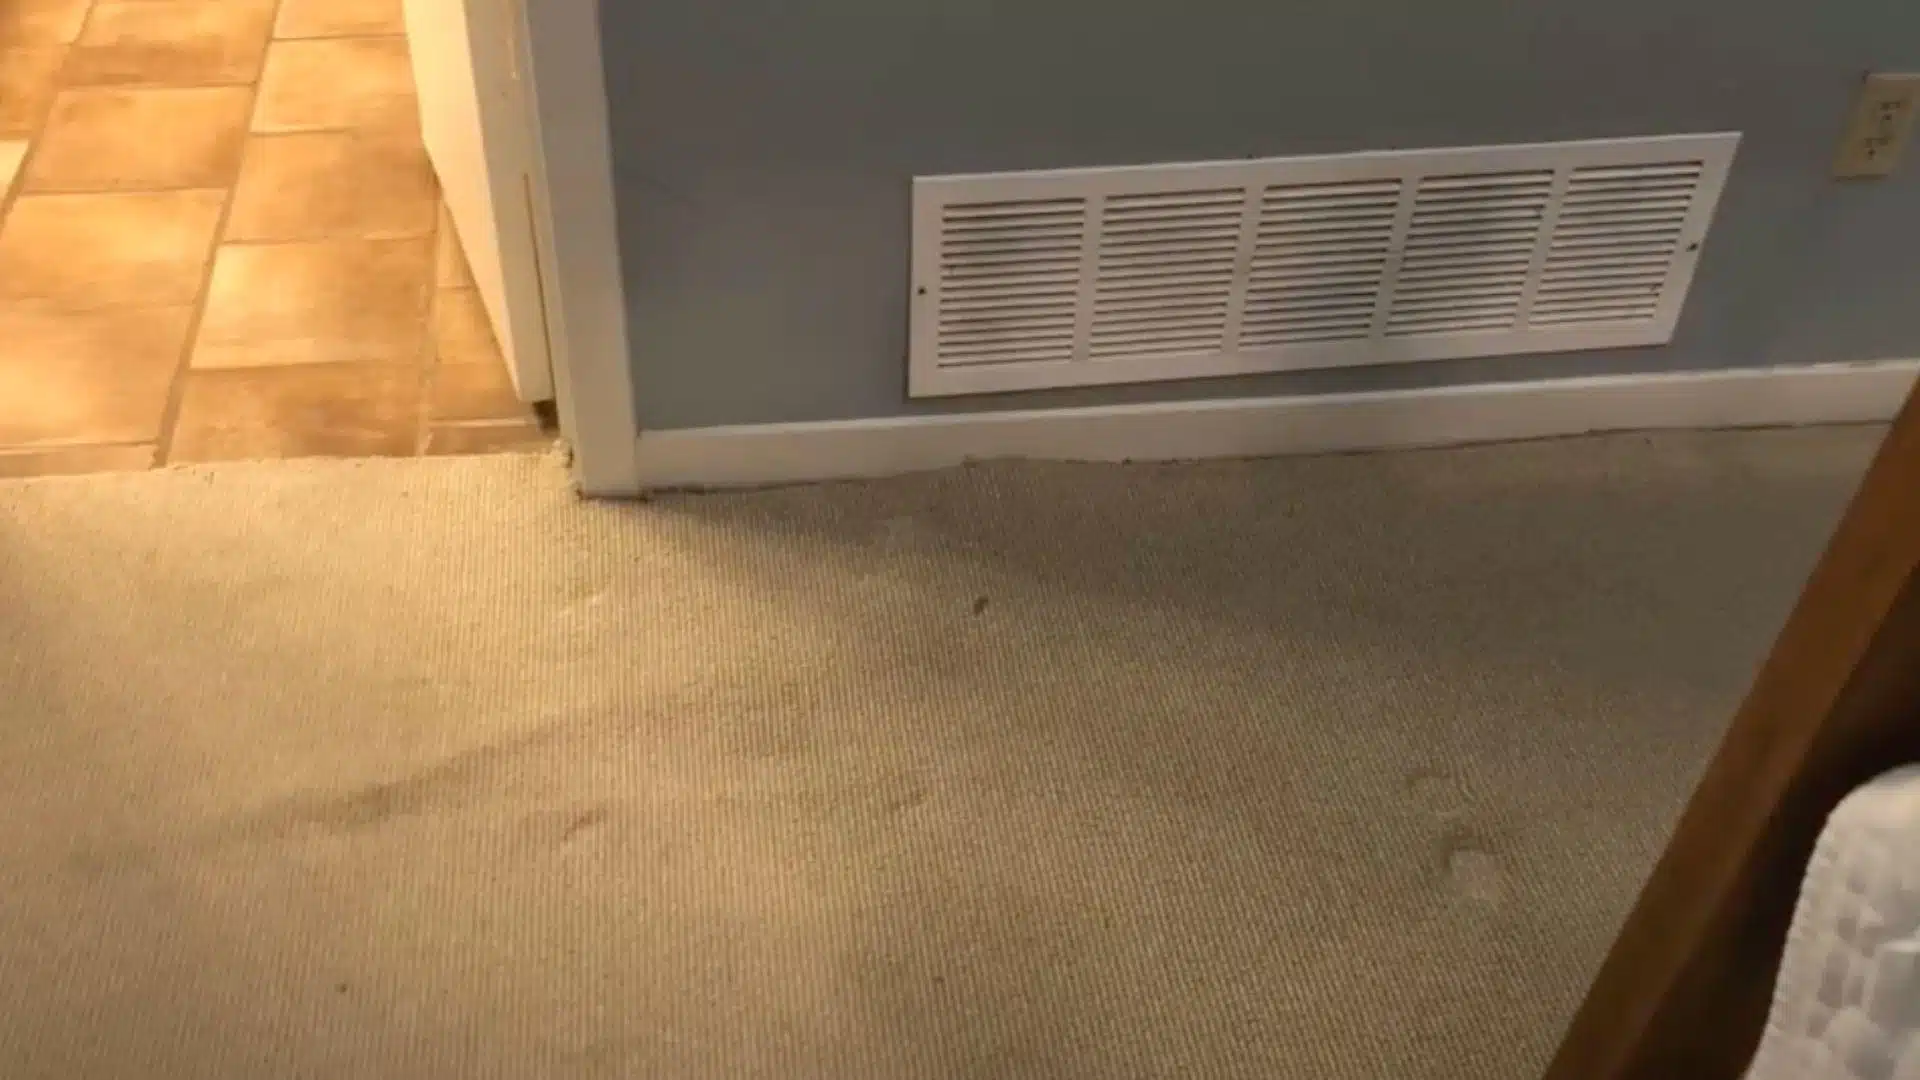
After lifting is complete, fill all drilled holes with concrete filler.
Put the carpet back in place neatly and clean up the area.
The goal is to leave the home looking like no repair ever happened.
A clean finish shows quality work and keeps the homeowner happy.
Expert Advice
- Use matching filler to hide drill marks.
- Smooth the carpet back with care and attention.
- Clean up dust and equipment before leaving.
Watch how It’s Done: Foam Jacking Foundation Repair Video Tutorial
For more details, check out the video explanation by Williamson Foundation Repair.
Cost Analysis and Budgeting
Foam jacking foundation repair typically costs $5–$25 per square foot for most residential projects nationwide.
Most people spend between $1,000 and $7,500, depending on the amount of concrete that needs to be lifted and the complexity of the repair.
The primary cost factors include the amount of foam required, accessibility, and any additional drainage work needed.
Foam jacking costs about 20% more than mudjacking but lasts much longer with better results.
It costs 40% less than full concrete replacement while delivering similar long-term structural benefits.
Homeowners typically see a 30–50% return on investment through higher property values and reduced damage costs.
Financing options include personal loans, home equity loans, or contractor payment plans for larger projects.
Maintenance After Foam Jacking
Foam jacking repairs require minimal maintenance but benefit from regular monitoring to ensure long-term success.
Apprehending what to expect helps you protect your investment and catch any issues early.
- Long-term durability expectations include foam lasting 10-15 years with proper installation and normal soil conditions.
- Monitoring for future settlement involves checking door gaps and floor levels twice yearly for any changes.
- Whether additional repairs might be needed depends on soil movement, extreme weather, or underlying drainage problems.
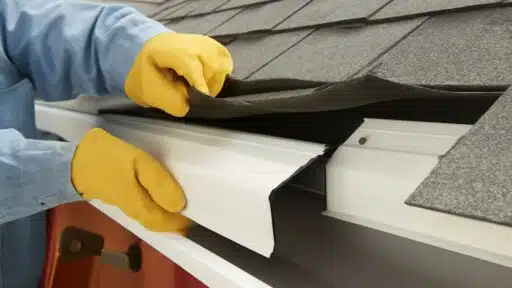
- Preventive measures to maintain results include keeping gutters clean and ensuring proper drainage around your foundation.
These simple maintenance steps help ensure that your foam jacking repair continues to work effectively for many years.
Most homeowners find that proper care prevents the need for future foundation work.
Common Problems and Solutions
Even professional foam jacking can encounter challenges that require quick thinking and problem-solving skills.
Comprehending these common issues helps you know what to expect and ensures quality results.
- Incomplete lifting or settling occurs when the foam doesn’t reach all voids, or the soil continues to move after repair.
- Foam expansion issues occur when foam expands either too quickly or too slowly, which affects lifting control and the final results.
- Access and site challenges include tight spaces, landscaping obstacles, or utility lines that complicate the injection process.
- Quality control measures include proper foam mixing, monitoring injection pressure, and post-repair testing to ensure success.
These problems are usually preventable with proper planning, quality materials, and experienced contractors who understand the process.
Most issues can be resolved during the repair process when caught early by skilled professionals.
Summing It Up
Foam jacking foundation repair demonstrates that modern technology can effectively address foundation problems, providing a quick, affordable, and permanent solution.
From lifting sunken slabs to filling foundation voids, this versatile method effectively addresses most concrete settlement issues.
Foam jacking is most effective for minor to moderate foundation problems that require soil stabilization and concrete lifting.
While some homeowners attempt DIY repairs, professional installation ensures proper mixing of the foam, optimal injection pressure, and lasting results.
Don’t let foundation problems worsen and become expensive structural disasters that threaten your home’s safety.
A professional consultation helps you determine if foam jacking is the right solution for your specific foundation issues.
Ready to change your sinking foundation into a stable, level surface?
Share your foam jacking experience in the comments below!
If you’re interested in more DIY project content, check out our other blogs that you might enjoy.

James McLaren, with a rich background in architecture from the University of Manchester, has been contributing his expertise to the world of creative construction and home innovation for over 20 years. His journey began as a project manager for a leading construction firm, where he honed his skills in bringing complex designs to life. James joined our platform as a freelancer in 2019, quickly becoming a favorite for his insightful and practical advice. He has been a pivotal force to our wing ever since, bringing our readers a blend of technical know-how and creative flair. Beyond his professional life, James is an avid woodworker and enjoys restoring vintage furniture, a hobby that complements his professional insights beautifully.