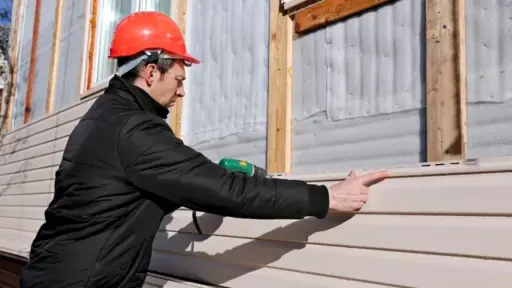

Ever wondered what happens in that dark space under your home?
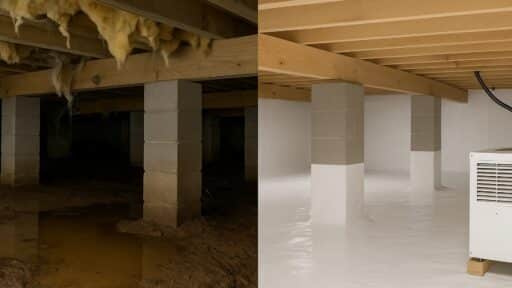
The difference between before and after crawl space encapsulation is like night and day!
Most homeowners don’t realize that the crawl space affects every room above it.
That damp, musty area can send moisture, mold spores, and even pest problems straight into your living room.
But, encapsulation can convert this trouble spot into a clean, dry asset for your home.
Understanding what happens during the encapsulation process helps you make smart decisions about your home’s health.
Find out how this important upgrade works and the real benefits it brings to your family and property.
What is Crawl Space Encapsulation?
Crawl space encapsulation is a process that seals off the area beneath your home from outside elements.
It creates a complete moisture barrier.
This prevents dampness, mold, and pests from entering your home from below.
The system includes four main components.
First is a thick vapor barrier that covers the ground and walls.
Second is a dehumidifier to control moisture levels.
Third is proper insulation to regulate temperature.
Lastly, sealing all outside vents prevents air exchange.
Homeowners choose to encapsulate for several reasons.
Solving moisture issues, improving air quality, reducing energy costs, preventing structural damage, and creating storage space.
This system converts a damp, dirty crawl space into a clean, dry extension of your home.
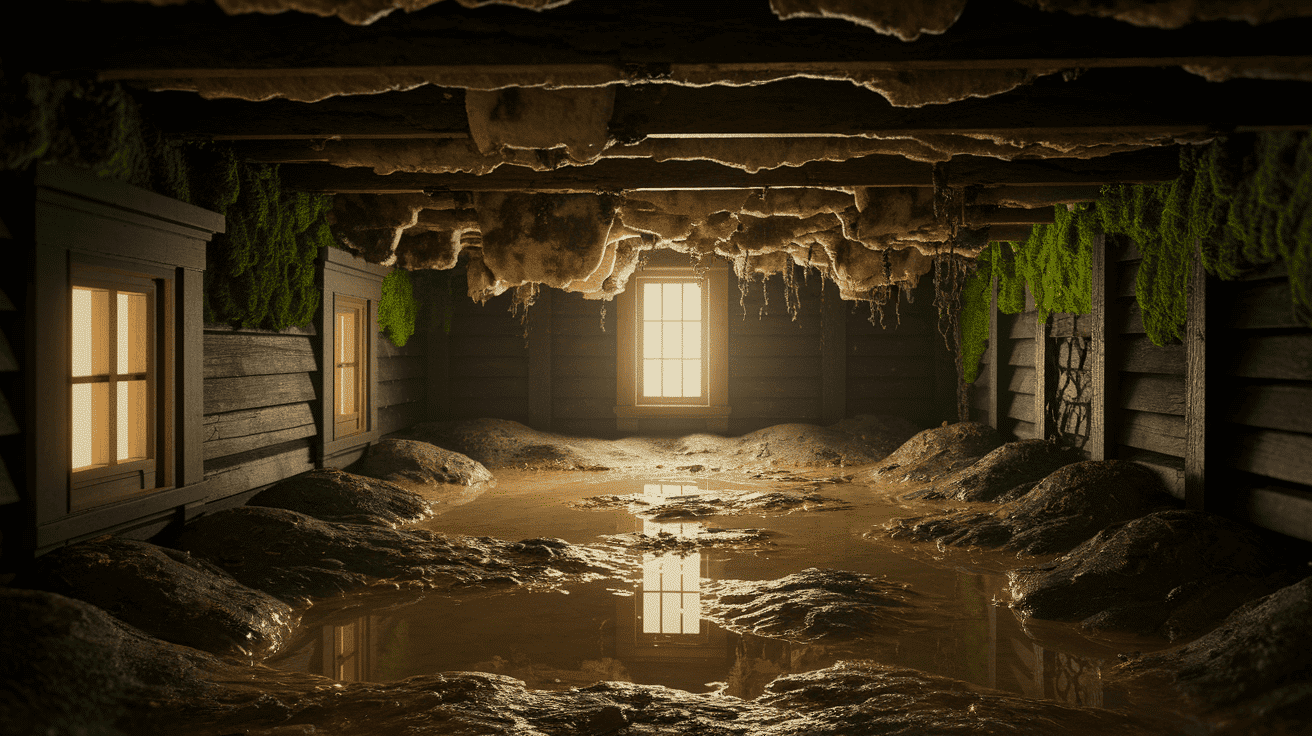
The State of a Crawl Space Before Encapsulation
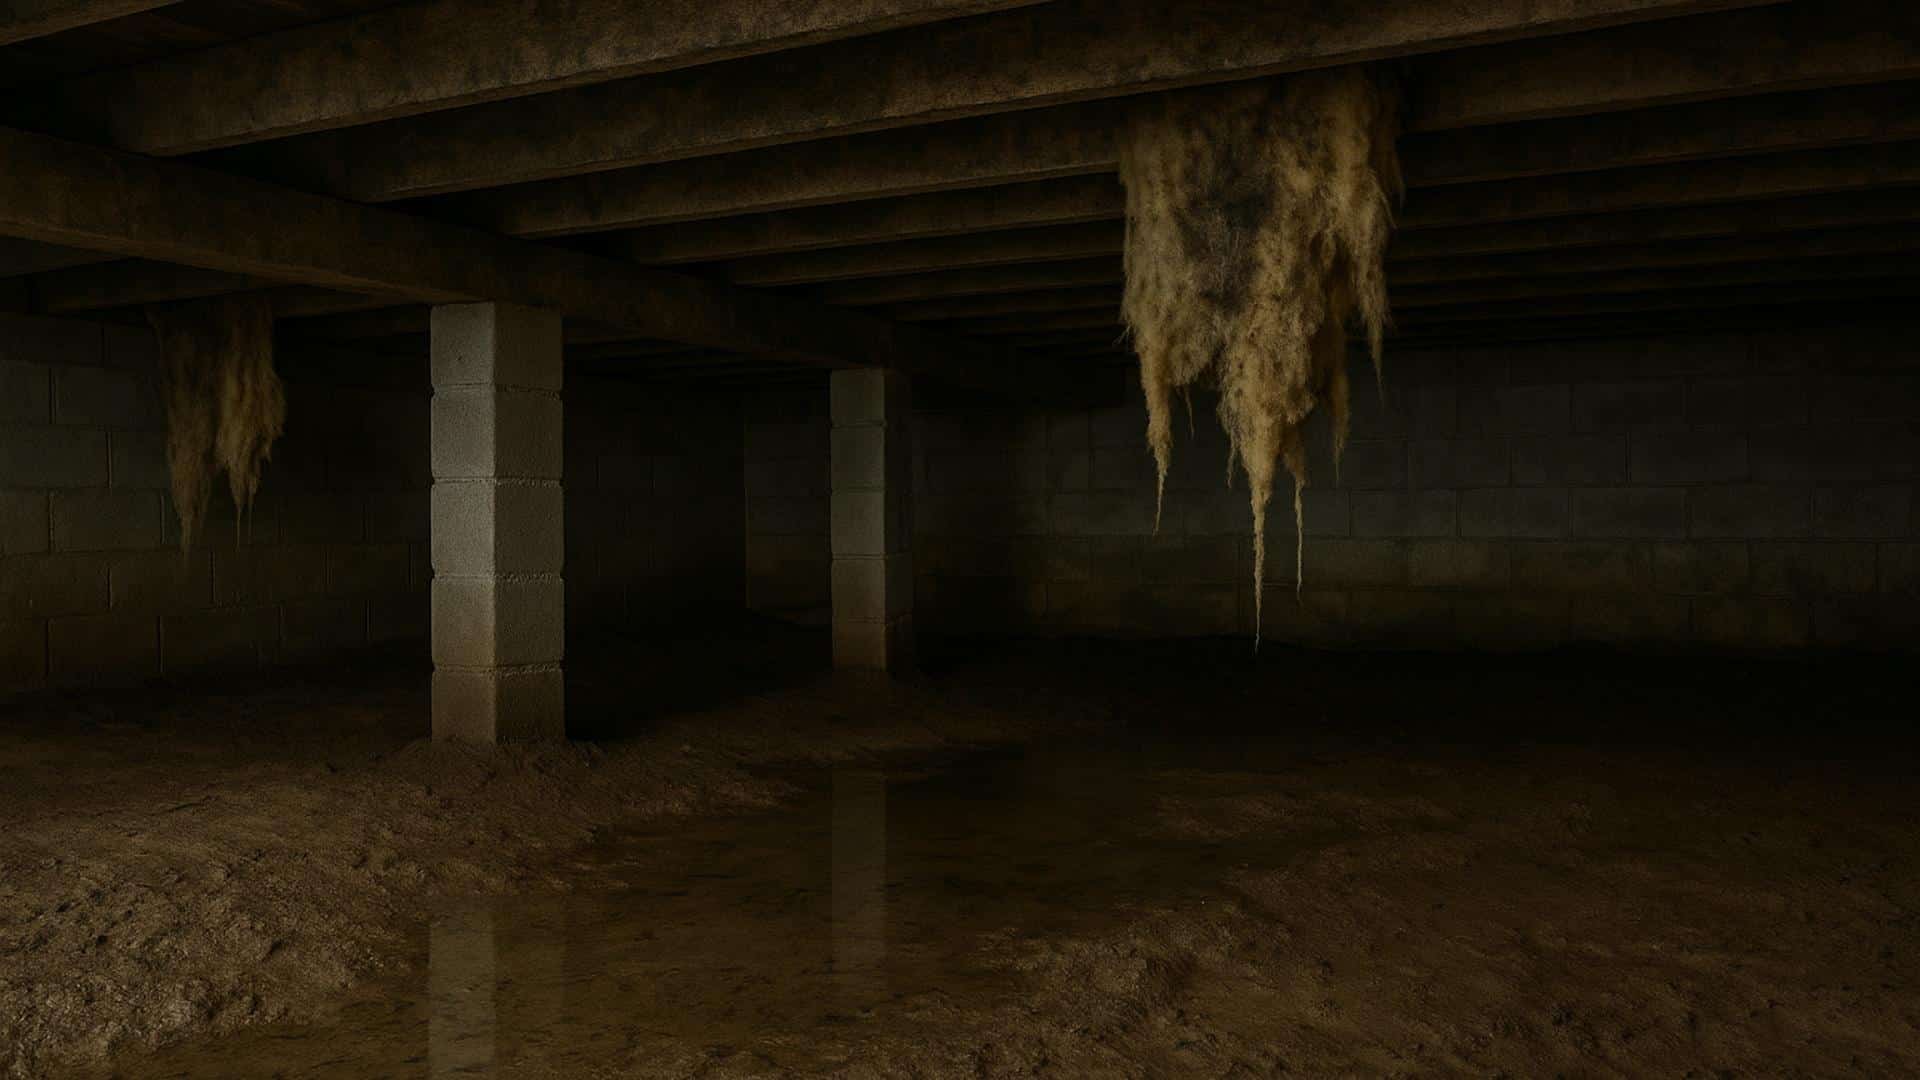
Unencapsulated crawl spaces often suffer from multiple problems.
Moisture seeps in from the ground and through vents. This leads to mold growth on floor joists and insulation.
Pests like rodents, insects, and even snakes can make themselves at home.
A strong, musty smell might rise into your living areas.
Your floors may feel cold in winter because of the damp air below.
A typical untreated crawl space looks dirty, with exposed soil, cobwebs, and possibly standing water.
Old fiberglass insulation might hang down, covered in mold. These conditions affect your whole house.
They can raise energy bills by 15-20%. They can worsen allergies and breathing problems.
They may even damage your home’s structure over time.
Many homeowners don’t realize how much a neglected crawl space impacts their daily comfort.
Signs Your Crawl Space Needs Encapsulation
Your home may be telling you that your crawl space needs help.
Watch for these warning signs that show it’s time to consider encapsulation:
- Your house smells musty even after cleaning, especially on rainy days.
- You notice your floors feel cold in winter, and your heating bills keep rising.
- Family members have more allergy symptoms or breathing problems at home.
- You’ve seen mice, rats, or insects coming from the crawl space area.
- The crawl space floor is always wet, or you can see water puddles under your home.
Don’t ignore these signs. They won’t go away on their own and may get worse over time.
Fixing your crawl space can solve these problems and make your whole house healthier and more comfortable.
The Crawl Space Encapsulation Process Explained
Wonder what happens when you get your crawl space encapsulated?
It’s a step-by-step process that changes the area under your home.
Here’s a simple breakdown of what to expect when professionals tackle this important home improvement project.
1. Cleaning and Prep
First, crews remove all debris from your crawl space.
This includes old insulation, trash, and any damaged materials.
They might need to deal with standing water using pumps.
The ground is leveled where needed.
Pest control treatments may be applied if there are signs of rodents or insects.
This cleaning stage creates a blank slate for the new system and helps prevent future problems.
2. Installation of Vapor Barriers and Sealing
Workers cover the ground and walls with thick plastic sheets called vapor barriers.
These are at least 12-20 mil thick, much stronger than regular plastic.
The sheets are carefully overlapped and sealed at all seams.
All vents, gaps, and cracks are sealed with special foam or caulk.
The foundation walls and rim joists are also sealed to stop air leaks. This creates a complete moisture barrier.
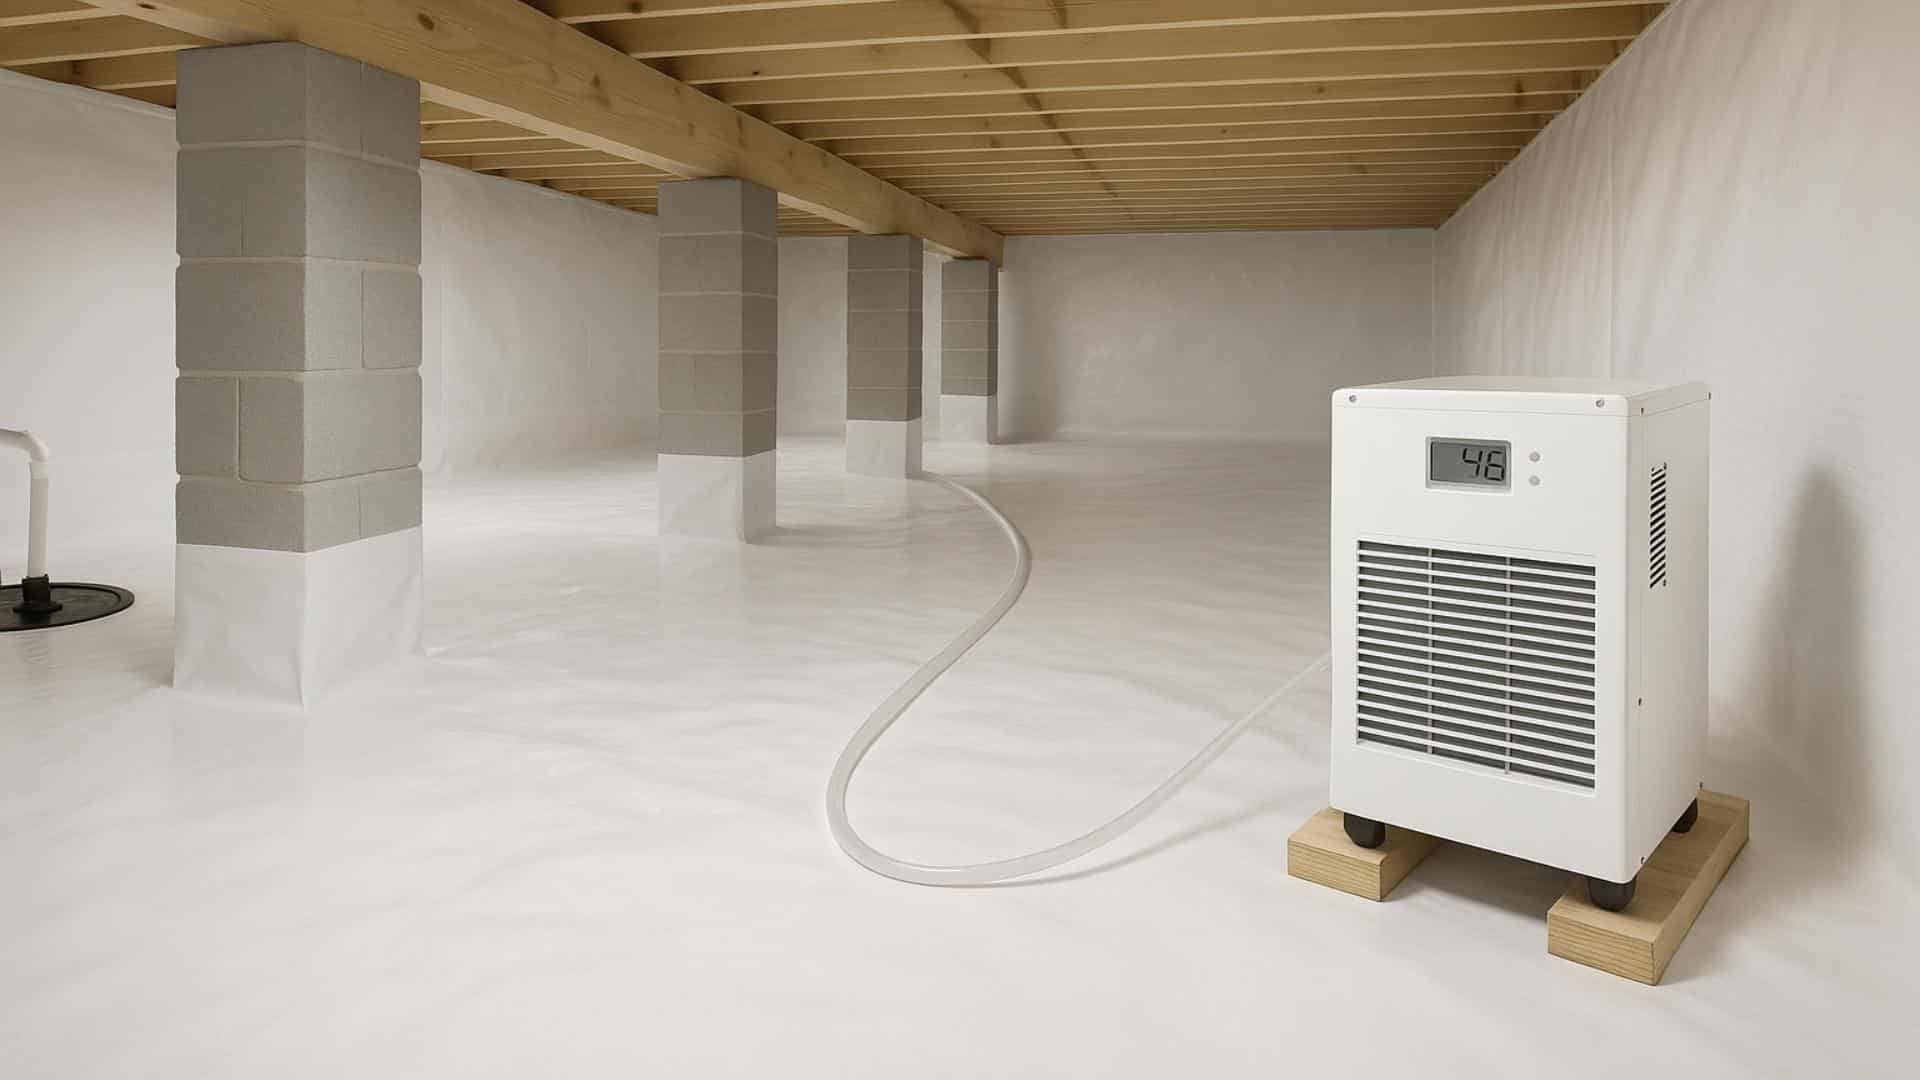
3. Adding Insulation and A Dehumidifier
After sealing, new insulation is installed in walls and sometimes between floor joists.
Foam board or spray foam works best because it won’t sag or support mold growth.
A dehumidifier is placed in a central spot to keep moisture levels low.
This unit is connected to a drain line that runs outside your home.
Some systems also include a temperature monitor to help control the crawl space environment year-round.
4. Timeline and Cost Overview
Wondering how long it will take and what the cost will be?
The size and condition of your crawl space affect both timing and price.
| PROJECT TYPE | TIMELINE | TYPICAL COST |
|---|---|---|
| Simple | 1 day | $3,000–$5,000 |
| Average | 2–3 days | $7,500–$10,000 |
| Complex/Large | Up to 1 week | $12,000–$20,000+ |
Many companies offer free inspections and quotes before you decide.
Remember that while the upfront cost seems high, you’ll save money over time on energy bills and avoid expensive repairs.
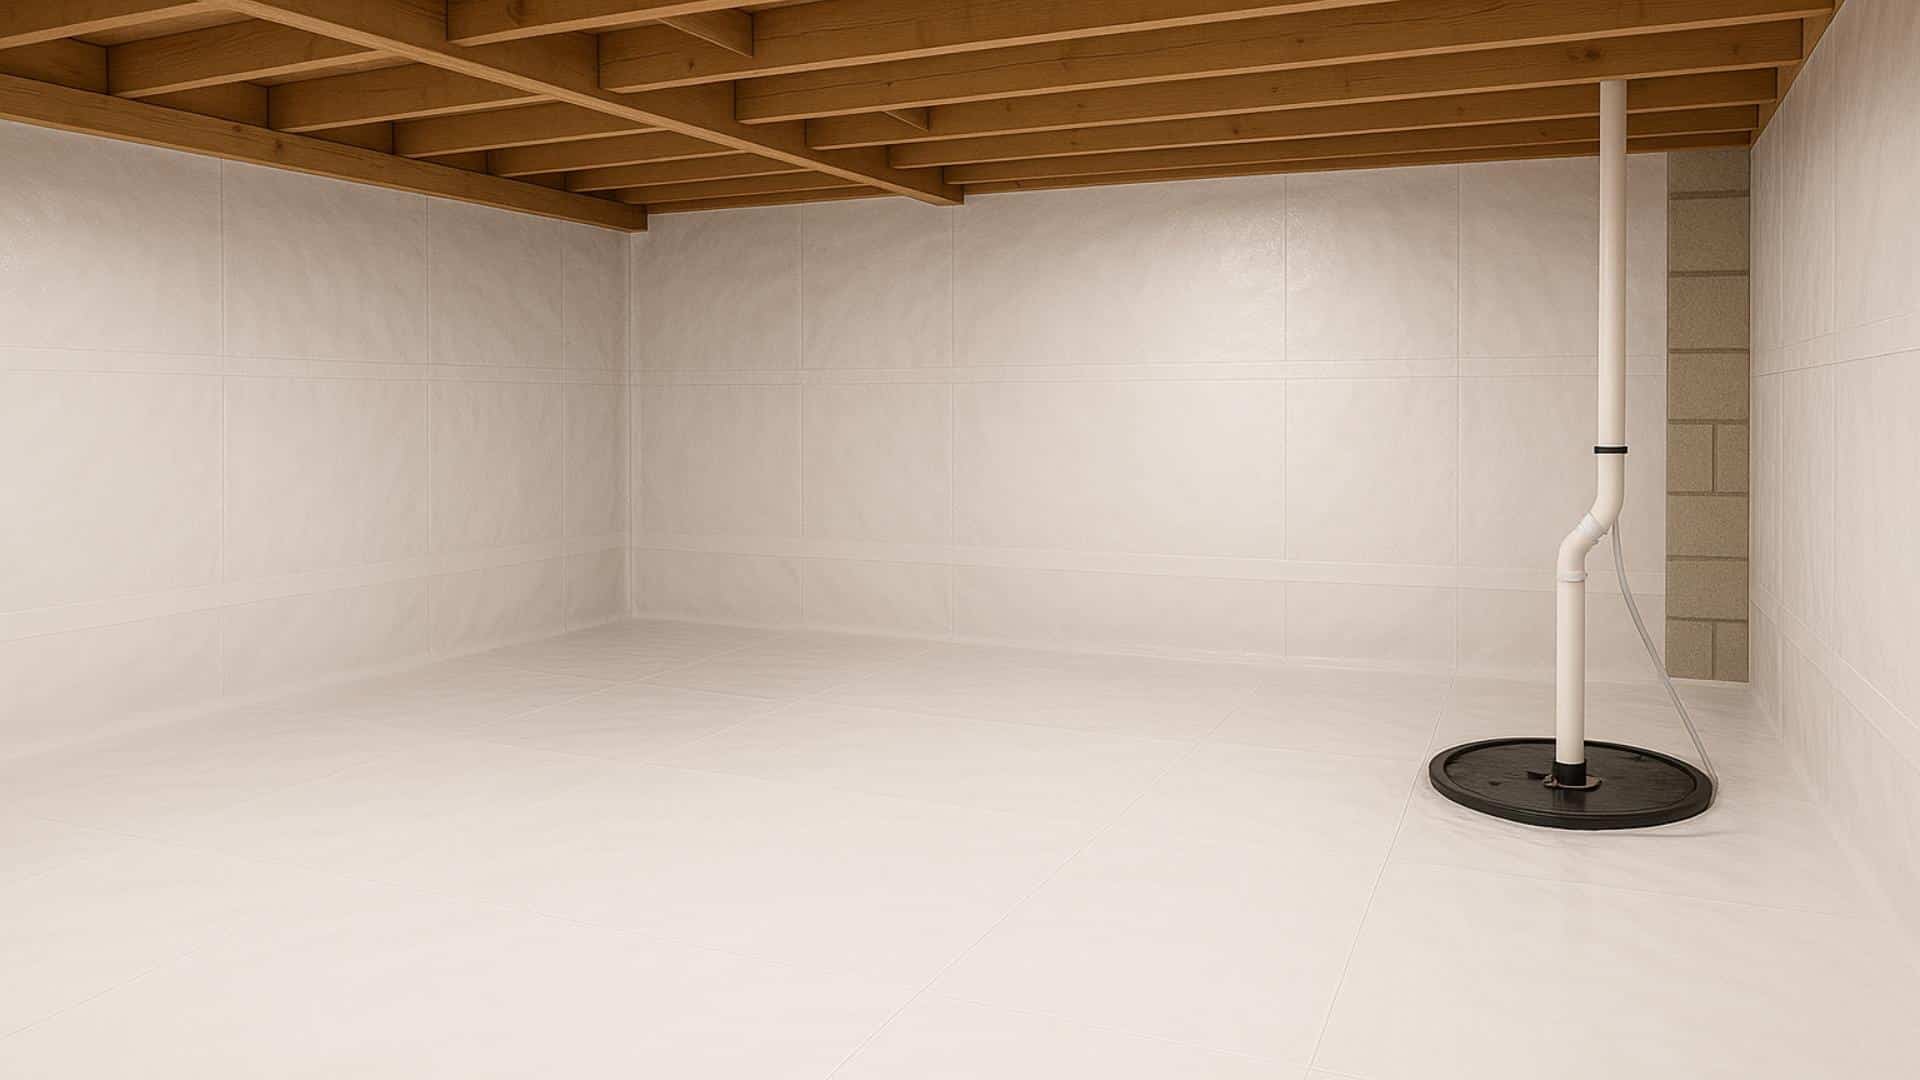
After Encapsulation: What Changes Can You Expect?

Once your crawl space encapsulation is complete, you’ll notice significant improvements throughout your home.
These positive changes typically begin within the first few weeks after installation and continue long-term:
- Your home feels more comfortable with even temperatures and no more cold floors.
- Indoor air smells fresher as musty odors disappear.
- Energy bills often drop by 15-20% as systems work more efficiently.
- Allergy symptoms may improve as mold spores and dust mites decrease.
- Your home’s structure is protected from moisture damage and pests.
Most homeowners report they wish they had encapsulated their crawl space years earlier.
The combination of improved comfort, better health, and long-term savings makes this one of the most valuable home improvements you can make.
How to Maintain Your Encapsulated Crawl Space
Keeping your encapsulated crawl space working properly requires minimal but regular attention.
Check your crawl space at least twice a year – once in spring and once in fall.
Also, inspect after heavy rains or flooding. Your dehumidifier needs the most care.
Clean or replace its filter every 3-6 months and ensure its drain line remains clear.
If you have a sump pump, test it yearly by pouring water into the sump pit.
Watch for warning signs of problems: new moisture, tears in the vapor barrier, unusual odors, or humidity readings above 55%.
Most issues are easy to fix if caught early.
Some companies offer annual maintenance plans that include professional inspections and service.
Wrapping It Up
The before-and-after crawl space encapsulation results speak for themselves.
The modification from a wet, moldy space to a clean, protected area makes a huge difference for your entire home.
Your crawl space has a direct impact on your air quality, energy bills, and even the overall structure of your home.
Don’t wait until problems get worse or cause expensive damage.
Many homeowners report that encapsulation solves issues they’ve struggled with for years, from persistent allergies to high utility costs.
If you’ve noticed any warning signs we mentioned, consider having a professional inspect your crawl space.
Taking this step toward a healthier, more comfortable home is an investment in both your property value and your family’s well-being.
Encapsulating your crawl space is just the beginning.
Check out our home improvement blogs to keep your entire home healthy, efficient, and in top shape!

With a Master in Architectural Studies from University of Pennysylvania, Marwa Haydar has pioneered living spaces since 2005. Her expertise, initially honed in a prestigious architectural firm, is evident in her approach to creating environments. Marwa became part of our team in 2019 and has since been a driving force in our home improvement section, known for her practical yet stylish solutions. She’s been spearheading our design workshops since then, infusing her passion for teaching into her work. In her leisure time, Marwa enjoys exploring historic architecture and is an enthusiastic pottery hobbyist, further enriching her understanding of form and texture.