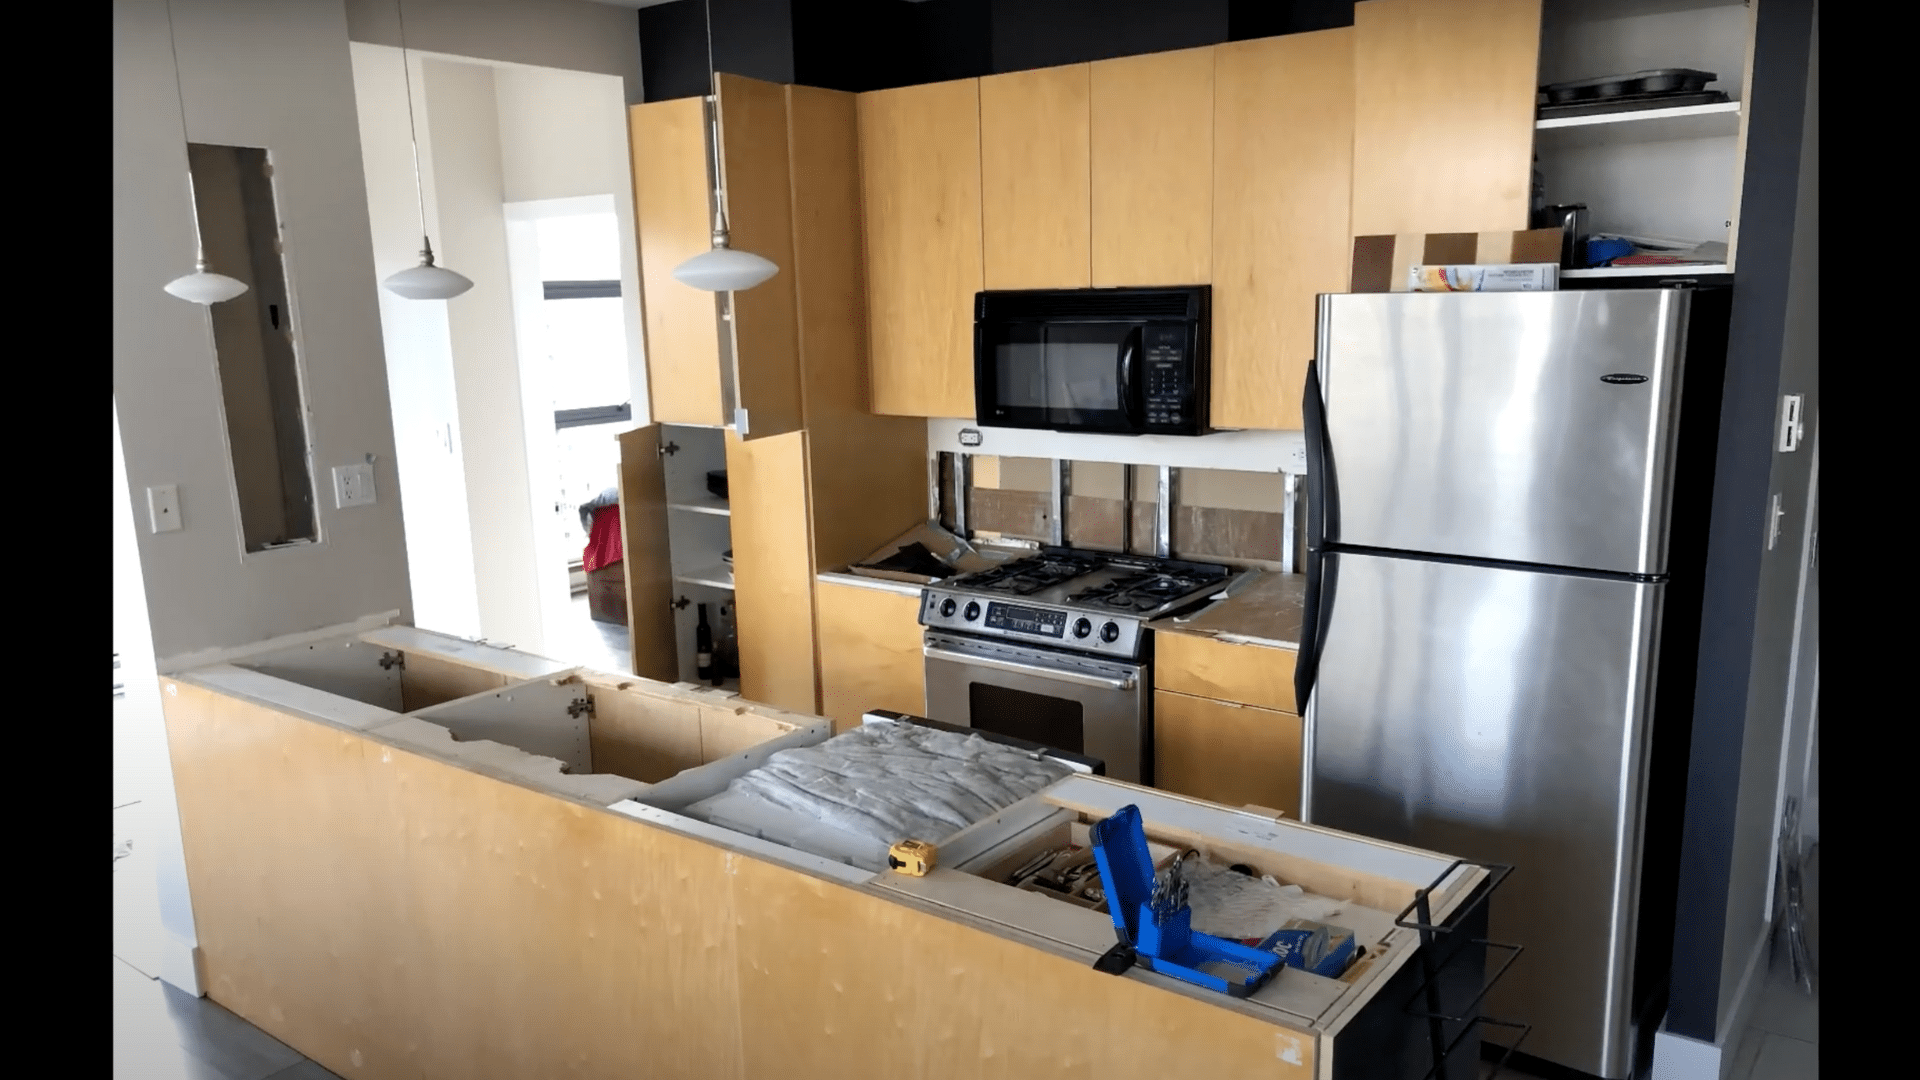
Updating kitchen cabinets without a full remodel is one of my favorite ways to refresh a space on a budget. I did it in my own kitchen, and it made a big difference.
Simple upgrades like paint, new hardware, or trim can give old cabinets a whole new look, often with just basic tools and a weekend of work.
Small changes, like swapping knobs or adding lighting, can have a big impact. It’s a satisfying way to turn something worn into something polished.
In this guide, I’ll share easy DIY cabinet updates that work with almost any style, great for anyone ready for a fresh new look.
Why Update Instead of Replace?
Replacing kitchen cabinets is costly and time-consuming, but I’ve found that simple updates can give the same fresh look for much less.
Most cabinets, especially solid wood, just need a facelift. With paint, new hardware, or added trim, you can change the style without demolition or hiring help.
It’s more budget-friendly, eco-conscious, and lets you work in small stages without losing access to your kitchen.
If you want to refresh your space without a full remodel, updating your cabinets is a smart and rewarding option.
Step-by-Step Guide to Updating Your Cabinets
Each step below walks you through the process of adding panels, trim, and finishing touches to refresh your cabinets with a clean new look.
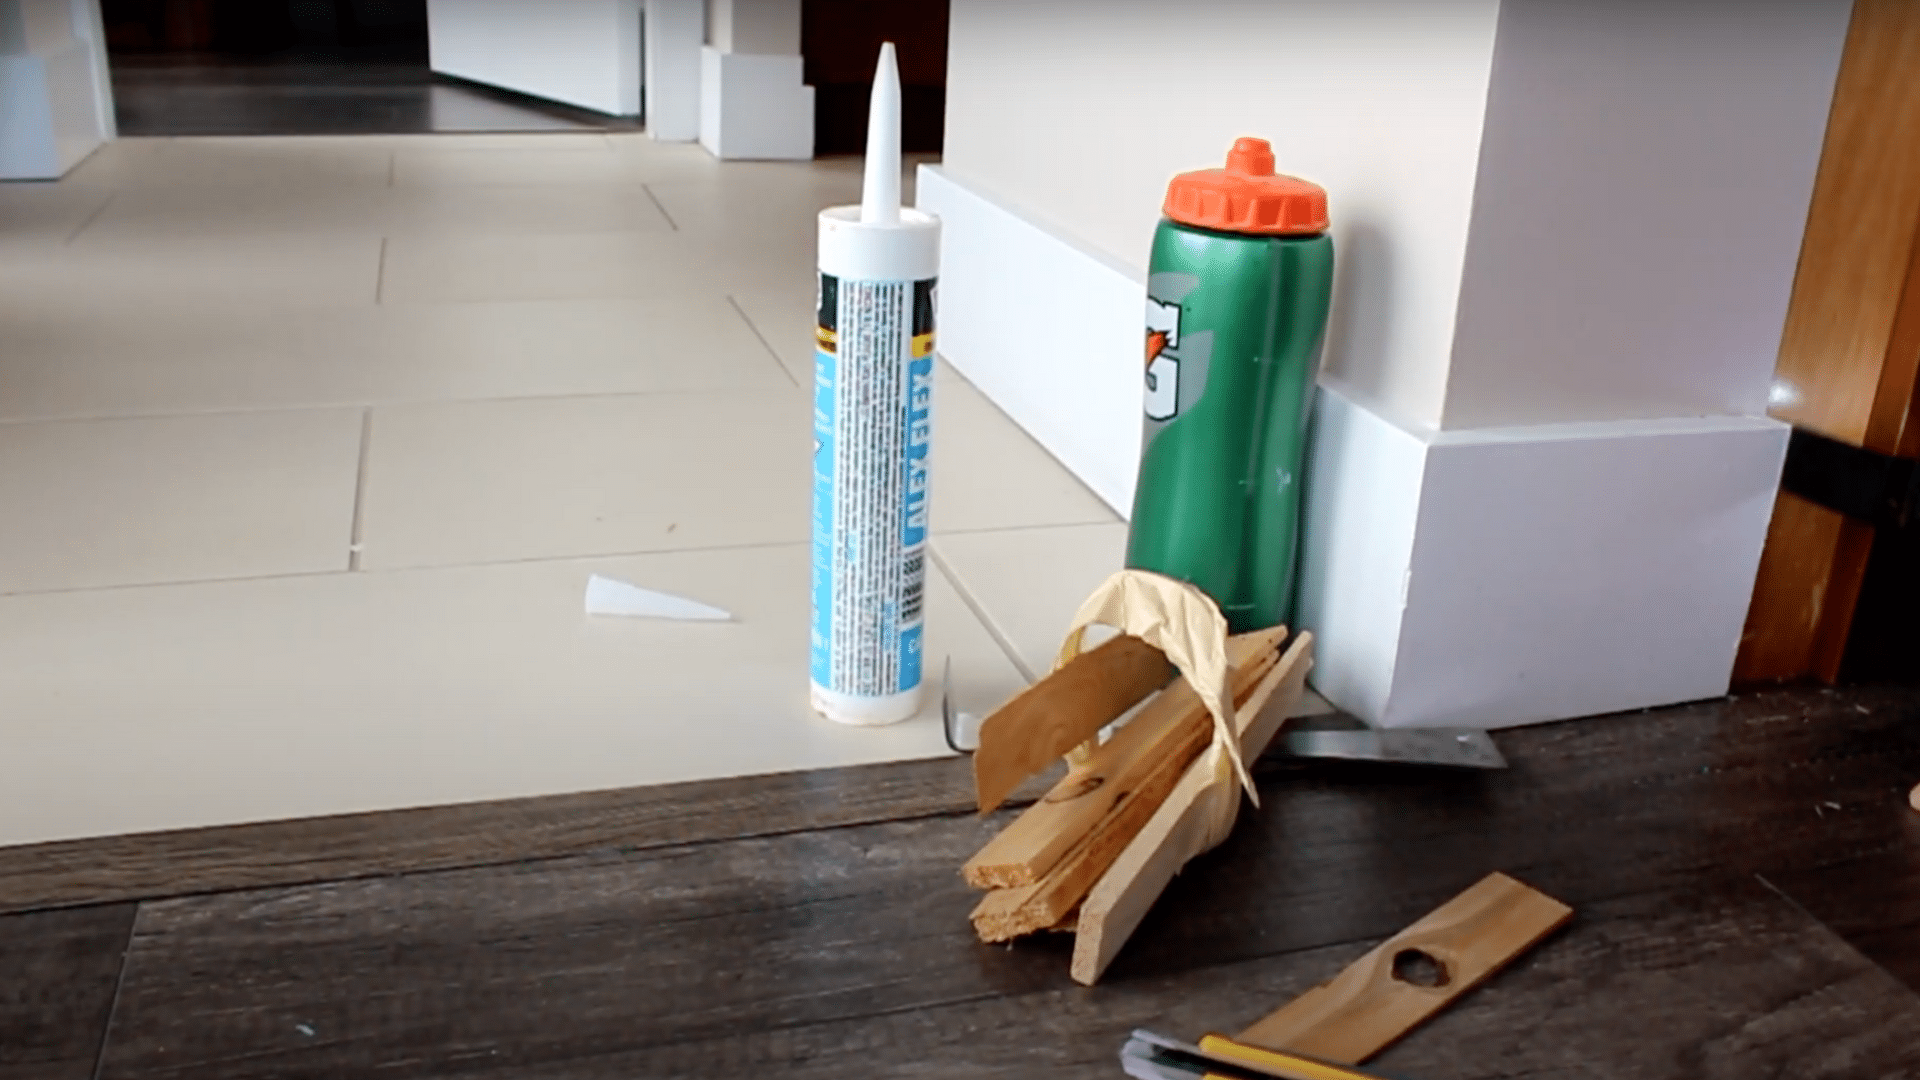
Materials Needed
Gather these essential tools and supplies to make your cabinet panel update smooth, efficient, and professional-looking.
- Pre-finished cabinet panels
- Pre-finished edge banding
- CA glue (gel type) and activator spray
- No-nails construction adhesive
- 21-gauge brad nailer
- Multi-tool (for trimming uneven baseboards)
- Shims
- Frog tape
- Utility knife
- Baseboard trim pieces
Step 1: Pre-Measure and Pre-Cut Panels
Accurate measuring is the foundation of this project. All panels are cut off-site to match each cabinet section.
Panels are made slightly smaller to allow flexibility during installation, especially when walls or floors aren’t perfectly straight.
Pre-cutting saves time during the install and ensures everything lines up cleanly.
This step eliminates guesswork once you’re on-site and helps achieve a smooth, gap-free fit where it matters most.
Step 2: Test the Panel Fit

Before applying adhesive or nails, each panel is tested to check its fit.
A tight fit at the top edge keeps things looking clean, while small gaps at the bottom or between panels give room to adjust and prevent buckling.
Dry-fitting the pieces also helps identify uneven baseboards or corners in advance. It’s a simple step that ensures the final installation goes smoothly and looks custom.
Step 3: Trim Uneven Surfaces with a Multi-Tool
Uneven or bowed baseboards can prevent panels from sitting flush. A multi-tool is used to trim away any problem areas so each panel lies flat and straight.
This tool works quickly in tight spaces and avoids damaging other surfaces.
Fixing uneven spots early makes the entire installation more accurate and helps prevent visible gaps or crooked seams once the panels are fully attached and finished.
Step 4: Apply Adhesive to the Panel Back

To secure the panels, no-nail adhesive is applied in heavy dots around the panel’s edge and in the center. This method keeps the panel firmly in place without excessive glue.
The adhesive acts as backup support for the nails and helps hold the panel against uneven surfaces.
It’s important to avoid over-gluing, which can cause messes or uneven bonding during installation.
Step 5: Position and Nail the Panel in Place
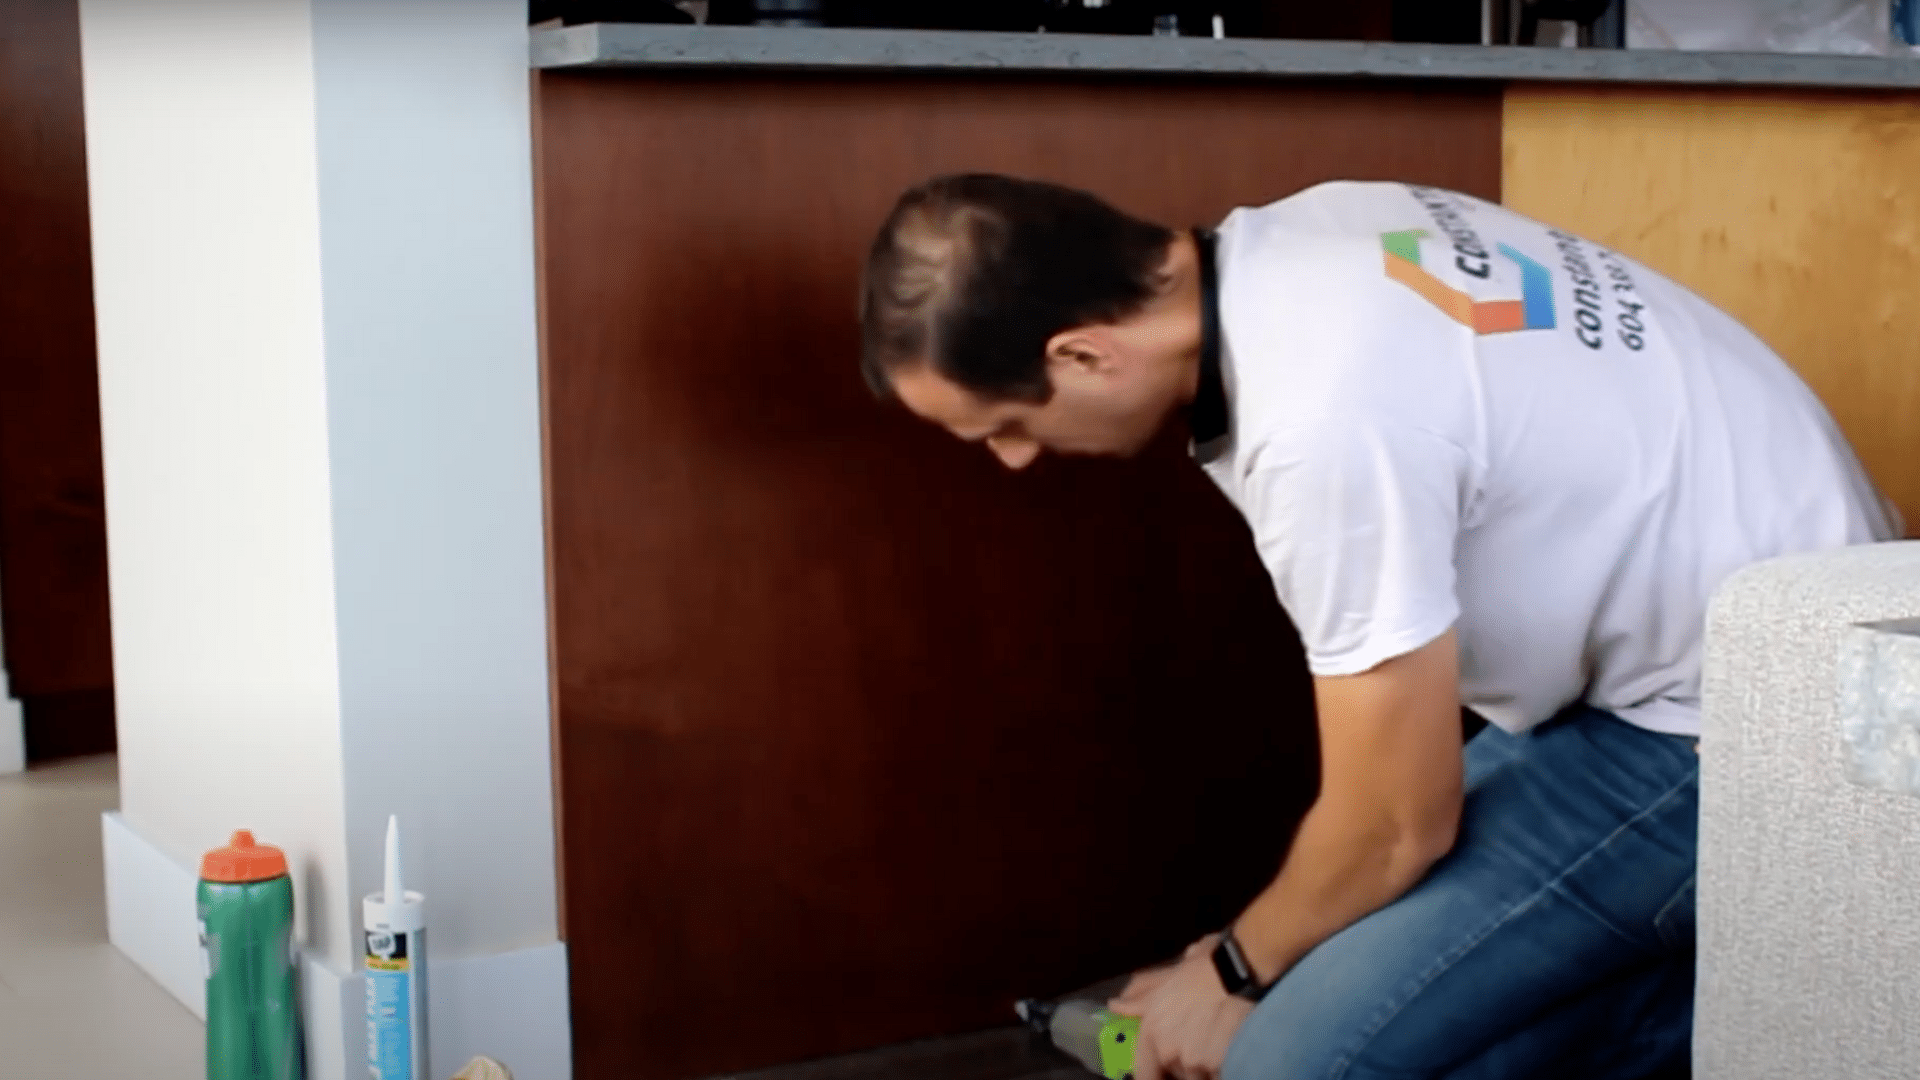
Once the adhesive is applied, the panel is set into position.
Shims are placed under the panel to raise it and align the top edge tightly. Then, a 21-gauge brad nailer is used to fasten the panel all around.
The left side remains exposed, so a pre-finished edge is used.
This method creates a solid and clean appearance, with no visible fasteners or gaps once complete. The second and third panels are installed in the same way.
Step 7: Cover Seams with Edge Band Trim
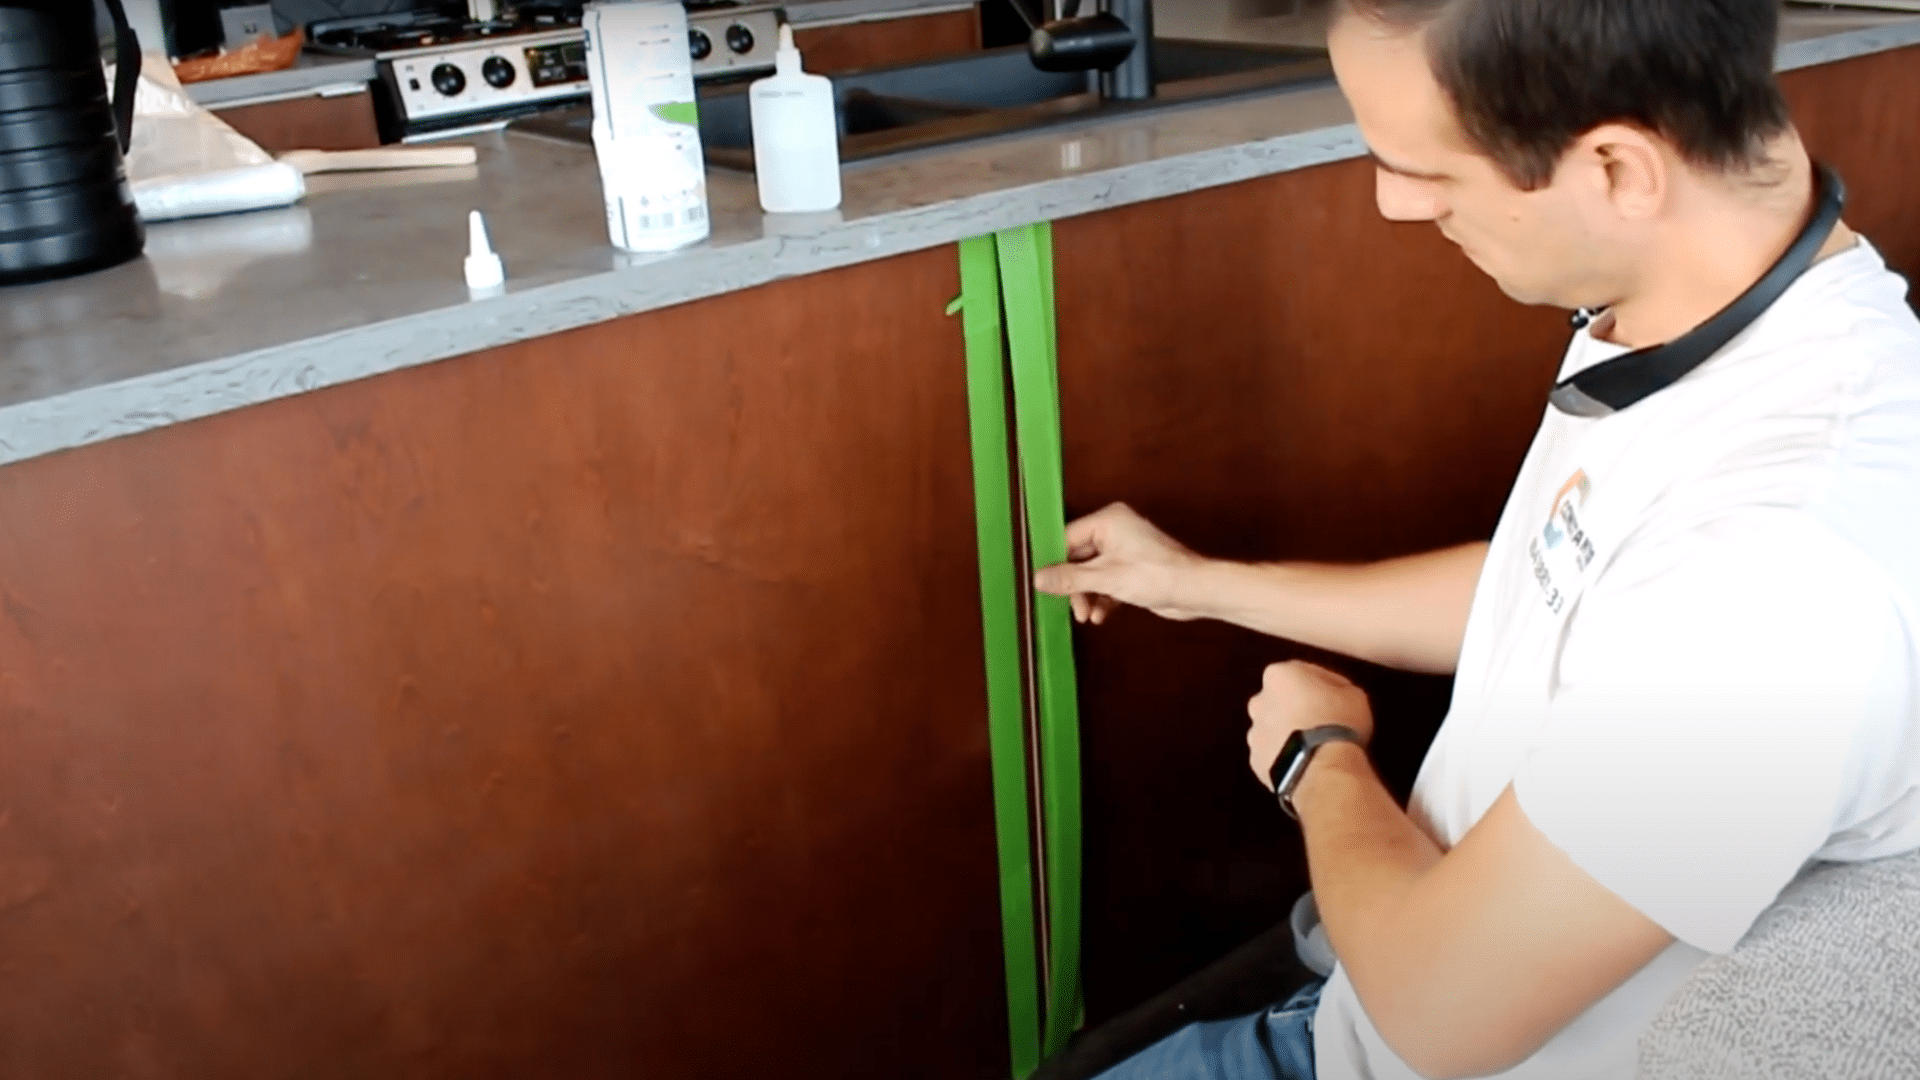
Once all panels are up, edge banding is applied to cover the seams. Frog tape is used to protect finished surfaces from glue.
Thin beads of CA glue are applied to the back of the banding, and the panel is sprayed with activator. The glue cures in seconds, bonding the banding in place.
After the edge banding is bonded, the frog tape is carefully removed to reveal clean, glue-free surfaces.
This prevents glue from staining the panels or banding. The finished seam looks seamless and professional.
Step 10: Install the Baseboard Trim
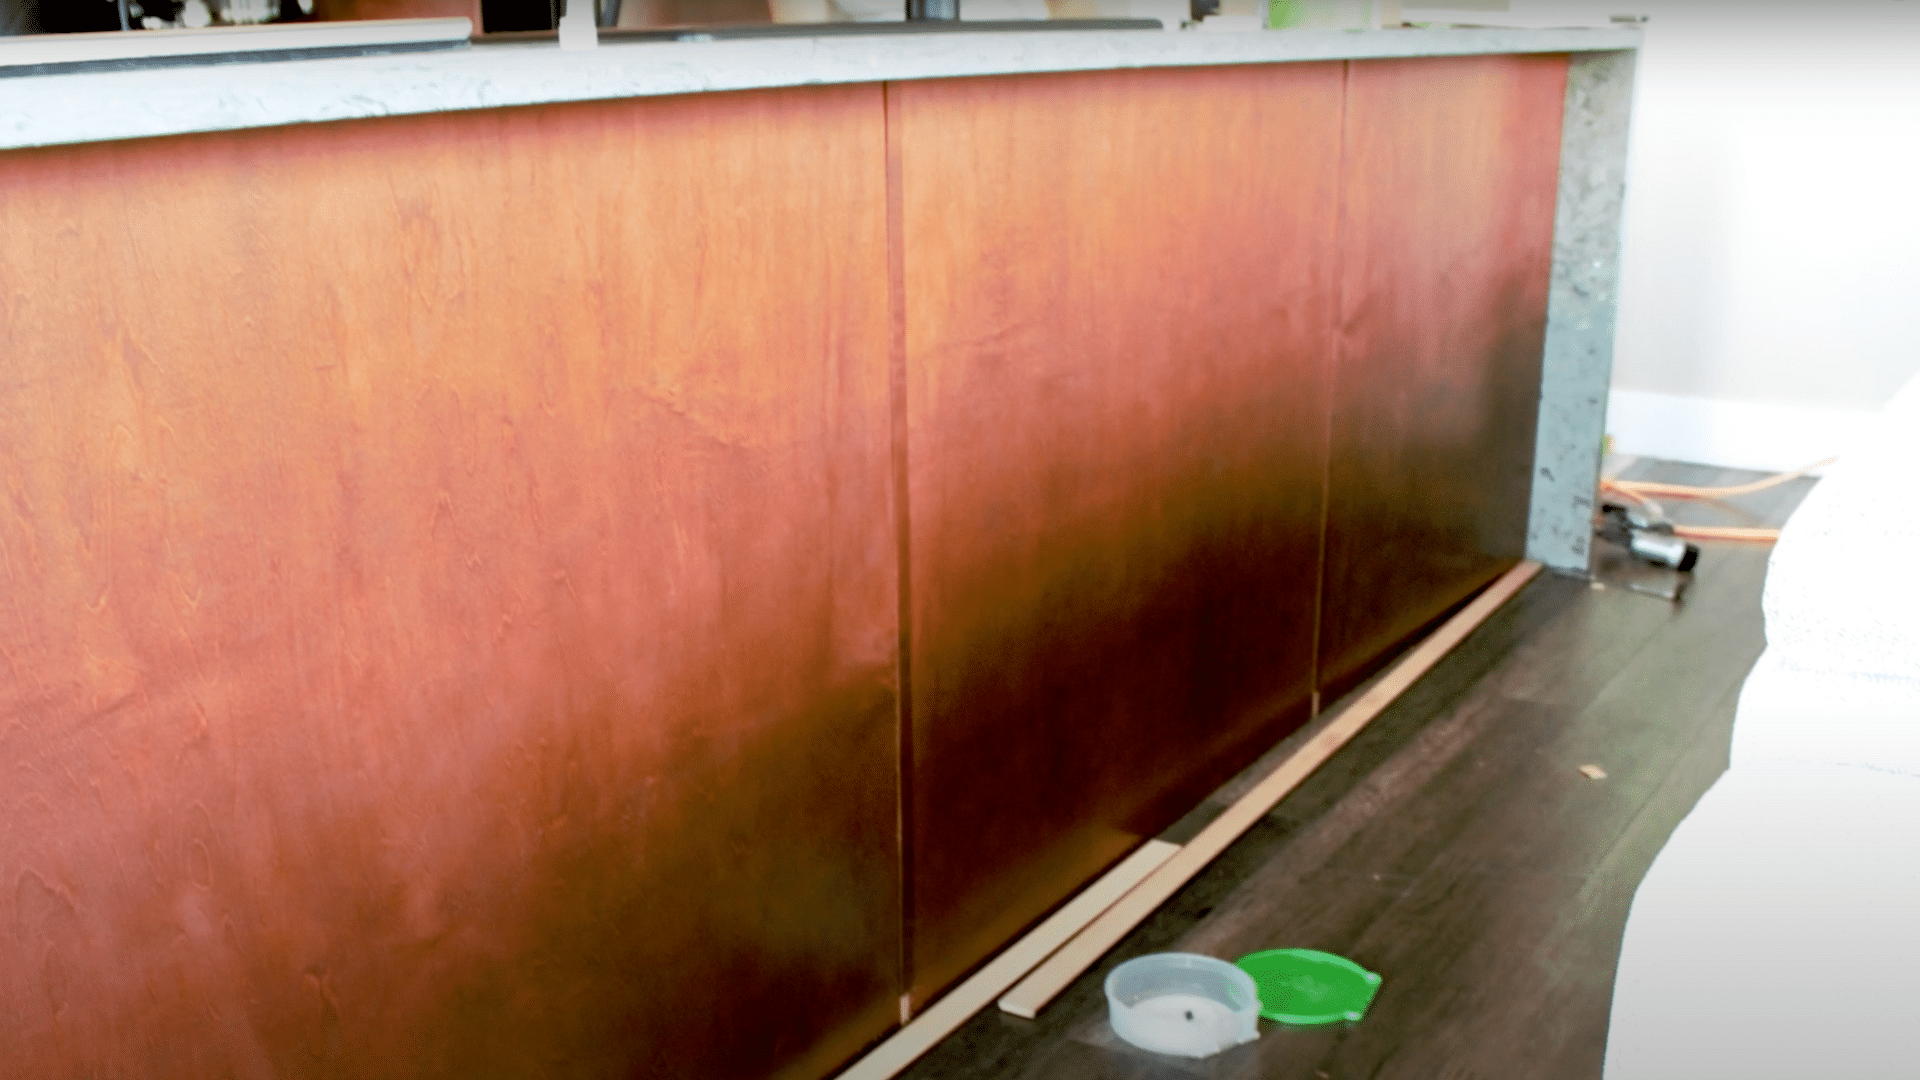
The final touch is adding baseboard trim at the bottom of the cabinet panels. These are pre-finished to match and are nailed in place after all other parts are done.
The baseboard covers any gaps and gives the project a polished, built-in appearance.
Installing it last ensures it aligns with the bottom of all panels and completes the transformation from old cabinet to fresh, clean design.
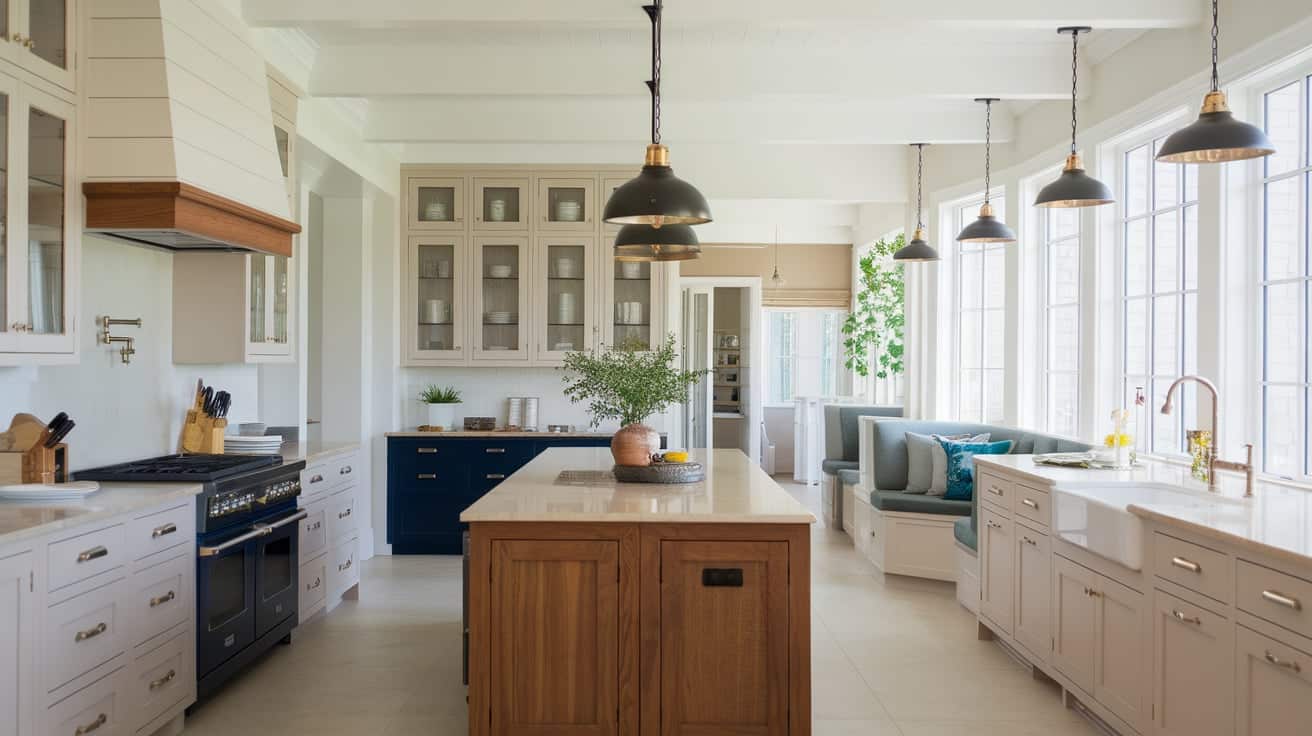
Step 11: Admire the Finished Result
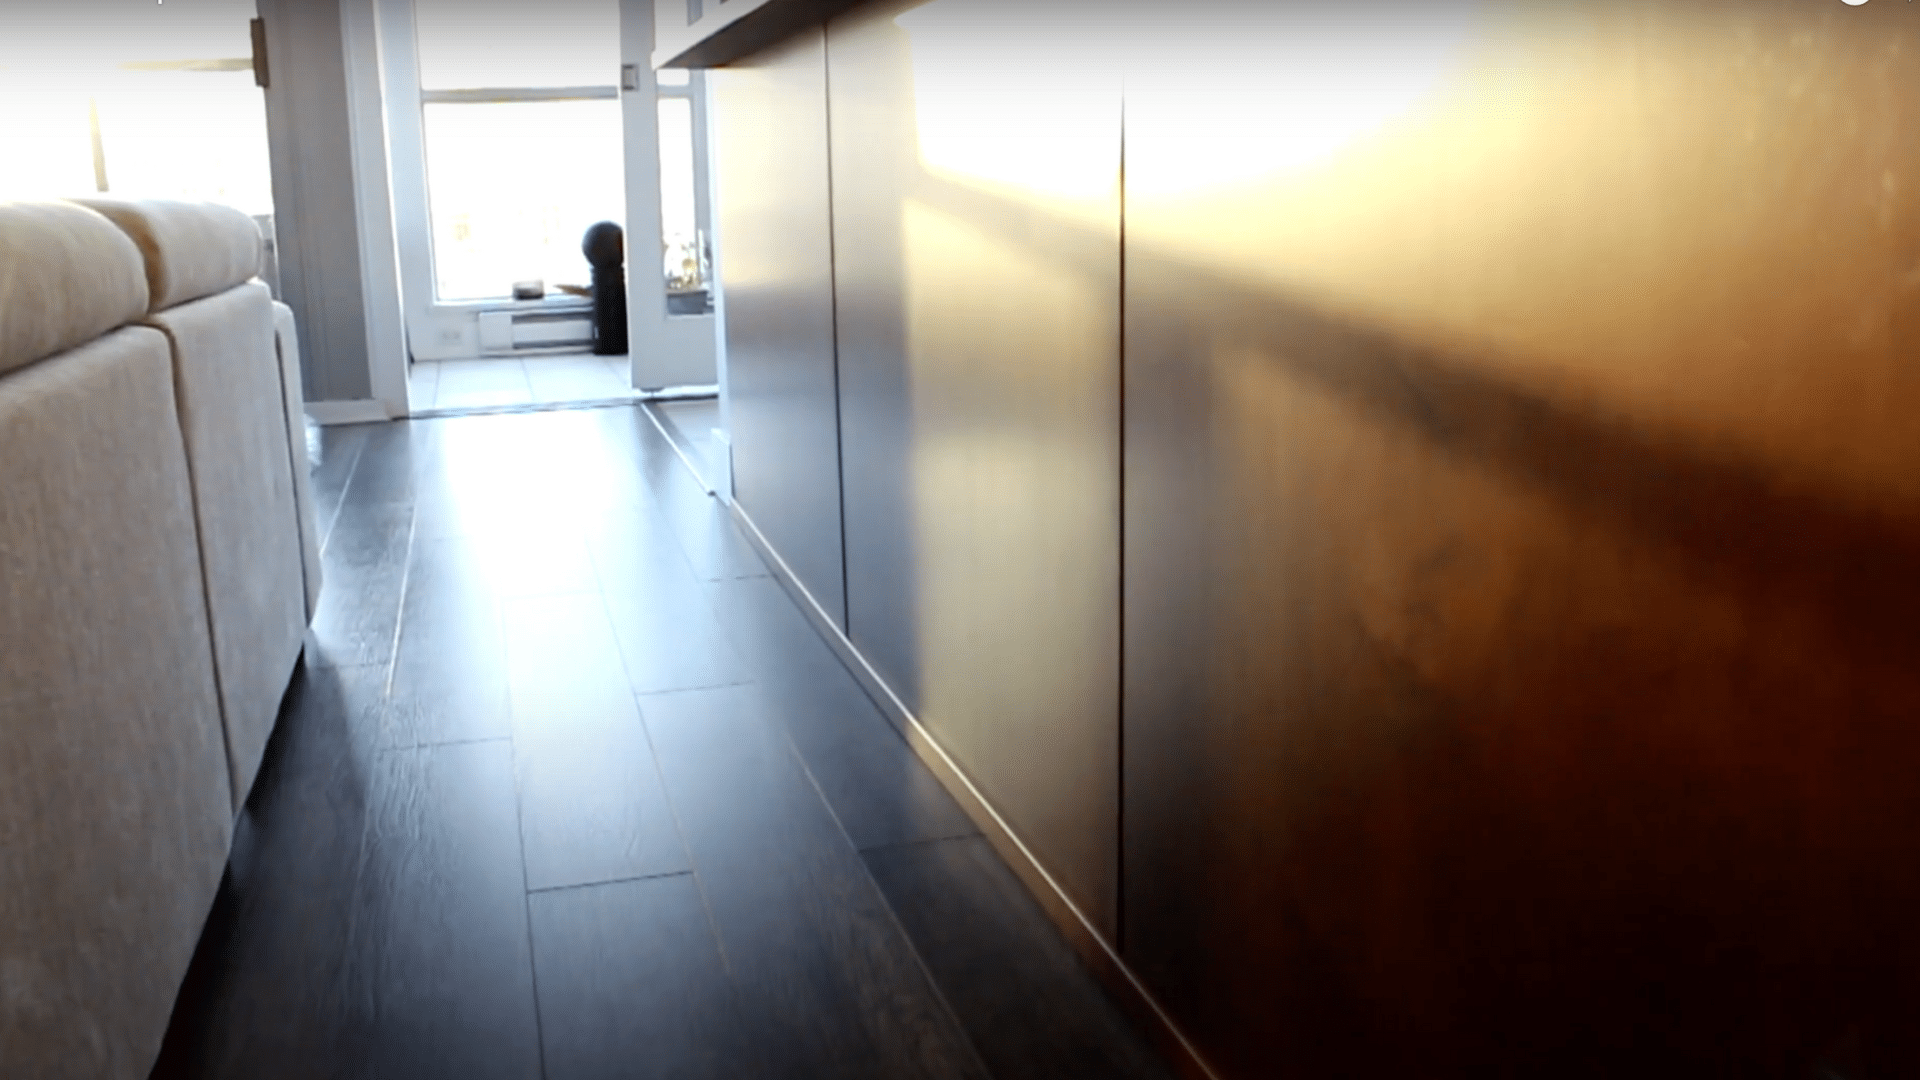
Once everything is installed, step back and enjoy your newly updated cabinets.
The panels look custom and modern, the seams are hidden, and the baseboards tie it all together.
A professional-grade waterborne polyurethane finish adds durability and style without any odor. The entire project is clean, fast, and low-effort with the right prep.
For a visual guide, refer to this video by @Konstantin Udalovon YouTube.
Cabinet Update: Budget Breakdown
This table outlines estimated costs for key materials and tools needed to refresh your kitchen cabinets without a full replacement.
| Item | Estimated Cost (USD) |
|---|---|
| Paint and Primer | $40–$80 |
| New Hardware (Knobs & Pulls) | $30–$100 |
| Trim or Molding | $25–$60 |
| Edge Banding and Glue | $15–$30 |
| Peel-and-Stick Wallpaper or Contact Paper | $10–$40 |
| Nails, Screws, Adhesive | $15–$25 |
| Optional Lighting (LED Strips) | $20–$50 |
Mistakes to Avoid When Updating Cabinets
Knowing these common pitfalls can help you avoid damage, save time, and get the best possible results from your cabinet update.
- Skipping Surface Prep: Failing to clean or sand properly can cause paint or adhesive to peel or not stick.
- Using the Wrong Adhesive: Not all glues work on finished surfaces; choose one that bonds quickly and cleanly.
- Overusing Glue: Too much adhesive can seep out and stain finished panels or trim.
- Misaligning Panels: Installing panels without checking fit or using shims can lead to uneven surfaces.
- Ignoring Wall Imperfections: Uneven baseboards or walls should be trimmed or shimmed before paneling.
- Not Protecting Finishes: Forgetting tape when gluing trim can result in visible glue marks.
- Choosing the Wrong Nail Size: Nails that are too thick or long may split, trim, or show through panels.
- Rushing Between Steps: Not allowing glue or paint to set properly can weaken the final result.
Conclusion
Updating kitchen cabinets is one of my favorite ways to refresh a space without a full renovation.
Simple changes like adding panels, swapping hardware, or installing trim can completely transform the look of a kitchen.
It’s rewarding to see the results, especially knowing it was done with basic tools and a bit of planning. This kind of project is affordable, beginner-friendly, and doesn’t require demolition.
If you’re updating your own kitchen, I hope this guide helps make the process easier and more fun.
Feel free to mix ideas to fit your style, and let me know how your project turns out!

With a Master in Architectural Studies from University of Pennysylvania, Marwa Haydar has pioneered living spaces since 2005. Her expertise, initially honed in a prestigious architectural firm, is evident in her approach to creating environments. Marwa became part of our team in 2019 and has since been a driving force in our home improvement section, known for her practical yet stylish solutions. She’s been spearheading our design workshops since then, infusing her passion for teaching into her work. In her leisure time, Marwa enjoys exploring historic architecture and is an enthusiastic pottery hobbyist, further enriching her understanding of form and texture.