Looking to update your bathroom walls without spending a fortune? I found that a board and batten style wall is a great way to do it.
It’s a clean, classic look that adds depth and charm, especially in small spaces like half baths or powder rooms. The best part? You don’t need fancy tools or full wall panels.
With just some vertical trim (battens), joint compound, and paint, you can create a high-end look on a tight budget.
This guide will walk you through each step using a simple, beginner-friendly method.
Instead of using full boards, you’ll work with what’s already on the wall, which saves time, money, and effort.
If you want a custom-style wall without the high cost, this is the perfect weekend project.
Why Board and Batten Works in Bathrooms
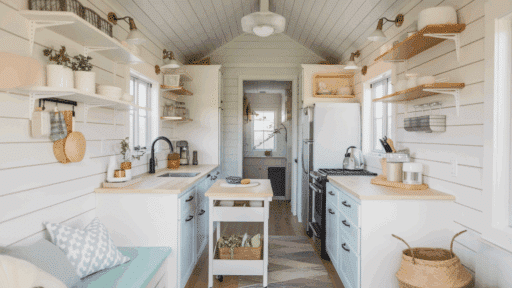
Bathrooms often feel small and uninspired, but board and batten adds a fresh, finished look that instantly changes the feel of the space.
The vertical battens draw the eye upward, making ceilings seem higher and the entire room feel more open.
This wall style works especially well in tight bathrooms because it adds texture without taking up physical space.
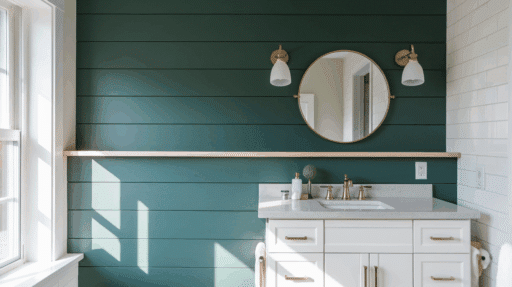
You get clean lines and symmetry that work with almost any style, modern, farmhouse, or traditional.
It also pairs beautifully with simple vanities and mirrors, giving your bathroom a more stylish and intentional appearance.
When painted all one color, the batten grid blends into the wall while still adding structure. It’s an easy way to give any plain wall purpose and visual appeal.
What You’ll Need
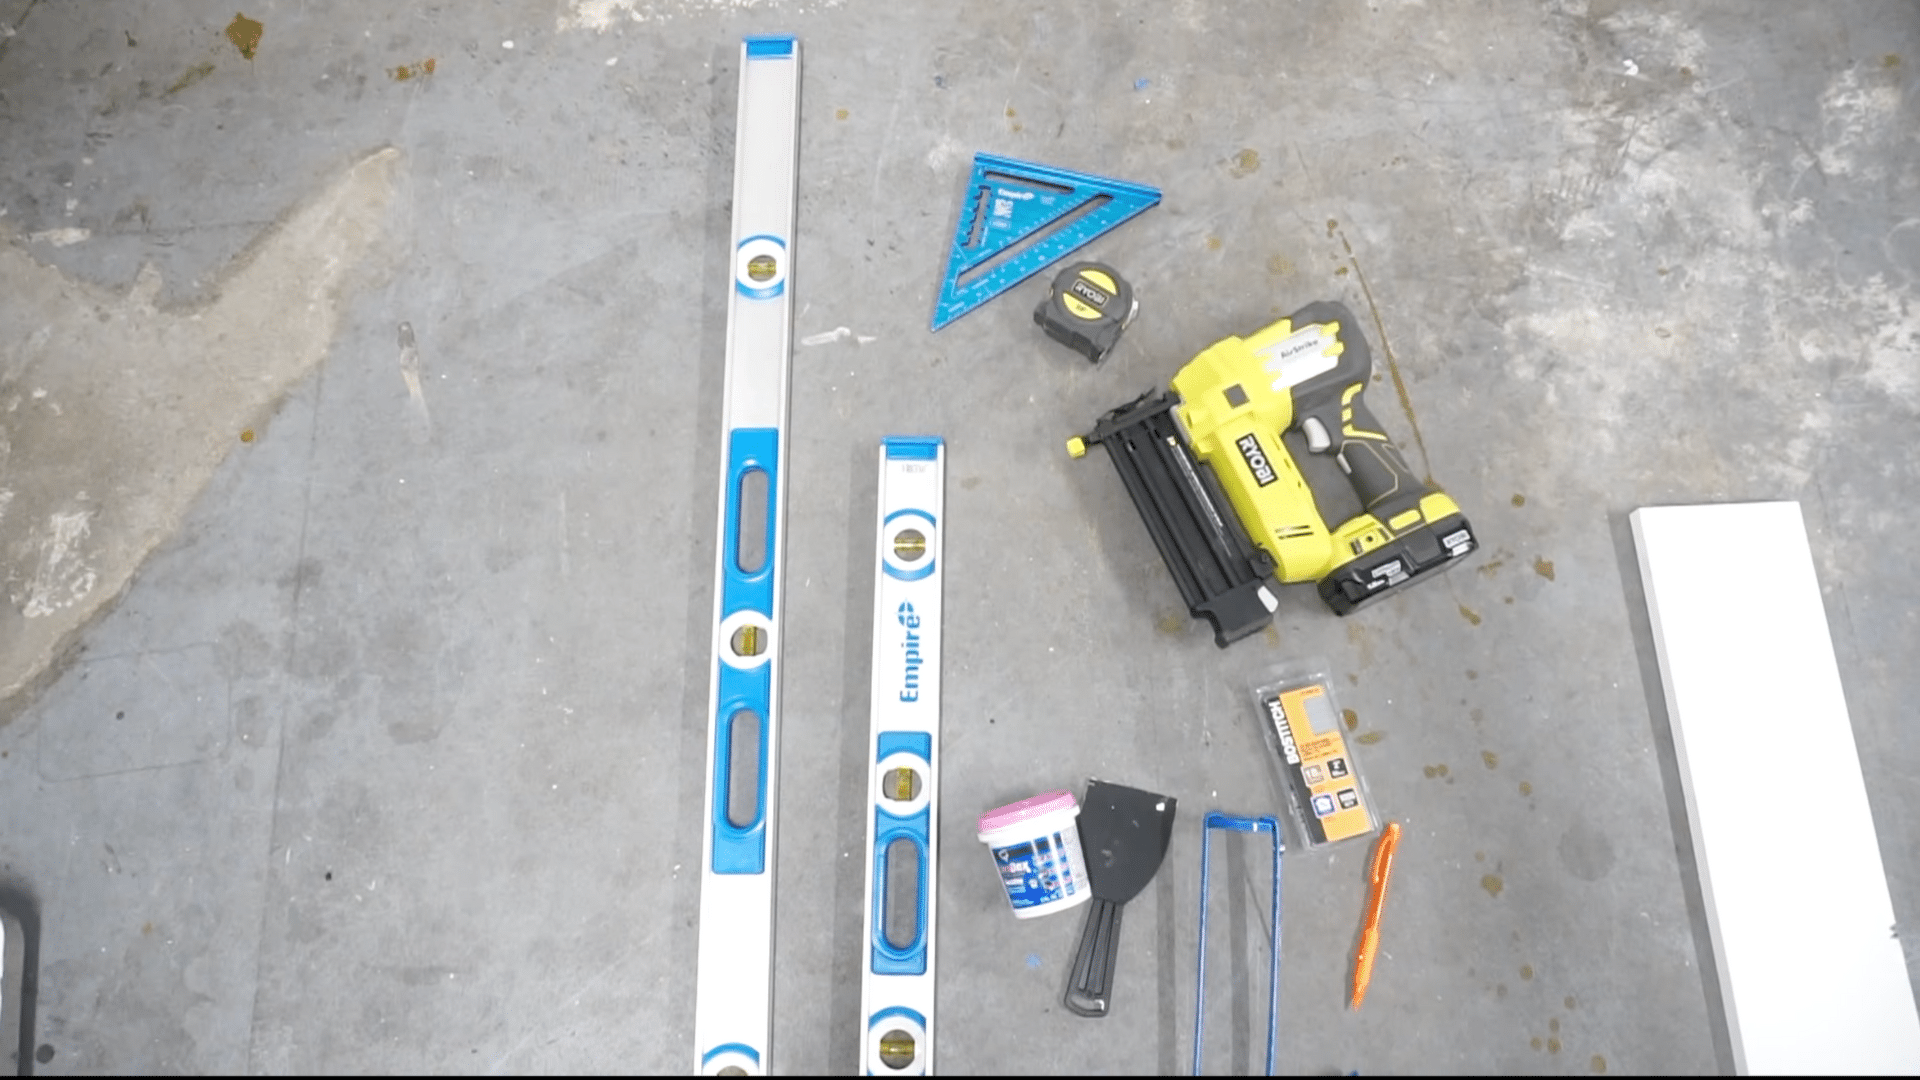
Before jumping in, gather the right tools and materials:
- Liquid Nails
- Finishing nails
- Measuring tape
- Level
- Saw
- Painter’s tape
- Caulk
- Joint compound (drywall mud)
- Sandpaper
- Paint + primer
- Scraper
- Rag
- Vacuum
Most of these are easy to find at local hardware stores, and many might already be in your garage.
Step-by-Step: How to Install Board and Batten
This project skips the traditional backer board and works great even over lightly textured walls. With just a few tools and some pine trim, you can give any room a custom, polished look.
Step 1: Gather Tools, Materials, and Calculate Spacing
Start by collecting everything you need.
Next, go to InchCalculator, select the Wainscoting Layout Calculator, and enter your wall width, board width (real measurement, not labeled size), and panel count.
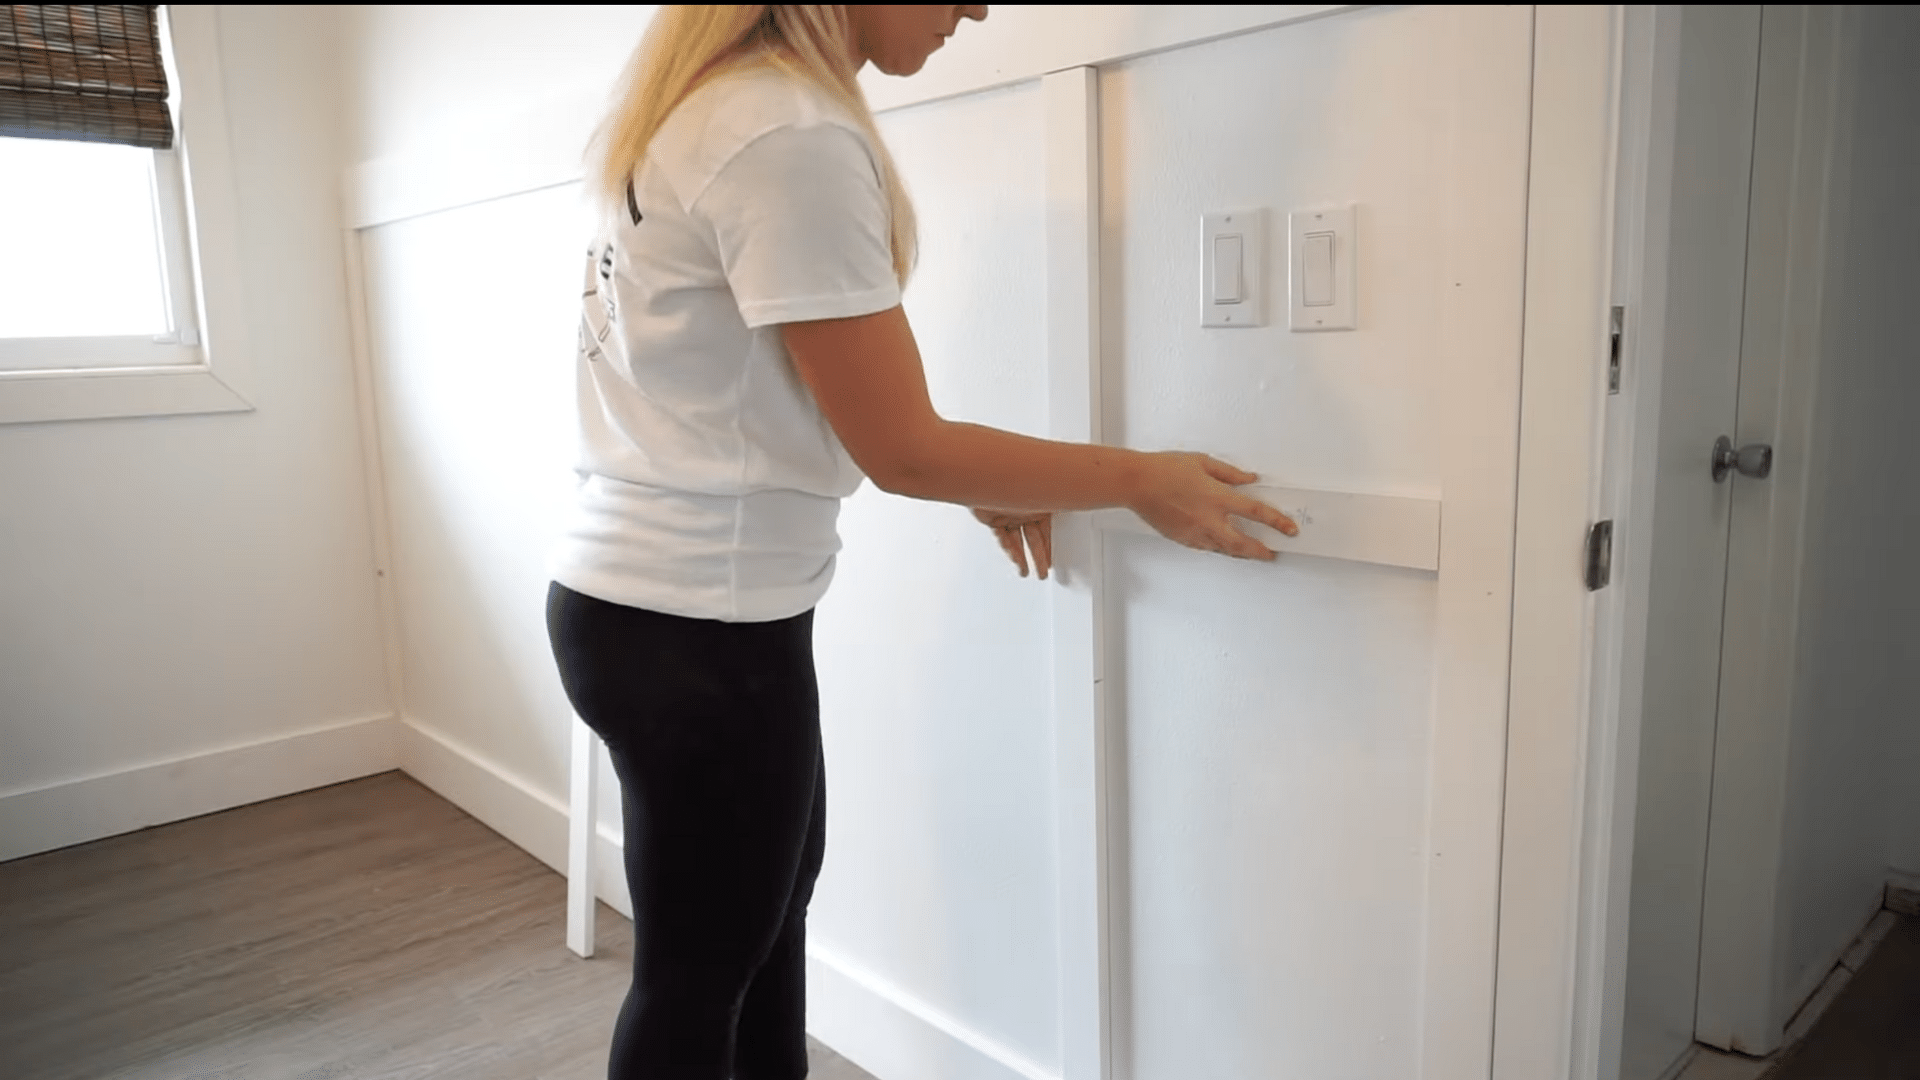
Step 2: Make a Spacer Block
Use the spacing measurement from the calculator to make a wood spacer.
Measure and mark the distance on a 1×3 board, draw a straight line using a triangle, and cut.
Label the spacer with the measurement. This saves time and keeps spacing consistent across all walls.
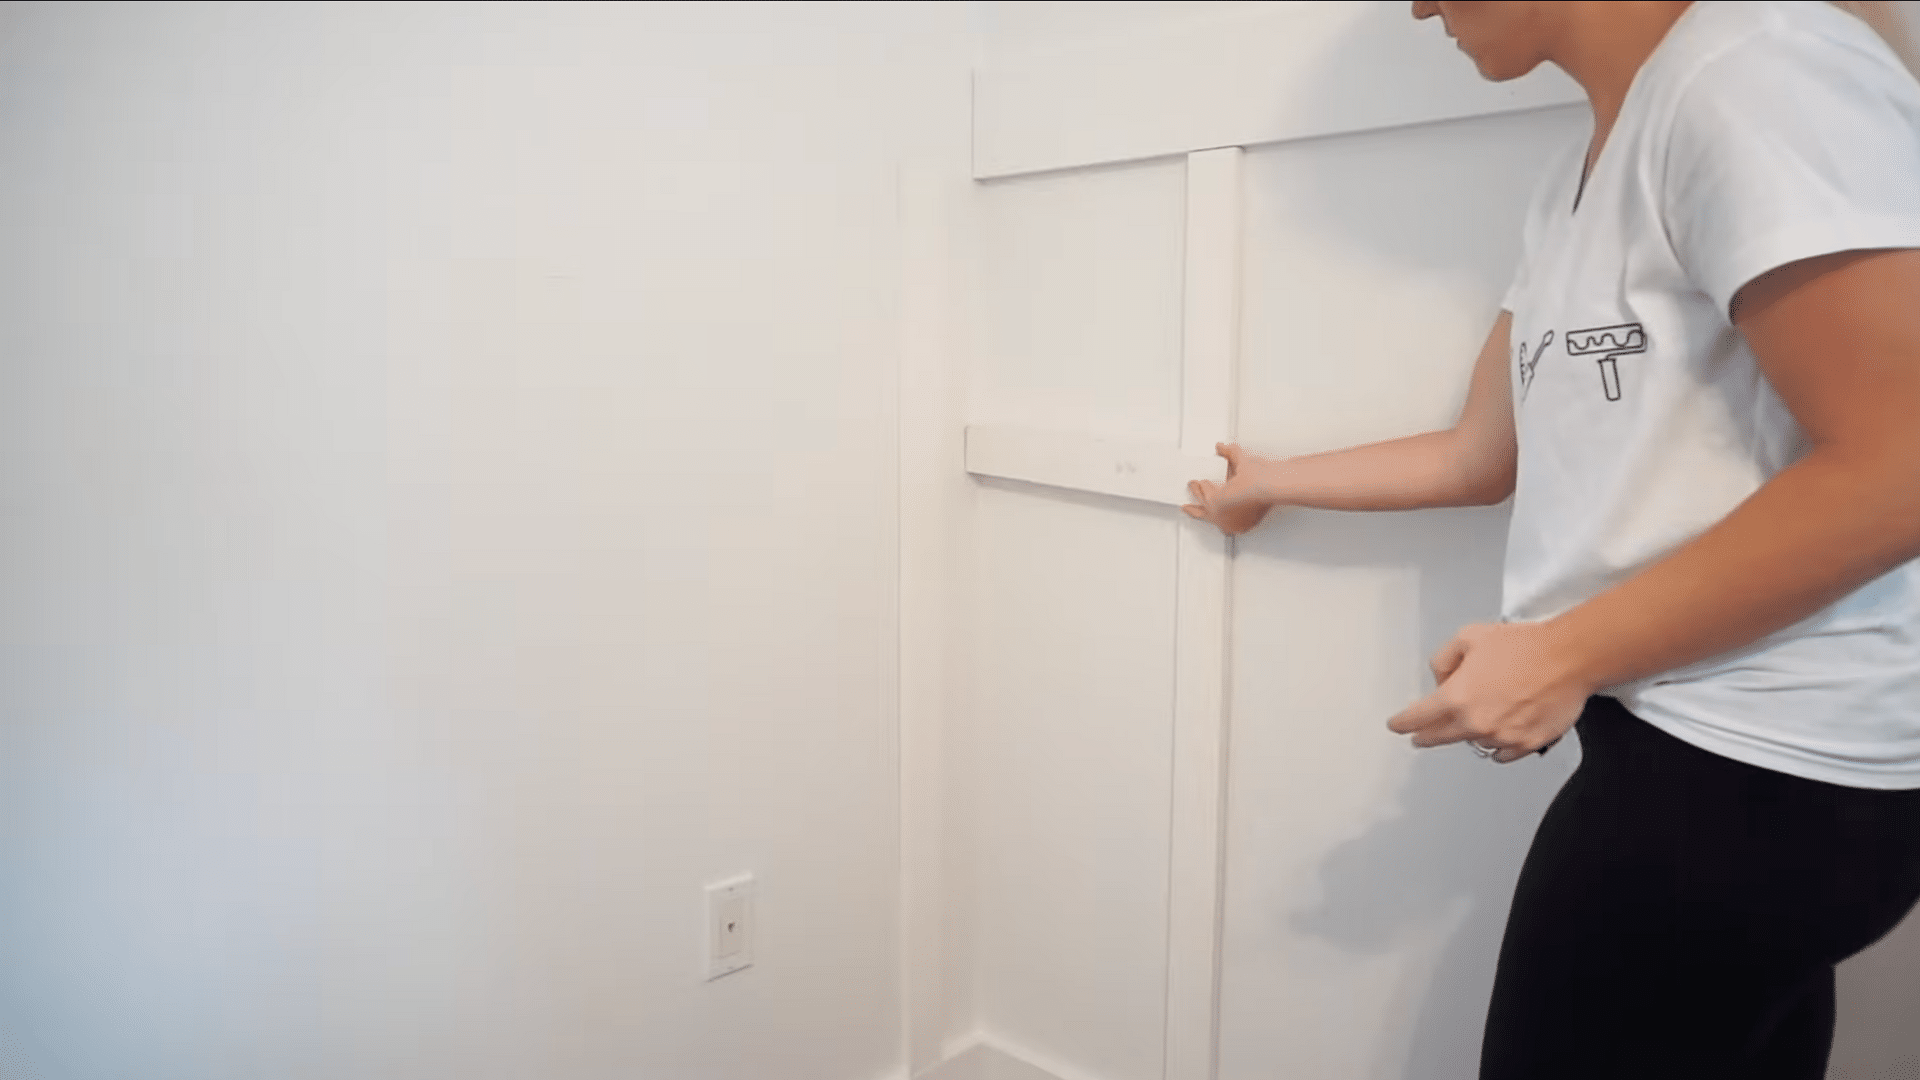
Step 3: Install End Boards and Top Trim
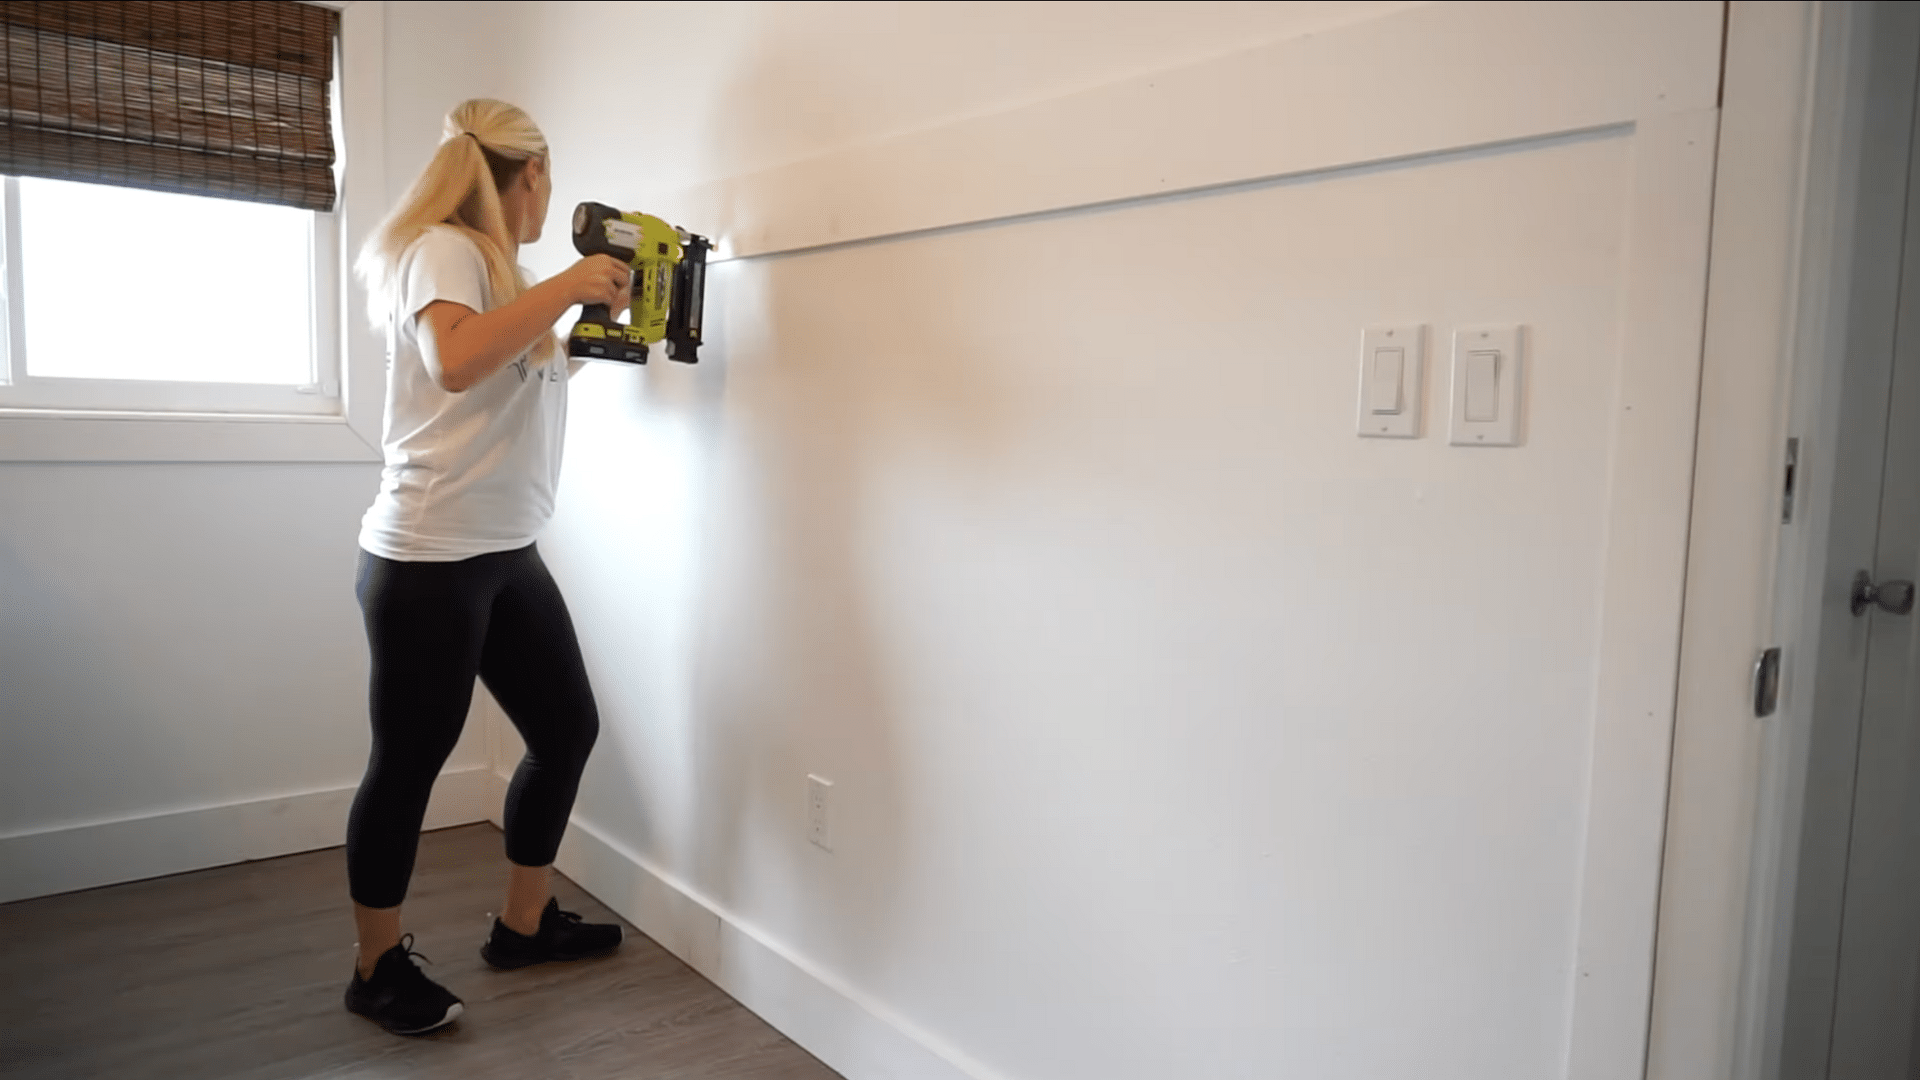
Start installation with the far-left and far-right vertical boards.
Once they’re in place, rest your horizontal 1×6 board on top. Use a level to ensure it’s straight.
If there’s a gap from lifting one side, fill it with spackle. Nail it securely in place.
This trim piece sets the height for all other verticals.
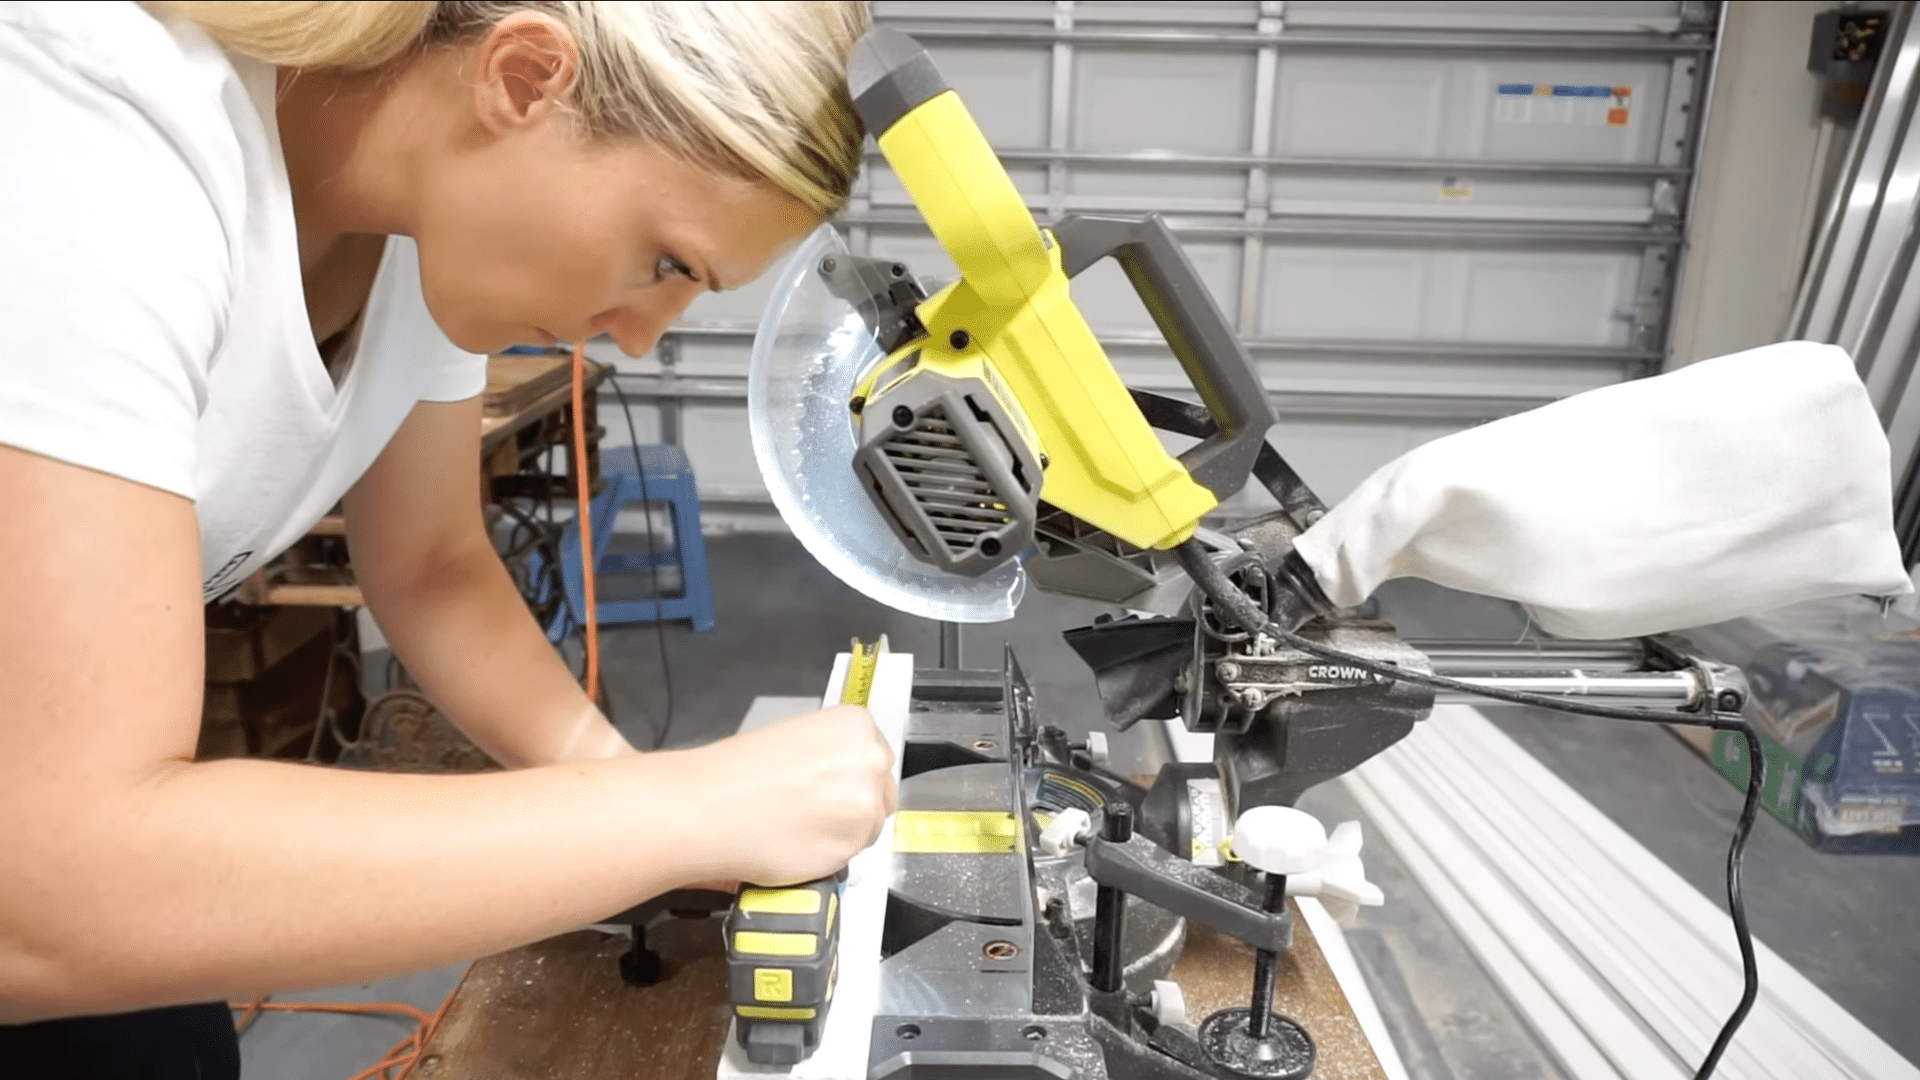
Step 4: Cut and Install Vertical Battens
Cut vertical boards to 48 inches so you can split standard 8-foot boards in half with zero waste. This approach saves both time and material.
Because older homes have uneven floors, measure and cut a few boards at a time, dry-fit them, and make minor adjustments if needed.
Boards are nailed using a three-nail cross-pattern for extra hold, one straight, one angled up, and one down.
Step 5: Continue Around the Room and Handle Corners
Use the same spacer and method on each wall. For corners, wrap your measuring tape around and mark the board placement precisely.
Use a 45° miter cut to wrap the top trim neatly around corners for a clean, seamless finish, especially where walls shift or trim continues.
Continue installing verticals using the same spacing all the way around.
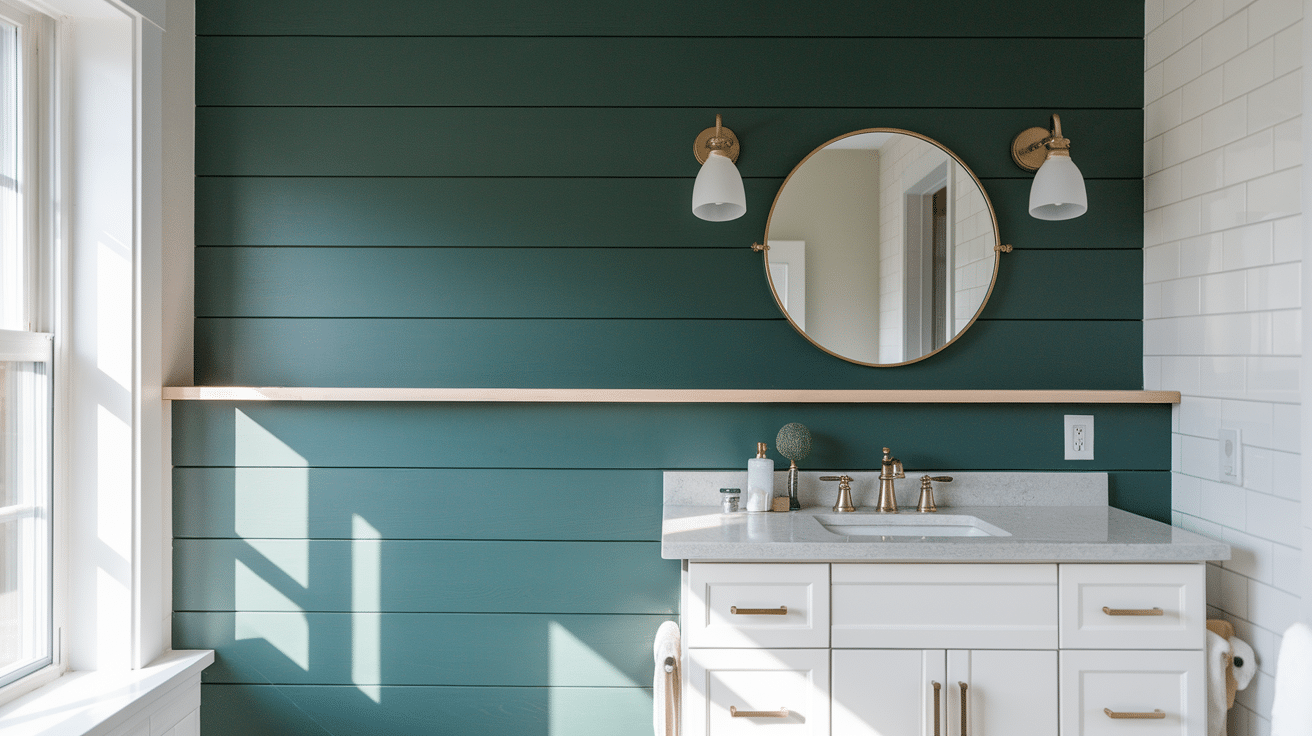
Step 6: Add an Optional Top Ledge
Finish the wall with a decorative ledge by nailing a 1×2 pine board along the top of the horizontal trim. This adds depth and a custom touch.
This creates a shelf-like feature and adds extra depth to the design.
This step is optional, but it gives the room a more custom look.
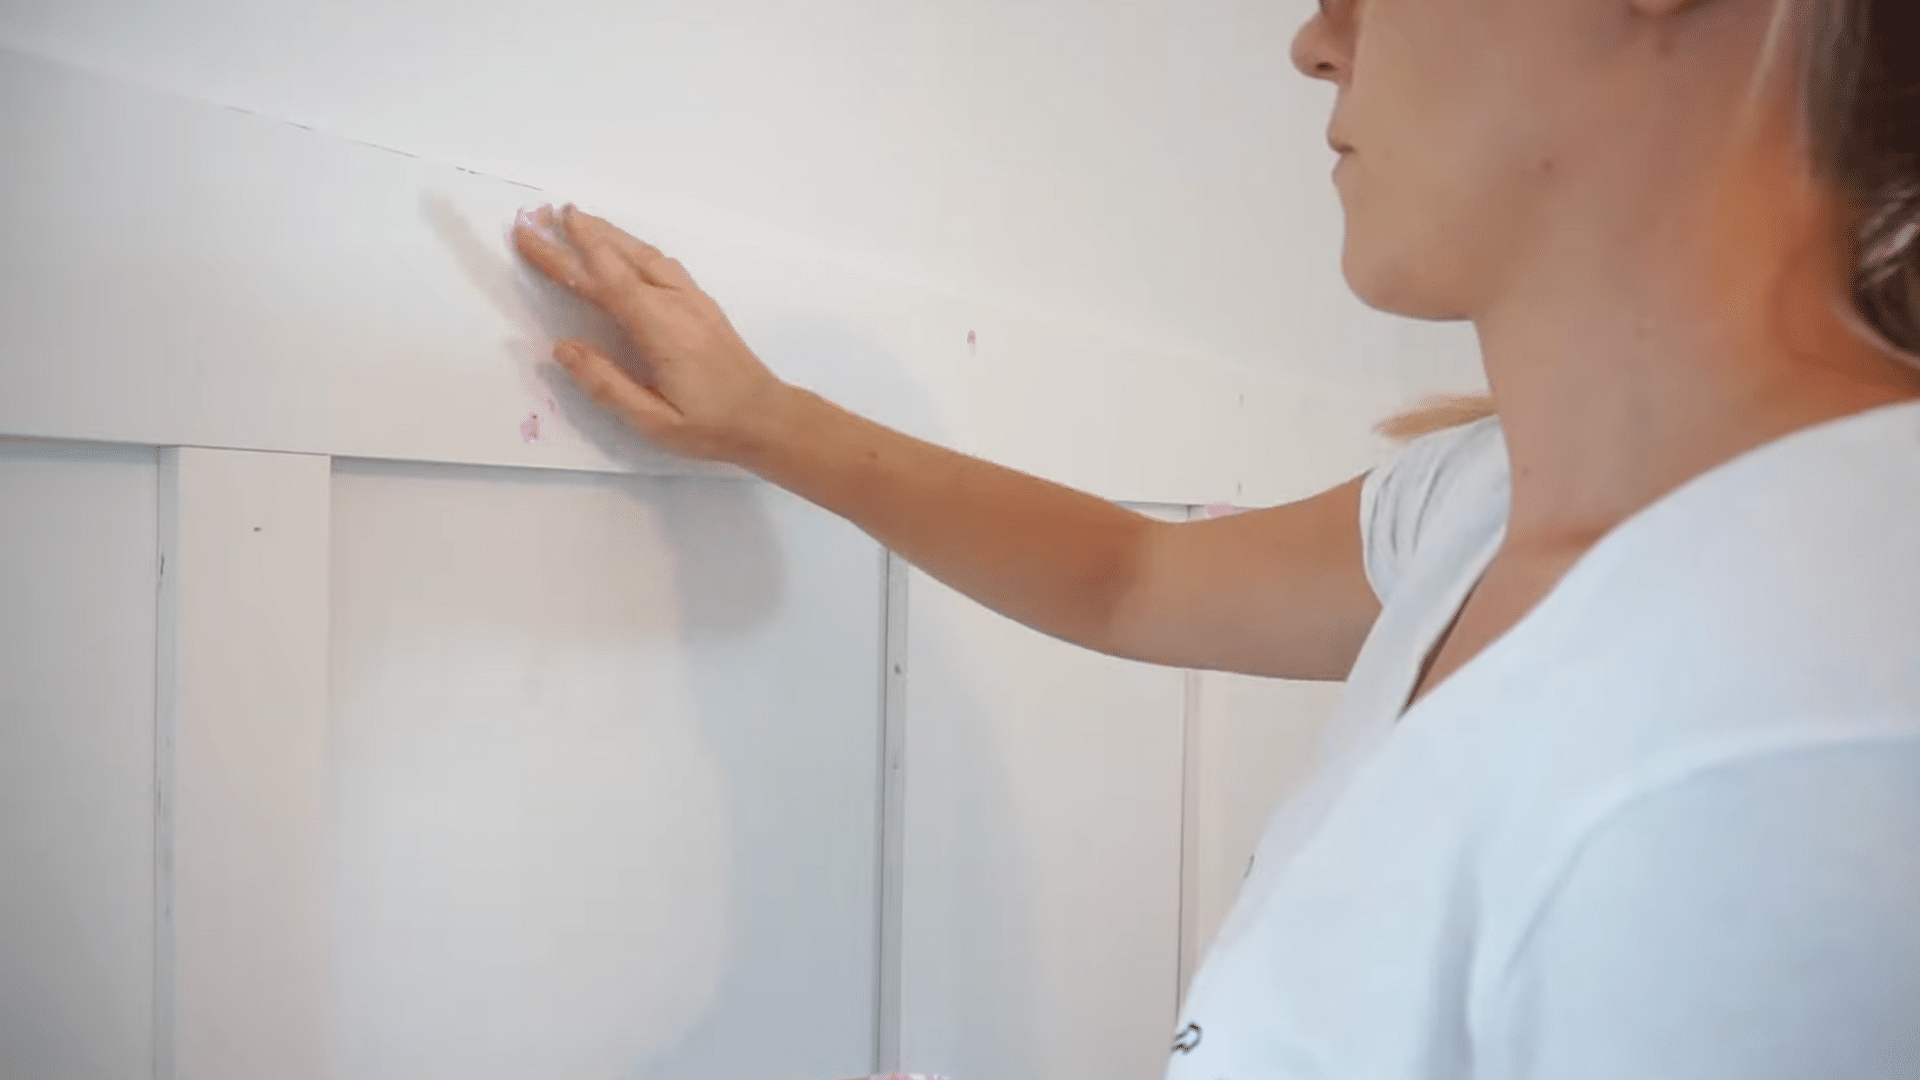
Step 7: Fill, Caulk, Prime, and Paint
Use spackle to fill nail holes and seams between boards.
Caulk along all edges where the boards meet the wall for a seamless transition.
Use a baby wipe to smooth the caulk and keep your fingers clean.
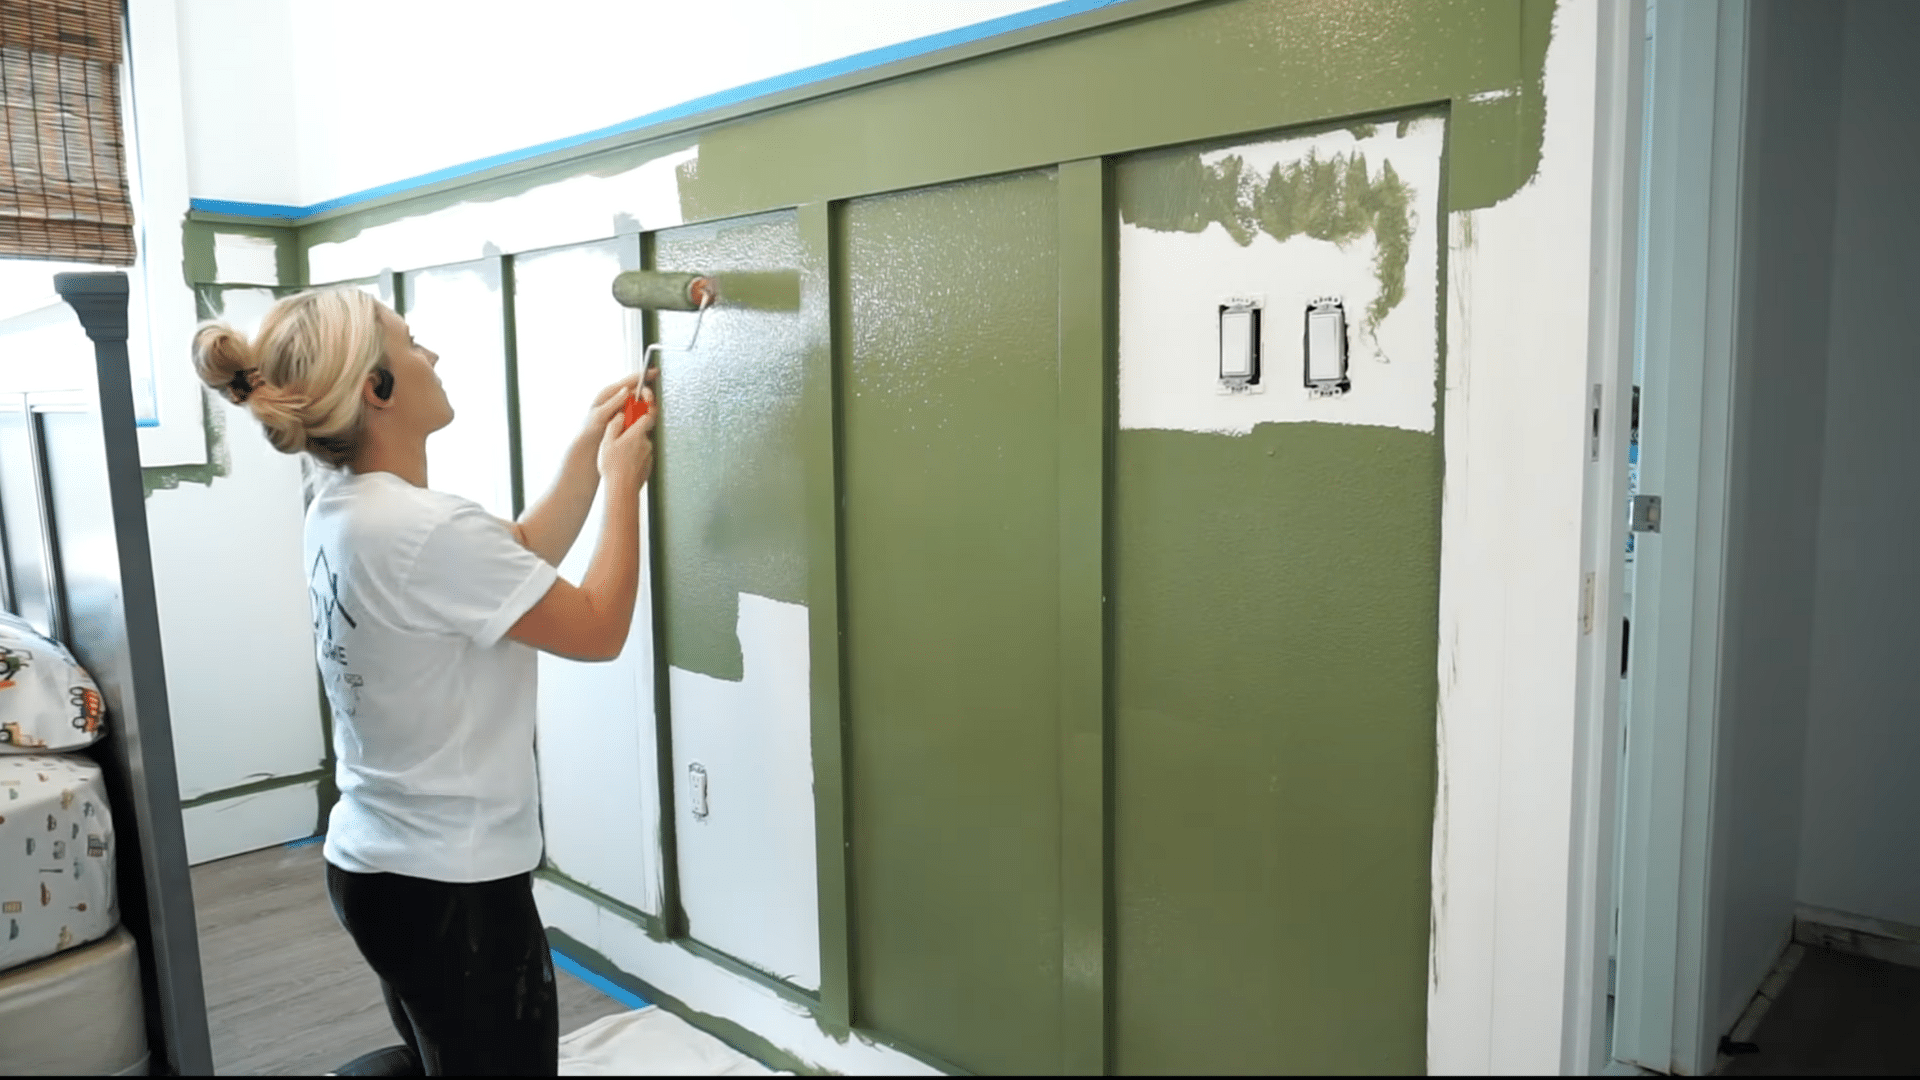
Prime any raw wood (like the ledge), then tape off the area and paint your board and batten in the color of your choice.
This guide has been inspired by “How to Install Board and Batten – DIY Accent Wall” by @MrsAshleyFrench; for a more detailed understanding, make sure to check out the video:
Budget-Friendly Options That Save You Money
You can create a custom-looking board and batten wall without spending a lot. These simple cost-saving strategies help you stay on budget while still getting a professional result:
Skip the Backer Board: Traditional board and batten uses a thin sheet of backer board to cover the wall texture. If your wall has a mild texture (like orange peel), you can leave it as-is or smooth it out with joint compound.
Use Your Drywall as the Base: By working directly over your drywall, you reduce both material and labor costs. A skim coat with joint compound can help you mimic the flat panel look if your wall texture is uneven or distracting.
Choose Budget-Friendly Trim: Use MDF trim or primed pine boards, which are cheaper than hardwood and still look great once painted. Standard sizes like 1×3 for verticals and 1×6 for horizontals are easy to work with and widely available.
Repurpose Scrap Wood: Check your garage, shed, or local reuse center for leftover wood from past projects. As long as the boards are straight and smooth, they work well for battens or spacers.
Use Basic Adhesives and Nails: Liquid Nails or another construction adhesive helps secure trim to the wall without finding studs. Finish nails, applied with a simple brad nailer or hammer and nail set, are enough to hold the boards in place.
Borrow Tools if You Don’t Own Them: Tools like a miter saw, brad nailer, or caulk gun can often be borrowed from a friend, neighbor, or tool library. There’s no need to invest in new equipment for a one-time project.
Avoid Custom Cuts Where Possible: Plan your layout so you can use full-length boards when possible. For example, cutting 8-foot boards in half gives you two 48″ verticals with zero waste.
Use Free Spacing Tools: Instead of complicated math, use online tools like InchCalculator to calculate spacing. Then, cut a reusable spacer block to avoid measuring every time.
Paint It All One Color: Using a single paint color for the trim and wall saves money on multiple paint cans and gives a clean, cohesive finish.
Mistakes to Avoid During Installation
To get a smooth, polished board and batten wall, it helps to know what not to do. These common mistakes can ruin the finish or cost you extra time to fix. Here’s what to watch out for:
- Rushing the layout: Uneven spacing throws off the whole look. Measure carefully and keep it consistent.
- Skipping primer over joint compound: Paint soaks in unevenly without primer, leaving blotchy spots behind.
- Over-sanding the compound: Sand lightly. Too much pressure can remove the mud you just applied.
- Not using a level: Even slightly crooked battens will stand out once everything’s painted.
- Ignoring wall texture: For a smooth look, cover heavy textures with joint compound before you start.
Avoiding these simple mistakes helps your wall look clean and professionally done.
Final Thoughts
This board-and-batten bathroom method is simple, affordable, and perfect for beginners.
Instead of using full panels, you work directly on your existing wall, just smooth it out with joint compound and attach evenly spaced battens.
The result gives you the clean, structured look of traditional paneling without the extra cost or complexity.
You don’t need advanced tools or carpentry experience, just a few basic supplies, a level, and some weekend time.
With a little prep and a single paint color, you can completely refresh your space.
Grab your trim and paint, your new bathroom wall is waiting.

Ava Taylor, holding a Bachelor’s degree in Interior Design from the Pratt Institute, has made her mark in creating engaging and functional living spaces for over 14 years. She began her career with a New York-based design studio, where she gained a reputation for her innovative and user-centric designs. Ava joined our team in 2019, bringing a blend of artistic flair and practicality to our home improvement section. Since the she has been the lead contributor to our room transformation series, inspiring readers with her unique approach to maximizing space utility and aesthetic appeal. Beyond her professional work, Ava is a passionate collector of vintage furniture, a hobby that enriches her design perspective.