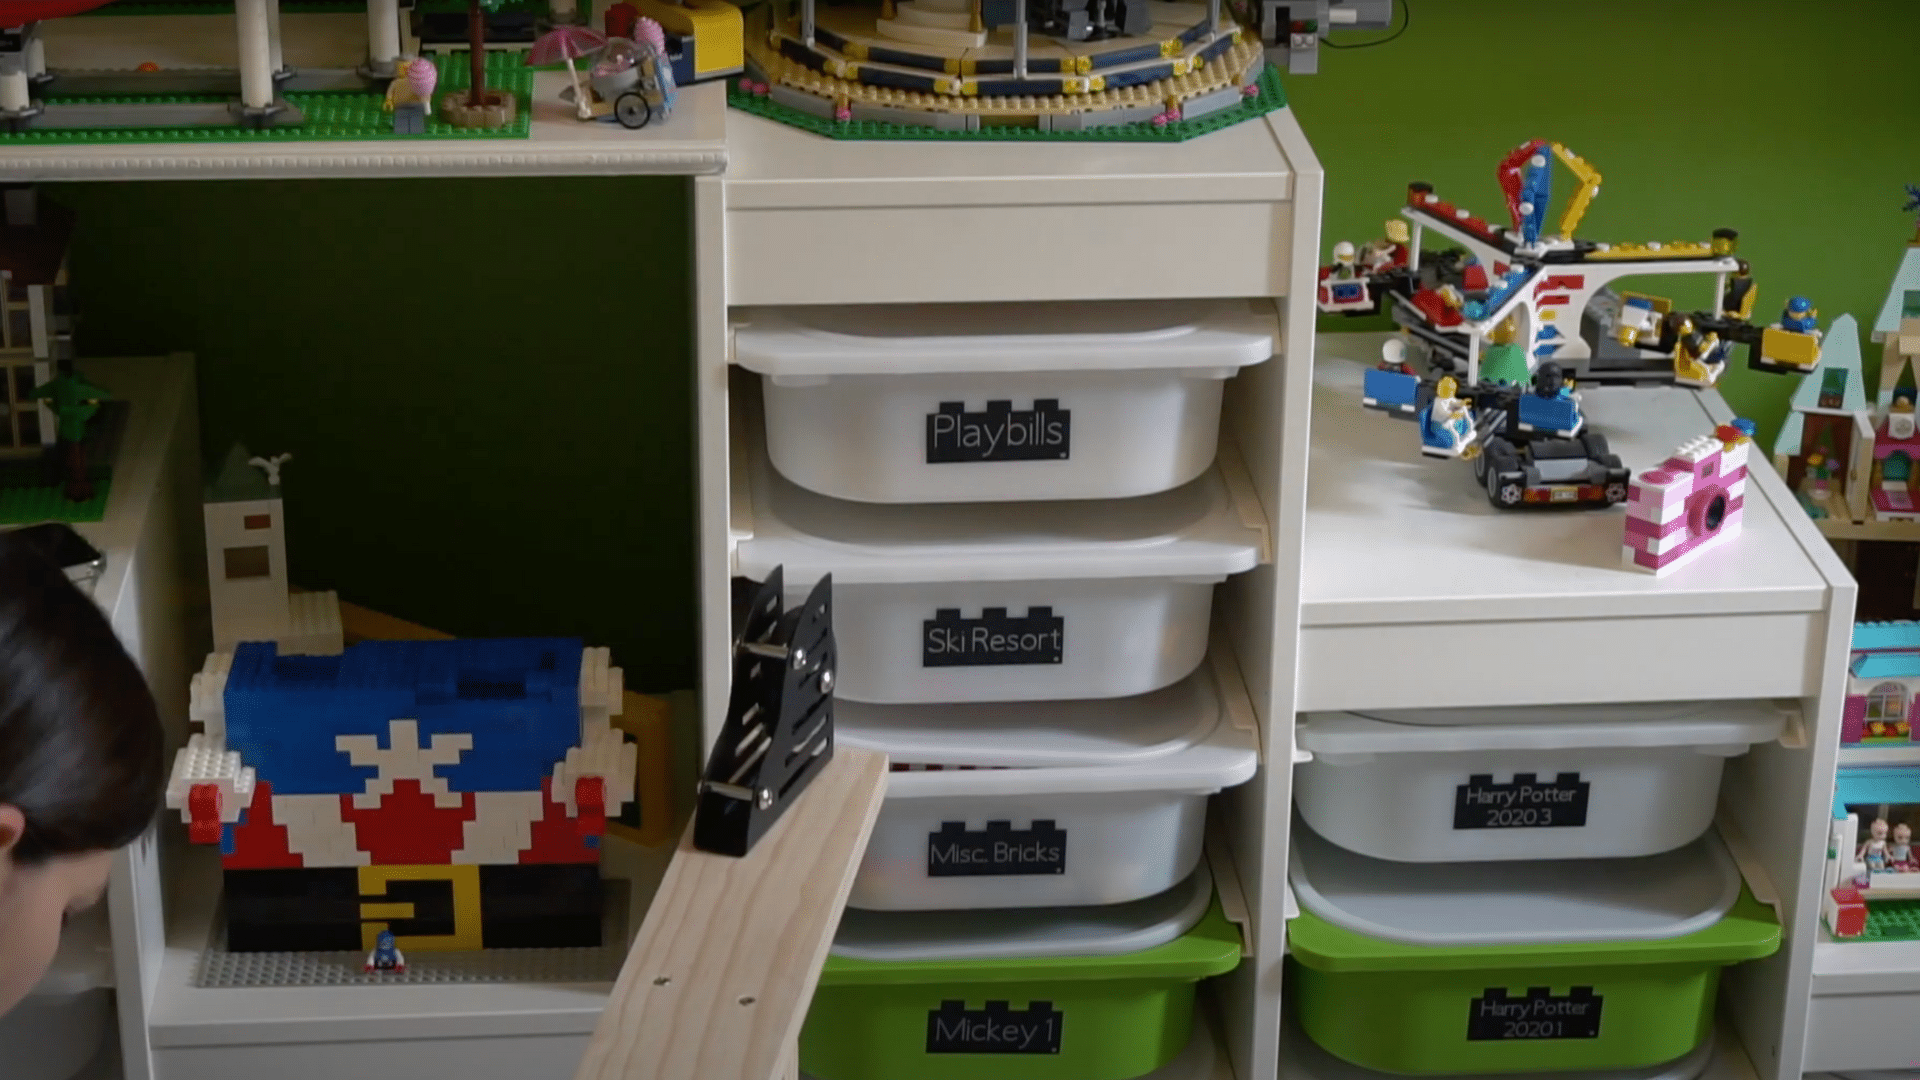
Have you ever wanted to have your library ladder at home? I sure did. There’s something special about sliding across a shelf to grab a favorite book.
At first, I thought it would be too expensive or too hard to build. But with the right tools and a good hardware kit, it’sit’spletely doable, even for beginners.
In this blog, I’ll show you how I built my DIY library ladder step by step. From picking the right ladder to installing the track and rollers, you’ll learn everything you need to get started.
If you’re interested in creating a cozy reading nook or adding beauty to a tall bookshelf, this project is fun, useful, and far more affordable than you might think. So grab your tools, and let’s build that dream ladder together!
Planning Your Library Ladder Project
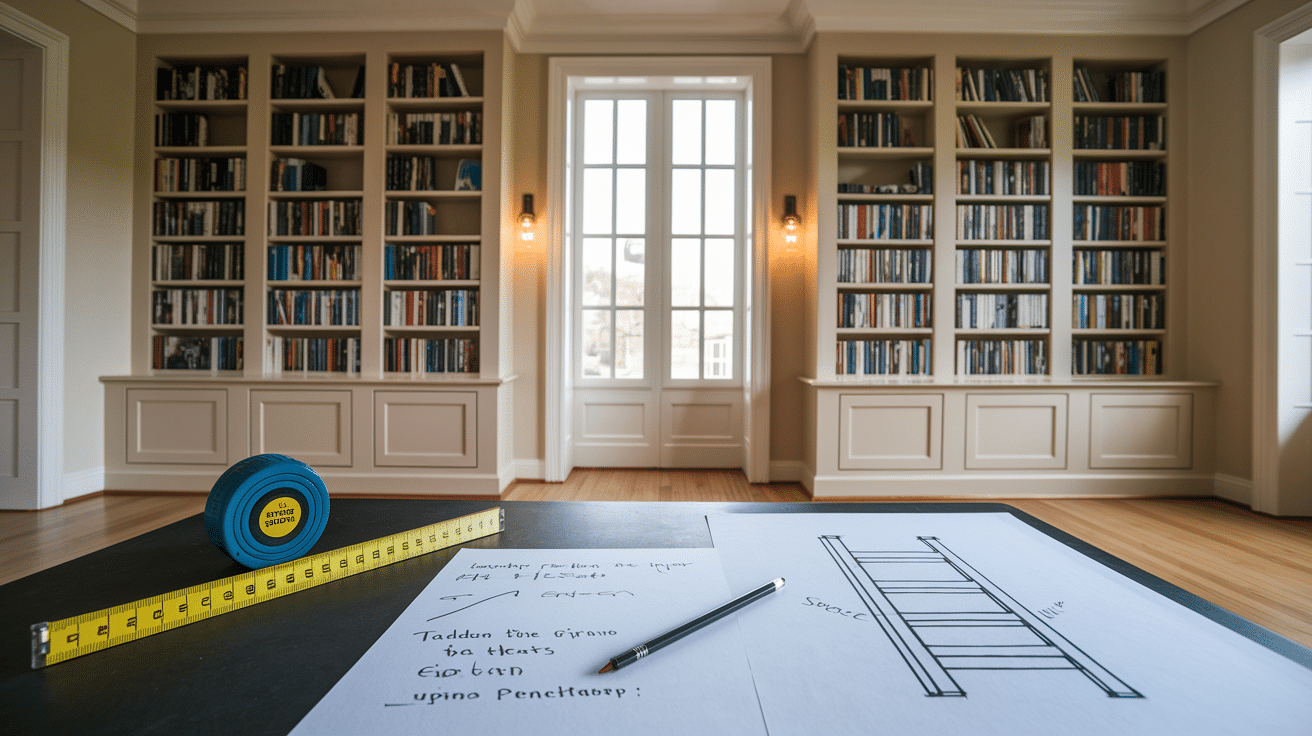
Before jumping into the build, taking time to plan your library ladder setup will make everything smoother and safer. Good planning ensures the ladder fits your space, operates properly, and looks like it belongs there.
Assessing Your Space
Start by measuring the height of your ceiling and the tallest point of your bookshelf. This will help you decide how long your ladder should be.
Most ladders for home libraries are 7 to 10 feet tall. Next, consider the ladder’s scale. A safe and comfortable angle is usually about 10 degrees from the shelf (or 80 degrees from the floor).
This allows the ladder to lean just enough to be stable without sticking out too far into the room. Also, check how much space is in front of the bookshelf so the ladder can slide or hang on without blocking walkways.
Choosing the Right Ladder Style
There are two main types of ladders you can use: rolling and hook-on.
- Rolling ladders stay attached to a top track and glide side to side using rollers and wheels. They’re ideal for wide bookshelves and frequent use.
- Hook-on ladders can be lifted and moved between shelves. These are simpler and don’t have bottom wheels or floor space for sliding.
When choosing your ladder, consider what works best for your space and how often you’ll use it. Also, pick strong and durable materials.
Hardwoods like oak, maple, or birch are excellent choices. These woods hold up well over time and can support more weight.
They also take stain or paint well, so that you can match the ladder to your room’s color. If you’re buying an old ladder, make sure it’s sturdy and doesn’t have damage or weak spots.
Step-by-Step DIY Library Ladder Guide
This step-by-step guide will walk you through installing your DIY library ladder. It is inspired by a project that transformed a bookshelf into a fun and functional storage solution.
Materials and Tools
Before building a library ladder, gather all the necessary materials and tools to ensure a smooth and efficient project from start to finish.
- Two 1x4x8 ft select pine boards (for side rails)
- One 1x8x8 ft select pine board (for steps)
- Wood glue
- 1½-inch construction screws
- Library ladder hardware kit (including wheels and rail)
- Oak plugs or wood filler (optional, for patching)
- Danish oil or other wood finish
- Blue painter’s tape
- Drill
- Assorted drill bits
- Drill press (optional but helpful)
- Circular saw
- Miter saw
- Carpenter’s square
- Measuring tape
- Level
- Clamps
- Pencil
- Screwdriver or Allen wrench (for hardware)
- Spacer block or 12-degree angle jig (can be made from scrap)
Step 1: Install the Rail on the Wall
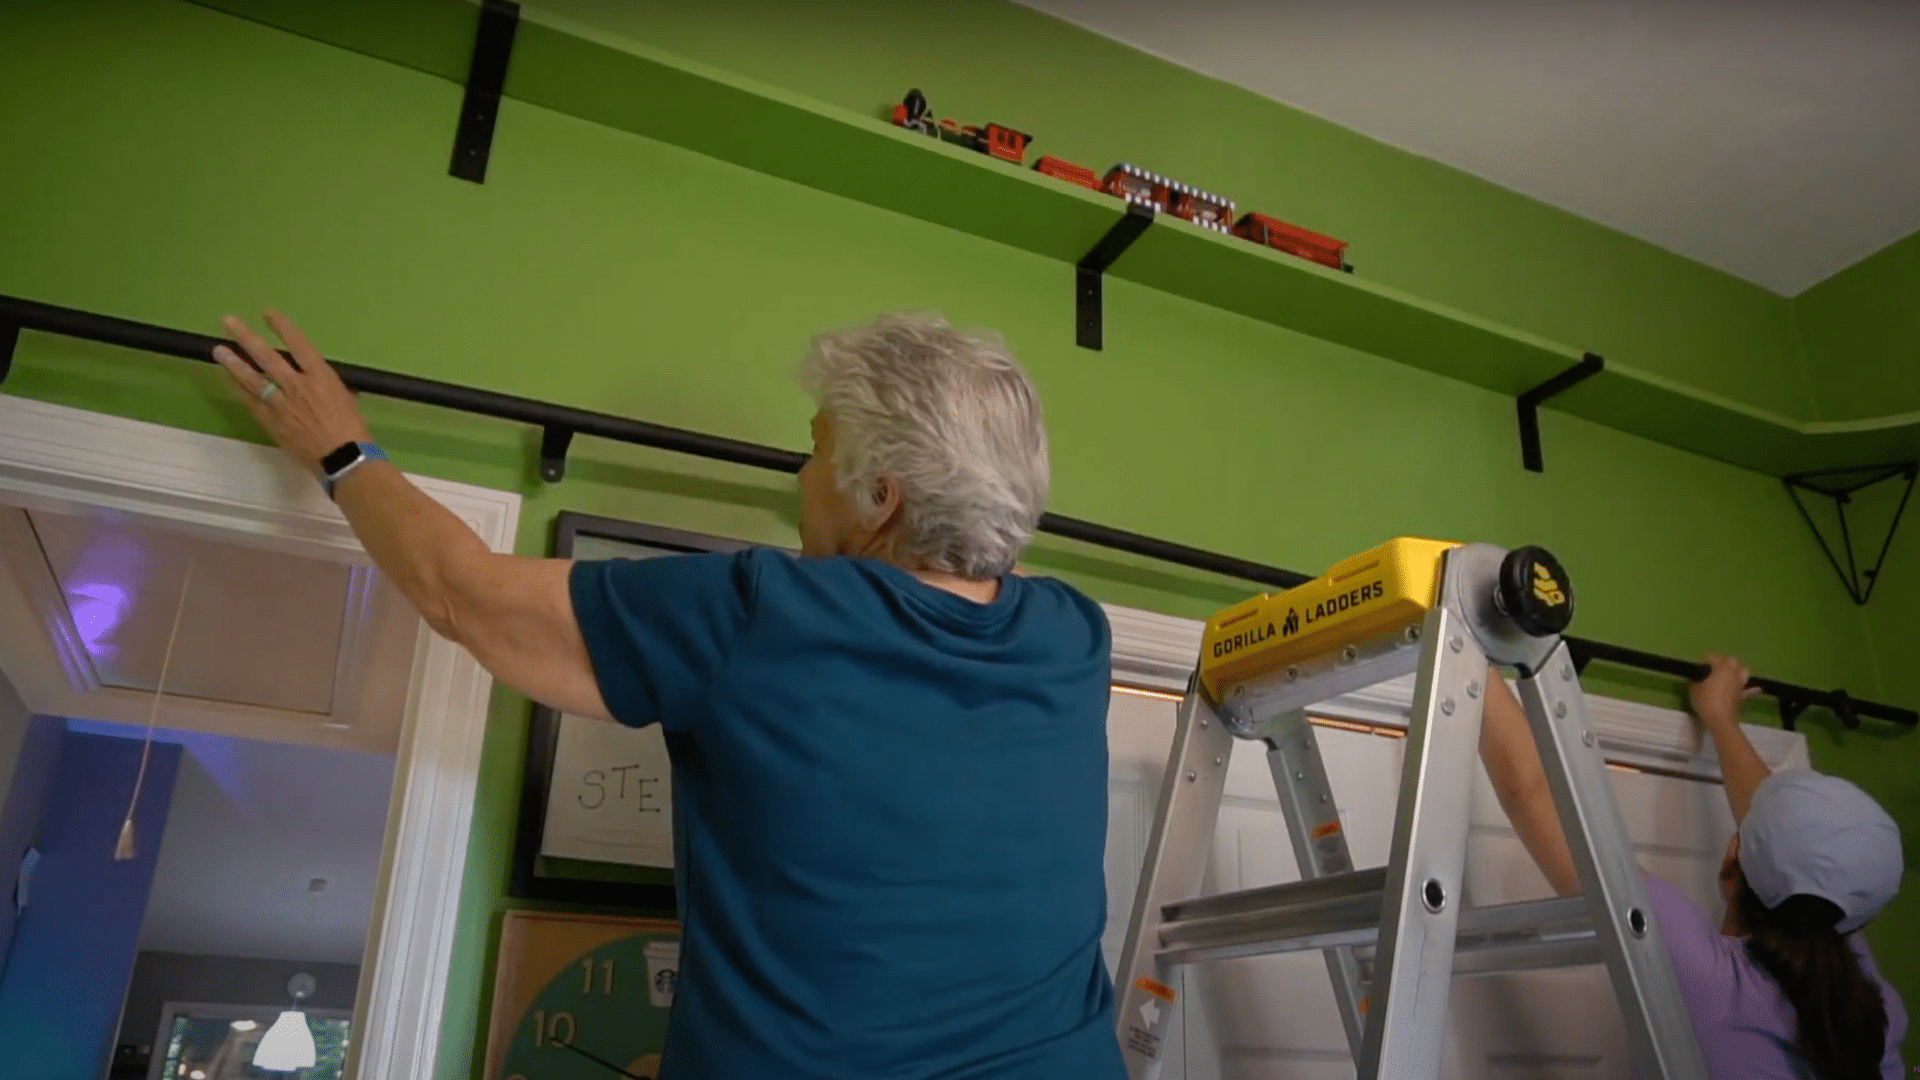
Begin by attaching the ladder rail to the wall. The rail should be mounted securely into the wall studs using metal brackets. Drill pilot holes through each bracket and screw them into the rail and studs.
If the studs don’t line up with bracket placement, consider adding a backer board to reinforce the setup. Don’t forget to add the end stoppers on both sides before final placement to keep the ladder safely on track.
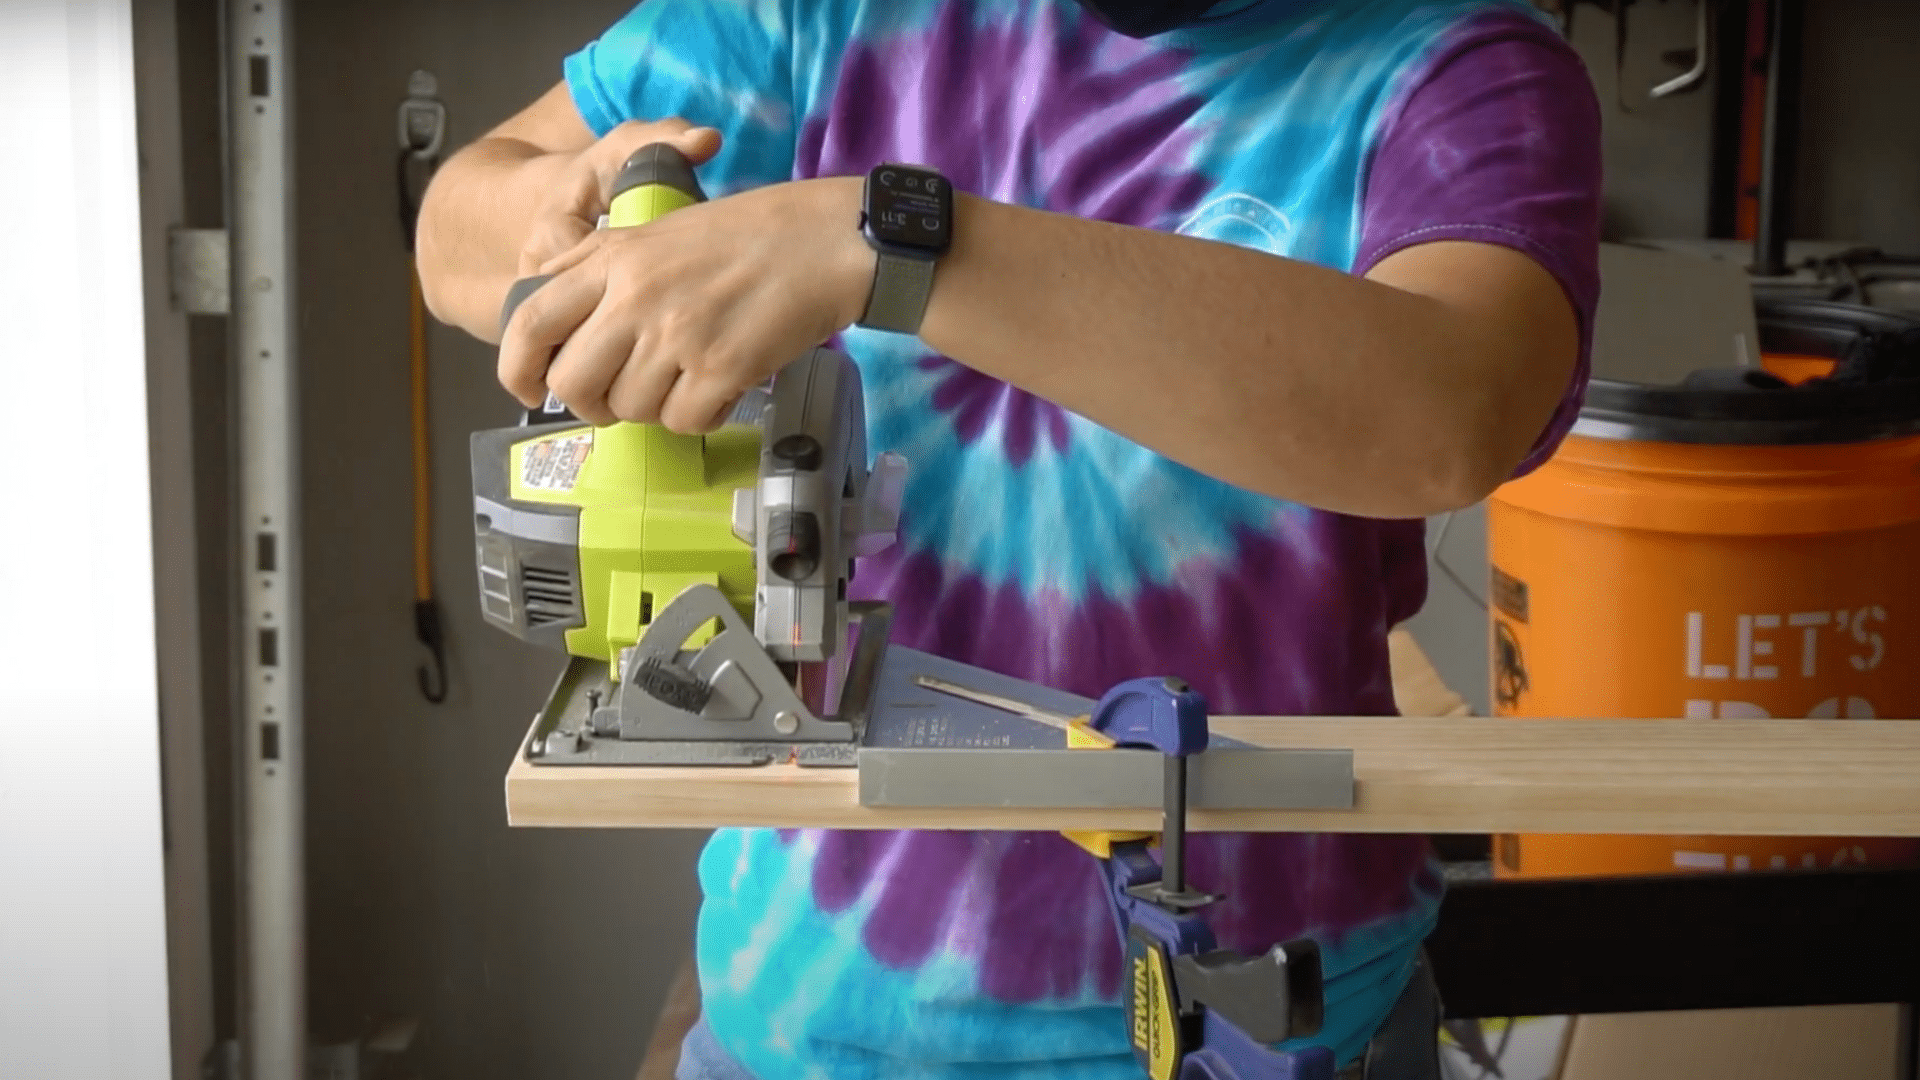
Step 2: Cut the Side Rails at an Angle
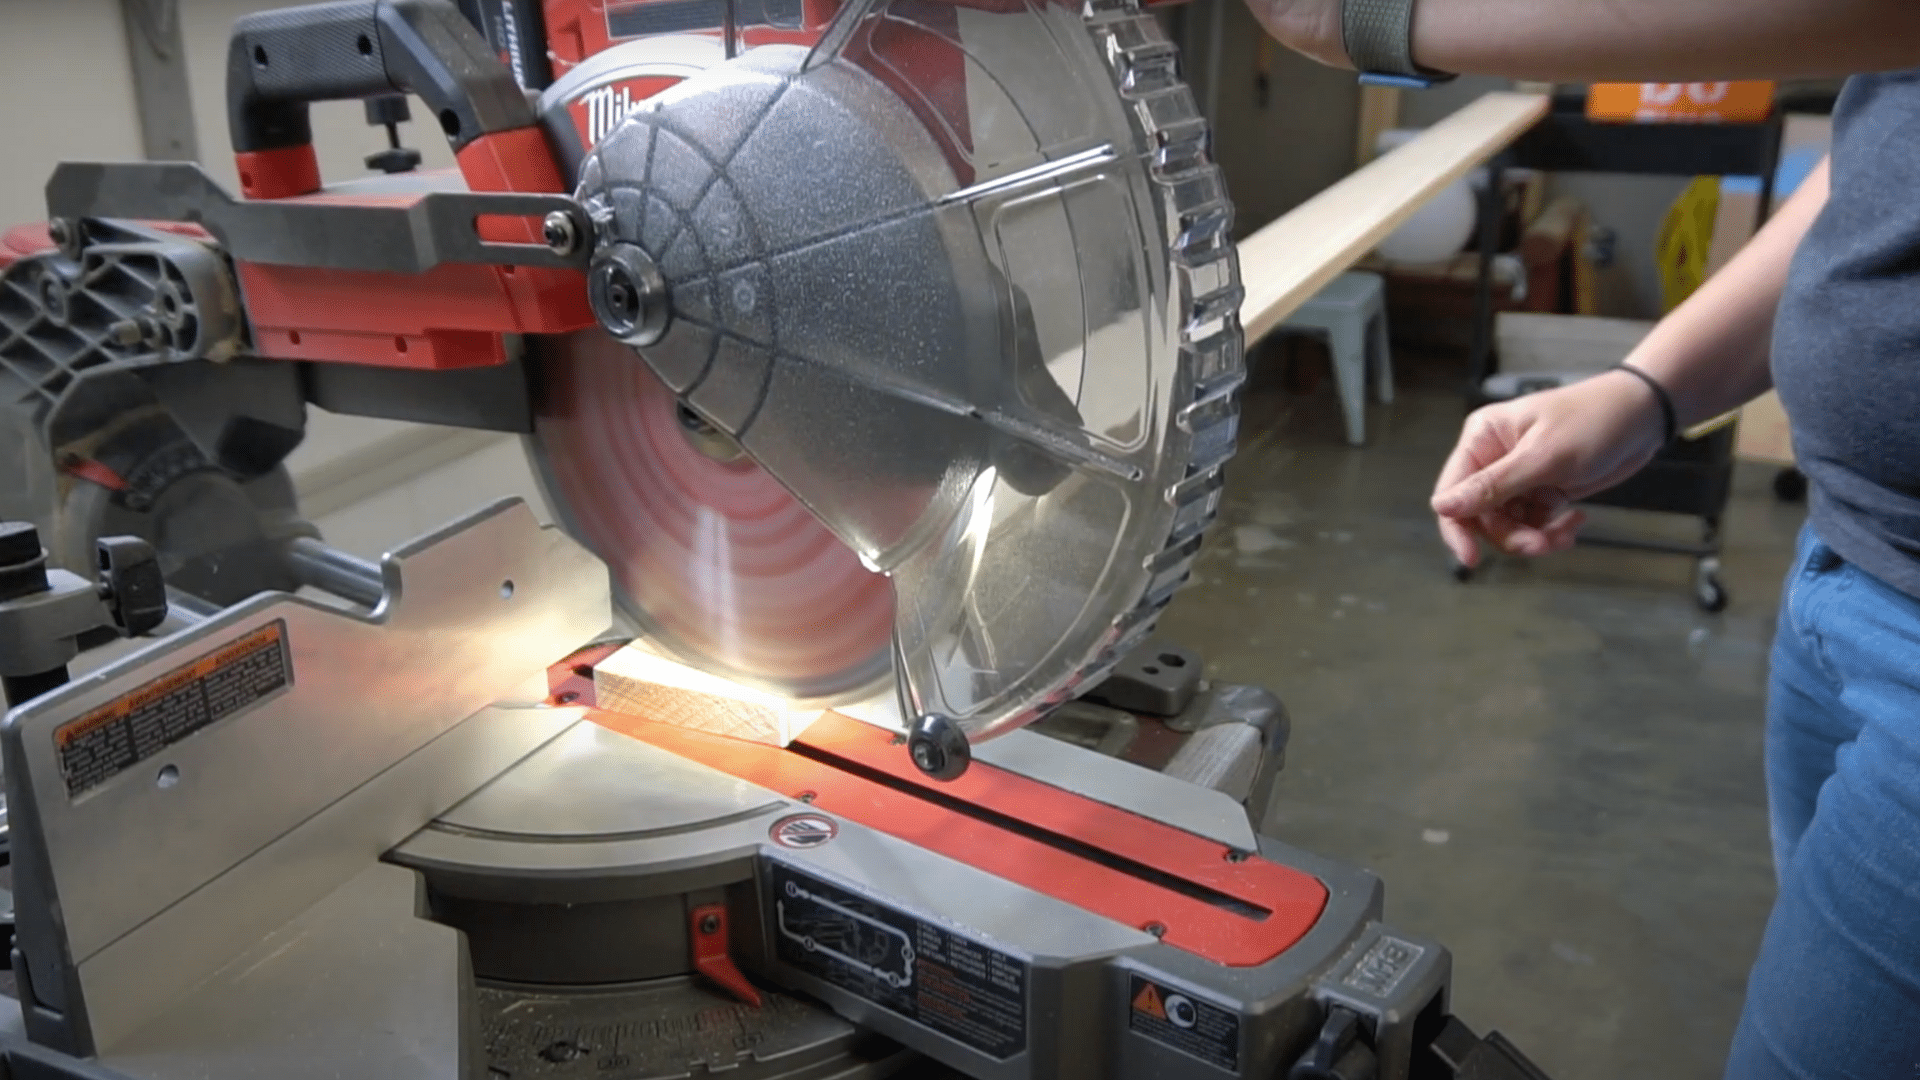
Use two 1x4x8-foot pine boards for the ladder’s side rails. Cut the bottoms of both boards at a 12-degree angle to help the ladder rest flat against the floor and wall.
Save the angled scrap pieces; they’ll be useful for marking future steps accurately. These boards will determine the final height of the ladder, which should be just under eight feet.
Step 3: Mark and Cut the Ladder Steps
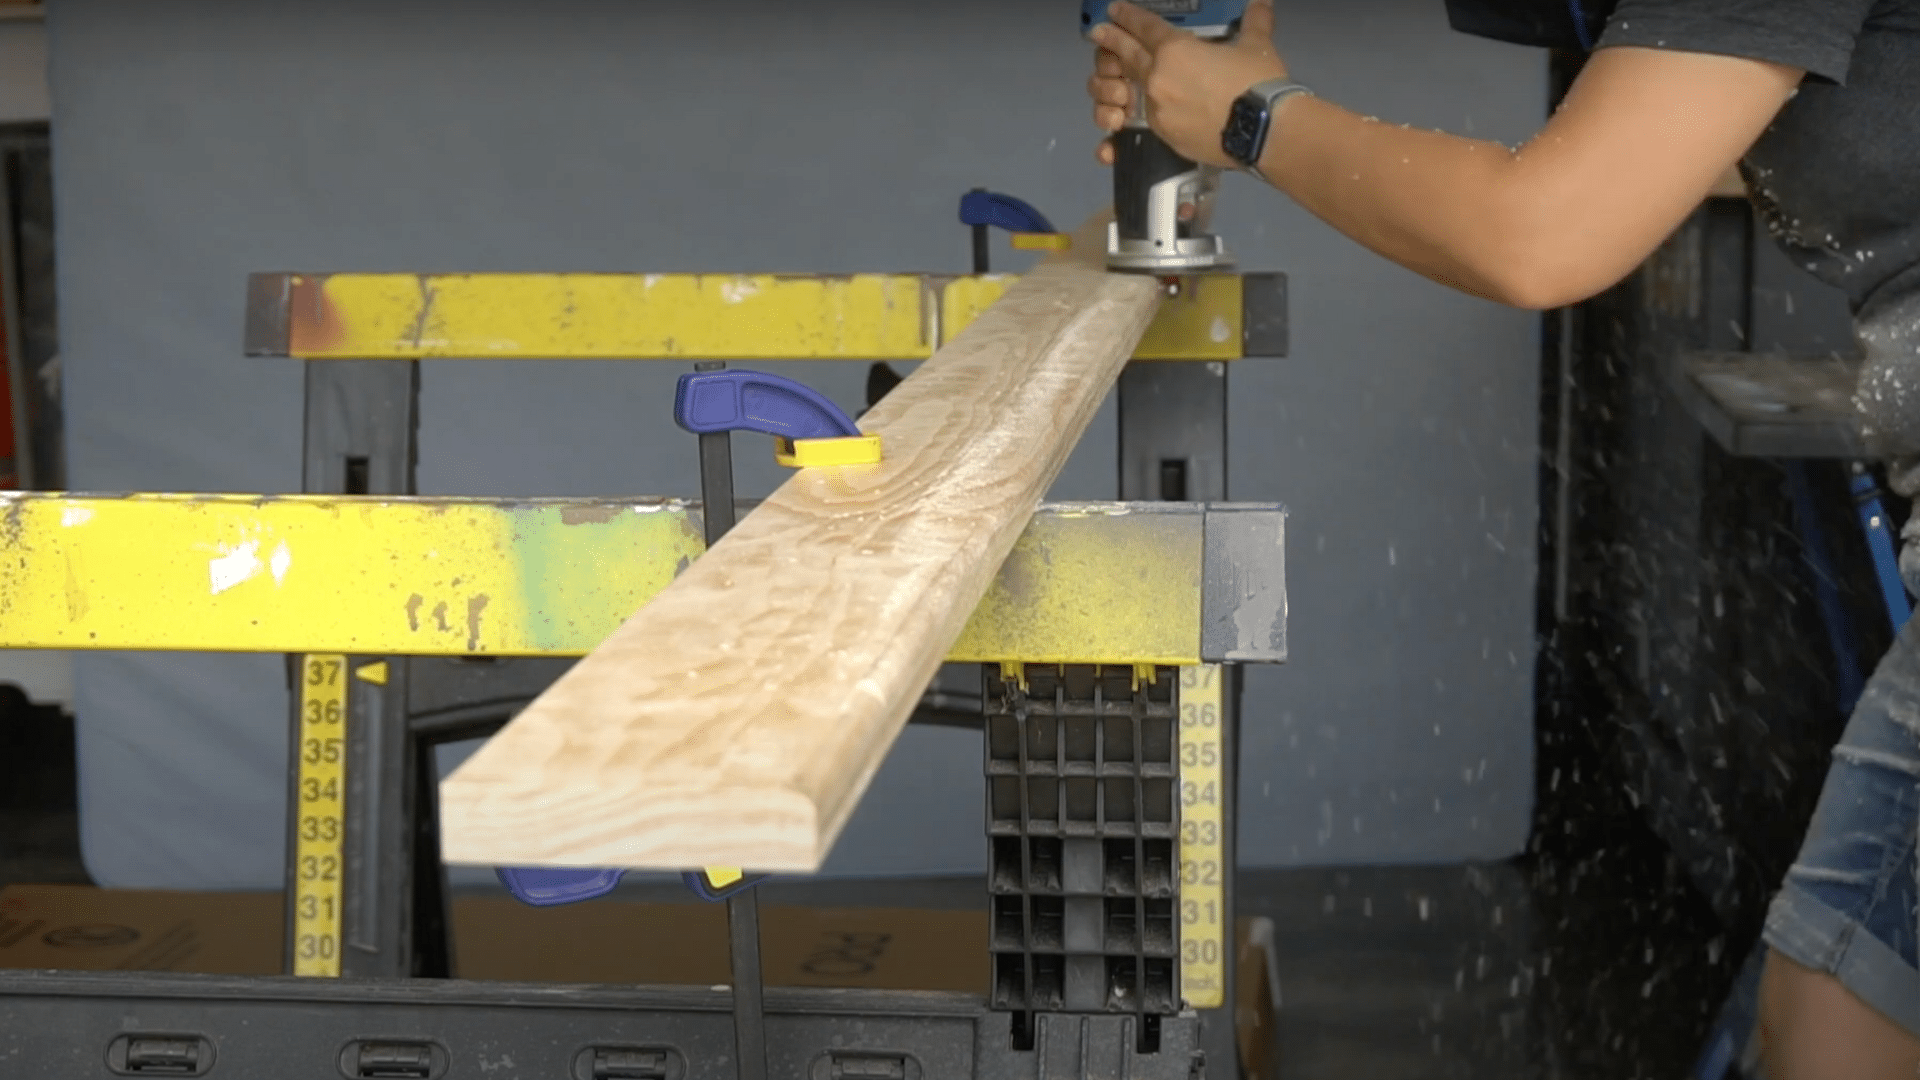
Measure and mark step positions every 11 inches, starting from the bottom, before cutting. Round the front edge of one long board with a router to create a comfortable curve for bare feet.
Once curved, cut the board into twelve 12-inch step sections using a circular saw. Place each cut step onto the marks to test spacing before final assembly.
Step 4: Mark Step Placement with a 12-Degree Jig
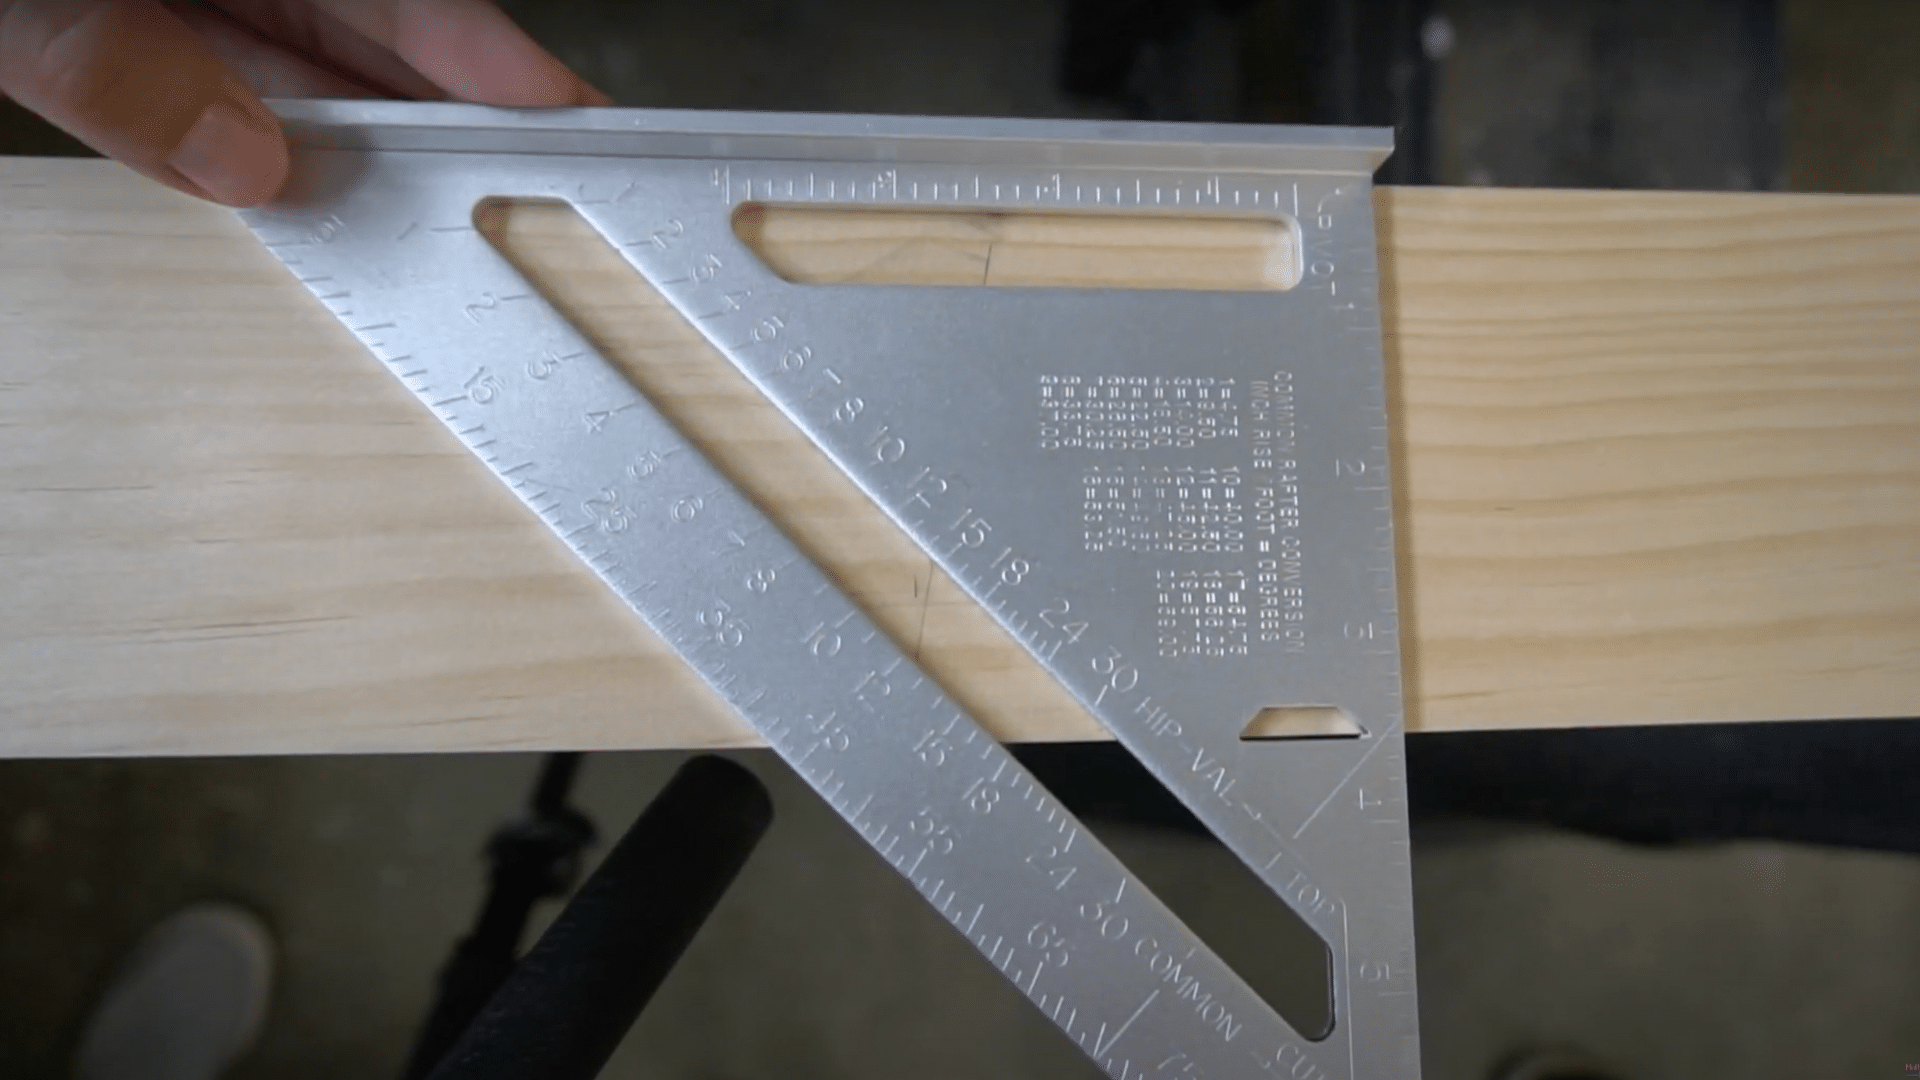
To ensure all steps are mounted at the correct angle, use the earlier 12-degree scrap as a jig. Line it up with each 11-inch mark and draw the slanted placement line for every step.
This ensures each tread sits evenly and makes assembly easier and more accurate later on.
Step 5: Glue and Clamp the Steps into Place

Apply wood glue to the angled edge of each step and press it firmly onto the marked lines. Clamp the steps securely between the side rails, checking that everything stays square and aligned.
Allow the glue to dry completely for 24 hours before moving on to the next side rail.
Step 6: Attach the Second Side Rail and Check Alignment
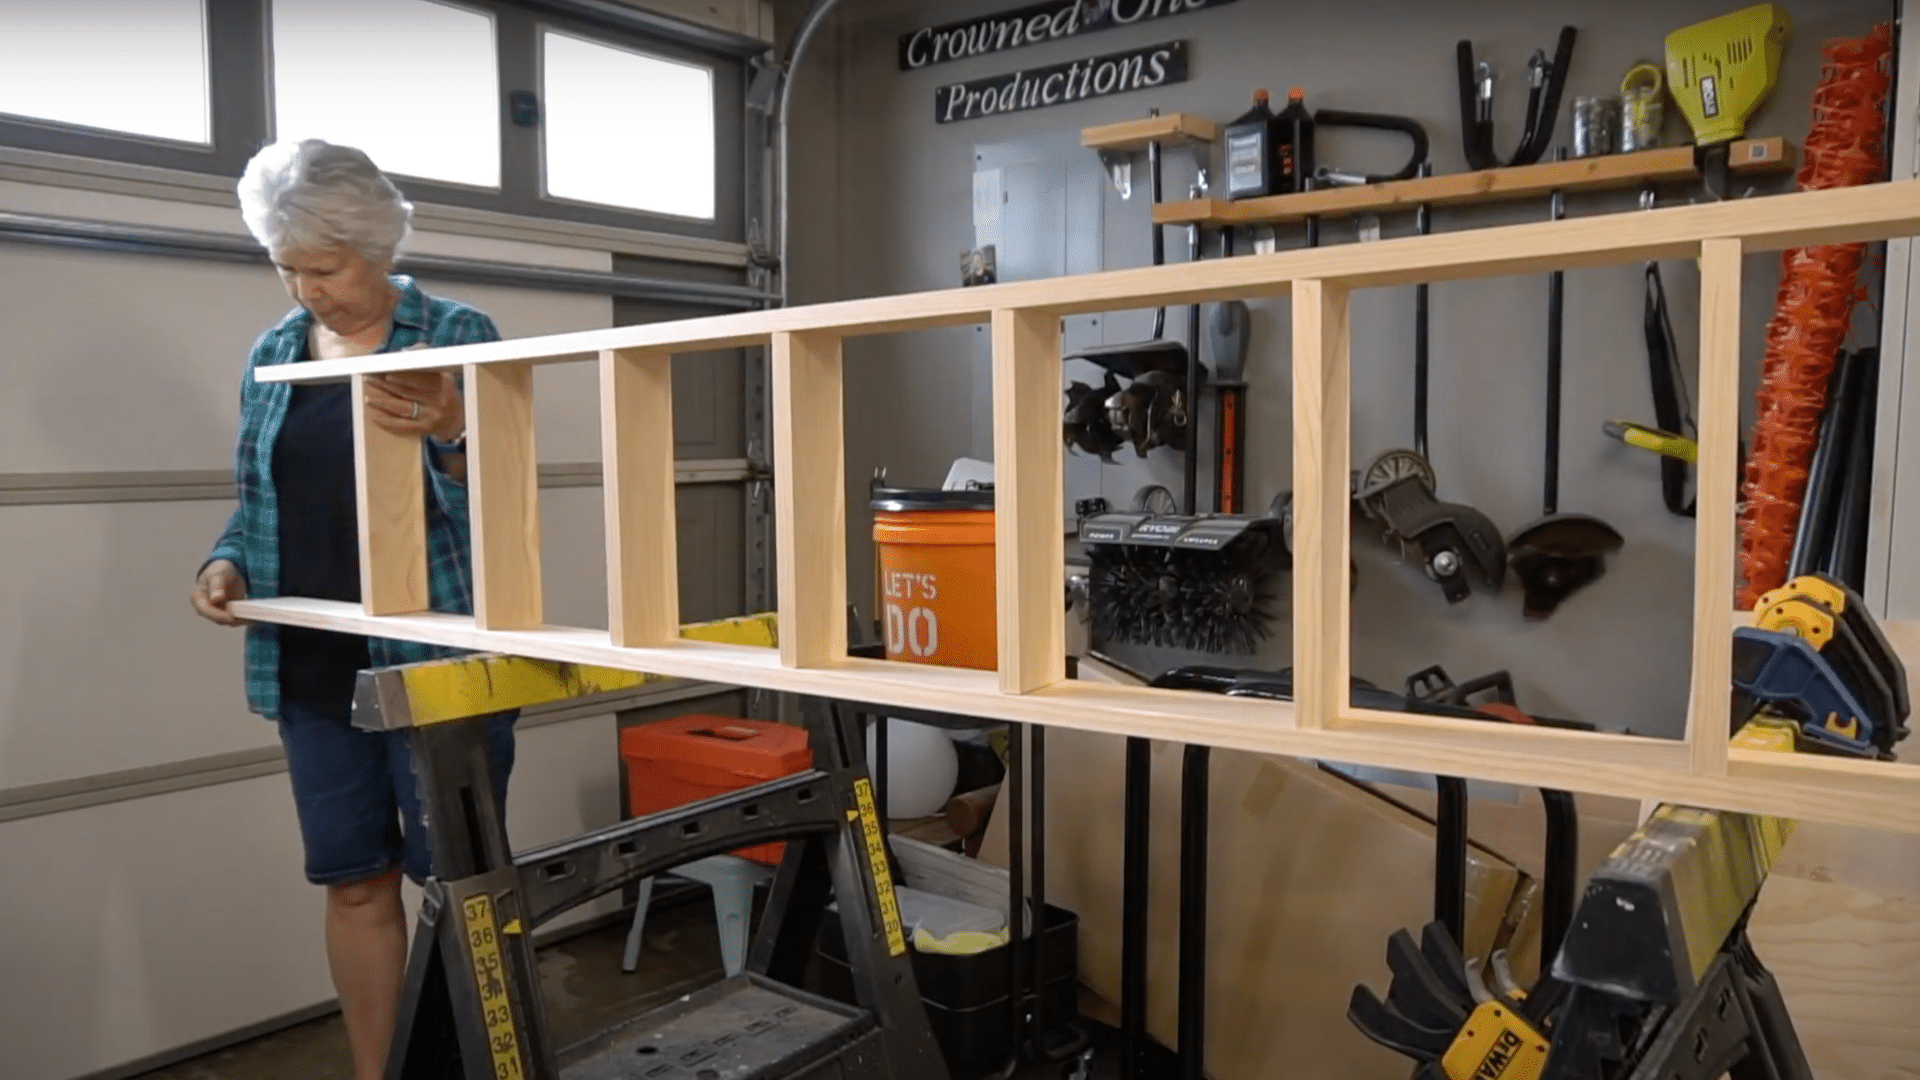
Once the glued side is dry, place the second side rail on top and align it with the opposite ends of the steps. Clamp it tightly and use a level to make sure the sides are parallel.
This step locks in the ladder’s structure and ensures that it’s straight and stable before adding screws.
Step 7: Add Screws to Secure the Steps
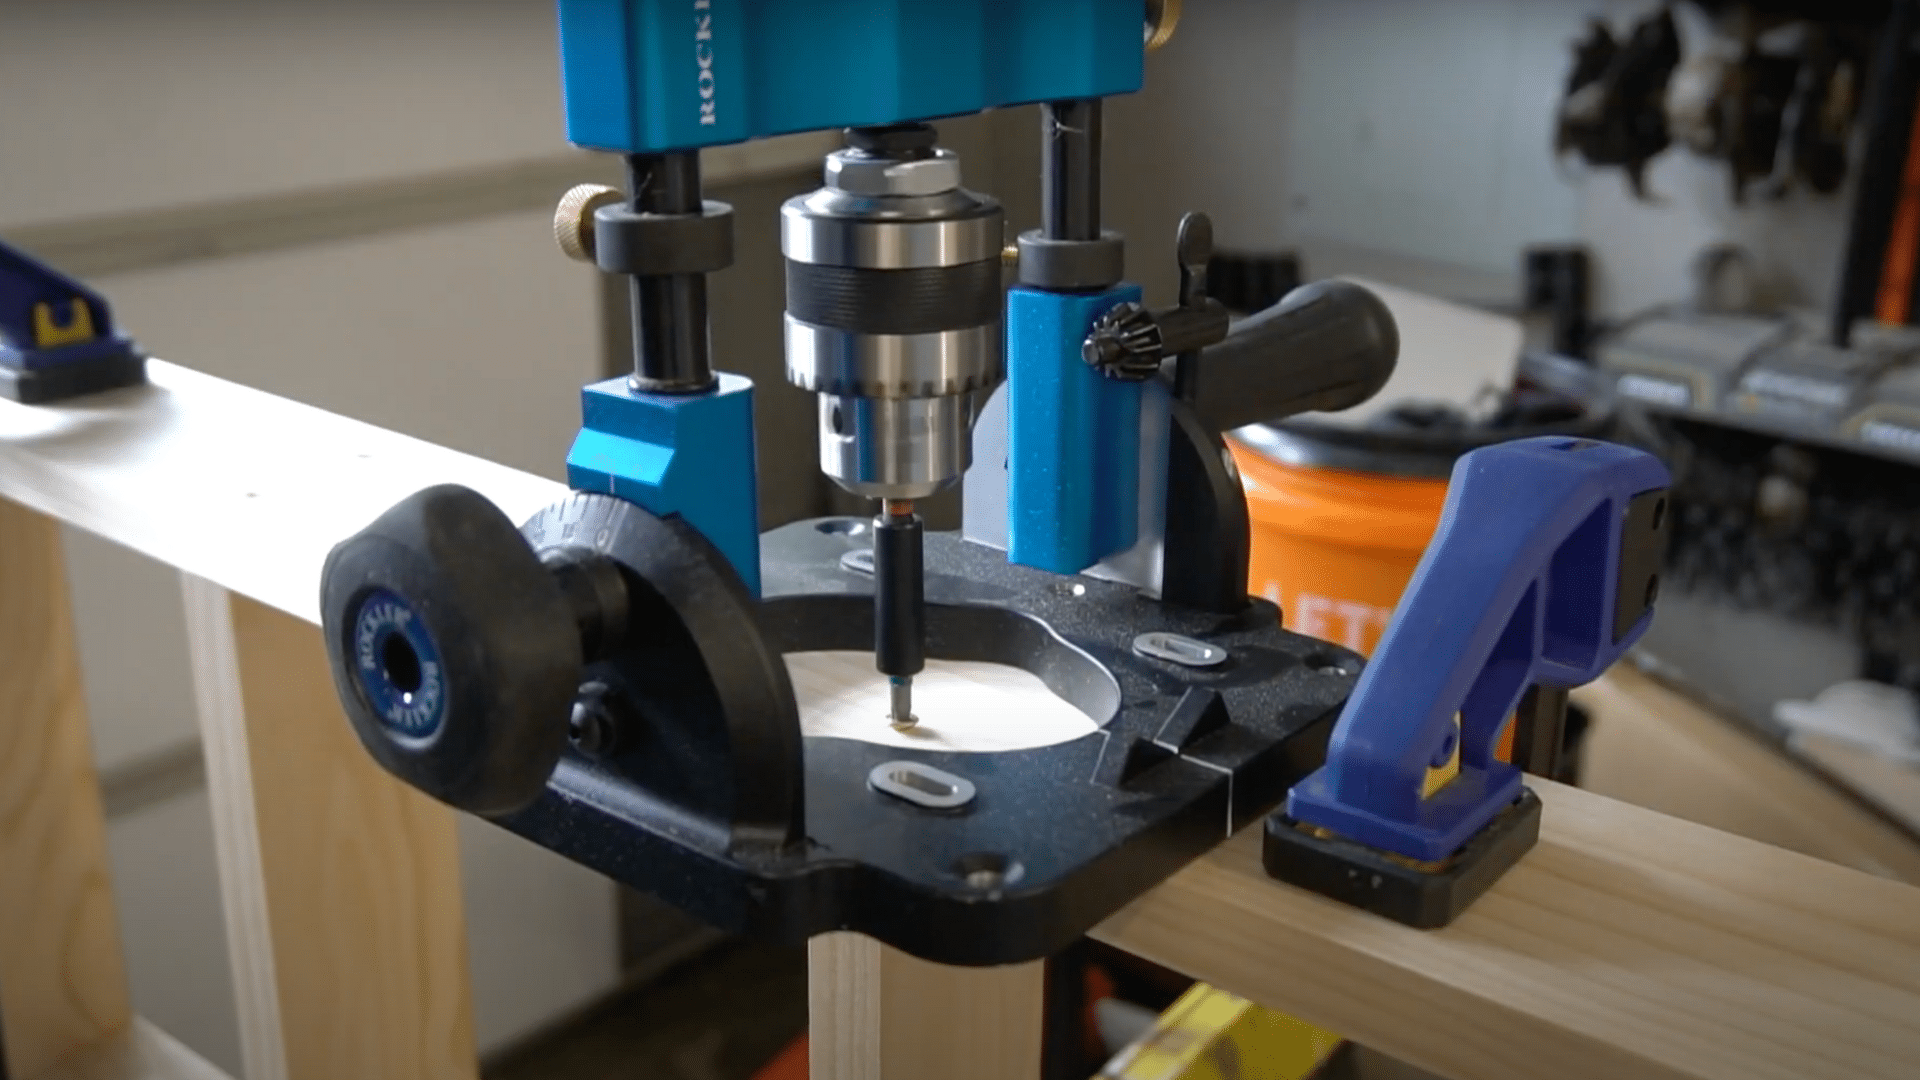
For extra strength, drill two screws into each end of every step. Use a drill press if available to keep the screw holes perfectly straight.
Mark consistent screw locations using the 12-degree jig as a guide. Repeat the process for both sides of the ladder to fully secure the treads.
Step 8: Install the Ladder Wheels at the Bottom
Remove the wheels from their brackets, then attach the brackets to the bottom of the ladder. Position each bracket ¾ inch from the bottom edge at a 12-degree angle.
It may be a tight space for drilling, but careful placement ensures the ladder rolls properly. Once the brackets are secured, reattach the wheels.
Step 9: Cut the Top to Fit and Install the Ladder Hooks
Mark the top of the ladder for height and trim any excess with a circular saw. Drill pilot holes for the mounting brackets that connect the ladder to the top hardware.
Clamp the hardware into place and screw it in securely. These hooks allow the ladder to hang and roll smoothly along the installed rail.
Step 10: Finish with Protective Oil or Sealant
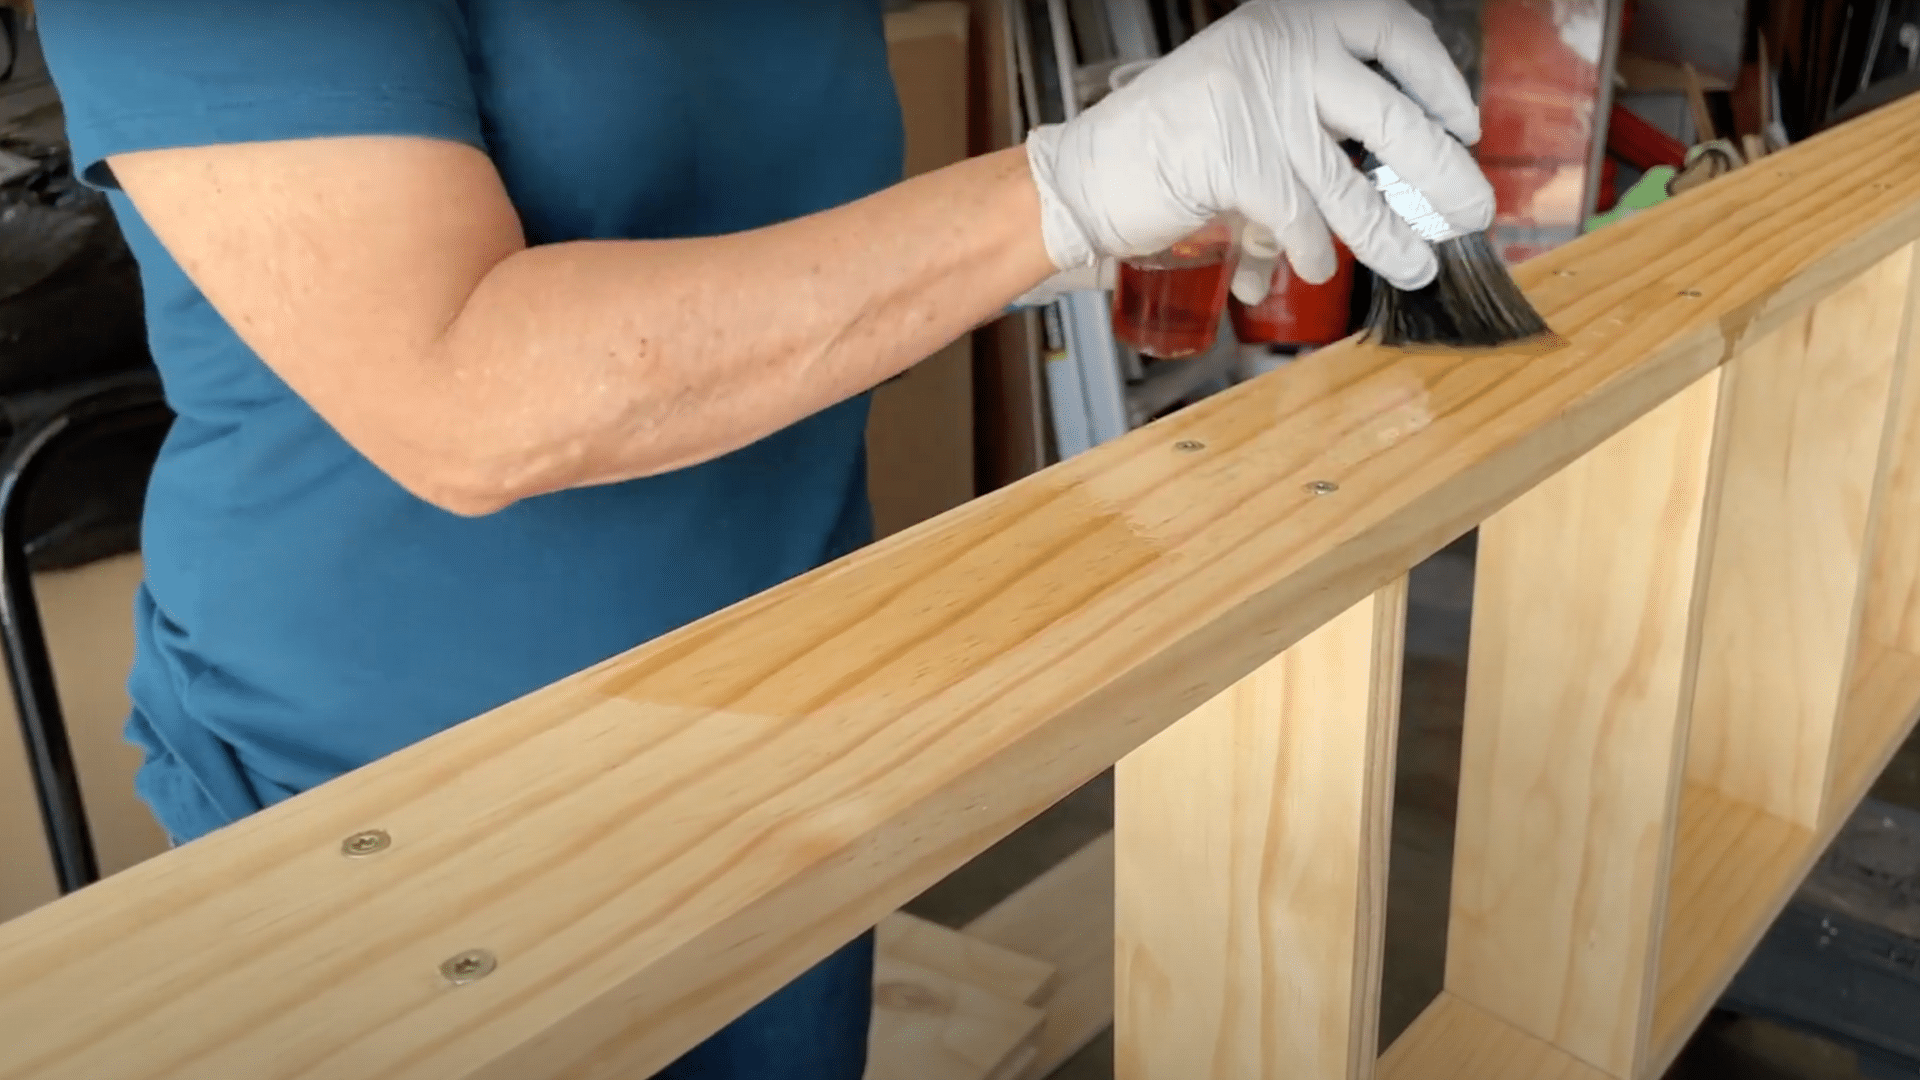
After confirming the ladder works and feels sturdy, apply a finish to protect the wood. Danish oil is a good option for enhancing the grain while providing a layer of protection.
Allow the oil or sealant to dry thoroughly before putting the ladder into full use.
For a visual guide, refer to this video on how to make a rolling ladder by @MotherDaughterProjectsDIY on YouTube.
Safety Considerations
Safety should always come first when building and using a library ladder. A well-constructed ladder not only functions properly but also helps keep you and your family safe.
- Make Sure Everything Is Secure: Double-check that the ladder is firmly attached to the hardware and the top track is tightly mounted. Your bookshelf should also be fastened to the wall using long screws and into wall studs if possible. This helps prevent tipping or shifting.
- Do Regular Check-Ups: Over time, screws can loosen and parts may wear down. Every few months, inspect the ladder, track, rollers, and wheels. Tighten anything that feels loose and replace worn parts before they become a concern.
- Know Your Weight Limit: Most hardware kits list a safe weight range, usually around 250 to 300 pounds. Don’t exceed this limit, and avoid letting more than one person use the ladder at a time.
Conclusion
Building your library ladder might seem like a big job at first, but with a little time and the right tools, almost anyone can do it. It adds character, function, and a bit of fun to any room with tall shelves.
Plus, it makes it much easier to reach those top books or display items. By planning carefully, using strong materials, and following each step slowly and safely, you can create something you’ll enjoy for years to come.
Whether you build the ladder from scratch or use an old one, the final result will be meaningful because you made it yourself.
Don’t forget to check your ladder now and then to make sure everything stays strong and smooth. Now that you know how to do it, your goal of having a sliding library ladder can finally be a reality.
I hope my blog helped you gain informational insights for installing a DIY library ladder.

With a Master in Architectural Studies from University of Pennysylvania, Marwa Haydar has pioneered living spaces since 2005. Her expertise, initially honed in a prestigious architectural firm, is evident in her approach to creating environments. Marwa became part of our team in 2019 and has since been a driving force in our home improvement section, known for her practical yet stylish solutions. She’s been spearheading our design workshops since then, infusing her passion for teaching into her work. In her leisure time, Marwa enjoys exploring historic architecture and is an enthusiastic pottery hobbyist, further enriching her understanding of form and texture.