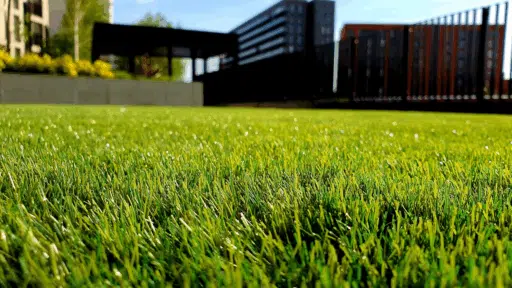
Creating a lush, green lawn without the headaches of mowing, watering, or constant fertilizing is a dream for many homeowners. Artificial turf delivers that clean-cut look year-round and can significantly reduce yard maintenance costs over time. But for the turf to look and perform its best, the installation process must be done right—from selecting the right product to preparing the base and finalizing the finishing touches.
When you’re planning a small backyard upgrade or replacing your entire lawn, this step-by-step guide breaks down each phase of the process. We begin with the professionals who can make your vision a reality.
Finding A Reliable Turf Installer
Choosing the right turf installer is the critical first step to ensure a smooth, durable, and visually appealing result.
Verify Credentials And Experience
Start by researching local turf installation companies and shortlisting those with proven experience. Look for businesses that specialize in synthetic turf rather than general landscaping, and always check their licensing, insurance, and reviews. A credible installer should have a gallery of past projects, client testimonials, and ideally, experience with various types of residential properties.
Request Site Evaluation And Quote
Invite at least two or three installers to assess your yard. During the site visit, professionals will evaluate drainage, sun exposure, slope, and soil type. Make sure they walk you through the process, explain turf material options, and provide a written, itemized estimate. Avoid vague or rushed quotes—they often lead to surprises later on.
Ask About Turf Quality And Warranty
Installers should offer high-quality, UV-resistant turf designed for home use. Some even provide pet-friendly options or cooling technology to prevent overheating during summer. Ask about the turf brand, backing type, pile height, infill material, and expected lifespan. Reliable companies will back both their turf and labor with warranties, often ranging from 5 to 15 years.
Preparing The Ground Surface
Proper ground preparation is the foundation of a smooth, stable artificial lawn.
Clear The Area
Remove existing grass, plants, debris, and any large rocks. This can be done manually with shovels or with a sod cutter for larger spaces. Dig down to at least 7–10 cm (3–4 inches) to make room for the base layers.
Plan Drainage
Check that the area is graded slightly away from your house to prevent pooling. If needed, install perforated drainage pipes or weeping tile to help move water away.
Lay The Base Material
Use a compactable aggregate like crushed granite or Class II road base. Spread it evenly across the area and use a plate compactor to flatten it in multiple passes, ensuring a firm and level surface. You’ll need about 5–8 cm (2–3 inches) of compacted base for most residential installations.
Laying And Securing The Turf
Once your base is in place, the next steps involve positioning, trimming, and fastening the turf.
Roll Out The Turf
Lay the turf flat over the prepared area, allowing the rolls to sit in the sun for at least 1–2 hours. This helps them expand naturally and prevents wrinkles. Ensure the grain of the turf fibers runs in the same direction for a consistent appearance.
Trim To Fit
Using a sharp utility knife, carefully cut the turf to fit the shape of your yard. Leave a 1–2 cm overhang along the edges to ensure clean seams and a tight final fit. Around curves or irregular spaces, take your time to notch and trim precisely.
Secure The Edges
Fix the turf with 6-inch galvanized nails or landscaping staples every 15–30 cm (6–12 inches) along the perimeter. For extra stability, consider using composite bender board edging or treated timber to retain the base and lock the turf in place.

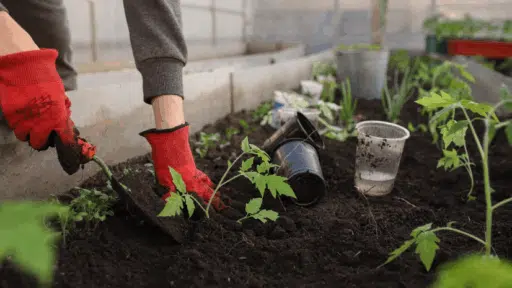
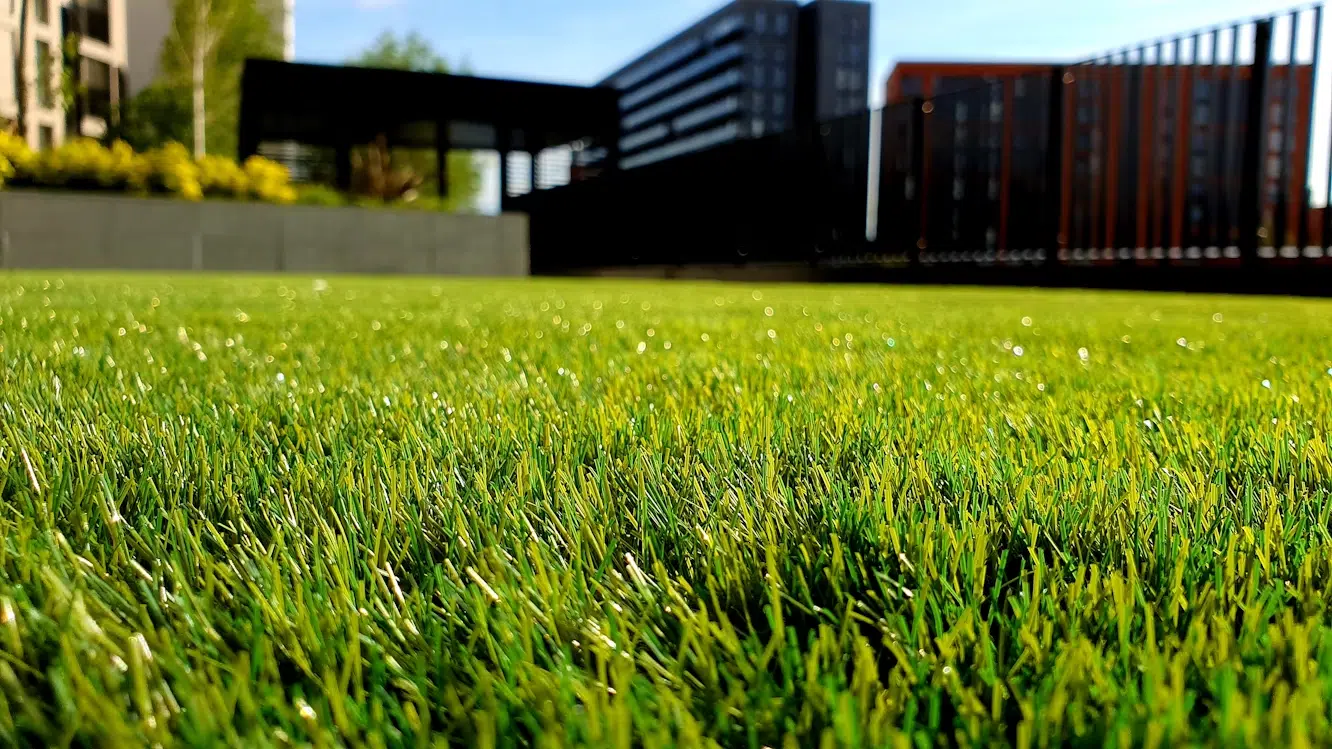
Photo by Kouji Tsuru on Unsplash
Seaming And Infill Application
This stage ensures the turf stays joined, looks natural, and performs well over time.
Create Invisible Seams
When joining two turf sections, fold back the edges and lay seam tape down the middle. Apply turf adhesive, then press the turf edges into the glue. Be careful not to overlap fibers—align the backing for a seamless look. Let it cure undisturbed for a few hours.
Brush And Spread Infill
Use a stiff-bristled broom or a power brush to lift the blades upright. Then spread infill material evenly across the turf—options include silica sand, rubber crumb, or a cooling organic blend. The infill stabilizes the blades, enhances durability, and improves drainage. Spread at a rate of roughly 1–2 kg per square meter, then brush again to settle the infill deep into the turf.
Re-Compact And Inspect
Go over the entire surface to check for low spots, bumps, or edges that may not be fully secured. Address any inconsistencies now—correcting them after the infill has settled is much harder.
Final Touches And Maintenance Tips
Even after installation, there are final details and care practices to keep your lawn looking flawless.
Rinse And Settle
Lightly water the entire turf area to help the infill settle. While artificial grass doesn’t need watering for growth, rinsing occasionally helps keep it clean and reduce heat in warmer months.
Inspect Weekly For Debris
Keep the surface clear of leaves, twigs, or animal waste. Use a leaf blower or soft rake to clean the area without damaging the blades or displacing the infill.
Prevent Weed Intrusion
Most turf systems include a weed barrier layer beneath the base, but it’s still wise to check for small weeds at the seams or edges. Treat with a safe herbicide as needed or pull them manually before they take root.
Refresh The Infill Annually
Depending on traffic, especially in areas where kids or pets play, your infill may compact over time. Top up the infill once a year and brush to maintain the upright blade position.
Monitor Seams And Edges
Check seam integrity and nail placements every season. If you spot raised edges or loose turf, secure it promptly to prevent larger repairs later.
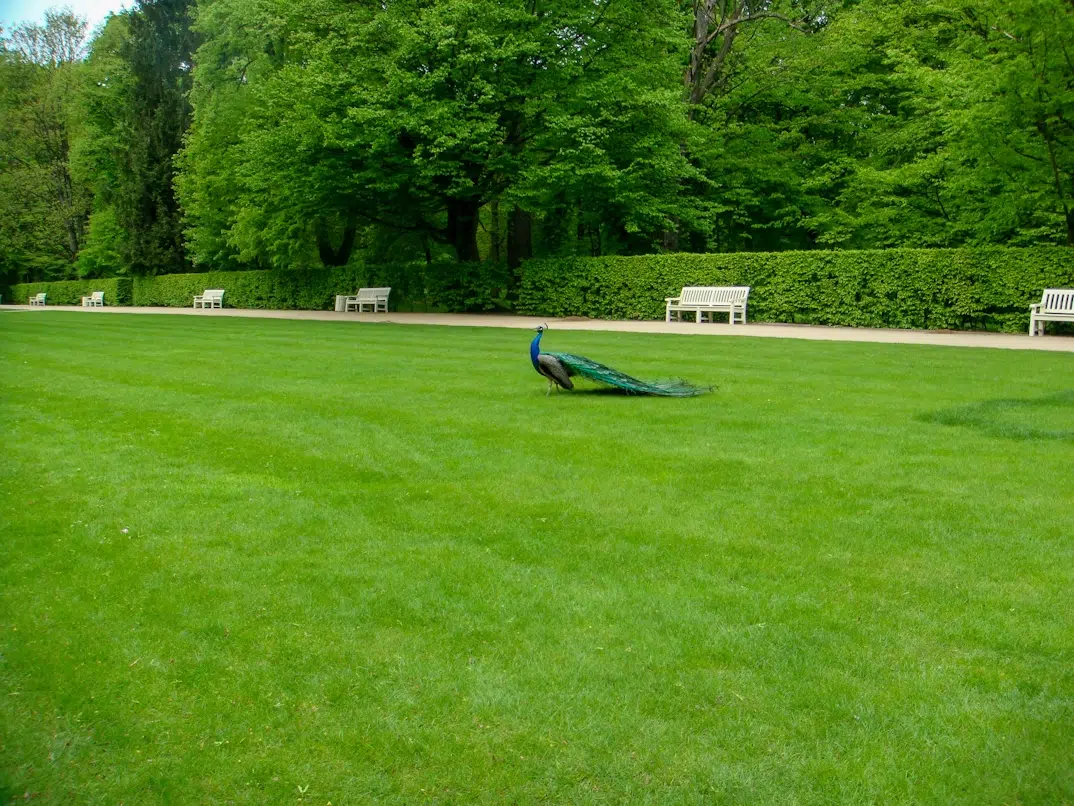
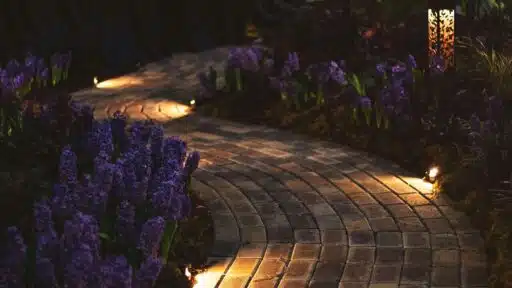
Photo by Mateus Campos Felipe on Unsplash
Wrapping Up
Installing artificial turf at home can be a transformative upgrade, offering the beauty of a green lawn without the upkeep headaches. But success hinges on more than just rolling out grass—it requires careful planning, a solid base, precision placement, and ongoing maintenance.
By starting with a professional turf installer and following each step of this guide methodically, homeowners can enjoy a vibrant, low-maintenance lawn for years to come. When you’re building a child-friendly play zone, a pet oasis, or simply want a more polished landscape, synthetic turf provides a practical and aesthetic solution when installed correctly.

With a Master’s in Landscape Architecture from the University of Virginia, Sophia Stephenson has dedicated the last 20 years to creating and maintaining vibrant outdoor spaces. Her professional journey started in landscape design, where she gained a reputation for innovative and sustainable approaches. Sophia became a part of our editorial team as a freelancer in 2019, offering a fresh perspective on outdoor living. Since 2020, she has been the chief for our outdoor design content, blending aesthetic appeal with environmental stewardship. In her leisure time, Sophia is a keen photographer, capturing the beauty of natural landscapes, a hobby that complements her professional expertise.