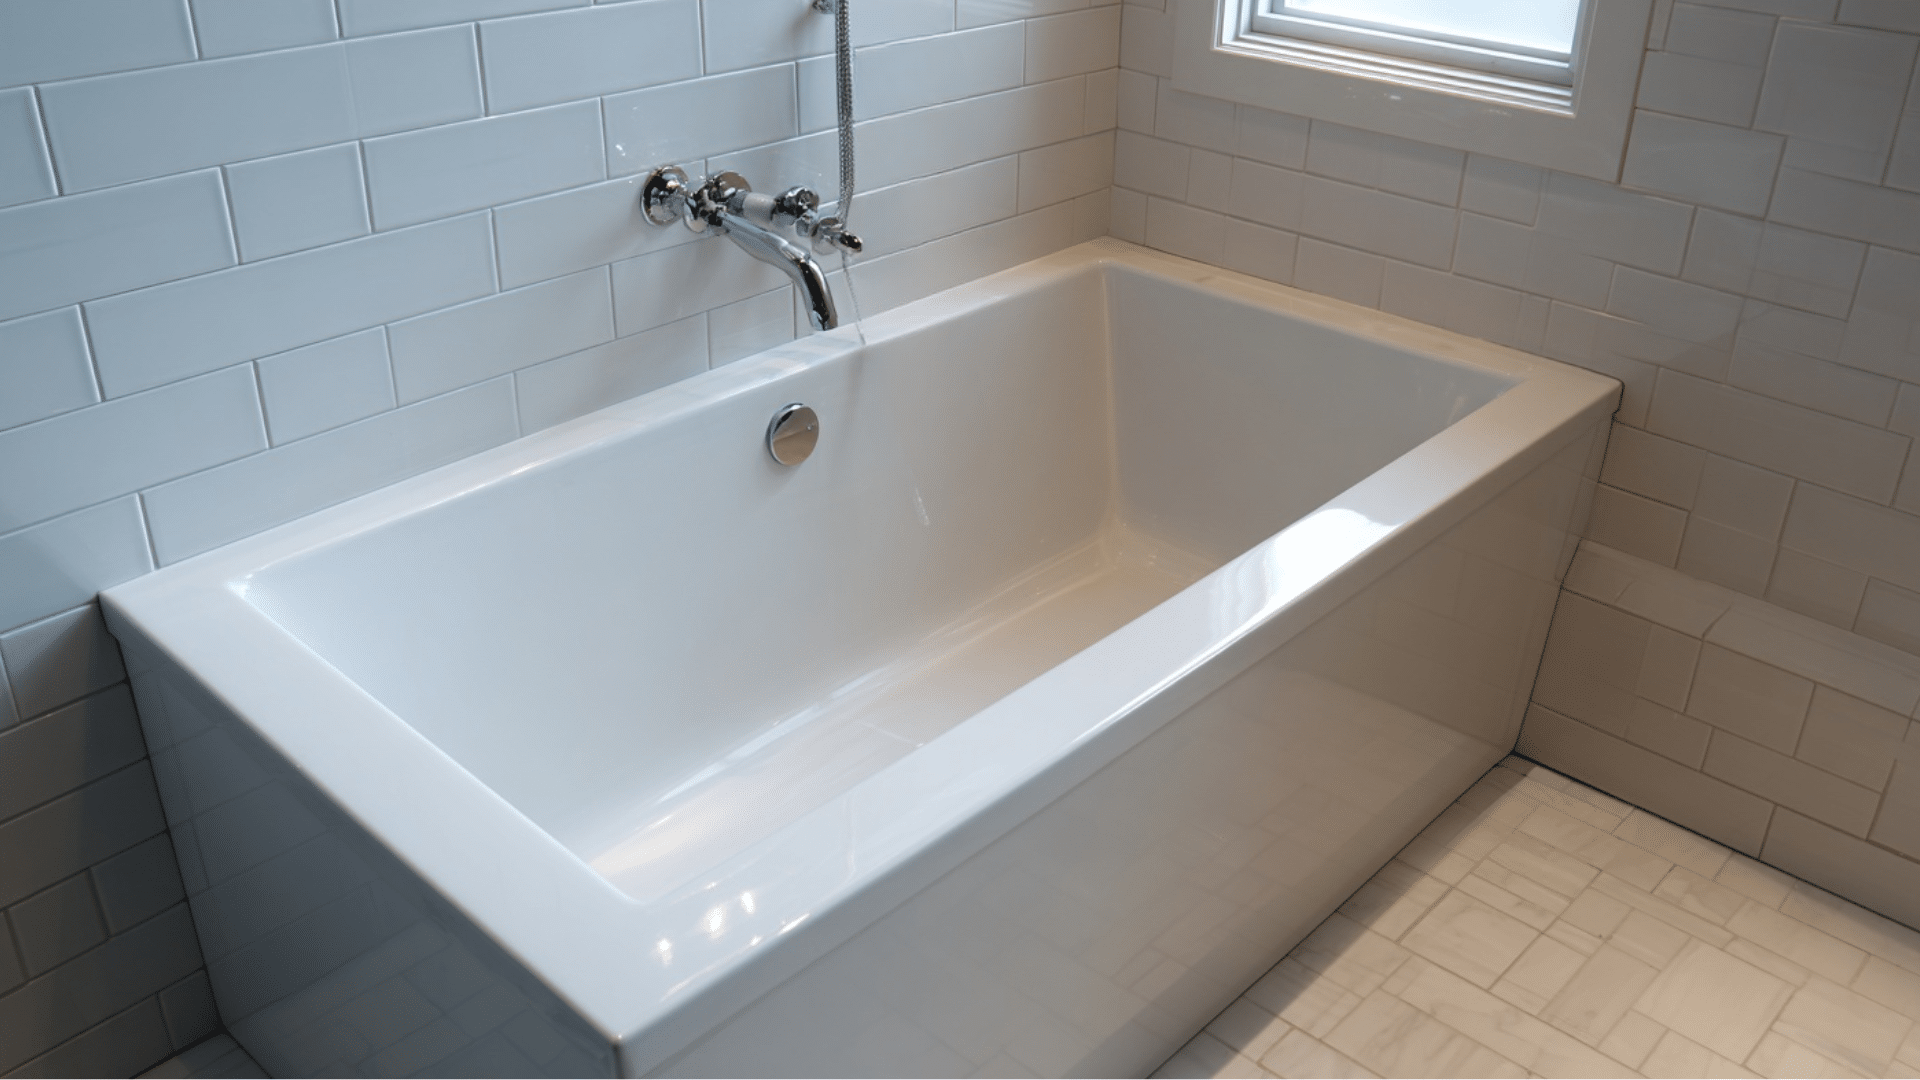
Staring at that dingy, outdated bathtub again and wondering, Can you paint a bathtub? Yeah, I’ve been there too. That moment when you’re wondering if a coat of paint could magically change your bathroom eyesore into something decent.
Perhaps you’re tired of that avocado green from the 1970s, or maybe your white tub has seen better days. The good news is that you absolutely can paint a bathtub!
But before you grab any old paint can and start rolling, there’s a right way and a wrong way to do this.
Let me share what I’ve learned about giving your tub a fresh new look without turning it into a disaster.
Can You Paint a Bathtub?
The short answer to can you paint a bathtub is yes, but it’s not as simple as applying regular wall paint and calling it a day.
Let me break down what you need to know.
The Reality Check
Painting a bathtub is doable, but it requires the right materials and technique. Regular paint won’t survive the constant moisture and daily use that bathtubs endure. You’ll need specialty coatings explicitly designed for this job.
What Types of Tubs Can Be Painted?
Most bathtub materials can handle a paint job. Fiberglass, acrylic, and porcelain tubs are the easiest to work with.
Cast iron and steel tubs can also be painted, although they may require additional preparation work. The key is proper surface preparation.
When Painting Makes Sense
Sometimes, painting is the perfect solution. If your tub is structurally sound but looks tired, painting can give it new life for a fraction of the replacement cost.
It’s also great for rental properties or temporary fixes while you save up for a full renovation.
When You Should Skip It
Don’t paint over severe damage, such as cracks, chips, or rust. These issues will show through the paint and cause problems later.
Additionally, if your tub receives heavy daily use, painting may not hold up as well as you’d hope.
Easy DIY on How to Paint a Bathtub
Ready to give your tub a makeover that doesn’t burn a hole in your pocket or break your back? Here’s a step-by-step guide that won’t leave you pulling your hair out.
Step 1: Gather Your Supplies

Before starting any project, having the right tools makes all the difference.
Head to your local hardware store and pick up a bathtub refinishing kit or high-quality epoxy paint designed explicitly for tubs; regular paint won’t suffice here.
You’ll also need 220-grit sandpaper and a sanding block for surface preparation, as well as TSP cleaner or a heavy-duty degreaser to remove soap scum and grime.
Step 2: Prep the Space

This step is crucial and often determines success or failure. Start by removing all caulk around the tub edges using a caulk removal tool or sharp utility knife.
Clean the entire bathroom thoroughly, paying special attention to soap scum and mildew. Cover surrounding surfaces with plastic sheeting and tape everything down securely.
Remove or cover light fixtures, towel bars, and any other items that might get splattered.
Step 3: Sand the Surface
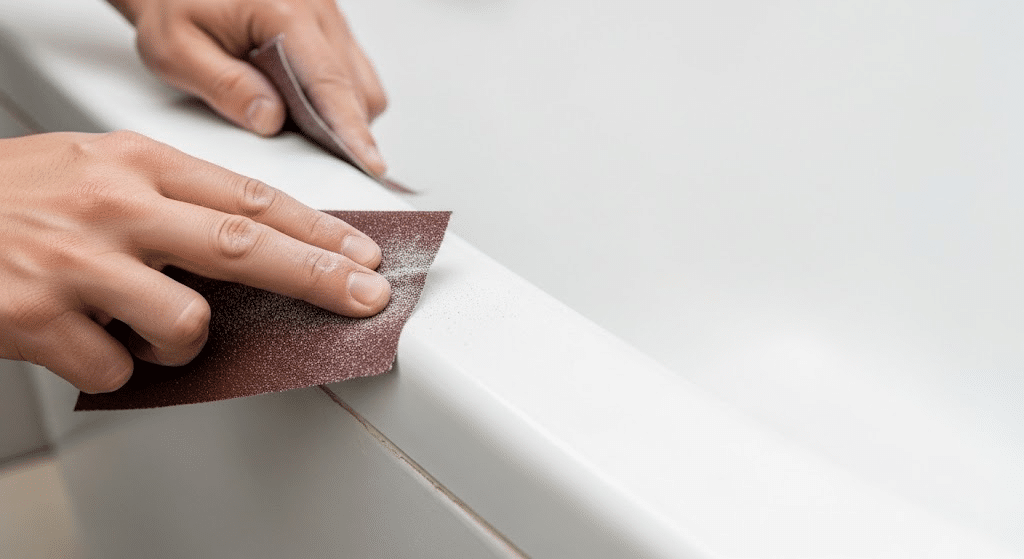
Put on your safety gear and lightly sand the entire tub surface with 220-grit sandpaper. Work in circular motions, focusing on glossy areas that need dulling.
Don’t sand too aggressively; you’re just creating texture for the paint to grip. Pay extra attention to areas around the drain and faucet.
Once finished, vacuum all dust and wipe the entire surface with a tack cloth until it’s completely clean.
Step 4: Apply Primer
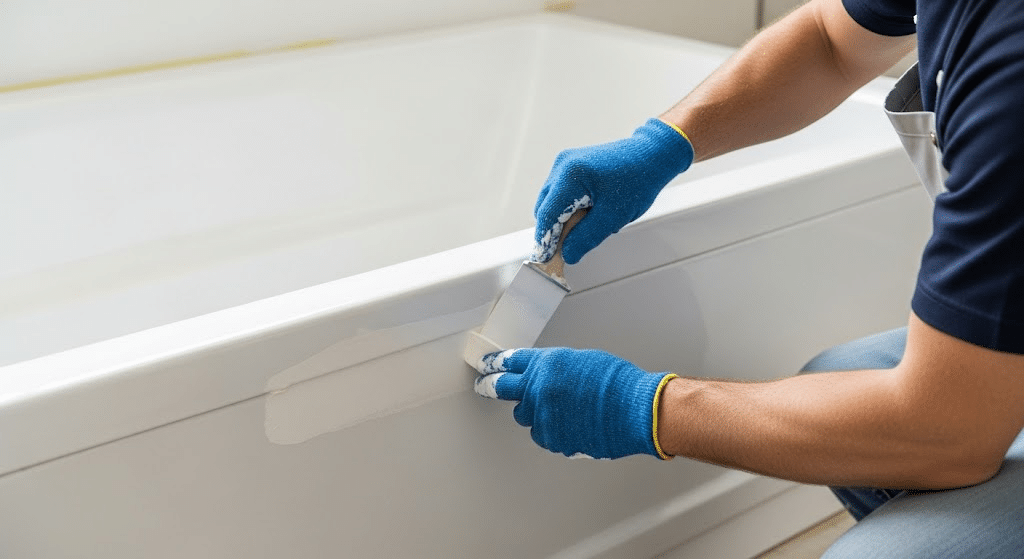
Mix your bonding primer according to the manufacturer’s instructions. Using a high-quality brush, apply primer in thin, even coats starting from the top and working down.
Don’t overload your brush; applying multiple thin coats is more effective than a single thick coat. Allow the first coat to dry completely (usually 2-4 hours) before applying a second coat, if needed.
The surface should look uniform with no missed spots.
Step 5: Paint Time
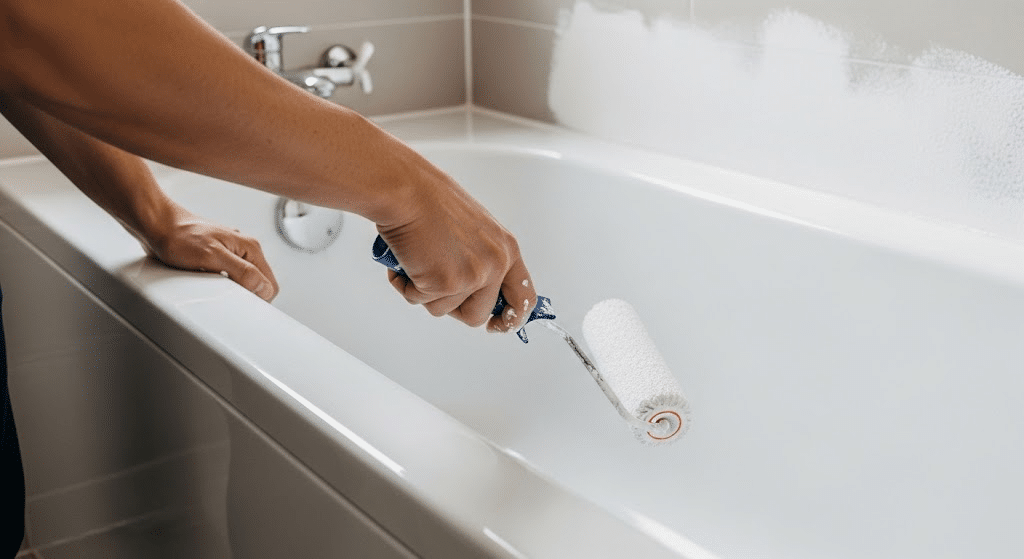
This is where patience pays off. Mix your bathtub paint thoroughly and apply using a brush or small roller in thin, even layers. Work quickly but don’t rush; you want smooth, consistent coverage.
Start at one end and work systematically across the entire surface. Apply 2-3 thin coats, allowing each coat to dry completely before applying the next. Watch for drips and smooth them out immediately.
Step 6: Cure and Finish
Here’s where most people mess up: they rush the curing process. Let the paint cure for the full recommended time (usually 24-48 hours) before using the tub.
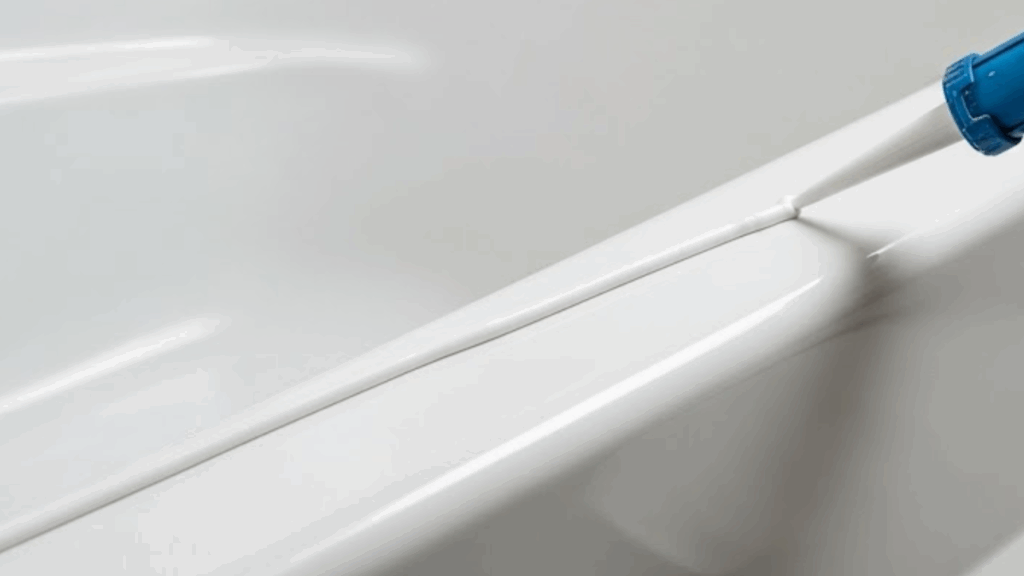
Keep the area well-ventilated during this time. Once fully cured, apply fresh caulk around all edges using a high-quality bathroom caulk. Run a bead of caulk and smooth with your finger for a professional finish.
The Dos and Don’ts of Bathtub Painting
Below is your quick reference guide to help you avoid common mistakes and achieve the best results.
| DO | DON’T |
|---|---|
| Use bathtub-specific paint or refinishing kits | Use regular wall or ceiling paint |
| Clean thoroughly with TSP or degreaser | Skip the cleaning step |
| Sand lightly for better adhesion | Over-sand and damage the surface |
| Apply thin, multiple coats | Rush with thick coats |
| Ensure proper ventilation | Work in a closed space |
| Wait the full cure time before use | Use the tub too early |
| Obliterate old caulk | Paint over old, moldy caulk |
| Test paint in a small area first | Assume all tubs react the same |
| Follow the manufacturer’s instructions exactly | Wing it with timing and technique |
| Keep the room temperature consistent | Paint in extreme temperatures |
Things to Keep in Mind While Painting a Bathtub
Before committing to this project, consider the following essential points that could save you headaches later.
- Temperature and Humidity Matter: Bathroom painting is tricky due to moisture. Choose a dry day and run a dehumidifier if needed. The ideal temperature range is between 65°F and 75°F, with low humidity.
- Ventilation Is Critical: Bathtub paints often contain strong fumes. Open windows, run exhaust fans, and consider wearing a respirator. Your lungs will thank you later.
- Timeline Expectations: This isn’t a weekend project that can be rushed. Plan for at least 3-4 days from start to finish, including cure time. Rushing leads to poor results and redoing work.
- Cost vs. Professional Work: DIY costs around $50-$100 for supplies, while professional refinishing costs $300-$600. Consider your skill level and available time when making a decision.
- Longevity Reality: Even the best DIY paint job typically lasts 2-5 years with regular use. Professional refinishing can last 10-15 years. Set realistic expectations.
Wrapping It Up
Painting a bathtub can be a successful endeavor, but it depends on using the right materials and following proper steps. It’s not the easiest DIY project, but it’s manageable for most homeowners.
The answer to can you paint a bathtub is patience and preparation. I recommend not cutting corners on surface prep or cure time. Those shortcuts will come back to haunt you later when the paint starts to peel or wear off.
Remember, this is a temporary solution that can buy you time while you plan for a full bathroom renovation. Sometimes that’s exactly what you need!

Tommy Hardy, an alumnus of the Georgia Institute of Technology with a degree in Mechanical Engineering, has been a go-to figure in residential upkeep and innovation for over 18 years. His career commenced in a leading home appliance manufacturing company, where he mastered the intricacies of household systems. Joining our platform in 2020, Tommy quickly became a reader favorite for his practical and easy-to-follow guides. He took the helm of our DIY section in 2019, consistently delivering content that empowers homeowners. Beyond his professional pursuits, Tommy is a passionate gardener and enjoys woodworking, skills enhancing his hands-on approach to home care.