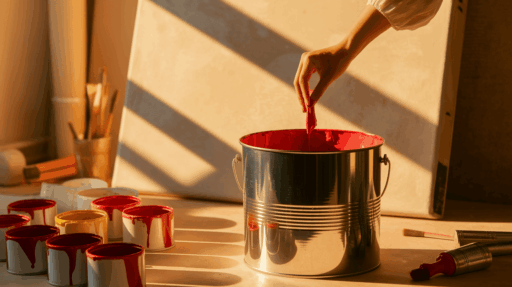

Ever found yourself staring at that leftover can of interior paint, thinking, “Could I just use this outside?”
Maybe your backyard fence looks dull, or your shed could use a little love.
It’s a tempting idea, why let good paint go to waste? The truth is, interior paint isn’t designed to withstand sun, rain, or weather fluctuations.
However, don’t worry, with the proper preparation and a protective topcoat, you can give it a second life outdoors. It’s a simple, budget-friendly way to refresh outdoor spaces using what you already have.
Understanding Paint Chemistry
What makes paint stick and last?
Think of paint like a recipe – each ingredient has a job!
Interior paint uses basic acrylic binders (like glue) that work great indoors.
But exterior paint?
It needs super-strong resins that won’t crack in heat or cold.
Here’s the difference: Outdoor paint has special UV blockers (like sunscreen for your house!), waterproof barriers, and anti-mold ingredients.
Interior paint lacks these protections.
Without them, your paint will fade, peel, and develop mold when exposed to weather.
Pretty significant difference, right?
Grab These Before You Start
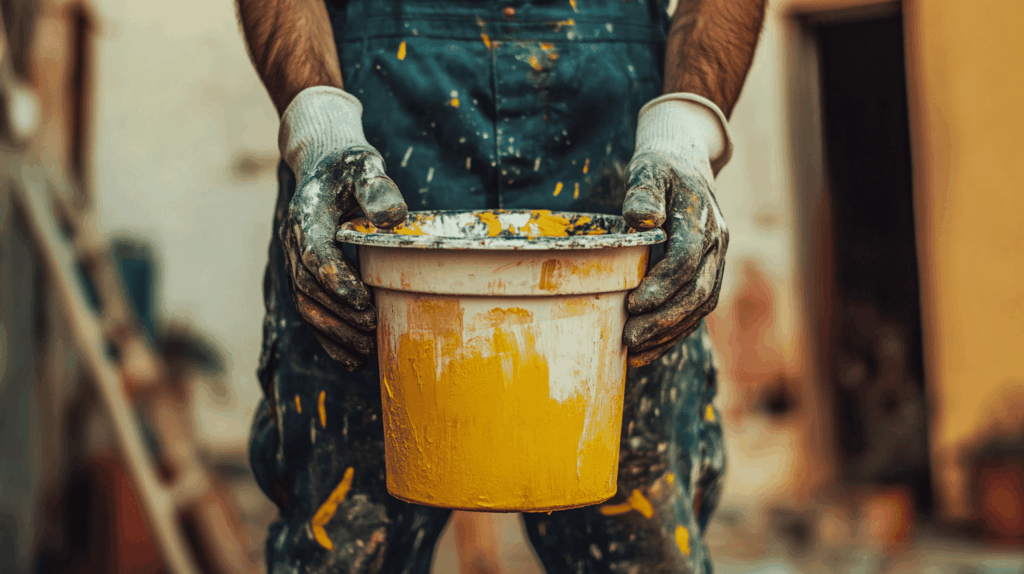
Thinking about turning that leftover interior paint into something you can use outside?
Great idea, but you’ll need a few extra tools to make it work.
With the right materials, you can help that paint handle the outdoors like a pro.
Here’s what to gather:
Your interior paint (latex or acrylic preferred)
Exterior paint additive (mildew-resistant or UV-blocking)
Exterior-grade primer
Sealant (for extra protection)
Paint stirrer
Paintbrush or roller
Protective gloves and drop cloths
A little prep goes a long way. With these supplies, you’re all set to give your paint a second life outdoors.
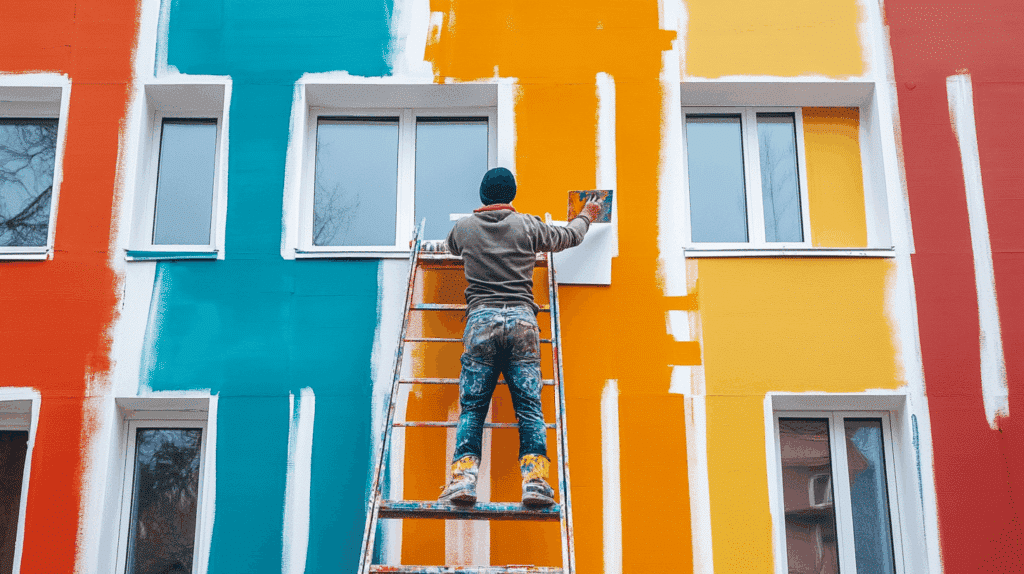
How to Make Interior Paint Into Exterior Paint
Turning interior paint into something weather-ready takes a few extra steps, but it’s easier than you think.
Follow this guide to get durable, outdoor-friendly results.
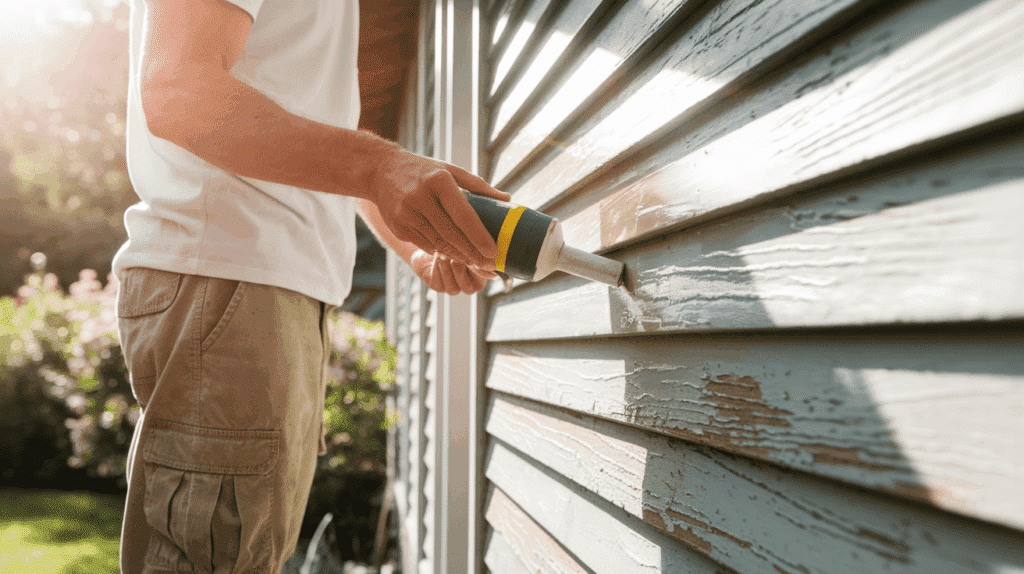
Step 1: Clean and Prep the Surface
Before you start painting, give your surface a good clean.
Use soapy water or a TSP cleaner to wipe away dirt, grease, or any mold that may be present.
Once it’s dry, lightly sand the wood or metal to help the paint adhere better, like giving it a head start.
A smooth, clean surface makes all the difference for a long-lasting finish.
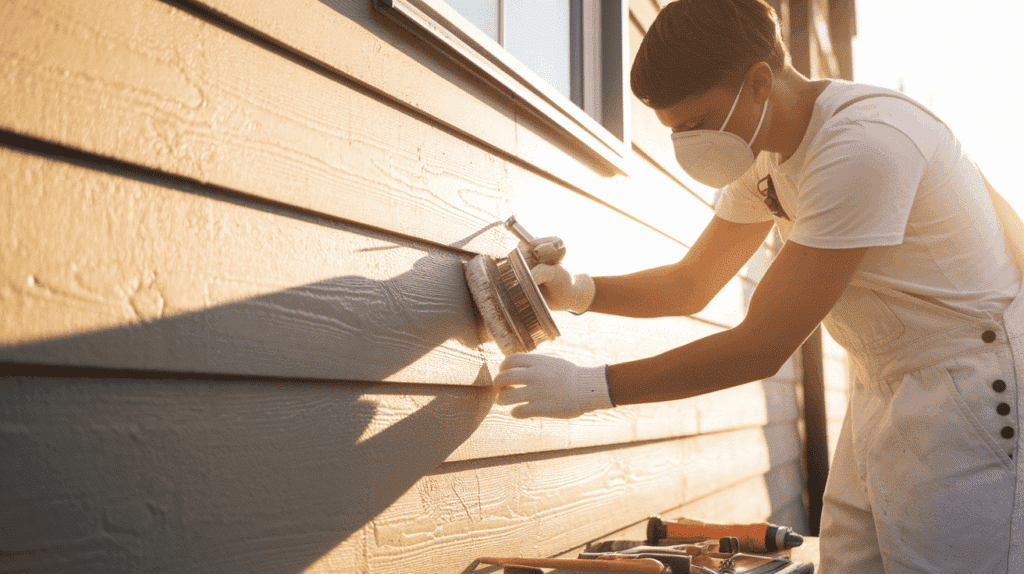
Step 2: Apply a Quality Primer

Now that your surface is clean, it’s time to lay the foundation.
Use an exterior-grade primer that suits the material you are working with, such as wood, metal, or plastic.
This step helps the paint adhere better and resist the weather.
Follow the drying time on the label, which is typically between 4 and 8 hours, to ensure your next coat applies smoothly and evenly.
Step 3: Boost with Outdoor Additives

Mix in extras like a UV blocker, mildew fighter, or acrylic fortifier to enhance the durability of your indoor paint.
These additives help your paint withstand the sun, moisture, and changing weather conditions.
Use approximately 8 oz per gallon, or follow the label instructions.
Stir the mixture well for 2–3 minutes to ensure everything is thoroughly combined.
Step 4: Do a Quick Test Patch
Before diving in, brush a little paint on a small hidden spot.
Let it dry for 24–48 hours, keeping a close eye on it.
As long as it stays in place without peeling or cracking, you’re good to go!
It’s a simple step that saves time and ensures your paint job will last outdoors.
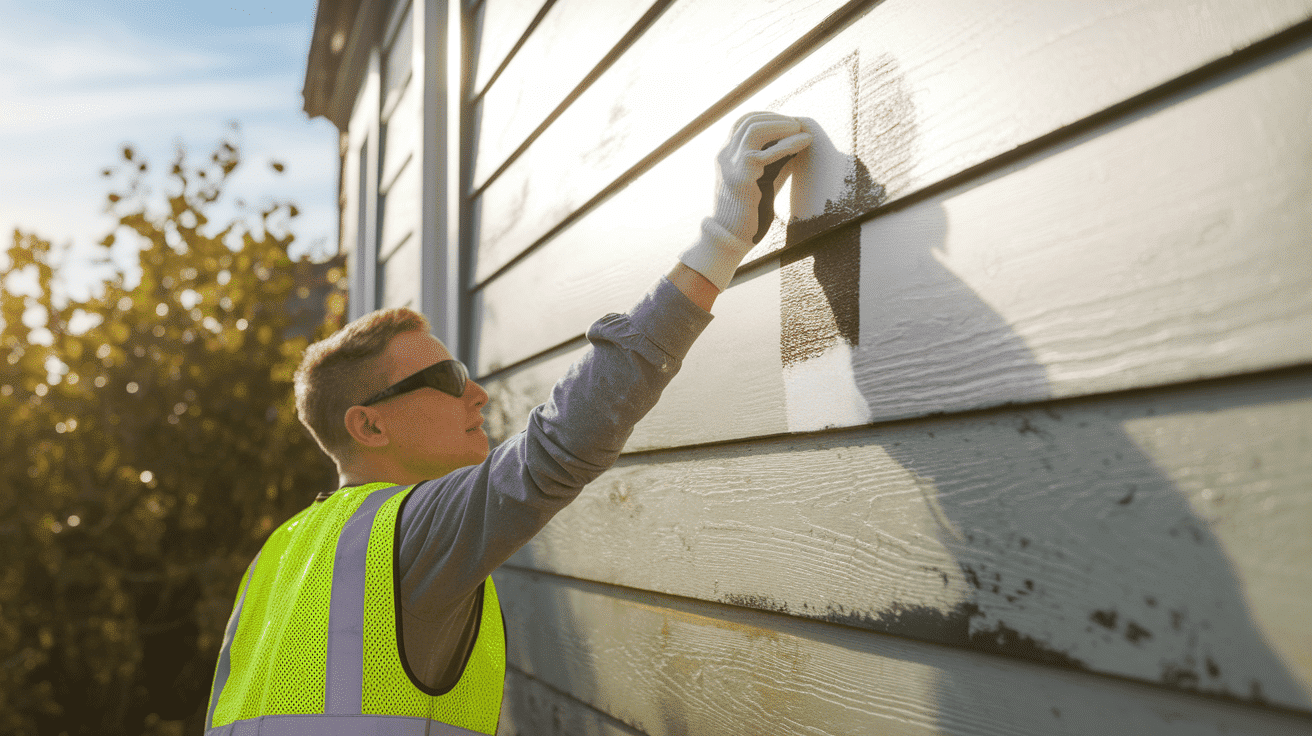
Step 5: Time to Paint
You’re all set to go!
Apply 1–2 smooth coats of your modified paint.
Allow each coat to dry completely before applying the next.
Avoid painting in direct sun, heavy humidity, or right before rain.
Step 6: Seal It
To lock it all in, finish with a clear exterior sealant for added weather protection.
It shields your surface from moisture, sun damage, and grime.
Apply evenly and let it cure completely, typically taking between 24 and 72 hours.
This final step helps your paint job last much longer outdoors.
Essential Things to Keep in Mind
A few smart reminders can make your paint project last longer and look better.
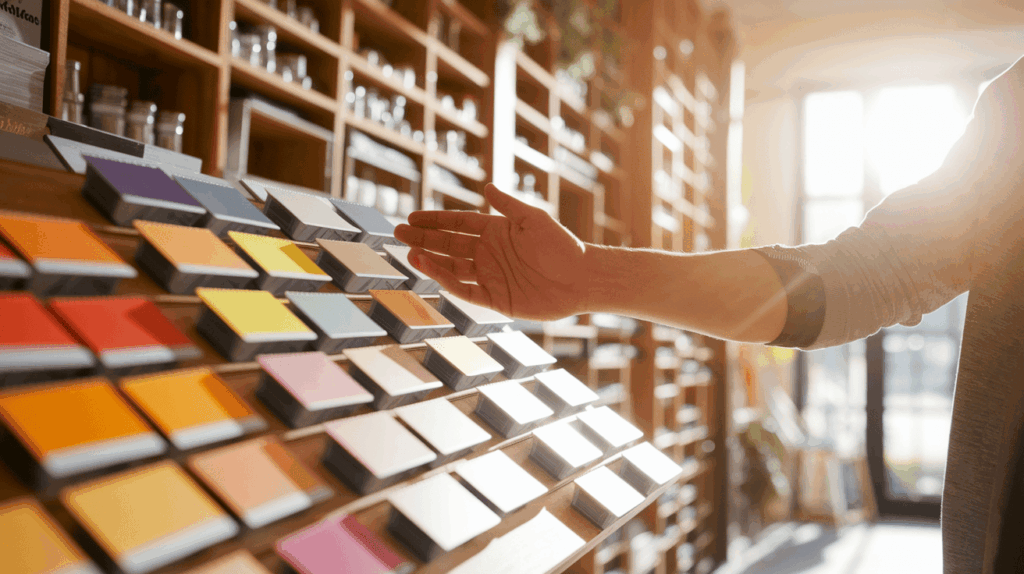
- Choose quality interior paint for better outdoor results; inferior paint lasts less.
- Darker shades absorb more heat and may require more UV protection, while lighter shades perform better outdoors.
- Always clean and prime surfaces first; even the best paint won’t stick to dirty, greasy, or glossy areas.
- Paint on dry days between 50°F and 85°F with low humidity; avoid rain or harsh sunlight.
Stick with these for upgraded paint.
When You Shouldn’t Use Interior Paint Outside
Even with additives, some conditions are too extreme, and avoid using modified paint in areas with:
- Heavy rainfall or snow
- Direct, constant sunlight
- High-traffic surfaces (like floors or decks)
In these cases, it’s best to buy proper exterior paint as it will save you time and money in the long run.
Quick Tips for Best Results
A few quick tweaks can make your painting project smoother and more durable.
- Use latex paint, it’s easier and safer to adjust than oil-based paint.
- Focus on small projects, such as decor or planters, rather than house siding.
- Follow label directions for any additives or sealants you use.
- Store leftovers in a cool, dry place with the lid sealed tightly.
Small steps like these can make a big difference outdoors.
Testing Your Results
Be sure to test your converted paint before diving into a large project.
Paint a small section and observe it for at least a week.
Look for signs of good adhesion, color retention, and weather resistance.
If you notice issues such as peeling, fading, or poor coverage, consider adjusting your mixture or purchasing the proper exterior paint.
Cost Comparison
Converting interior paint is usually cheaper than buying exterior paint.
Additives such as UV blockers or mildew fighters typically cost between $8 and $ 15 each.
A gallon of paint conditioner costs between $15 and $25.
Keep that in mind when comparing it to $35–60 for a gallon of exterior paint before making a decision.
Wrapping Up: Making the Most of Every Paint Drop
Converting interior paint into exterior paint is an innovative and budget-friendly way to utilize leftovers.
With the proper additives and prep, it can hold up well for small outdoor projects.
It won’t match the durability of actual exterior paint, but it gets the job done.
High-quality materials, clean surfaces, and meticulous application make a significant difference.
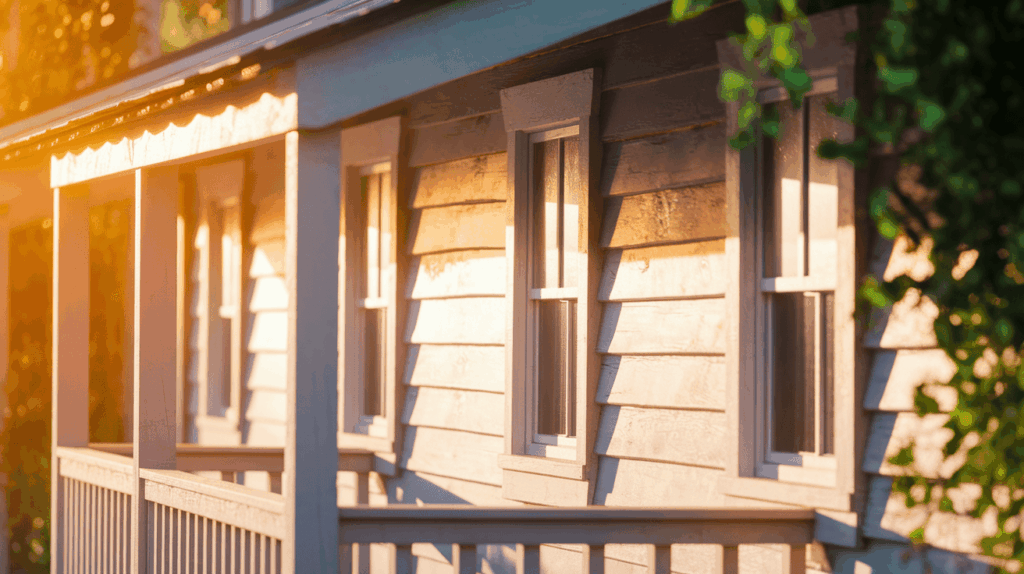
Use it for garden benches, planters, or trim, and enjoy the creative process.
Try one of these creative outdoor projects today, check out our other step-by-step guides, and make your next paint job a breeze!

Alex Guerrero, a graduate with a Fine Arts degree from the Rhode Island School of Design, has been a visionary in the world of color and design for over 15 years. His professional journey began in the heart of the fashion industry in Milan, where he developed an acute sense for color harmonies and trends. Alex joined our team in 2018, offering fresh and innovative perspectives on color utilization in various spaces. Renowned for his ability to blend contemporary trends with timeless elegance. Outside of work, Alex is an accomplished painter and a volunteer art therapist, his artistic talents further enriching his professional insights.