When it comes to residential roofing, asphalt shingle roofing is a prevalent choice among homeowners. Known for its affordability, durability, and ease of installation, it offers a practical solution for those seeking a reliable roofing option. Asphalt shingles are composed of a fibreglass or organic mat, coated with asphalt and mineral granules, which provide protection against weather elements. The variety of styles and colours available in asphalt shingles allows homeowners to choose a design that complements their home’s aesthetic. However, like any roofing material, they require regular maintenance to ensure longevity and performance.
Common Causes of Roof Leaks in Asphalt Shingle Roofing
Roof leaks in asphalt shingle roofing can be attributed to several factors. One of the most common causes is physical damage, such as missing or cracked shingles. Storms, heavy winds, and falling debris can compromise the integrity of the shingles, creating pathways for water to seep through.
Another prevalent cause of leaks is improper installation. If the shingles were not installed correctly, gaps or misalignments might lead to water infiltration. Ensuring that roofing contractors follow manufacturer guidelines during installation is vital to prevent such issues. Homeowners looking for reliable asphalt shingle roofing in Vancouver should always choose experienced professionals to ensure proper installation.
Lastly, age and wear can also lead to roof leaks. Over time, the asphalt shingles can deteriorate, losing their protective granules and becoming brittle. Regular inspections and timely replacement of aging shingles can mitigate this risk, prolonging the roof’s life.
Identifying Signs of Roof Leaks
Detecting roof leaks in their early stages can save you from extensive damage and costly repairs. One of the first signs to look out for is water stains on your ceiling or walls. These stains may appear as discoloured patches, indicating water intrusion.
Another telltale sign is a damp or musty odour in your attic or upper floors. This smell often accompanies mould growth, which thrives in moist environments created by leaks. It is crucial to address these odours promptly to prevent health issues related to mould exposure.
Additionally, inspect your shingles for visible damage such as curling, buckling, or missing pieces. Regularly checking your roof’s condition, especially after severe weather, can help you identify potential leaks before they escalate into more significant problems.
Tools and Materials Needed for Repairs
Having the right tools and materials on hand can make the repair process smoother and more efficient. Here is a list of essential items:
- Tools:
- Pry bar
- Hammer
- Ladder
- Roofing nailer
- Utility knife
- Flashlight
- Materials:
- Replacement shingles
- Roofing nails
- Roofing cement or sealant
- Rubber boots or flashing
Ensuring you have these items before starting repairs can save time and help you address leaks more effectively. Investing in quality tools and materials will also contribute to the longevity of your repairs.
Step-by-Step Guide to Fixing Roof Leaks
Step 1: Locate the Source of the Leak
- Begin by inspecting the attic during daylight hours for any visible water trails or stains.
- Use a flashlight to spot dark spots or mould growth, which can indicate the source of the leak.
- If necessary, simulate rain by using a garden hose to identify where water enters.
Step 2: Repair or Replace Damaged Shingles
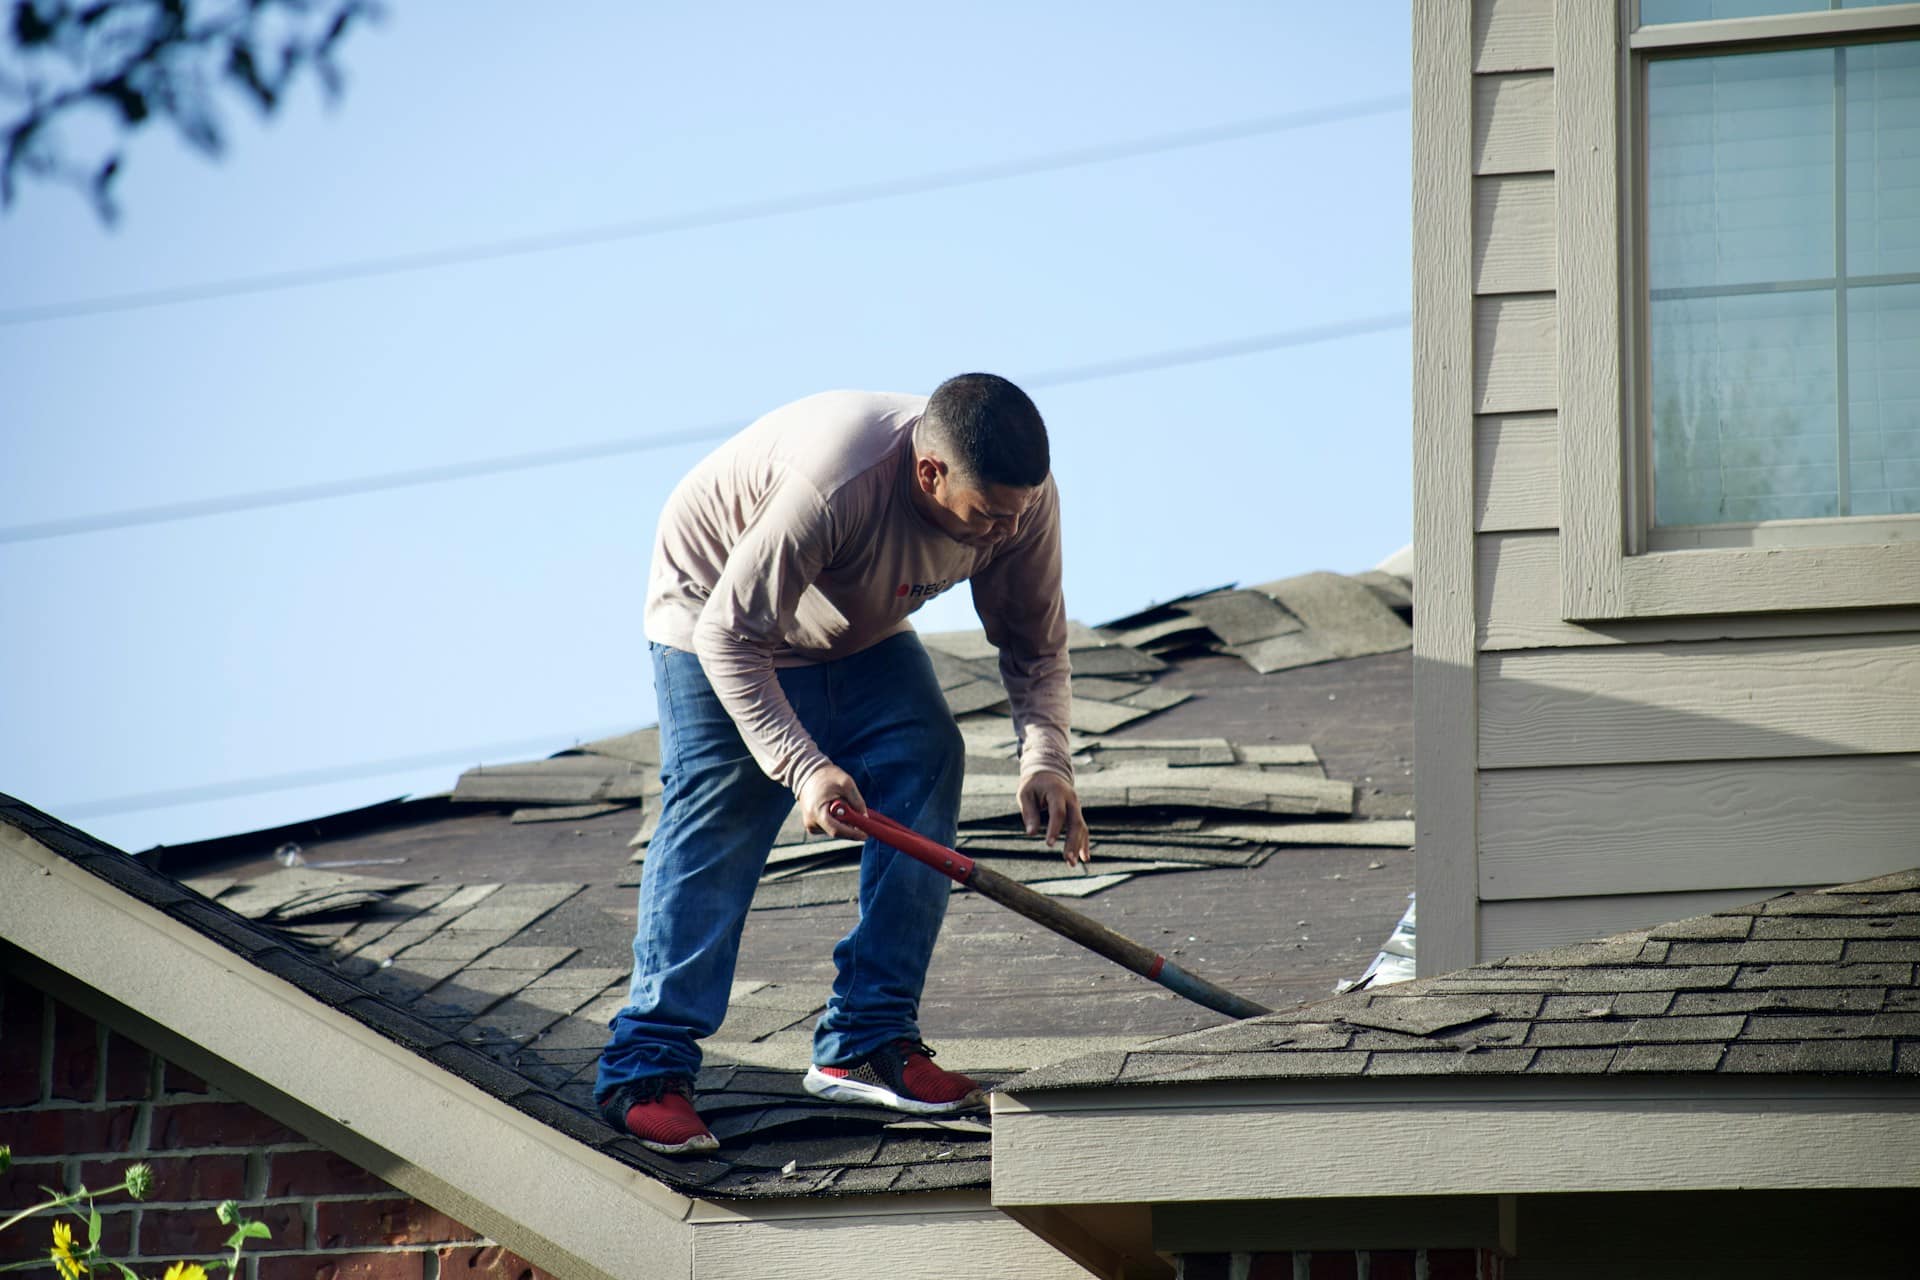
- Carefully remove the damaged shingle by lifting it and removing the nails with a pry bar.
- Slide a new shingle into place, aligning it with the existing ones, and secure it with roofing nails.
- Apply roofing cement to the edges of the new shingle to ensure a watertight seal.
Step 3: Seal Leaks Around Protrusions
- Check areas around chimneys, vents, and skylights, as these are common leak points.
- Use roofing cement or a compatible sealant to seal any gaps or cracks.
- Consider installing a rubber boot or flashing if the existing ones are damaged.
Preventative Measures for Asphalt Shingle Roofing
Maintaining the integrity of your asphalt shingle roofing requires a proactive approach. Regular inspections are essential to spot potential problems before they become significant issues. Aim to inspect your roof biannually, in spring and fall, as well as after severe weather events.
Clearing debris such as leaves, branches, and dirt from your roof and gutters can prevent water buildup and subsequent leaks. Ensure your gutters are clean and functional to facilitate proper water drainage away from your roof and foundation.
Lastly, consider applying a roof coating designed for asphalt shingles. This protective layer can enhance the shingles’ resistance to UV rays and water penetration, prolonging their lifespan and reducing the likelihood of leaks.
When to Call a Professional for Roof Leaks
While many roof leak repairs can be handled independently, there are situations where professional intervention is advisable. If the leak is extensive, affecting multiple areas of your roof, or if you are uncomfortable working at heights, it is best to contact a roofing professional.
Additionally, if you notice structural damage, such as sagging or significant water damage, a professional assessment is necessary. Experienced roofers can provide a comprehensive evaluation and recommend the most appropriate course of action to restore your roof.
Hiring a professional can also be beneficial if your roof is nearing the end of its lifespan. They can advise you on whether a full replacement is more cost-effective than continual repairs, helping you make an informed decision.
Summary
Maintaining a leak-free roof involves a combination of regular inspections, timely repairs, and preventive measures. Investing time and resources into roof maintenance will pay off by reducing repair costs and enhancing your home’s overall value. Remember, while some repairs can be managed independently, do not hesitate to seek professional help when needed.

