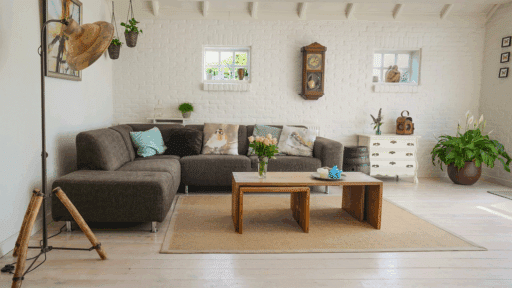

Starting a big DIY project can feel exciting when you’re ready to transform a space with your own hands. Clear planning makes a noticeable difference, and tidying up the area plays a huge part in that. A neat, organized environment keeps tools easy to find, reduces unwanted mess, and lowers the chance of setbacks.
A well-prepared home allows you to focus on the project itself rather than spending energy dealing with disorder. The checklist below breaks down practical steps a professional would take before the work begins.
Working With Professionals
Partnering with experienced help can influence the pace and quality of any home project in ways that feel immediately noticeable. According to Angela Damme, CEO of Elite Maids NY, proper prep reduces cleaning time afterward by 40%. Insights like this highlight how professionals break down tasks with clarity, focusing on steps that support smoother progress once the real work begins.
Many skilled teams start by assessing the room, identifying overlooked areas, and planning a sequence that avoids delays. Their steady approach offers a practical model for homeowners who want to stay organized and avoid unnecessary stress. Drawing from methods used by pros can make even demanding DIY stages far more manageable.
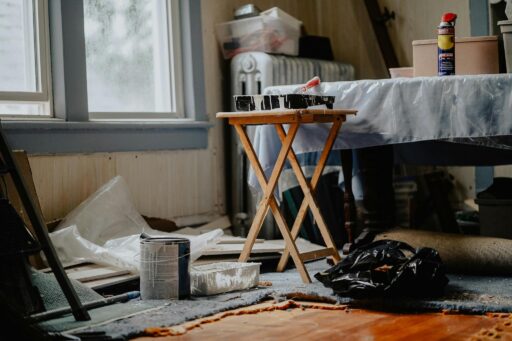
Clear the Work Zone First
Begin by removing belongings from the space where the project will happen. Take out items that don’t need to be there, from furniture to décor, so the area feels open and manageable. A room free of clutter cuts down on hazards and gives you plenty of space to move around.
Large furniture that can’t be relocated should be pushed to the side and covered. Use thick plastic sheets or drop cloths to shield items from dust or stray drips from paint, glue, or other materials. Creating this wide, empty zone sets the tone for the rest of your preparation and gives you a strong base for productive work.
Dust, Sweep, and Vacuum Every Corner
Before tools and supplies come out, give the surface of the entire room a deep sweep. Dusting shelving, window sills, door frames, and vents prevents loose particles from drifting back onto fresh paint or newly cleaned areas. Floors need equal attention, so sweep and vacuum carefully.
Removing grit helps avoid scratches on flooring and keeps tracked-in debris under control. Soft brushes work well for delicate surfaces, and handheld vacuums allow you to reach tight spots. A clean base level means fewer unwanted surprises during your DIY efforts and supports a smoother workflow from day one.
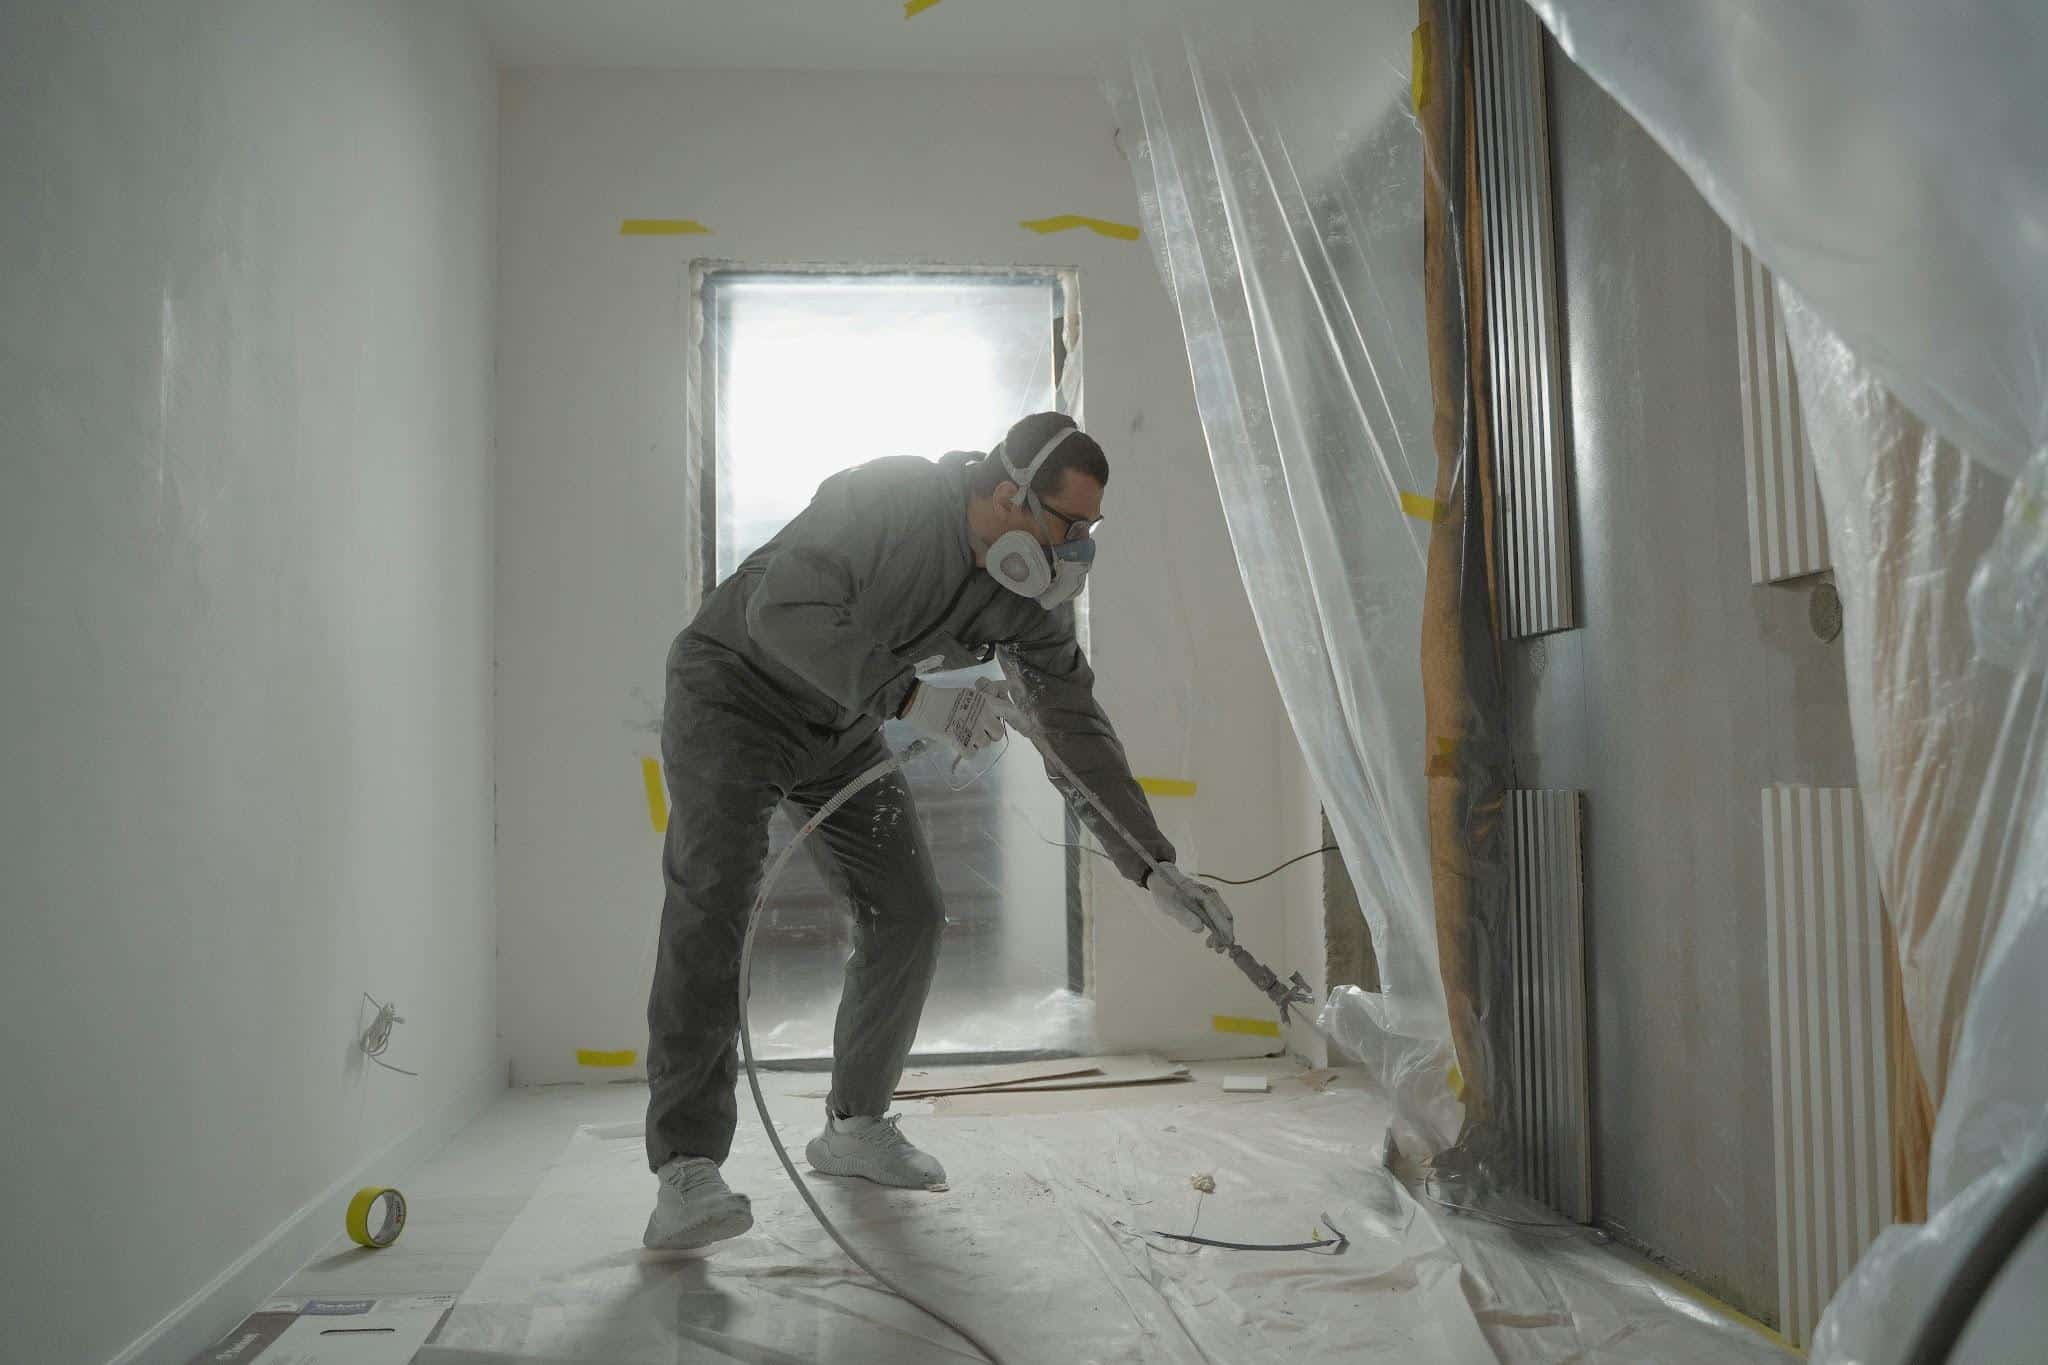
Clean Key Surfaces Before Work Begins
Walls, trim, counters, and floors often gather invisible grime that interferes with primer, adhesives, or finishes. Use gentle cleaners appropriate for each surface, paying attention to fingerprints, grease, and dust buildup. Sponges, microfiber cloths, and mild solutions usually get the job done without harming materials.
Let surfaces dry fully before moving forward so moisture doesn’t affect the next step in your project. Once everything is clean and dry, you’ll have a reliable, solid foundation for painting, drilling, sanding, or installing new features. This gives your results a more polished and long-lasting finish.
A major DIY project becomes far more manageable when the surroundings are properly prepared. A tidy home helps you stay organized, reduces disruptions, and supports safer progress.
Clearing the room, cleaning surfaces, removing loose particles, and protecting nearby areas all contribute to a smoother experience from start to finish. With a thorough checklist in place, you can focus on your project with confidence and enjoy the transformation with far less stress.

Tommy Hardy, an alumnus of the Georgia Institute of Technology with a degree in Mechanical Engineering, has been a go-to figure in residential upkeep and innovation for over 18 years. His career commenced in a leading home appliance manufacturing company, where he mastered the intricacies of household systems. Joining our platform in 2020, Tommy quickly became a reader favorite for his practical and easy-to-follow guides. He took the helm of our DIY section in 2019, consistently delivering content that empowers homeowners. Beyond his professional pursuits, Tommy is a passionate gardener and enjoys woodworking, skills enhancing his hands-on approach to home care.