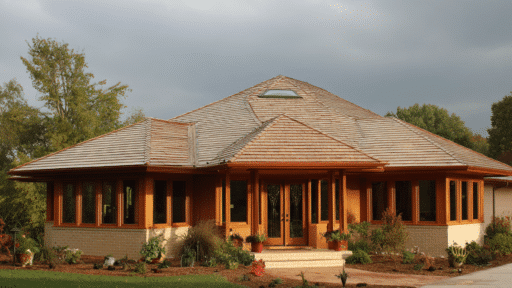

Roof design shapes how a home stands up to wind, rain, and daily wear. Among all roof styles, the hip roof is known for its balance, strength, and smooth slopes on every side.
It doesn’t just look neat; it also offers solid protection against harsh weather.
In this guide, I’ll break down what makes a hip roof unique, how its parts fit together, the main styles you’ll see, and the materials that work best for it.
You’ll also learn about ventilation, costs, and simple maintenance steps to keep it performing well for years. Let’s start by understanding why it’s so effective.
Understanding What a Hip Roof Is
A hipped roof is a roof with four sloping sides that meet at the top. It stands out because it has no vertical ends and offers a steady, balanced shape. Here’s a quick look at the main parts of a hip roof. These features help you understand how this roof style works:
- Slopes on all four sides: Each side angles down toward the walls.
- No gables: It doesn’t have flat, vertical end walls.
- Pyramid-like or ridged shape: Some form a point at the top, while others have a ridge.
- Uniform eaves: All sides create even overhangs for extra shade and protection.
Hip Roof Geometry
A hip roof gets its shape from the way its sides come together, and these shapes play a big role in how strong the roof is. Once you understand how these shapes fit, it becomes easier to see why hip roofs handle wind and weather so well.
A hip roof has triangular sides on the shorter ends and trapezoidal sides on the longer edges. The triangular sides rise up to meet the ridge or peak, forming a balanced point or a centered line across the top.
The trapezoidal sides are wider and stretch from the ridge down to the eaves. These longer slopes help guide water away from the home and give the roof its smooth, steady surface.
This geometry also reduces flat spots or weak angles, which means fewer chances for leaks. Each slope works with the others, creating a tight, well-sealed roof structure that lasts longer and needs fewer repairs.
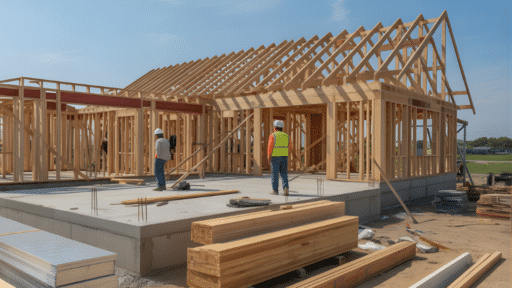
Hip Roof Components
Understanding these parts helps you see how a hip roof stays strong and balanced. It also makes it easier to spot issues, compare quotes, or follow what a contractor explains during repairs.
1. Ridge Beam
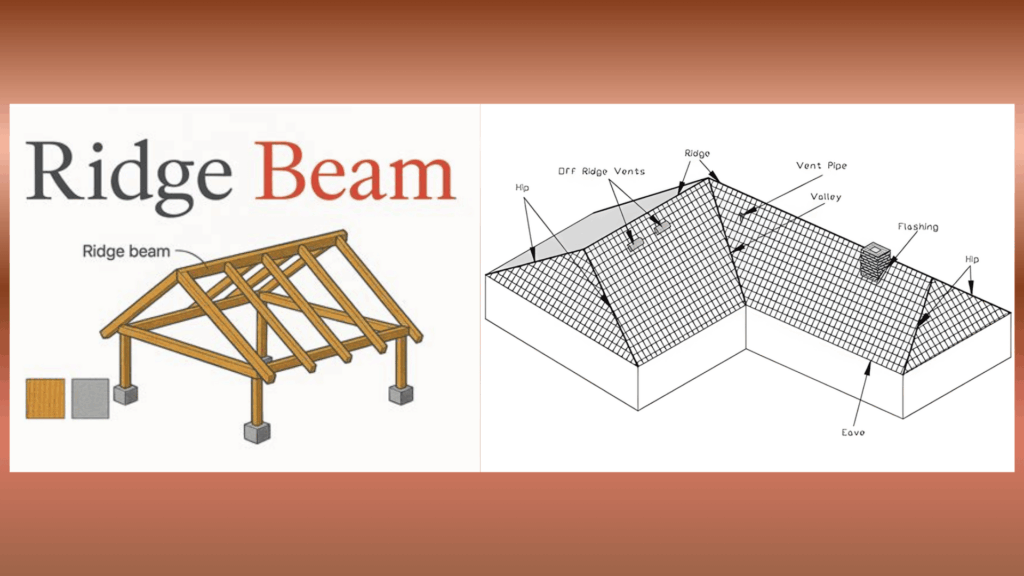
The ridge beam sits at the highest point of the roof and connects the main rafters on every side. It acts like the backbone of the roof, keeping the entire frame straight and aligned as the rafters carry weight down the walls.
A strong ridge beam gives the whole structure stability during storms, high winds, and heavy snow. It helps prevent sagging, twisting, or shifting over time, which is important for long-term roof strength.
2. Hip Rafters
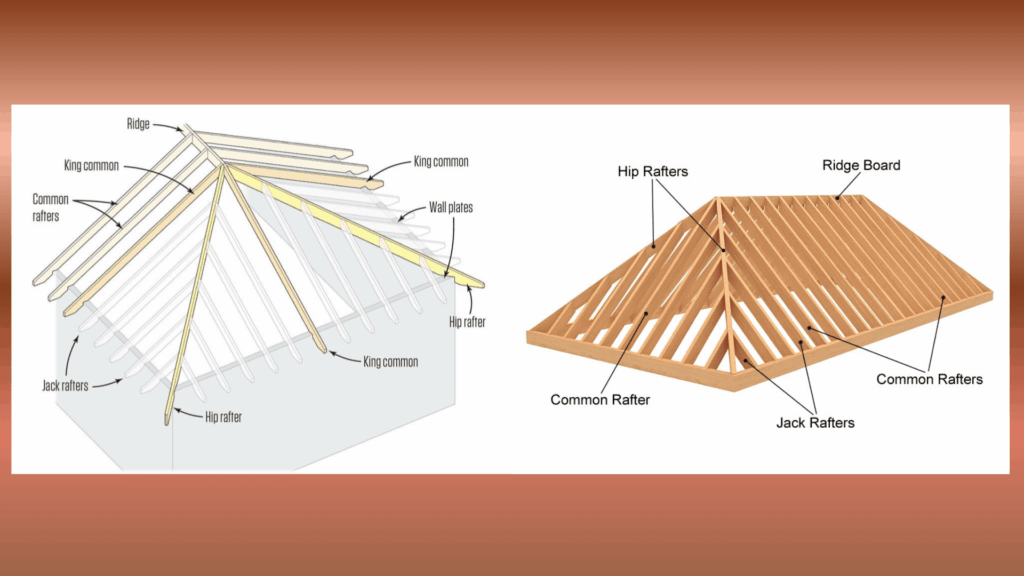
Hip rafters run from the corners of the home up to the ridge beam, forming the sloped edges of the roof. They outline the shape of the roof and set the angles for the shorter rafters that attach to them.
These rafters carry more pressure than common rafters because they support the jack rafters along their length. Their strength helps water drain evenly, reduces stress on the roof covering, and adds stability to the entire design.
3. Jack Rafters
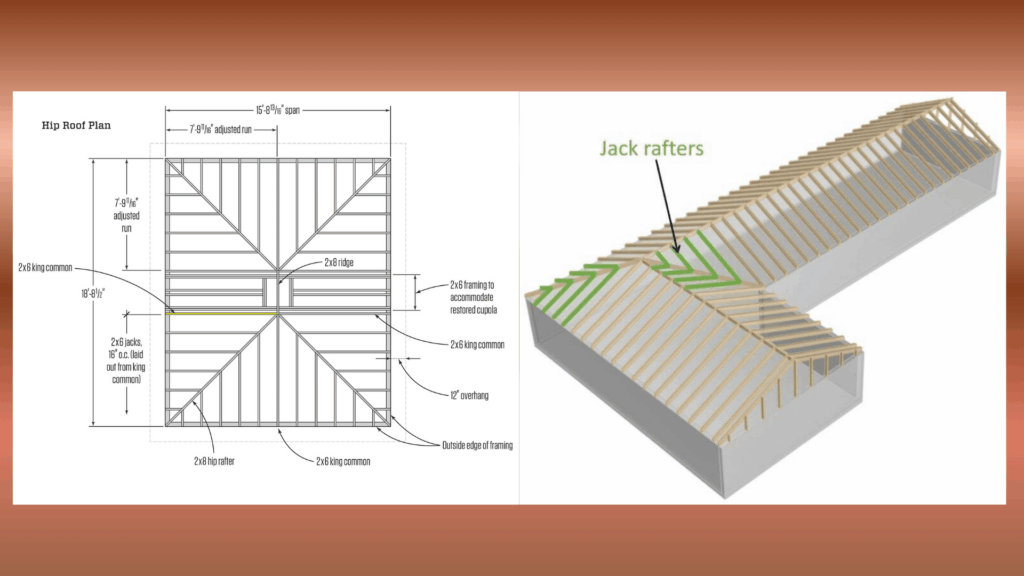
Jack rafters are shorter boards that connect to the hip rafters instead of the ridge beam. They fill in the roof framework so the surface stays even from top to bottom.
Because they don’t run the full length of the roof, they rely on the hip rafters for support. Their spacing is important because small gaps or errors can lead to weak spots, uneven roofing, or dips in the surface.
4. Common Rafters
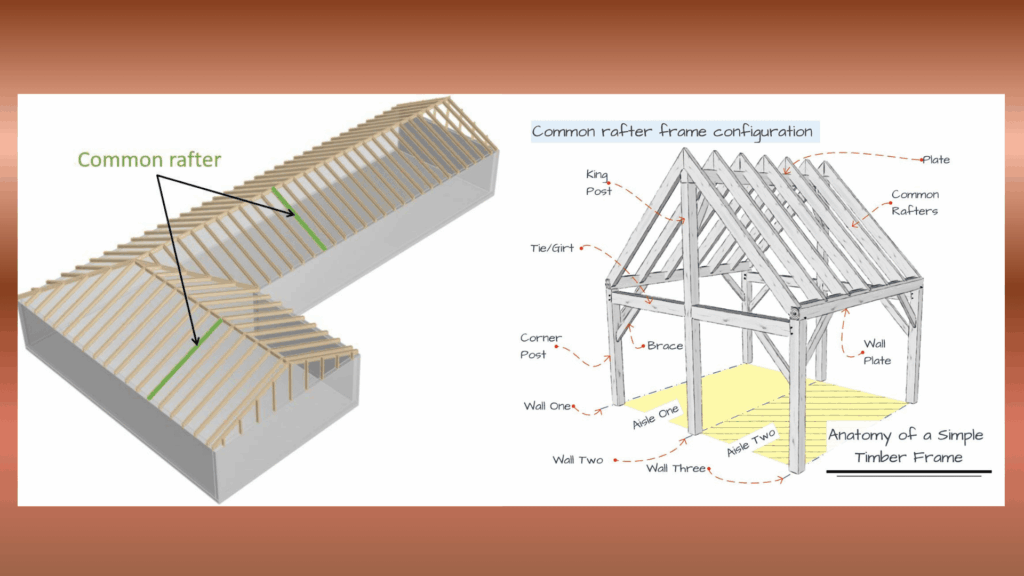
Common rafters run in a straight line from the ridge beam down to the eaves. They form most of the roof’s structure and handle much of the weight from shingles or other roofing materials.
These rafters help shape the slope of the roof and guide water down to the edges. When placed evenly, they keep the roof flat, stable, and less likely to pool water or develop waves over time.
5. Hip Cap Shingles / Ridge Caps
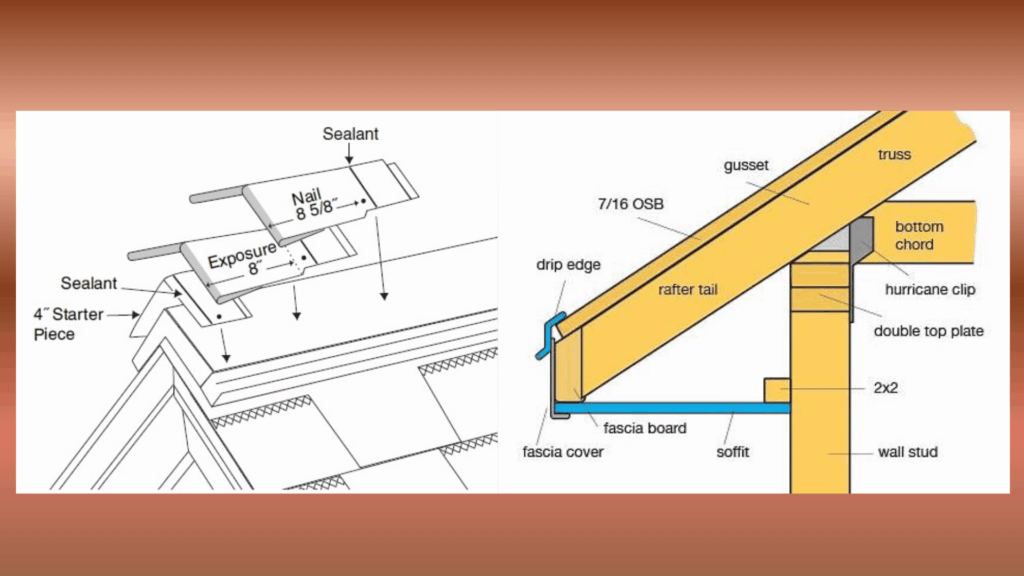
Hip caps cover the seams where two sloping roof sides meet, sitting along the hips and sometimes the ridge. They seal these joints to keep out water, wind, and debris.
Because these areas are the most exposed, hip caps add protection against leaks and weather damage. They also create a clean, finished look, giving the roof a smooth line along its highest points.
6. Fascia & Eaves

The fascia is the board that runs along the lower roof edge and supports the gutter system. It gives the roof a clean border and helps protect the ends of the rafters from weather exposure.
The eaves extend beyond the walls of the house to move water away from the siding and foundation. They also help with shade, direct rainfall, and keep the exterior from getting soaked during storms.
Hip Roof Advantages & Disadvantages
It helps to see the good and the bad side-by-side so you can compare them quickly. Here’s a clear view of how hip roofs help and where they fall short:
| Hip Roof Advantages | Hip Roof Disadvantages |
|---|---|
| Better wind resistance | Higher cost |
| Stable, self-bracing design | More framing complexity |
| Good drainage on all sides | Reduced attic space |
| Uniform, balanced look | Harder ventilation |
| Works well in hurricane regions | More materials needed |
Types of Hipped Roofs
Hip roofs come in many styles, and each one changes how the home looks and performs. These examples help you understand how the shapes differ and why homeowners choose them.
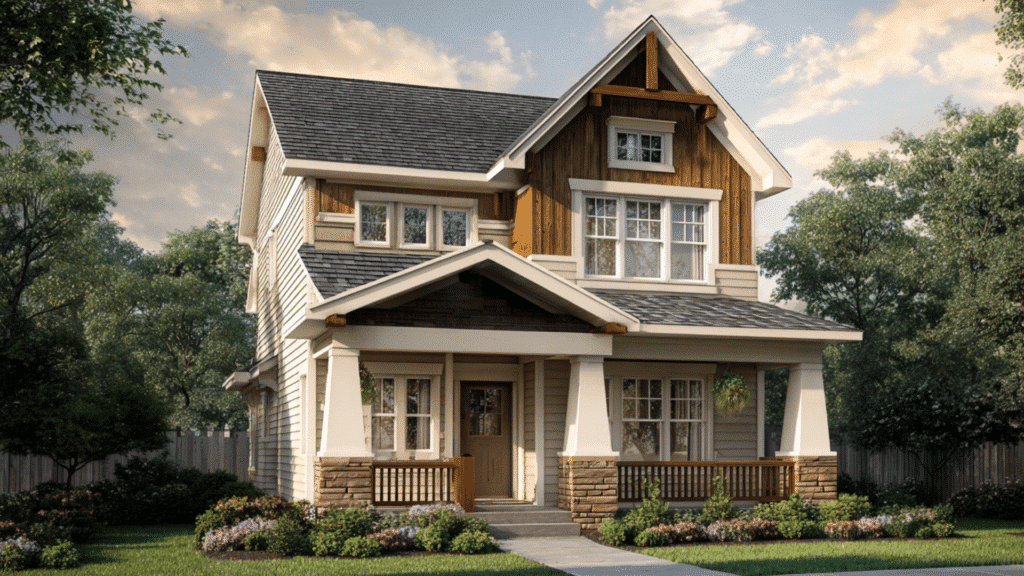
1. Simple Hip Roof
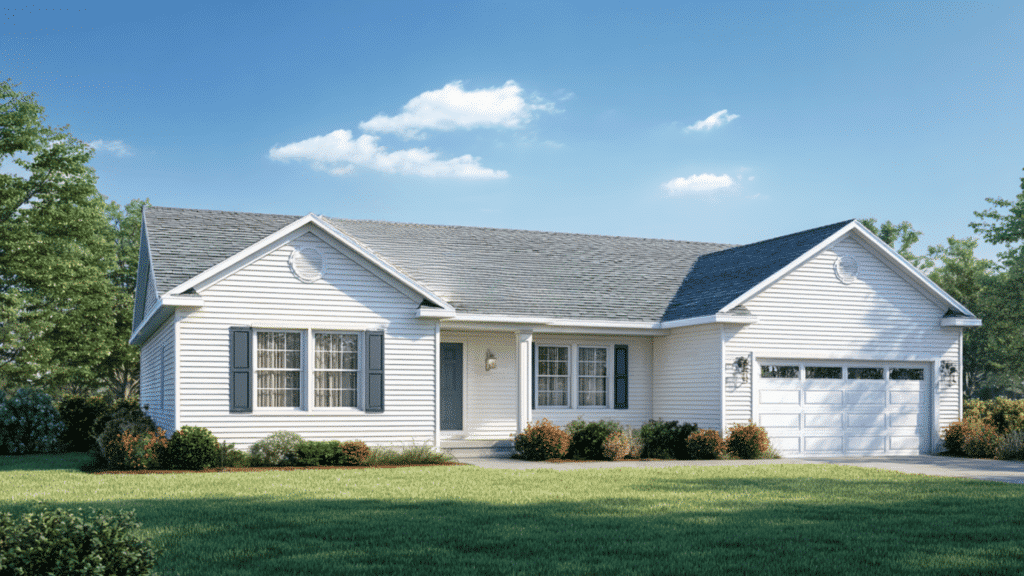
A simple hip roof has four slopes that meet at a single ridge across the top. It’s the most common version because it fits well on rectangular homes and gives steady wind resistance.
This style is easy for builders to frame, which keeps long-term maintenance costs lower. Many ranch homes, cottages, and modern builds use this roof because it offers strength without a complicated layout.
2. Cross Hip Roof
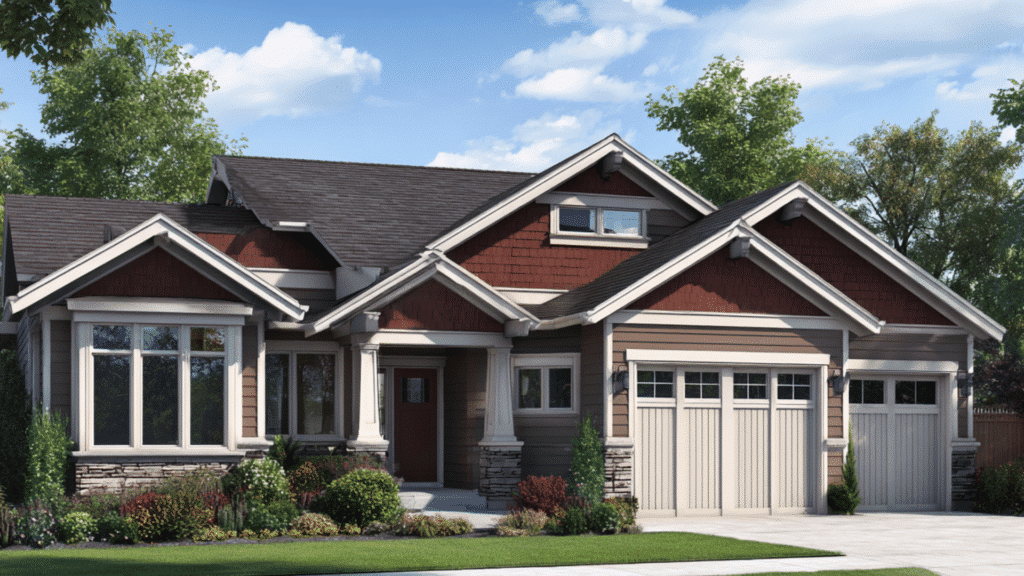
A cross hip roof is created when two hip roofs meet at a right angle, forming an “L” or “T” shape. This design is common in homes with added wings or extended floor plans.
The valleys where the roofs meet need good flashing and drainage to prevent leaks. This roof type adds more shape, depth, and curb appeal because the layout creates multiple slopes and rooflines.
3. Half Hip (Dutch Hip) Roof
A half-hip roof mixes a small gable at the top with a short hip section below it. This gives the home a bit more space and better airflow than a full hip roof.
The small gable reduces the closed-in feel of a hip while keeping good wind resistance. Craftsman, cottage, and European-style homes often use this design to add charm and function without losing strength.
4. Irregular (Bastard) Hip Roof
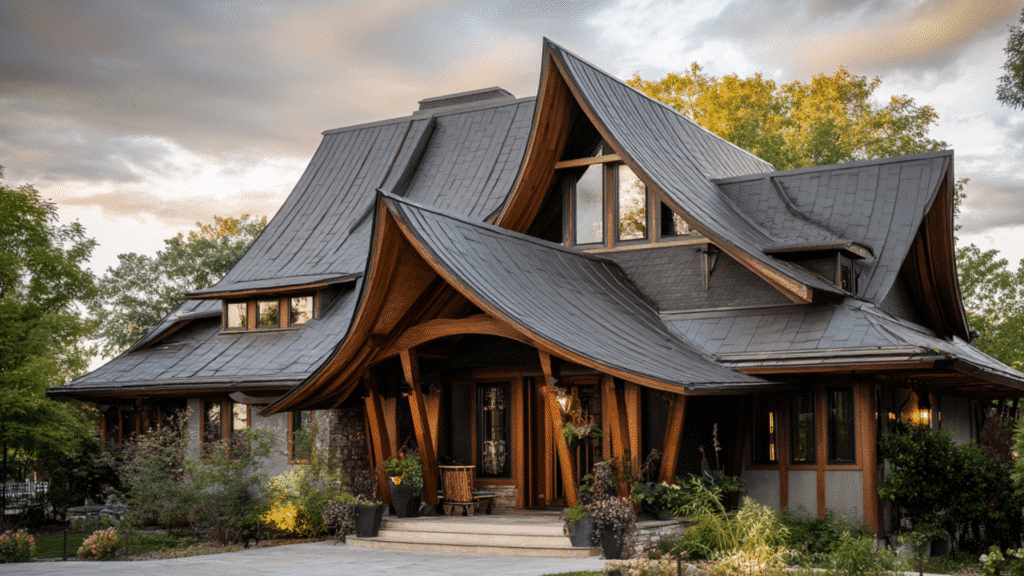
An irregular hip roof has hips that are different lengths or slopes that don’t match on all sides. It’s used on homes with angled walls, unusual layouts, or custom architectural features.
This version requires careful planning so the slopes match correctly and stay watertight. You often see it on modern homes or large custom builds where the floor plan doesn’t fit a standard shape.
5. Mansard Hip Roof
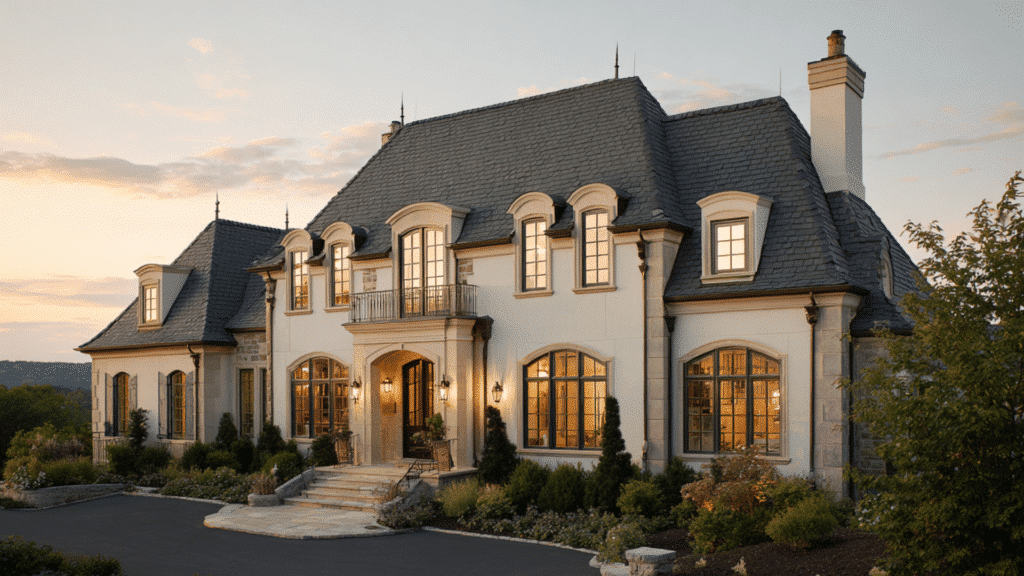
A mansard hip roof has steep lower slopes and flatter upper slopes, all shaped with hips on the corners. This style creates more usable space inside the attic or top floor.
It gives the home a tall profile and room for dormers, extra windows, or even a small living area. This design is common in French, historic, and upscale architecture, where height and style are important.
Hip Roof Cost Guide
Hip roof costs change from home to home because size, layout, and materials all make a difference. This roof style has more slopes and angles than a gable roof, so the labor and planning take longer, which raises the price.
Most new hip roof installs cost around $10 to $18 per square foot, depending on materials, pitch, and design complexity. Replacements run higher at $14 to $22 per square foot because the old roof has to be removed and any hidden damage repaired before new work begins.
Labor is a major part of the cost since hip roofs need precise cutting and extra framing. Material choices also matter because tile, metal, and premium shingles cost more and sometimes need added structural support.
Hip roofs cost more because they use more rafters, more cuts, and more surface area than simpler roof styles. Even with the higher price, many homeowners pick them for their strength, better drainage, and strong performance in windy or hurricane-prone areas.
Best Materials for Hip Roofs
Choosing the right material for a hip roof matters because it affects strength, lifespan, and how well the roof handles your local weather. Below are the most reliable options homeowners use for long-term performance:
- Asphalt Shingles: These are the most common option for hip roofs because they’re affordable and easy to install. They handle different roof angles well and come in many colors and styles that match most homes.
- Metal Roofing: This is a strong, long-lasting choice that works extremely well on hip roofs. The panels shed water quickly, resist wind, and stay lightweight even on larger roof designs.
- Tile Roofing: It gives hip roofs a classic, upscale look and works well in warm or dry climates. It adds weight, so the roof structure must be strong, but tiles last a long time with little upkeep.
- Wood Shakes: These offer a natural, rustic look and add texture to hip roof designs. They work best in dry regions and need proper ventilation to prevent moisture problems.
Climate-Specific Recommendations
Choosing roofing materials based on climate helps the roof last longer and perform better. It also prevents common issues like heat damage, moisture buildup, or wind-related wear.
- Hot climates: Tile or metal roofing reflects heat and stays cooler in strong sunlight.
- Cold or snowy regions: Metal roofing sheds snow quickly and reduces ice buildup.
- Windy or hurricane-prone areas: Architectural shingles or metal panels resist strong winds.
- Dry climates: Wood shakes can work well but may need fire-resistant treatment.
- Coastal regions: Metal roofing resists salt, moisture, and high wind pressure.
Picking the right material for your climate reduces long-term repair costs and improves energy efficiency. It also keeps the roof stable through seasonal changes and protects the home more effectively.
Why Hip Roofs Are Harder to Ventilate
Hip roofs are harder to ventilate because all four sides slope inward, leaving very little vertical surface for vents. This limits natural airflow and makes it harder for warm air to escape from the attic.
The design also reduces attic volume, so heat builds up faster in summer and moisture lingers longer in winter. Without good airflow, this can lead to mold, higher energy bills, and a shorter roof lifespan.
Because the roof edges are low and the ridge is short, standard ridge vents alone are rarely enough. This means hip roofs often need additional vent types to balance intake and exhaust.
Best Vent Options
Hip roofs need vents that work well, even with limited ridge length and tighter attic spaces. The table below shows the most effective options and what they offer homeowners.
| Vent Type | Why It Works Well on Hip Roofs |
|---|---|
| Ridge Vents | Good for releasing hot air at the peak, but often need extra support because hip roofs have shorter ridges. |
| Soffit Vents | Provide steady intake air, which is essential since hip roofs lack large gable openings. |
| Box (Static) Vents | Work as extra exhaust vents in areas where ridge vents don’t cover enough space. |
| Turbine Vents | Use wind power to pull hot air out quickly, helpful for small or tight attic spaces. |
| Powered Attic Fans | Boost airflow when natural ventilation isn’t enough, especially in warm climates. |
| Hip Vents | Installed along the hips to add exhaust where ridge length is limited, designed specifically for hip roofs. |
Maintenance Guide
Regular maintenance keeps a hip roof strong and prevents small issues from turning into expensive repairs. A quick yearly check is often enough to keep the roof in good shape.
- Annual Inspection: Check shingles, hip caps, flashing, and edges once a year to spot early signs of wear. This quick review helps prevent leaks, sagging, or broken materials from getting worse.
- Problem Detection: Look for lifted shingles, soft spots, attic moisture, or stains after storms. These warning signs often show where water is getting in or where the structure needs support.
- Hip Cap Care: Hip caps sit on exposed joints, so they crack or loosen faster than regular shingles. Fixing them early protects the seams and prevents water from slipping into the roof frame.
- Drainage Maintenance: Clean gutters, clear valleys, and remove debris so water flows off the roof easily. Good drainage reduces the chance of leaks, rot, or moisture buildup along the hips and eaves.
- Professional Help: Call a roofer for structural issues, repeated leaks, or damaged hip connections — especially if you’re searching for reliable roof repair in Denver after heavy snow, hail, or wind storms.
Conclusion
A hip roof offers more than just good looks; it’s built for durability, balance, and dependable weather resistance. With its steady slopes and smart design, it handles wind and rain better than most roof types.
Choosing quality materials and maintaining proper ventilation keeps it efficient and long-lasting. From framing to finishes, every detail plays a role in its performance.
Whether you’re building new or replacing an old roof, take time to plan carefully and match the design to your home’s structure and climate.
Reach out to a trusted roofing contractor today to get expert advice and a clear estimate for your project.

Holding a Master’s in Construction Management from Purdue University, William Ray has dedicated more than two decades to studying and applying construction principles. His professional journey includes a tenure with a prominent construction firm, where he specialized in project management and building technologies. William brought his knowledge to our team, providing in-depth insights into practical construction techniques. As the leader of our beginner’s guide to building since 2019, he has a knack for breaking down intricate processes into easily digestible content. When not involved in writing or onsite consultations, William enjoys woodworking and volunteering in community building projects, which aligns with his passion for hands-on construction and community service.