
Building a pergola is one of the easiest ways to shape an outdoor space and make it feel comfortable for everyday use. A pergola adds shade, structure, and a natural gathering spot without closing in the area.
In this guide, I’ll walk you through the full process of creating a DIY pergola, from planning and footing work to finishing touches that make the structure last.
You’ll also see simple roof ideas, cost examples, and upkeep tips that help you care for the space long-term. By the end, you’ll understand every major step and feel confident starting your own project.
What is a Pergola?
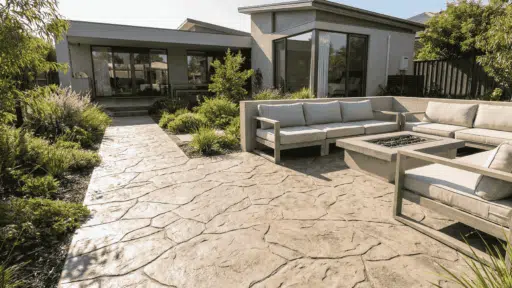
A pergola is an outdoor structure made of posts and beams that creates light shade and a defined space. It works well on patios, gardens, or any area that needs shape and a comfortable place to sit.
A freestanding pergola stands on its own anywhere in the yard, making placement flexible and easy. An attached pergola connects to the house and is best for extending a patio right outside the back door.
Wood pergolas offer a warm, natural look and can be built in custom sizes to fit different spaces. Metal kits install quickly, need less upkeep, and work well for homeowners who want a simpler option.
Choose a freestanding style for open areas and an attached style for shaded seating near the home. Pick wood for a natural design and metal for low-maintenance durability in any climate.
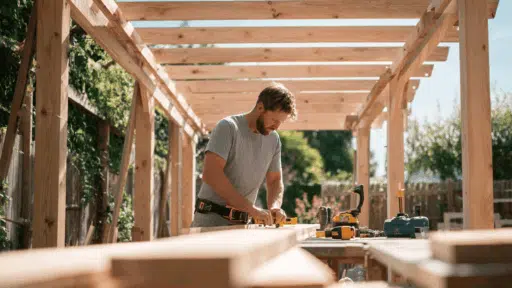
Step-by-Step Guide to Building a DIY Timber Pergola
This guide walks through each stage, from planning the layout on a concrete patio to final finishing touches. The following are the steps to complete the pergola from start to finish:
Tools and Materials You’ll Need
Having the right materials and tools makes each step of the pergola build smoother and easier to follow. Everything listed here comes directly from the step-by-step guide and supports each part of the process:
- Posts, beams, rafters, shade runners
- Concrete mix, rebar, post bases
- Timber/lag/deck screws
- Exterior wood stain, caulk, wood filler
- Trim pieces
- LED string lights, extension cord
- Tape measure, chalk/string line, level
- Core drill/hammer drill
- Shovel, digging tools, trowel
- Circular saw or chainsaw
- Drill/driver, impact driver
- Clamps, basic hand tools
- Safety gear (gloves, glasses, hearing protection)
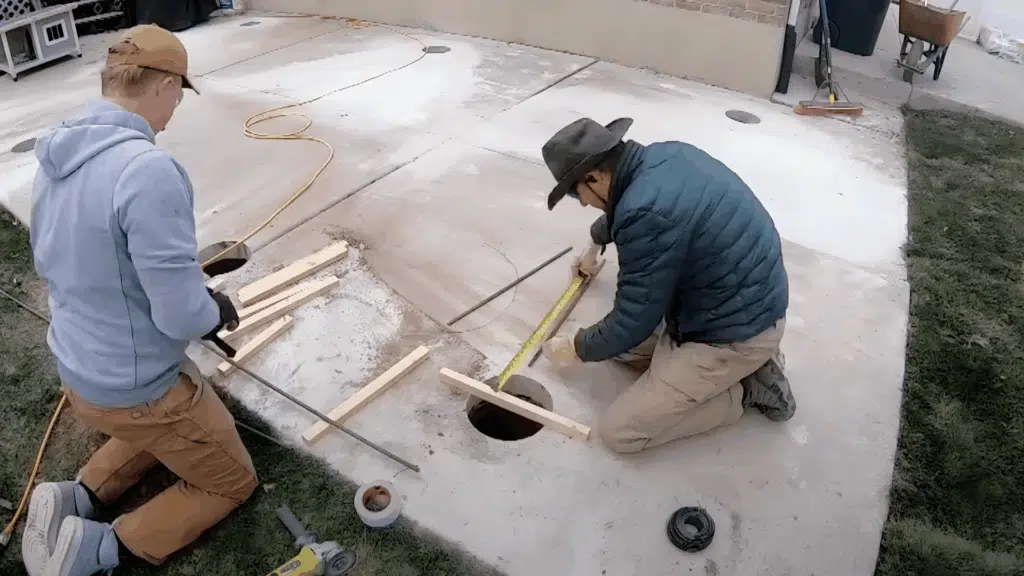
Step 1: Plan and Mark the Layout
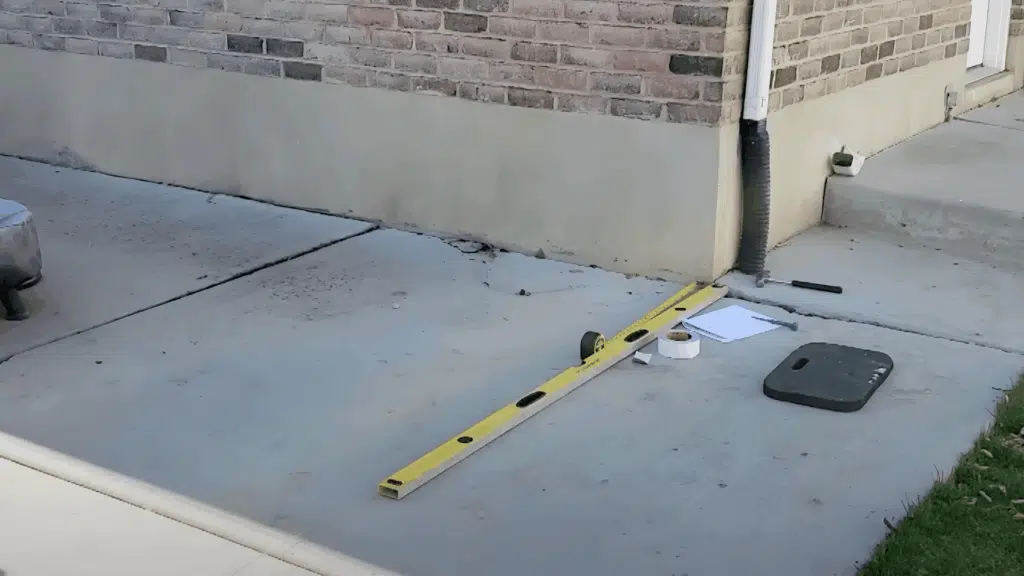
Choose the pergola size and position so it fits the patio without crowding the space. Mark the outline with chalk lines, making sure the layout looks balanced and lines up well with the house. Use the 3-4-5 method to square the corners so the structure sits straight.
Step 2: Mark Post Centers and Drill Core Holes
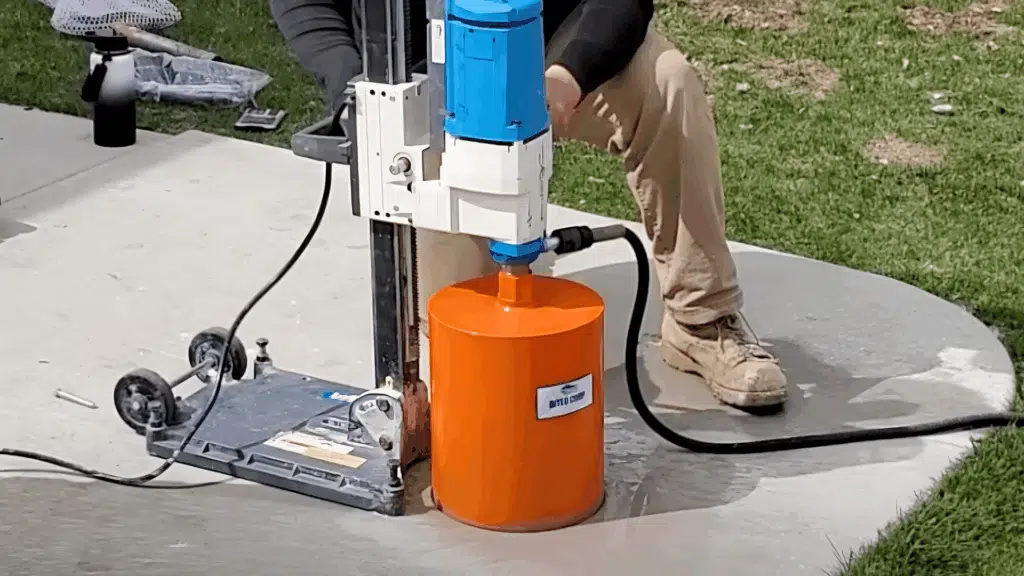
Mark the center of each post using your layout lines as reference points. Check spacing one more time before drilling. Use a 10-inch concrete core drill to cut holes through the slab at each post location. Remove the concrete plugs and clean out the openings so the soil is exposed.
Step 3: Dig Footings and Pour Concrete
Dig each footing hole to about 34 inches deep and 8–9 inches wide. Place a 28-inch rebar piece in the center, leaving about three inches of space under it.
Mix concrete and fill each hole until level with the patio surface. Smooth the tops with a trowel and let the footings cure completely.
Step 4: Install Post Bases and Set the Posts
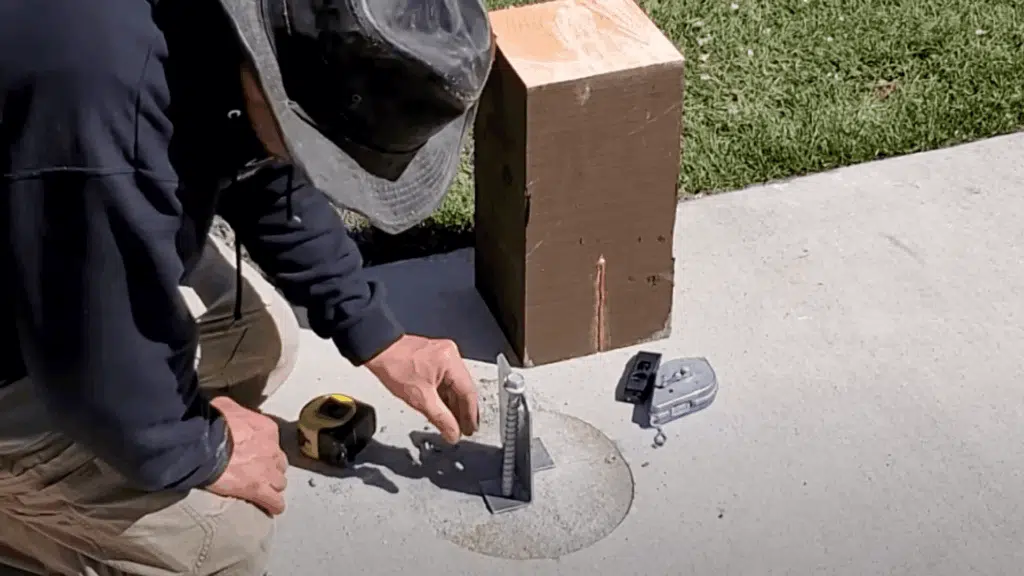
Drill two ½-inch holes into each cured footing for the anchor bolts. Clean the holes with a brush and compressed air, then fill halfway with two-part epoxy.
Insert the bolts, attach the post bases, and align them. Set each post on its base, brace it plumb, drill the pin holes, and install the pins.
Step 5: Install Beams, Brackets, Rafters, and Runners
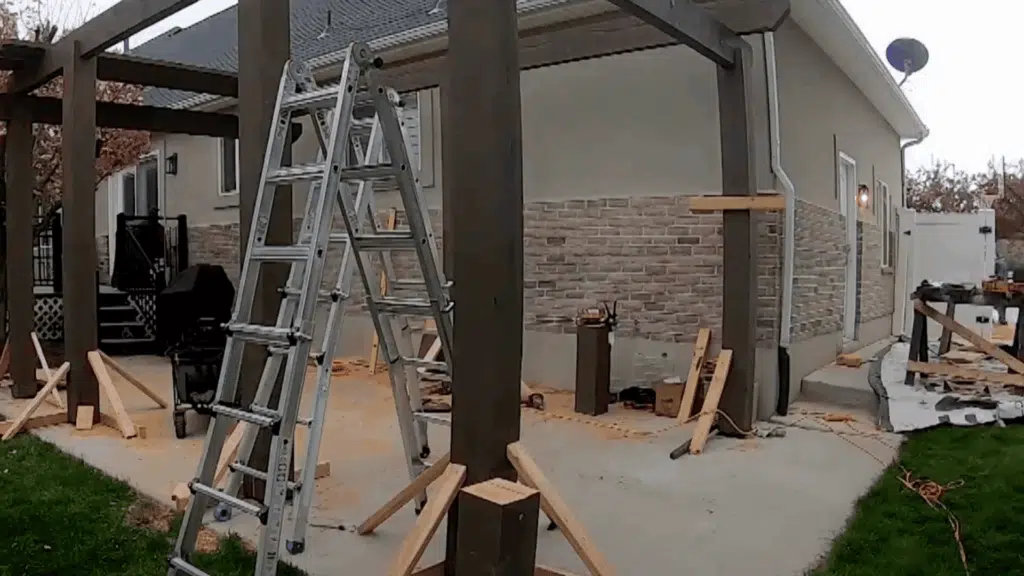
Mark and cut the posts to their final height. Notch the tops about 5 inches deep to hold the beams. Cut the decorative ends on the beams, stain everything, and set the beams into the notches. Secure them with heavy timber screws.
Install diagonal brackets for strength, then add rafters with matching decorative cuts. Space the rafters evenly, then install the shade runners perpendicular to them.
Step 6: Finish With Trim, Lighting, and Touch-Ups
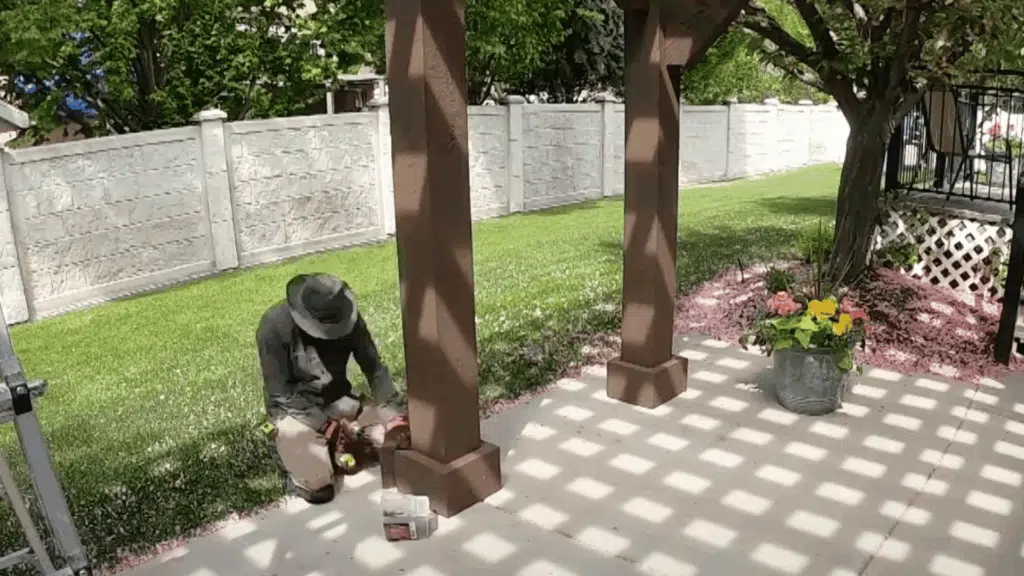
Fill temporary holes with wood filler, seal gaps with caulk, and apply stain to blend the finish. Cut trim pieces from rafter offcuts and fit them around each post base, securing them once the corners sit cleanly.
Install LED string lights along the rafters, tidy the cord path, and finish with a quick cleaning and any stain touch-ups needed.
Below is a clear DIY video tutorial that demonstrates the full process. Seeing the build in real time makes the instructions easier to follow.
Final Touches and Smart Upkeep Tips
These simple tips help keep the pergola looking good and performing well after the build is finished. These are some tips you can follow to maintain the structure and get the most out of the space:
- Hardware check: Double-check all hardware connections once the pergola is finished to keep everything secure.
- Fresh-cut protection: Seal or stain any new cuts to shield the wood from moisture and sun.
- Straight lines: Use a string line when spacing rafters or runners to keep the top section even.
- Lighting setup: Plan the lighting path early so cords and plugs stay tidy along the beams.
- Trim fitting: Test trim pieces before staining to be sure they fit cleanly around each post base.
- Plant care: Add a drip line for hanging plants to reduce watering and keep them healthy.
- Yearly wash: Clean the pergola once a year with gentle wood cleaner to refresh the finish.
- Seasonal tightening: Check screws on rafters and runners each season and tighten any that are found to be loose.
Pergola Roof Styles and Shade Options
Roof options help control sunlight, comfort, and weather protection so the pergola feels good to use in every season. Each choice adds a different look and level of coverage, making it easier to match the style of the yard and patio.
1. Shade Cloth
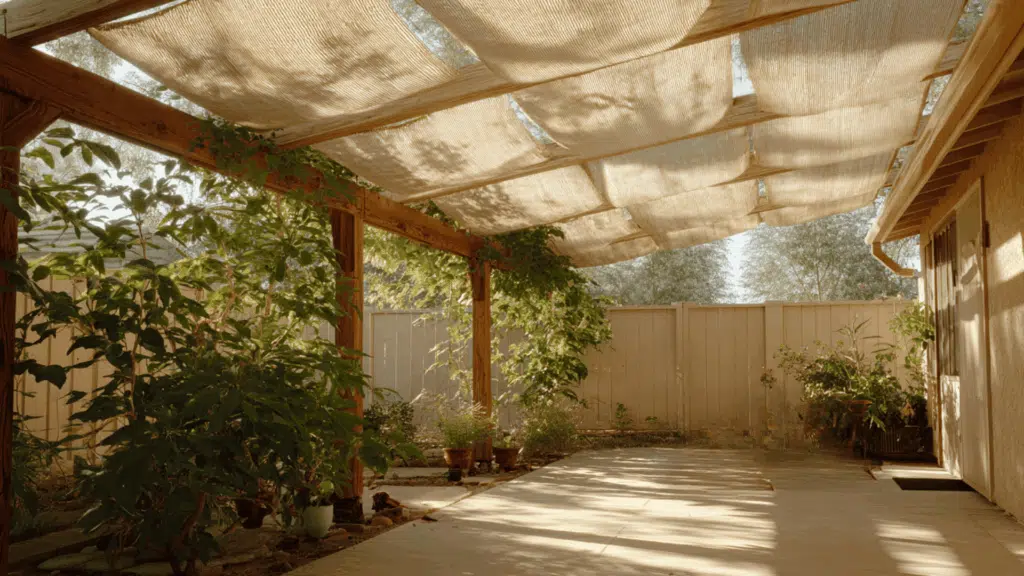
Shade cloth offers light to medium shade while still allowing warm air to rise and cool air to move through the space. It is simple to attach across the rafters using clips or screws, and can be removed anytime for cleaning or storage.
Different weave densities let you choose how much light to block, making it easy to balance shade with brightness. This option works well for patios that get strong direct sun and need comfort without fully blocking the sky.
2. Polycarbonate Roof Panels
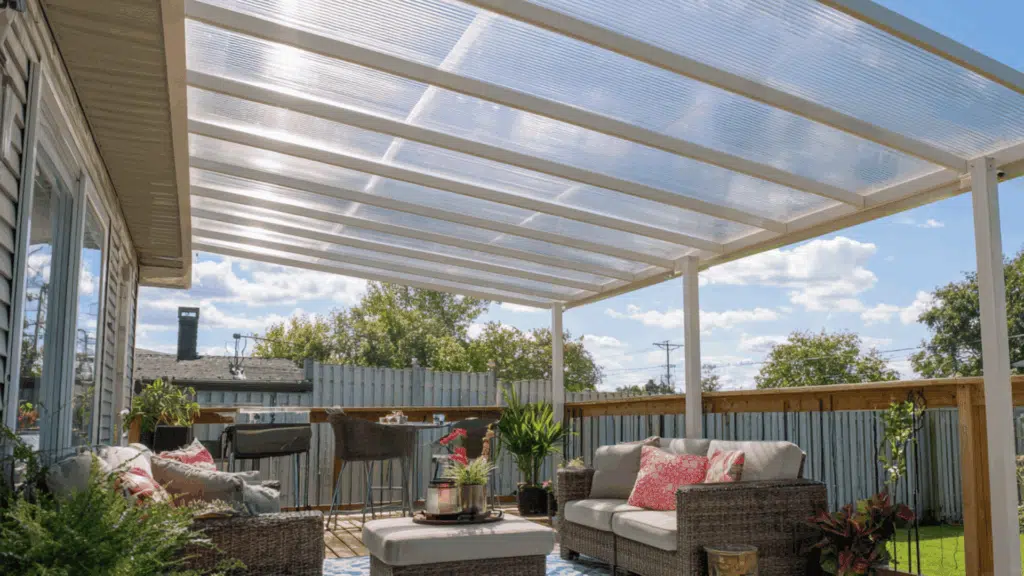
Polycarbonate panels protect the patio from rain, harsh sun, and UV rays, keeping the space usable year-round. These panels come in clear, tinted, or frosted styles, giving control over how much light filters into the space.
They are lightweight but durable and stand up well to weather, especially in areas with intense heat or rainfall. This choice is ideal when furniture, cushions, or outdoor electronics need extra protection from the elements.
3. Louvered Slats
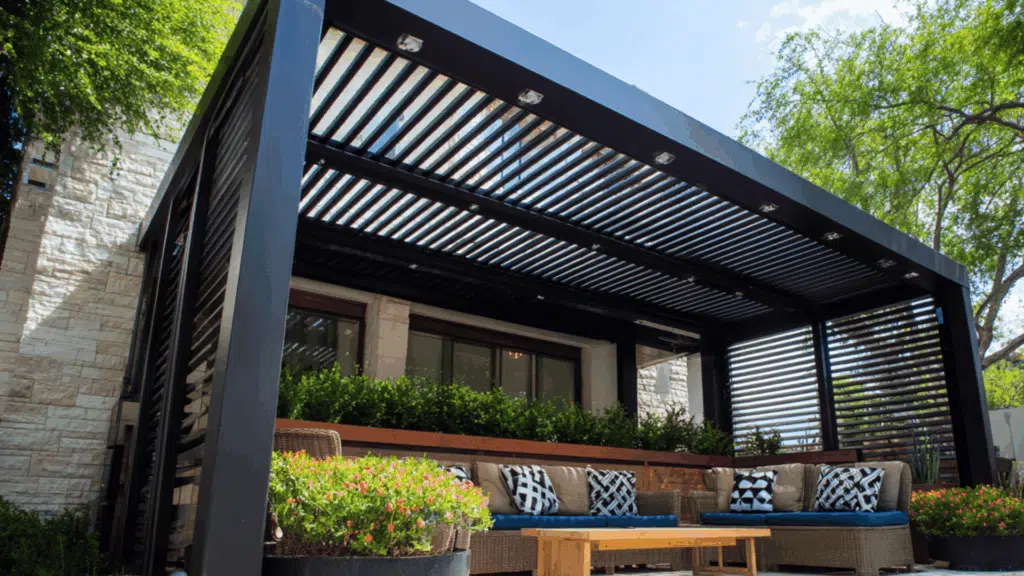
Louvered slats allow the roof to open and close by adjusting the angle of each slat for the desired amount of sunshine. When angled open, more air and light pass through; when angled closed, the pergola becomes cooler and more shaded.
This option gives a sleek, modern look and works well in climates where morning and afternoon sun vary. Some systems are manual, while others come with upgrades like motorized adjustments for added convenience.
DIY Pergola Cost Breakdown
A simple cost guide helps you understand what each size or style might require before starting the build. These examples give a clear idea of what to expect and make planning and budgeting easier.
A 10×10 pergola is one of the most affordable options because it uses fewer posts, beams, and rafters. Most projects fall between $450 and $950, depending on the wood type, hardware, and finish you choose.
A 12×16 pergola needs longer beams, more rafters, and extra concrete, which increases overall costs. This size usually ranges from $1,200 to $2,400, especially when using thicker posts or upgraded design features.
A basic small pergola can be built for $200 to $350 when using simple pressure-treated lumber. This works well for minimal designs that don’t include decorative cuts, roof panels, or heavy trim.
Maintenance and Longevity Tips
Good maintenance helps a pergola stay strong, look clean, and last many years outdoors. These simple points make long-term care easier and keep the structure in good condition:
- Lifespan: Wood pergolas usually last 10–15 years, and even longer when built from cedar or redwood.
- Resealing schedule: Reseal or restain the structure every 2–3 years based on sun and weather exposure.
- Yearly cleaning: Wash the pergola once a year with mild soap and water to remove dirt and buildup.
- Hardware check: Inspect hardware yearly and tighten any loose screws, bolts, or brackets.
- Damage repair: Watch for cracks, peeling stains, or soft spots and fix them as soon as they appear.
- Debris removal: Clear leaves or debris from the top to prevent moisture from collecting.
- Touch-up stain: Restain exposed cut ends or faded areas to keep the wood protected.
Conclusion
A well-built pergola can shape your outdoor space, add comfortable shade, and create a spot you’ll use often.
With the right planning, tools, and steady steps, you can complete the project safely and get a structure that holds up season after season.
The process becomes easier once you understand the layout, footing depth, timber cuts, and the small details that protect the wood over time. Roof choices, cost examples, and simple care routines also help you get more value from your pergola in the long run.
If you want ideas for patios, outdoor upgrades, or backyard projects, read other guides on the website for more helpful home updates.

With a Master’s in Architecture from the University of California, Berkeley, Alexander Martin has dedicated the last 18 years to enhancing outdoor living through thoughtful and robust structure design. His career kicked off in urban planning, giving him a unique perspective on integrating structures into diverse environments. In 2019, Alexander brought his expertise to our website, offering insights into creating versatile outdoor spaces. Since then, he has been the lead advisor for our outdoor design projects and is known for his ability to merge functionality with environmental consciousness. Alexander enjoys rock climbing outside of work and participates in community development projects, activities that reflect his passion for the outdoors and sustainable design.