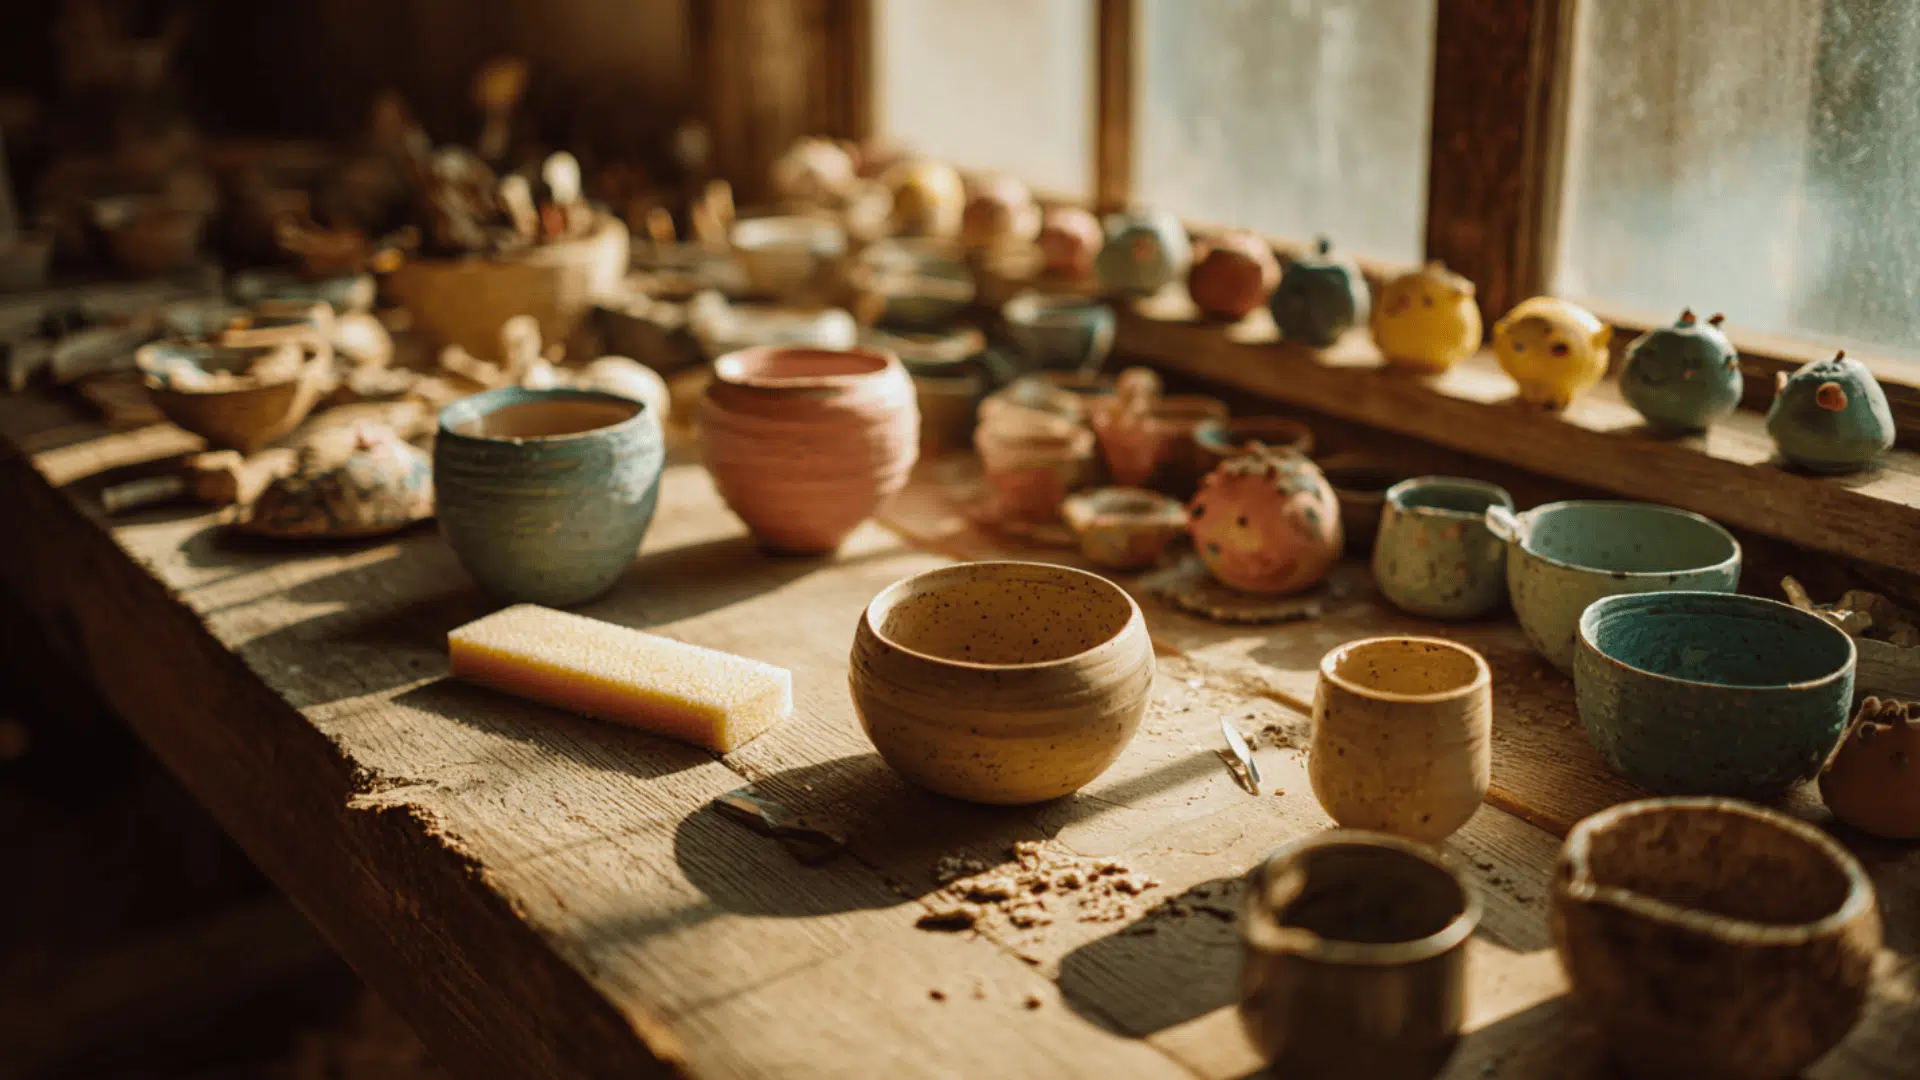
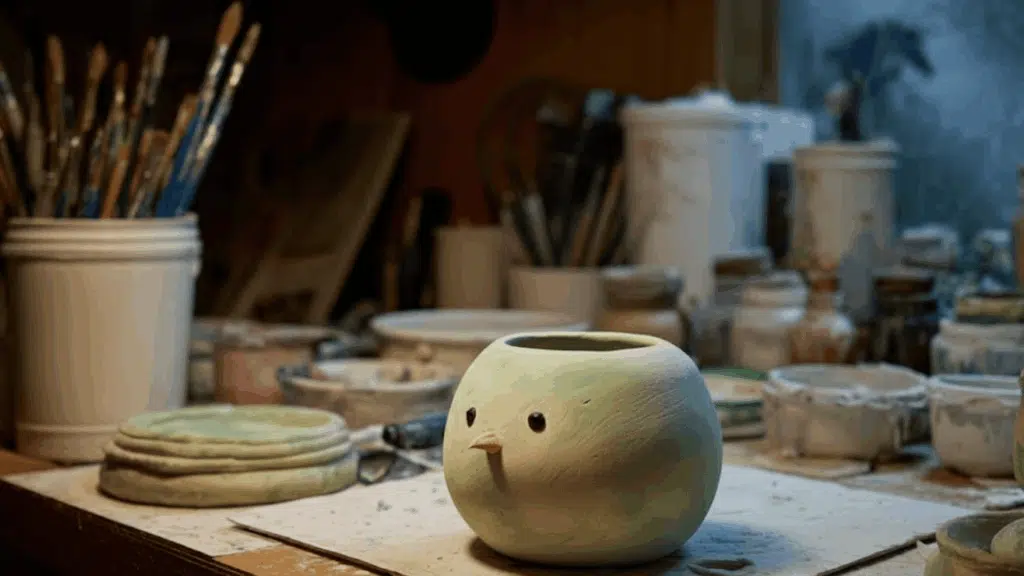
Pinch pots are a simple way to enjoy working with clay, and they offer plenty of room for creativity. You can shape them by hand, adjust the form as you go, and experiment with textures or small details without needing special tools.
This blog walks you through useful clay options, inspiring project ideas, and clear steps to help you shape a pot that dries well and looks clean.
Whether you prefer quick projects or something more decorative, these ideas will help you try new clay techniques in a relaxed, easy way while showing how flexible the pinch pot method can be.
What is a Pinch Pot?
A pinch pot is a small clay pot you shape by hand. You press your thumb into a clay ball, then pinch and turn it to form even walls. It’s one of the easiest and most beginner-friendly ways to work with clay.
Choosing the right clay helps your pinch pot hold its shape and dry well.
Here’s a quick look at the most common options.
- Air-Dry Clay: Air-dry clay is easy to handle and doesn’t need a kiln.
- Pottery Clay: Pottery clay is fired in a kiln and becomes strong once finished.
- Polymer Clay: Polymer clay is soft, colorful, and baked in a regular oven.
Each clay type works well for different projects, so choose the one that matches your skill level and the kind of pinch pot you want to make.
Top Pinch Pot Ideas
You can make many creative pinch pots with simple hand-shaping. These ideas are grouped by skill level so you can pick a project that fits your experience, whether you’re a beginner or looking for a challenge.
Cute Pinch Pot Ideas for Beginners
These beginner-friendly ideas are easy to shape and help you learn the basics of working with clay.
1. Basic Trinket Dish

A basic trinket dish is one of the easiest pinch pots to make. You shape a small bowl and keep the walls even as you turn the clay in your hand.
This dish works well for holding rings, keys, coins, or small desk items. It’s simple, quick to make, and a great first project for beginners.
2. Heart-Shaped Bowl
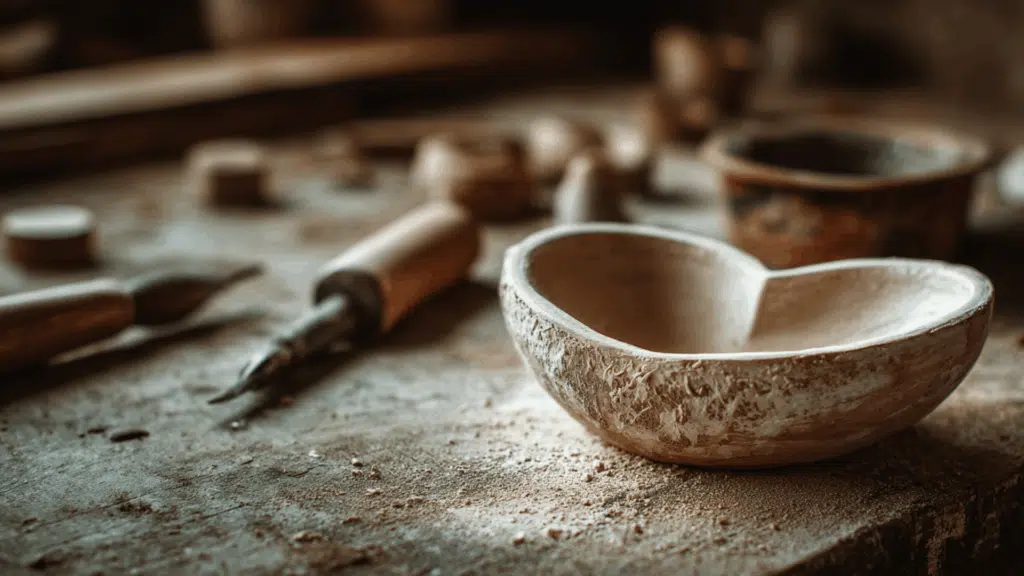
A heart-shaped bowl starts as a round pinch pot. Once you form the bowl, press a small dip at the top edge to create the heart shape.
Gently pinch the sides to define the curves. It’s an easy way to turn a basic pot into something cute and personal. This idea is perfect for gifts or simple décor.
3. Leaf-Imprint Dish

A leaf-imprint dish adds a natural look to a basic pinch pot. You place a real leaf on the clay and press it gently to transfer the texture.
After shaping the bowl, remove the leaf to reveal the lines and patterns. This project is beginner-friendly and dries beautifully. It also works well with different leaf shapes and sizes.
4. Mini Planter
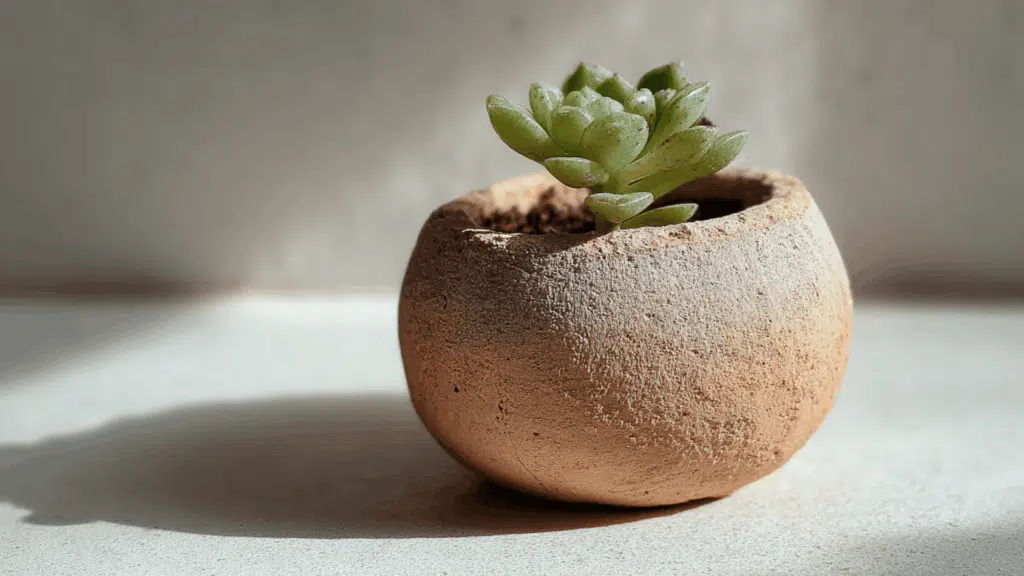
A mini planter is a small, pinch pot-shaped pot deep enough to hold a tiny plant or succulent. You start with a simple bowl and keep the walls sturdy so the pot stays strong as it dries.
You can smooth the rim or add small details for style. This project is great for beginners who want something useful and decorative.
Fun Pinch Pot Ideas for Kids
These kid-friendly ideas are fun to shape and easy to customize. They work well for classrooms, craft time, or simple projects at home.
5. Turtle Pinch Pot
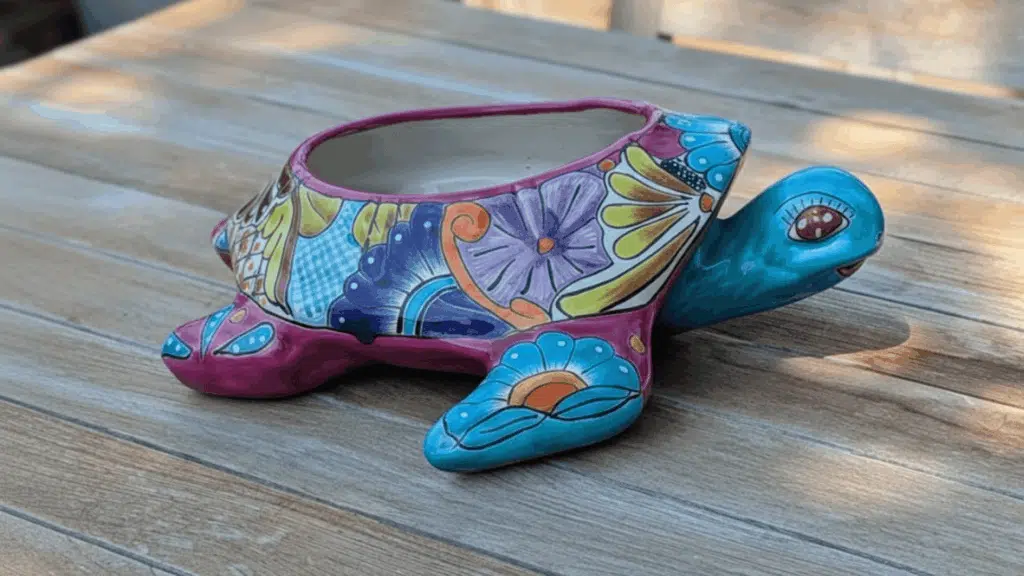
A turtle pinch pot starts with a simple bowl that becomes the turtle’s shell. You shape small legs, a tail, and a round head, then attach each piece by gently pressing it into the clay.
Kids enjoy adding eyes or simple patterns on top. This project is easy, playful, and great for building basic hand-shaping skills.
6. Fish Pinch Pot
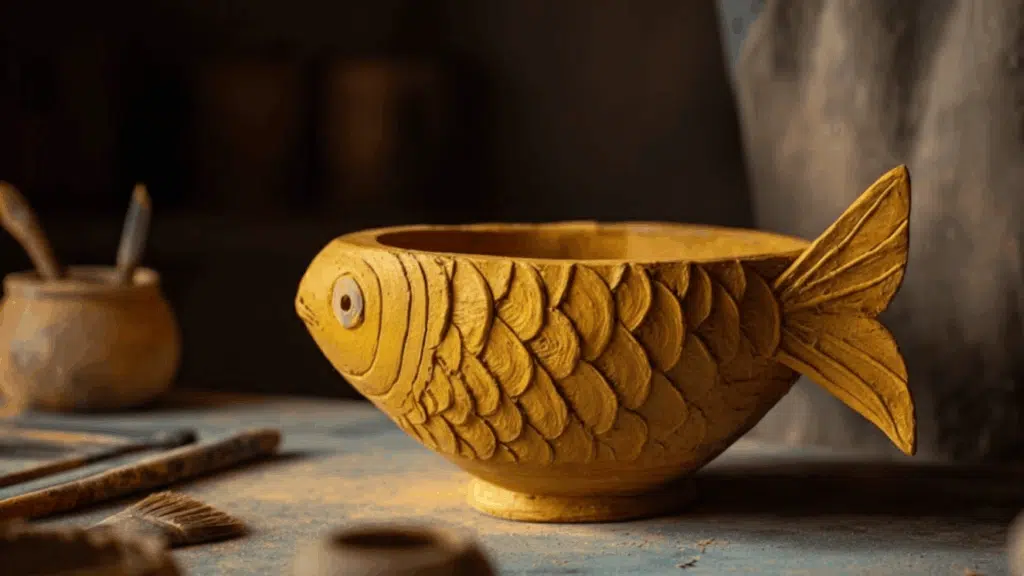
A fish pinched pot begins as a small bowl. Once the shape is set, kids add a tail, fins, and simple eyes. The wide opening works as the mouth, so there’s no need for extra shaping.
This idea is quick, fun, and easy for young hands to manage. It also lets kids experiment with color after the clay dries.
7. Hedgehog Pinch Pot
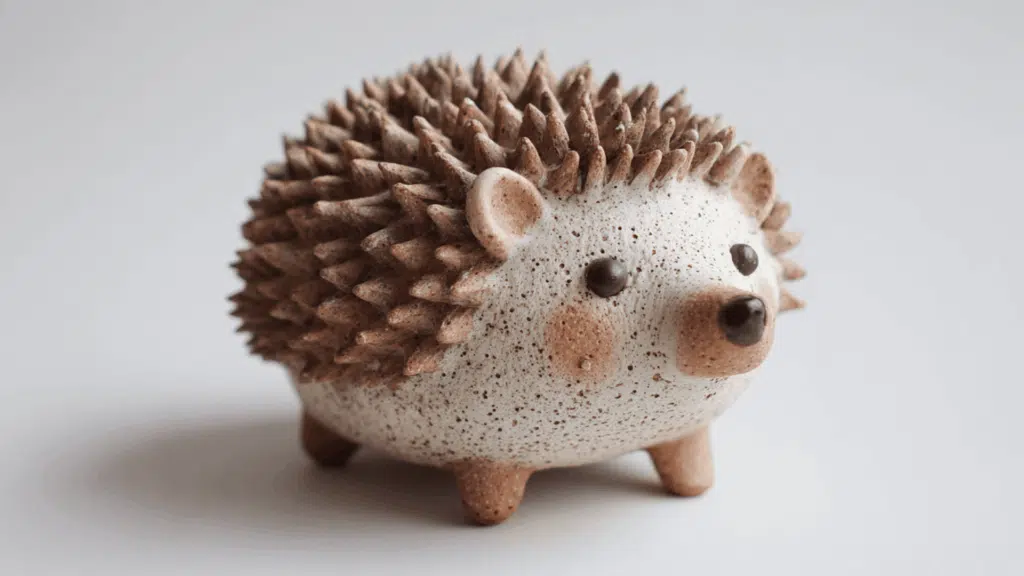
A hedgehog pinch pot has a cute, rounded shape that kids can decorate with small spikes. After forming the bowl, they press tiny marks or short clay pieces around the outside.
Simple eyes and a nose finish the face. It’s a great way for kids to practice texture and fine motor skills while making something charming.
8. Snowman Pot
A snowman pot uses two small pinch pots stacked on top of each other. The bottom pot forms the body, while the smaller top pot becomes the head.
Kids can add simple eyes, a nose, or tiny buttons. It’s a cheerful project for winter crafts and works well with air-dry clay for quick classroom sessions
Creative Pinch Pot Ideas for Adults
These ideas offer more detail and control, giving adults a chance to check shapes, textures, and more advanced techniques. They’re great when you want a project that feels creative and hands-on.
9. Tripod Pinch Pot
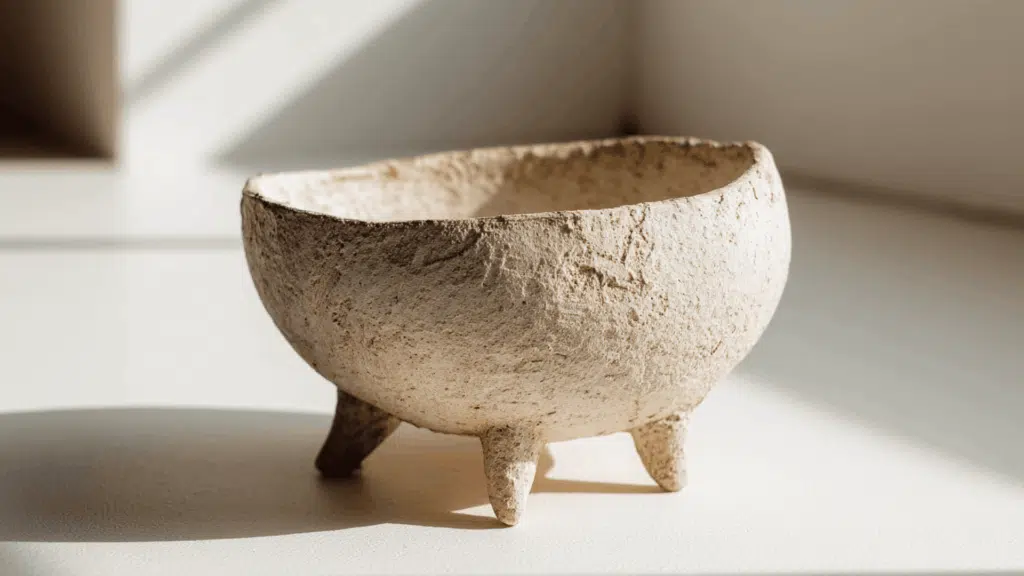
A tripod pinch pot starts with a small hand-shaped bowl. You attach three short legs around the base to lift it slightly off the table.
This project helps you practice balance, spacing, and clean connections while keeping the overall form simple. It’s a steady step up from basic pinch pots.
10. Lidded Box
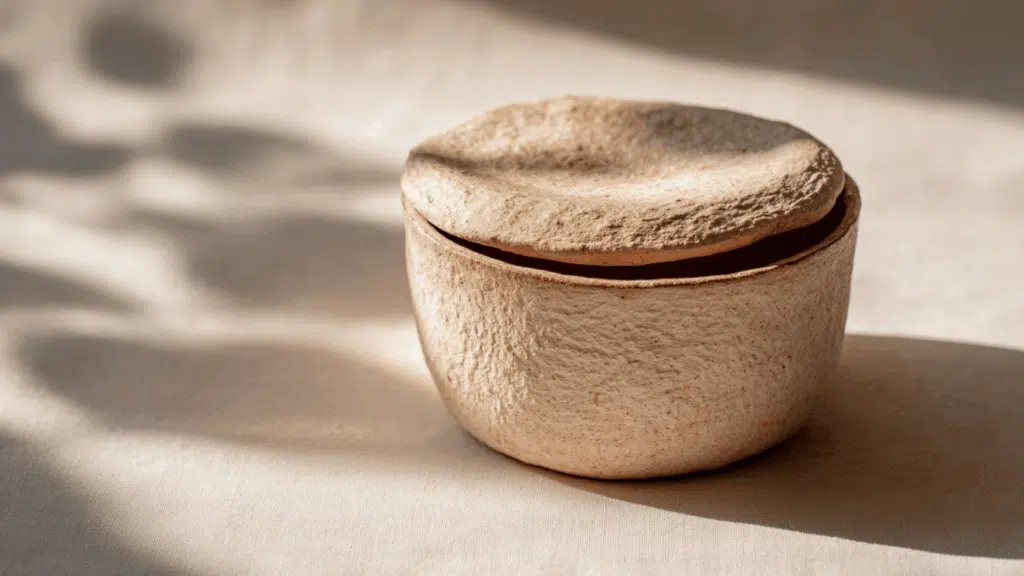
A lidded box uses two small pinch pots that fit together. One becomes the base, and the other works as the lid. You can shape a small flange or rim so the lid stays secure.
It teaches more precision and control while still keeping the building process straightforward and relaxed.
11. Teacup with Handle
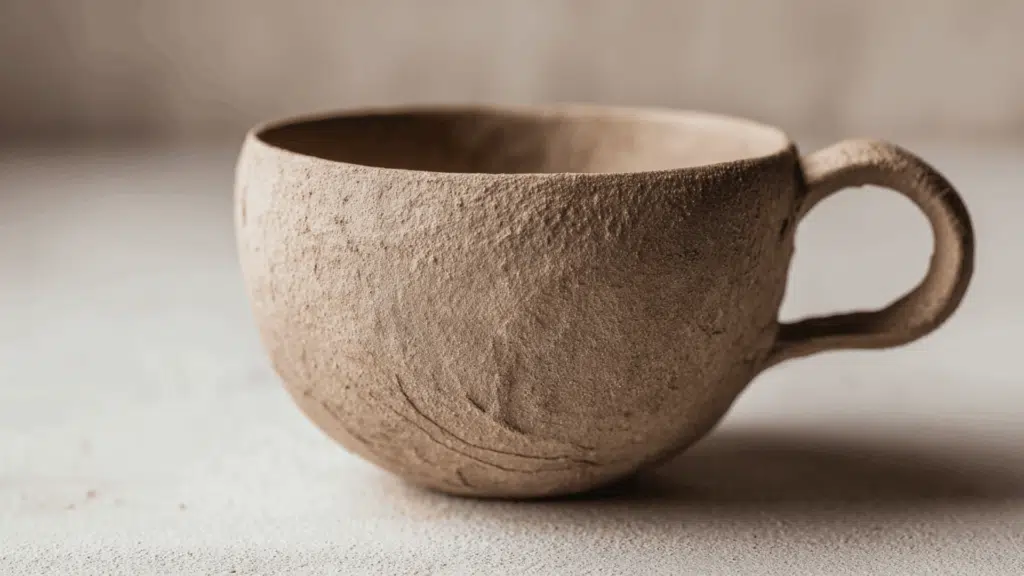
A teacup starts as a rounded pot with even walls. Once the cup shape feels right, you attach a small curved handle and smooth the edges so they blend into the form.
It’s a practical idea that helps adults practice clean attachments while making something they can use or display.
12. Face Pot
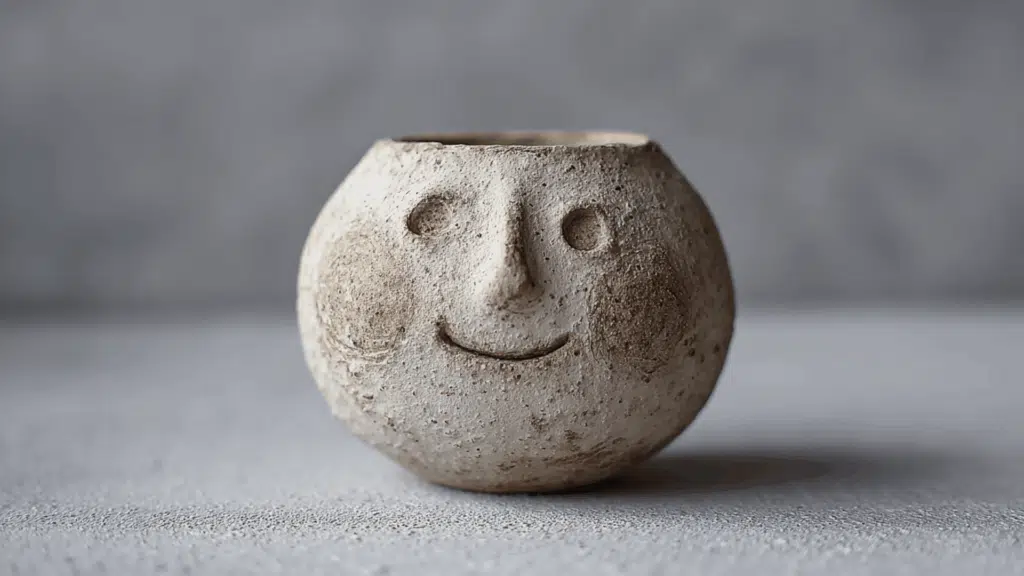
A face pot lets you carve simple features into the front of a bowl. You can press in eyes, shape a nose, or form a gentle smile. There’s a lot of room to play with expression and texture.
Painting or glazing later brings the details forward in a clear, simple way.
13. Textured Rim Bowl
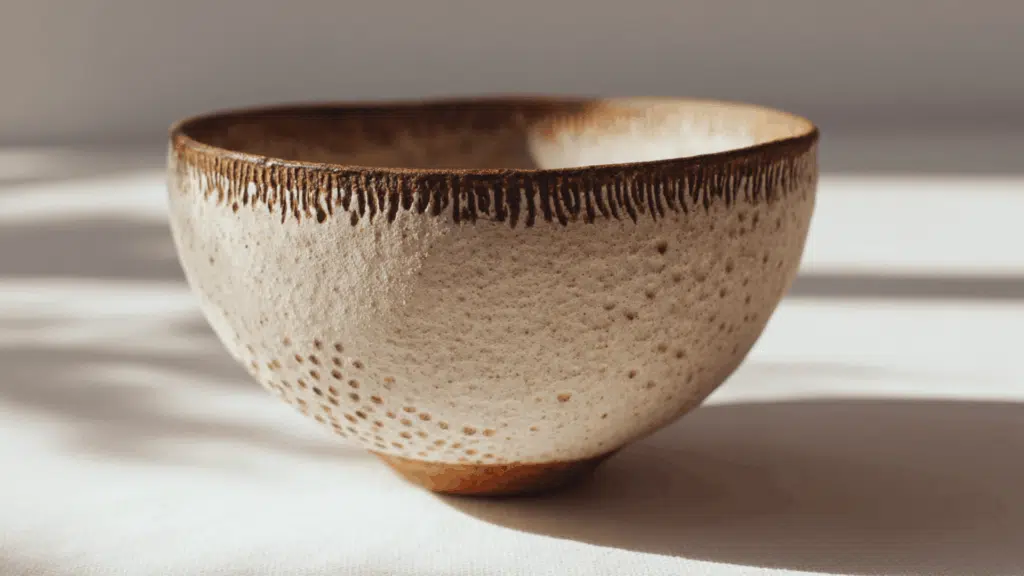
A textured rim bowl begins as a normal pinch pot. After shaping the bowl, you carve lines, dots, or patterns along the rim using small tools.
It adds a clean, decorative finish without changing the basic structure. This idea also helps build confidence in carving and surface design.
DIY Guide: How to Make a Pinch Pot
This tutorial walks you through the material and the steps so you can shape a clean, sturdy pinch pot using just your hands and a few basic tools.
Materials and Tools You Need:
- Clay
- Small cup of water
- Wooden stick or plastic knife
- Needle tool or toothpick
- Sponge or soft cloth
- Work surface
- Paints or finishes
Step-by-Step instructions:
- Roll the Clay Into a Smooth Ball: Slap or press the clay together and shape it into a round ball. Make sure there are no big cracks, since they can grow as you work.
- Press Your Thumb Into the Center: Push your thumb down into the clay ball, but don’t poke through the bottom. You need a solid base to support the pot.
- Pinch the Walls From Bottom to Top: Pinch the clay gently while turning it in your hand. Work from the bottom to the top, then top to bottom, so the walls get thinner and even all around.
- Support the Pot as It Widens: Let the table or your palm support the pot as you pinch. This keeps it from flaring out too wide and helps you control the shape.
- Smooth and Shape the Pot: Once the walls are thin enough, shape the pot the way you want. Fix thick spots at the bottom by pressing gently and tapping the base flat if needed.
- Trim and Even Out the Rim: Use a needle tool to level the rim if it looks uneven. Smooth it with a sponge or your finger. Add a tiny bit of water if cracks appear on the edge.
- Let It Dry and Fix Any Problems: Flip the pot upside down, let it dry to leather-hard, then smooth any bumps. If you want, you can add a foot ring or handle using slip and score before the final dry
For a complete in-depth DIY pinch pot video tutorial, go through the complete process below:
Simple Tips for Better Pinch Pot Results
- Warm the clay in your hands first so it softens and shapes more easily.
- Keep your pinching pressure light to avoid thinning one spot too quickly.
- Rotate the pot often so you can see the shape from every angle.
- Press cracks early with a damp finger so they don’t spread as the pot dries.
- Let the pot rest for a minute if the clay starts feeling too soft or sticky.
These small habits make your pinch pots stronger, smoother, and easier to shape from start to finish.
Conclusion
Pinch pot ideas are a great way to learn clay without feeling overwhelmed, and each idea in this blog can help you build new skills at your own pace.
You can keep things simple or try more detailed shapes as you grow comfortable with the process. With the right clay and a few easy steps, you can create pieces that feel personal, useful, and fun to display.
If you’re ready to keep going, try making a set of pots in different shapes or experiment with textures and colors to see what you enjoy most.

James McLaren, with a rich background in architecture from the University of Manchester, has been contributing his expertise to the world of creative construction and home innovation for over 20 years. His journey began as a project manager for a leading construction firm, where he honed his skills in bringing complex designs to life. James joined our platform as a freelancer in 2019, quickly becoming a favorite for his insightful and practical advice. He has been a pivotal force to our wing ever since, bringing our readers a blend of technical know-how and creative flair. Beyond his professional life, James is an avid woodworker and enjoys restoring vintage furniture, a hobby that complements his professional insights beautifully.