A DIY epoxy garage floor looks like a big project, but the process is surprisingly straightforward when it’s broken into clear steps.
With basic tools, a weekend, and a bit of patience, a stained concrete slab can turn into a bright, durable surface that feels brand-new.
I’ll walk you through everything needed: a brief materials list, a simple step-by-step plan, and extra tips for your DIY garage floor coating project.
Follow along once, and the whole process becomes easy to repeat with confidence.
Can Anyone Do a DIY Garage Floor Epoxy Coating?
A DIY garage epoxy coating is within reach for most people who are comfortable with basic home projects.
The work is more about patience and prep than special skills. The steps are simple, but they must be followed in the right order and without rushing.
Basic skills are enough. Sweeping, scrubbing, rolling paint, and mixing products are the main tasks. No specialized trade experience is required, just the ability to read instructions and work carefully.
Time and energy matter. A person should be ready for several hours of cleaning and floor prep, followed by focused coating work and curing time. Planning around weather and schedules helps the process feel manageable.
Good fits for DIY:
- Comfort with simple tools. Using a pressure washer, drill, roller, and sander should feel normal, not stressful.
- Ability to follow directions. Product labels, mixing ratios, and pot life need careful attention.
- Willingness to prep well. Cleaning, degreasing, and patching take effort, but decide how long the coating lasts.
When a pro might be better:
- Severe concrete damage. Large cracks, high moisture, or major uneven areas can need professional repair.
- No time for prep. Skipping prep often leads to peeling, so rushed conditions are not ideal.
With clear expectations and a solid plan, most people can complete a DIY epoxy garage floor and be proud of the result.
Step-By-Step DIY Garage Epoxy Floor
A DIY epoxy floor goes smoothly when the steps are followed in order, without rushing the prep. This walkthrough takes the floor from bare concrete to finished clear coat in one clear sequence.
Tools and Materials
| Item | Purpose | Quantity (example) |
|---|---|---|
| Pressure washer and stiff brush | Deep cleaning and scrubbing concrete | 1 set |
| Concrete stain remover/cleaner | Lifting deep stains | 1–2 bottles |
| Degreaser and concrete etch | Removing oil and opening concrete pores | Enough for the floor |
| Concrete patch mix and trowel | Filling cracks, pits, and low spots | 1–2 bags |
| Painter’s tape and sandpaper | Masking edges and smoothing patches | 1–2 rolls/pack |
| Epoxy garage floor kit(s) with flakes | Colored base coat and decorative chips | As coverage needs |
| Clear epoxy topcoat and non-slip additive | Protective glossy layer with traction | 1–2 kits / 1 bag |
| Rollers, brushes, mixing bucket, drill/paddle | Applying and mixing epoxy and clear coat | 1 set |
| Gloves, glasses, basic safety gear | Protecting hands, eyes, and skin | As needed |
| Leaf blower or soft broom | Clearing loose flakes before the topcoat | 1 |
Step 1: Clear the Garage and Expose the Floor
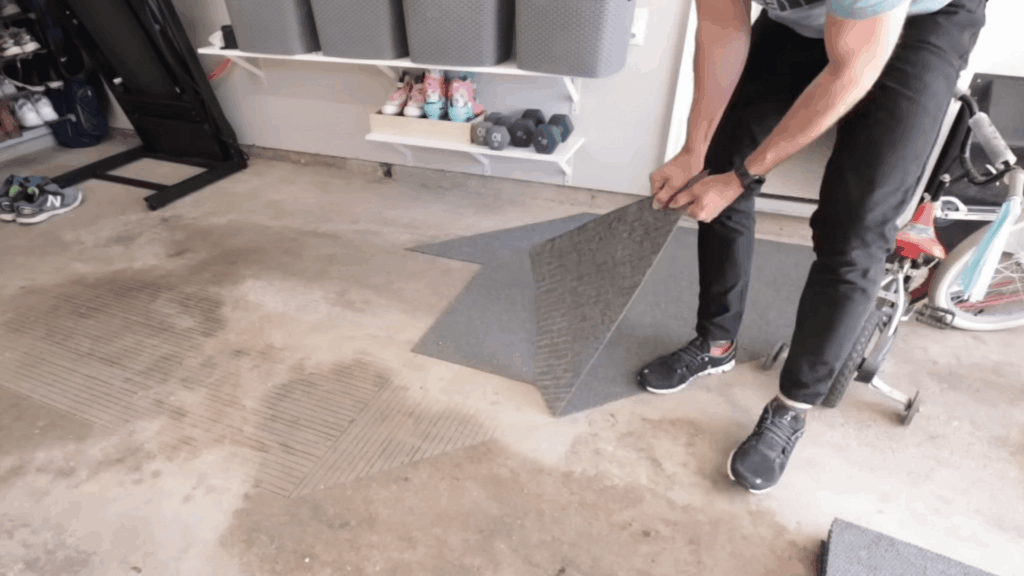
Empty the garage completely so the entire floor is exposed. Move benches, storage, tools, and boxes into another space.
Pull up any mats, carpet tiles, or runners and throw them away. Ignore sticky residue for now; later cleaning and washing will handle most of that. Aim for bare concrete everywhere.
Step 2: Wash, Clean, Degrease, and Etch the Concrete
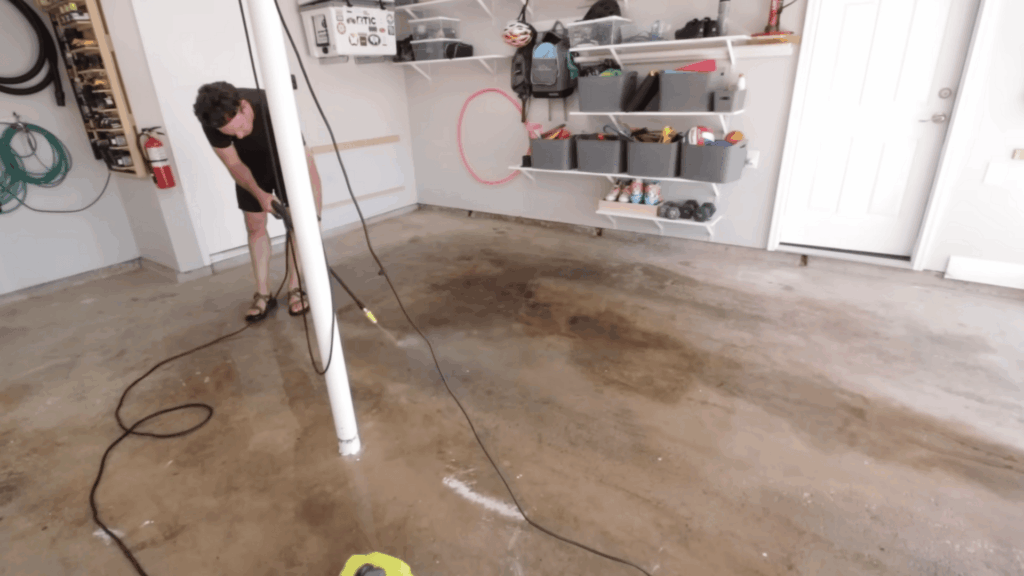
Give the concrete a deep clean. Pressure wash the surface, pushing dirty water toward the driveway.
Treat dark stains with concrete cleaner and scrub them hard. Apply a degreaser on any oily areas, rinse again, then use concrete etch mixed with water to open the pores for epoxy.
Step 3: Let the Floor Dry and Patch Cracks and Pits
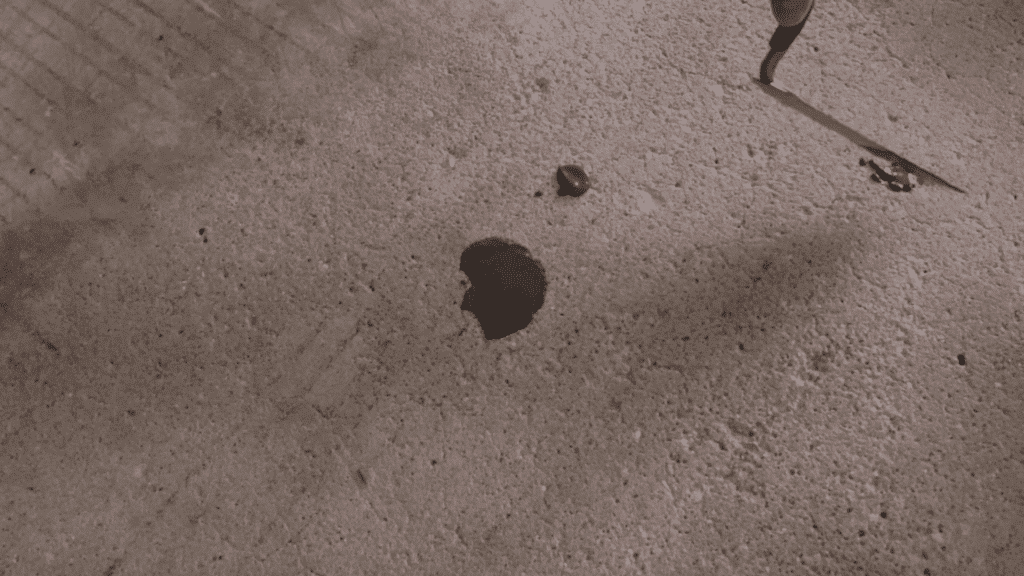
After the floor dries fully, mix the concrete patch and press it into cracks, pits, and small holes with a trowel. Smooth everything roughly level and let it cure.
Then, sand patched areas with a random orbital sander so transitions feel smooth underfoot and the coating rolls on evenly.
Step 4: Mask Edges and Pre-Mix the Epoxy Base Paint
Mask the bottom of the walls, posts, and door thresholds with painter’s tape so edges stay crisp. Measure floor area and check kit coverage.
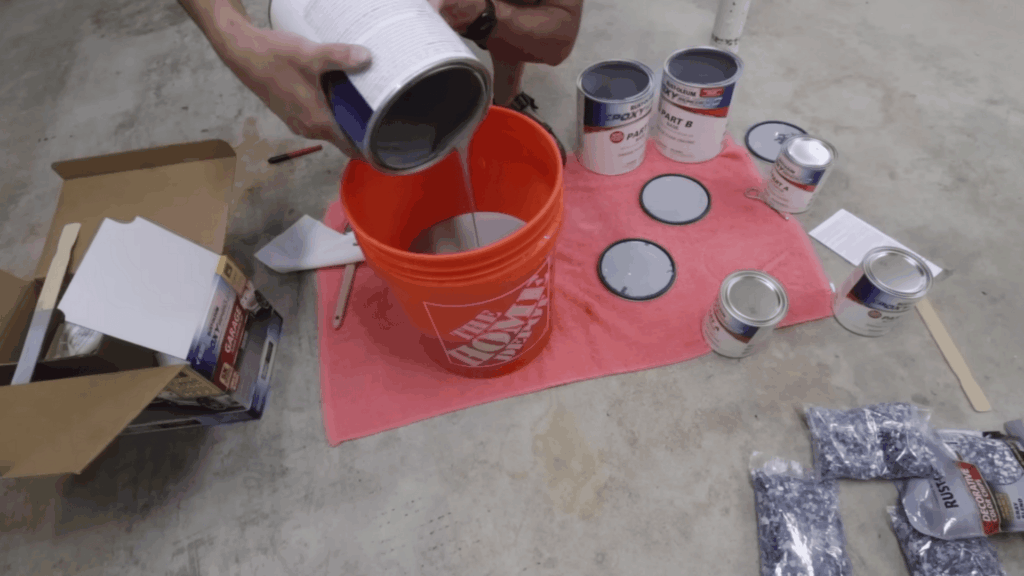
Pour all base cans into a large bucket, mix thoroughly, then pour back into cans so colour stays consistent before adding the activator.
Step 5: Activate Epoxy, Roll the Base Coat, and Add Flakes
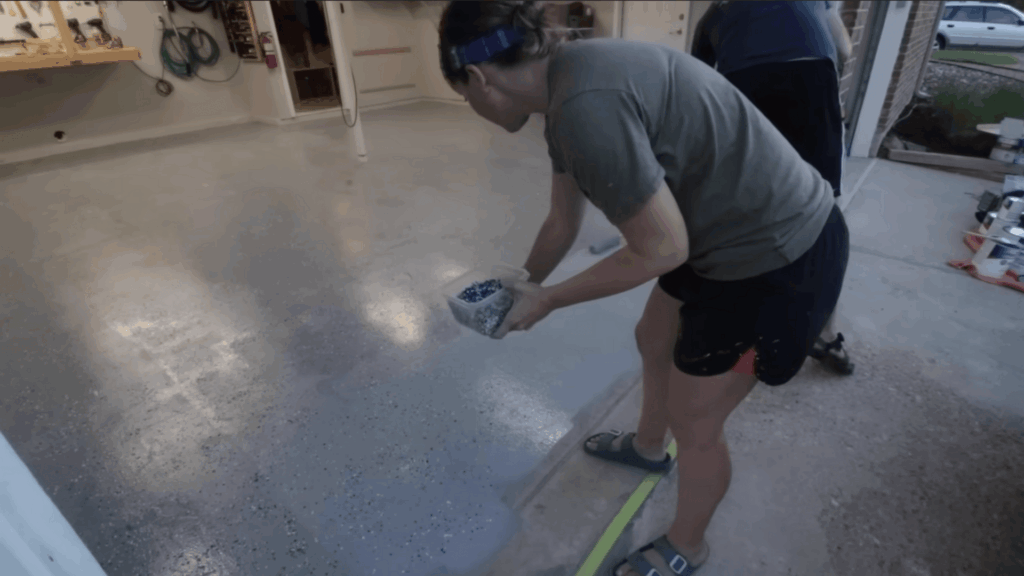
Activate one can at a time, mixing base and hardener with a drill and paddle. Cut in around edges with a brush, then roll epoxy in small sections.
While each section is wet, sprinkle colour flakes by hand, aiming for an even, medium coverage that hides repairs and stains.
Step 6: Let the Base Cure and Clear Loose Flakes
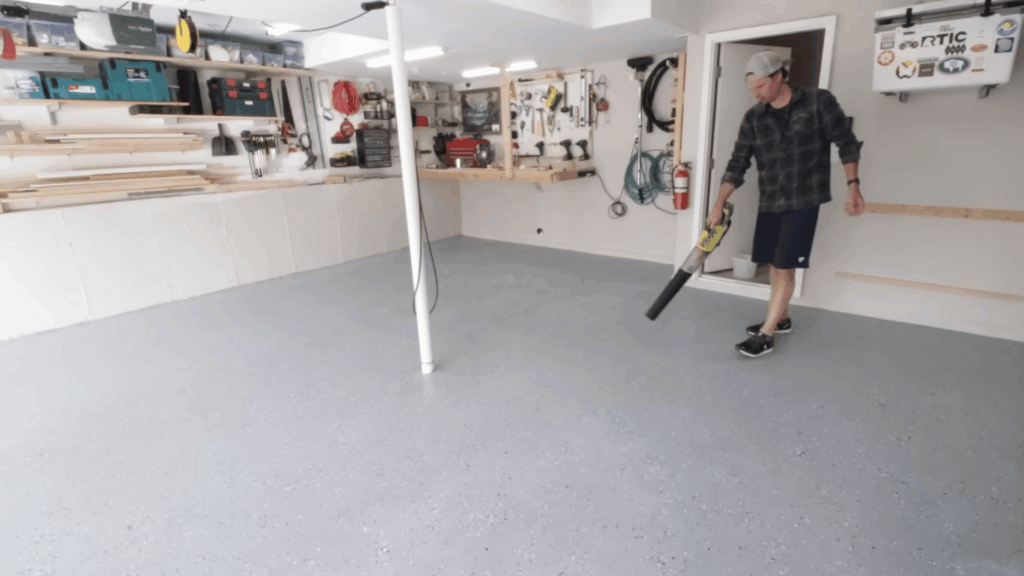
Let the base coat cure with the garage door slightly open for airflow while blocking dust and leaves.
When it is fully dry, rub the surface with a gloved hand to loosen weak flakes, then blow or sweep them away so the floor is clean before the clear coat.
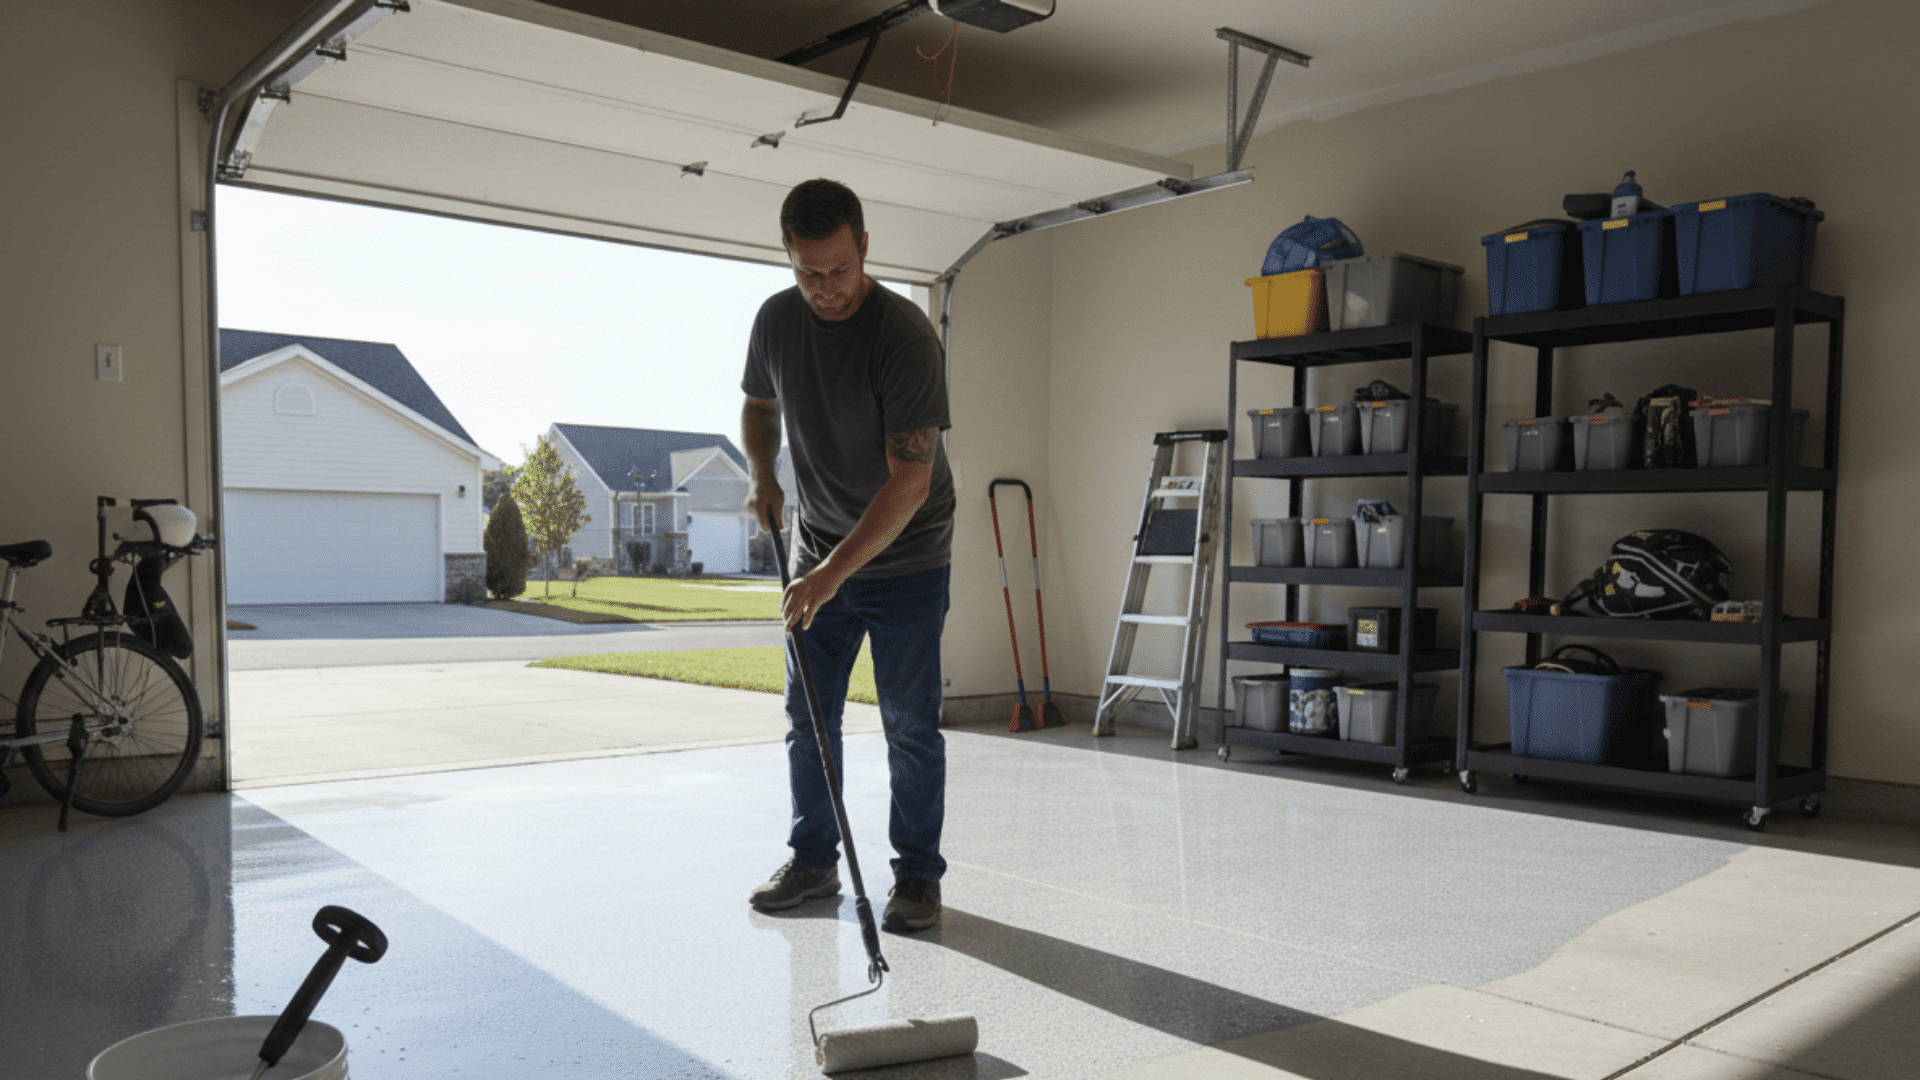
Step 7: Apply the Clear Topcoat with Non-Slip and Let It Cure
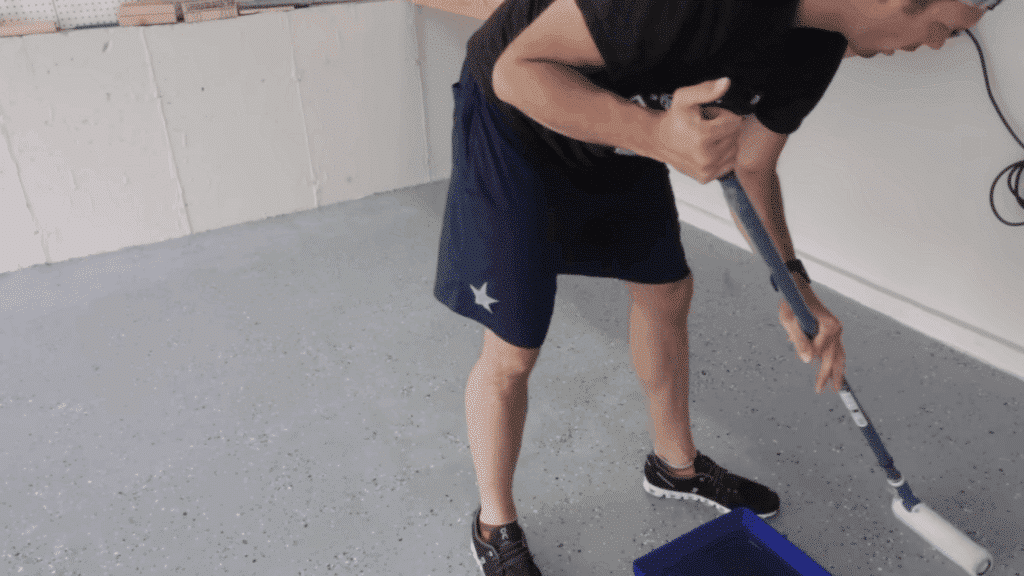
Mix the clear epoxy topcoat according to the instructions and stir in the non-slip additive. Cut in edges with a brush and roll the rest just like the base coat.
Avoid stretching one kit too far. Let the floor cure before walking, then move tools, storage, and cars back in.
Video Tutorial
Special thanks to DIY with Andrew Bacon for providing valuable insights in their video, which I referenced while creating this guide.
Check out this video for a complete video tutorial!
DIY Garage Floor Epoxy: Cost, Time, and Payoff
Knowing the typical cost, time, and lifespan for each epoxy type makes it easier to choose a kit and set realistic expectations before starting.
DIY Epoxy Cost Breakdown
DIY garage floor epoxy cost mainly comes from materials, not labor. Water-based kits sit at the budget end, solvent-based kits land in the middle, and 100% solids systems are the premium option.
Expect roughly $1.50–$6.00 per square foot in materials, depending on type and topcoat.
| Epoxy type | Approx. DIY material cost per sq ft | Typical kit cost (2-car garage) | Typical lifespan with good prep |
|---|---|---|---|
| Water-based epoxy kit | ~$1.50 – $2.00 | ~$200 – $400 | ~1–5 years |
| Solvent-based epoxy kit | ~$2.00 – $4.00 | ~$350 – $900 | ~5–10 years |
| 100% solids epoxy system | ~$3.00 – $6.00 | ~$600 – $2,000 | ~10–20 years |
These rough numbers reflect the general price pattern that water-based is cheapest, solvent-based sits in the middle, and 100% solids systems are the most durable and expensive. (Inch Calculator)
Time Needed for A DIY Epoxy Garage Floor
Plan one full day for heavy cleaning, degreasing, etching, and patching, plus drying time between steps. Set aside a second day for rolling the base coat and clear coat.
Most products allow light foot traffic after twenty-four to forty-eight hours, and vehicle traffic after three to seven days.
Is the Payoff Worth It?
Done properly, a DIY epoxy garage floor can last several years with water-based kits and a decade or more with quality solvent-based or 100% solids systems.
The surface becomes brighter, easier to clean, and far more resistant to stains and chemicals, while still costing far less than professional installation. So if you have the time and want to get involved with a personal project, a diy garage floor coating is certainly worth it.
DIY Garage Floor Coating Tips for A Pro Finish
A DIY epoxy floor can look surprisingly close to a pro job with a few smart habits. These simple tweaks make the coating smoother, more even, and longer-lasting without adding much time or cost.
Work in small sections. Roll the epoxy in modest areas so the surface stays wet while flakes are thrown. This keeps coverage even and prevents bare or overly heavy spots that stand out later.
Control drips and mess. Keep a towel or cardboard under paint trays and along the doorway. Catching drips early stops random hardened spots on the driveway or finished floor that are hard to remove.
Don’t stretch the topcoat. Plan for an extra clear coat and a non-slip additive instead of trying to make one kit cover too much. A generous top layer protects the base, locks in flakes, and feels smoother underfoot.
Use light, steady airflow. Crack the garage door and, if needed, use a fan on low. Gentle ventilation helps curing but avoids strong drafts that blow dust, leaves, or insects into the wet epoxy.
Clean as you go. Wipe tray edges, handles, and small spills immediately. Keeping tools and surfaces tidy helps rollers glide better, reduces ridges, and keeps the final finish looking clean and consistent.
Pro tip: Stage everything before mixing epoxy. Set out rollers, trays, flakes, clear coat, safety gear, and cleanup towels first. Once the epoxy is activated and the pot life starts, being fully prepared makes the whole process calmer and far more controlled.
Conclusion
A DIY epoxy garage floor stops feeling like a risky project once the steps are clear.
With solid prep, a good kit, and a bit of patience, stained concrete turns into a bright, durable surface that handles daily life easily.
This guide breaks the work into simple stages, from cleaning and patching to base coat and topcoat.
With the right expectations on cost, curing time, and effort, most people can tackle this project once and enjoy the results for many years.
The finished coating is easier to clean, looks better in photos and videos, and adds real value to the space.
Frequently Asked Questions
How Long Does A DIY Epoxy Garage Floor Last?
With good prep and a quality kit, a DIY epoxy garage floor often lasts around 5–10 years, and premium systems can go even longer under lighter use.
How Much Does It Cost To Epoxy A Garage Floor Yourself?
Most DIY projects for a two-car garage land roughly between $100 and $500 in materials, depending on floor size and the type of epoxy and topcoat chosen.
Is An Epoxy Garage Floor Slippery?
Glossy epoxy can be slippery when wet, but adding color flakes and a non-slip additive in the clear topcoat greatly improves traction while keeping a clean, polished look.

James McLaren, with a rich background in architecture from the University of Manchester, has been contributing his expertise to the world of creative construction and home innovation for over 20 years. His journey began as a project manager for a leading construction firm, where he honed his skills in bringing complex designs to life. James joined our platform as a freelancer in 2019, quickly becoming a favorite for his insightful and practical advice. He has been a pivotal force to our wing ever since, bringing our readers a blend of technical know-how and creative flair. Beyond his professional life, James is an avid woodworker and enjoys restoring vintage furniture, a hobby that complements his professional insights beautifully.