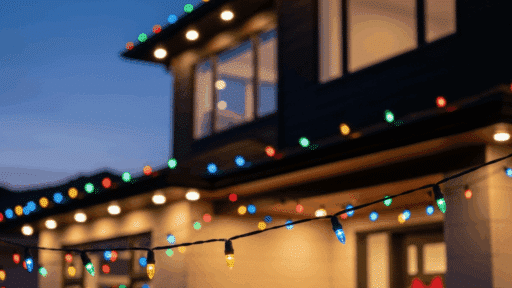

If you’ve ever hung Christmas lights that looked uneven, fell down in the wind, or turned into a tangled mess the next day, you’re not alone.
Most problems come from two things: using the wrong clips for the surface and skipping a simple plan. This blog keeps it practical.
You’ll learn how to measure once, build clean runs, hide jump cords, and keep spacing straight so the house looks sharp from the street.
You’ll also get quick options for windows, brick, and siding, plus a take-down and storage routine that saves time next year. No special skills, just the right sequence.
How to Hang Christmas Lights Step-By-Step
A clean install starts before you climb the ladder. This step-by-step method helps you measure once, cut clean runs, hide gaps with jump cords, and keep spacing straight for a professional look.
Materials Required
Gather everything first so you’re not stopping mid-install to hunt for clips, plugs, or extra bulbs.
| Item | Quantity | Purpose |
|---|---|---|
| Empty socket light line (12″ spacing) | As needed (total linear feet) | Main light runs cut to fit the roofline/peaks/ridges |
| LED filament bulbs (multi-color) | 1 per socket (+ extras) | Screws into sockets to create the display |
| Clips (all types) | 1 per socket (plus a few extras) | Mounts every light neatly on shingles, fascia, hips, and ridges |
| Plugs (male + female + vampire) | As needed (typically: 1 male at power start, 1 female to receive; + vampire taps where required) | Connects runs, builds extension/jump cords, and taps power mid-line |
| No-socket wire (same gauge) | As needed (total jump/extension length) | Makes extension cords and jump cords for gaps |
| Measuring tape + marker | 1 each | Measures roof sections and labels the cut list |
| Cord cutter / heavy scissors | 1 | Cuts line and wire cleanly |
| Ladder + basic roof safety gear | 1 set | Safe access and handling during installation |
| Outdoor-rated smart plug (optional) | 1 | Schedules on/off control from indoors |
Pro tip: Take one photo of your roofline map and measurements before you start cutting, next year’s setup will be twice as fast.
Step 1: Choose the Bulb Style and Plan the Color Pattern
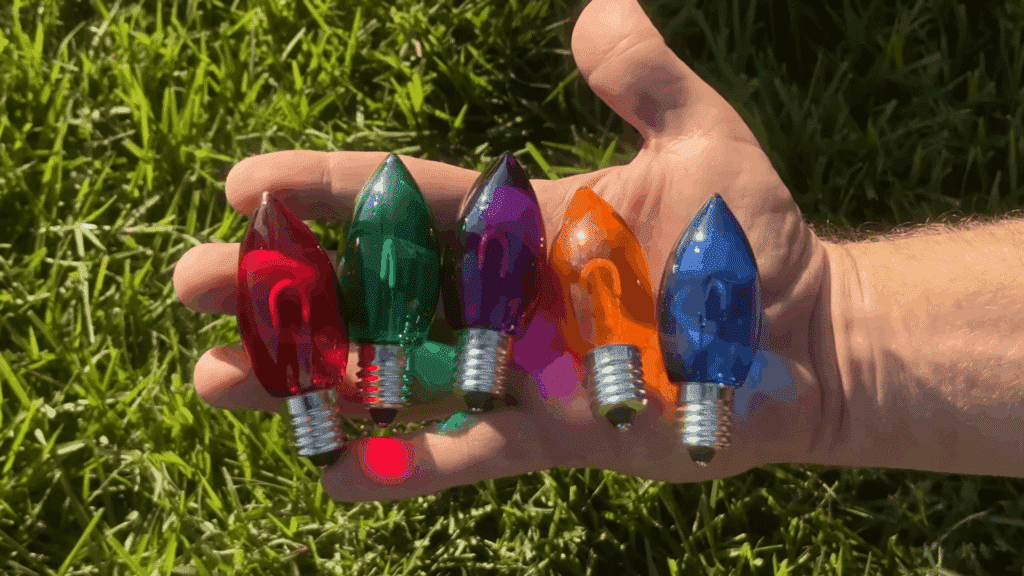
Pick LED filament bulbs if you want a brighter, modern look, especially on newer homes. Before touching the roof, decide on a simple repeating color order that will stay consistent across every run.
Planning the sequence now prevents doubled colors, uneven repeats, and random-looking sections later.
Step 2: Measure the Roofline, Hips, and Ridges, and Sketch a Map
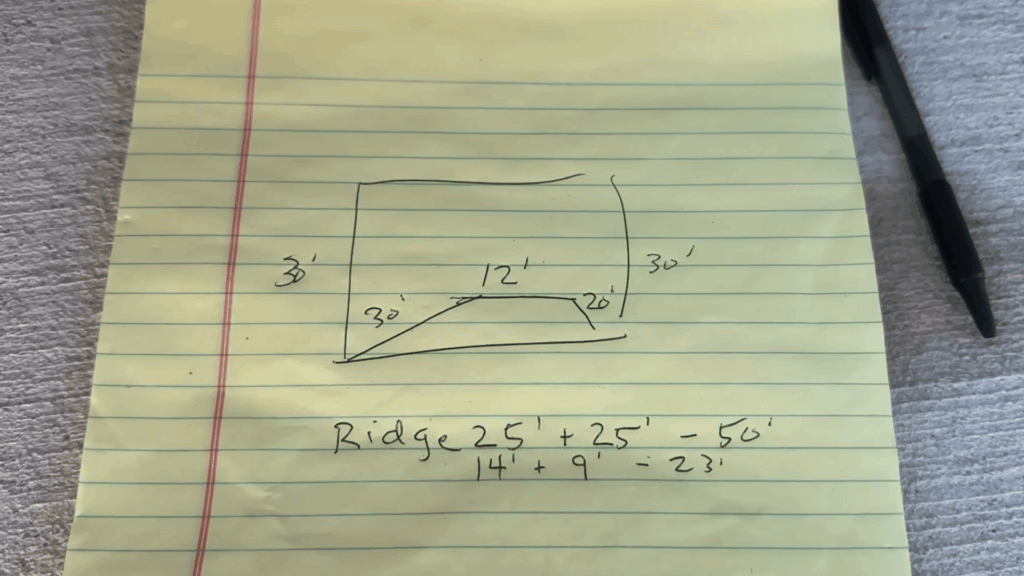
Measure every edge, peak, hip, and ridge you want lit, then draw a quick map with each length labeled.
This becomes your cut list. Accurate measuring saves time, reduces waste, and prevents gaps. Include where you want blank spaces, so jump cords can bridge them cleanly.
Step 3: Cut Strands to Length and Always Add Extra
Cut each run to match your measurements, then add at least one extra foot to every piece. This small buffer protects you from misreads, tight corners, and surprises at peaks.
You can trim later once everything is installed. Cutting long keeps the final result clean and stress-free.
Step 4: Dry Lay Everything on The Ground Before Installing
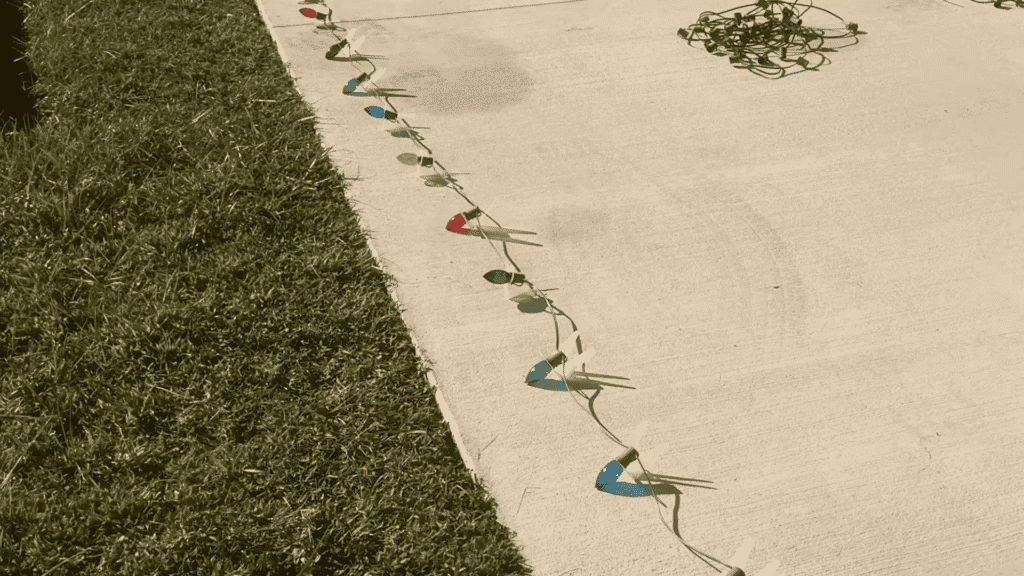
Lay each cut strand in order on the ground, matching your map: outline sections, peaks, and ridge runs. This confirms lengths and prevents mixing pieces up once you’re on the roof.
Keep plugs off for now so changes are easy. Dry layout is the fastest way to avoid rework.
Step 5: Insert Bulbs in A Consistent, Repeating Order
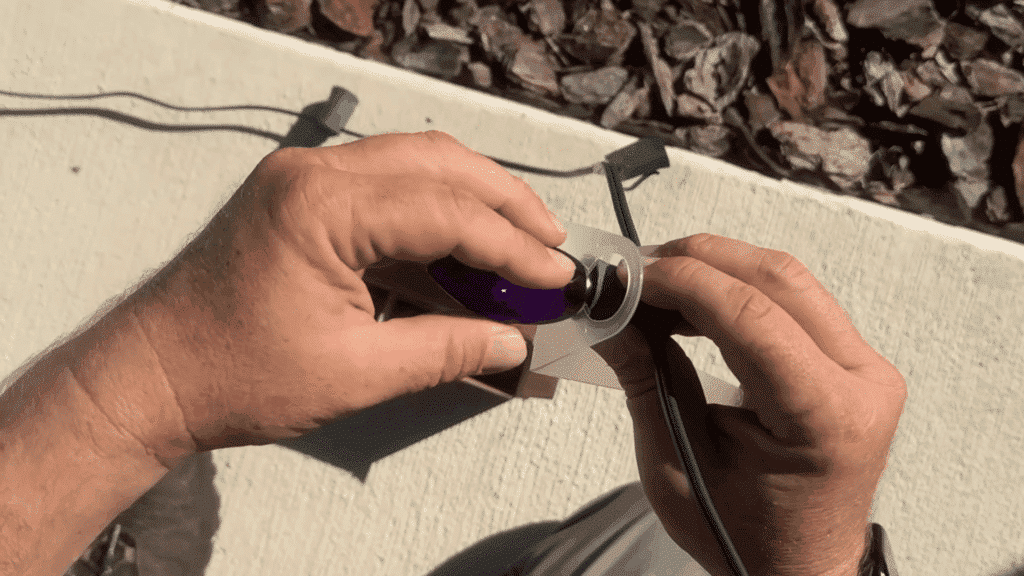
Lay bulbs out in the order you want before screwing them in, using an easy counting system like sets of five that always start with the same color.
This keeps the pattern uniform across the home. Screw bulbs into sockets carefully so every bulb sits snug and points outward evenly.
Step 6: Install the Correct Clips for Each Surface
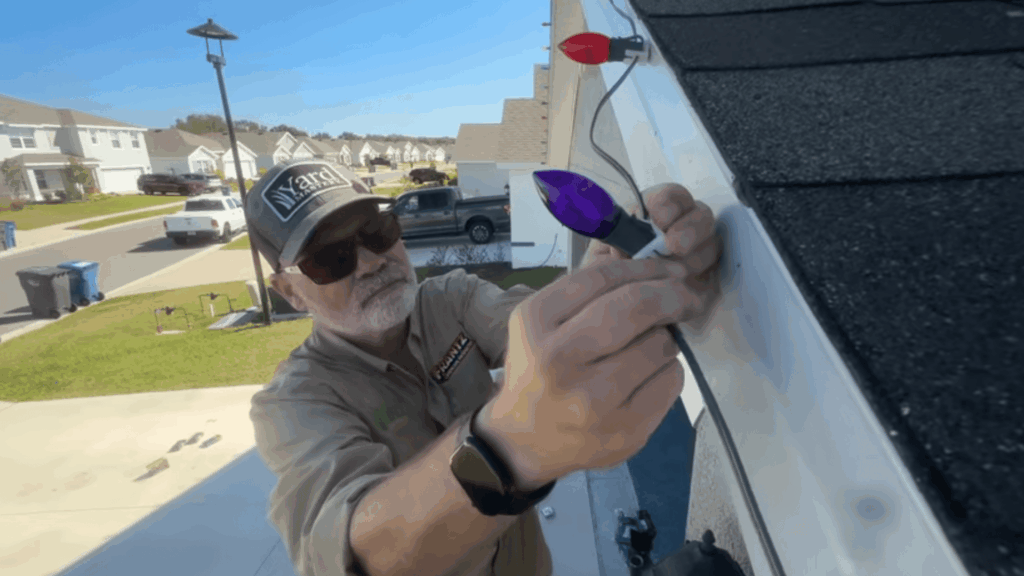
Add a clip to every socket so spacing stays factory-perfect at 12 inches.
Use shingle-tab clips where you can slide under shingles, ridge clips on hips and ridges, and magnetic clips on fascia if you want a cleaner front edge. Proper clips keep bulbs straight, secure, and aligned.
Step 7: Decide Your Power Start, Build Extension, and Jump Cords
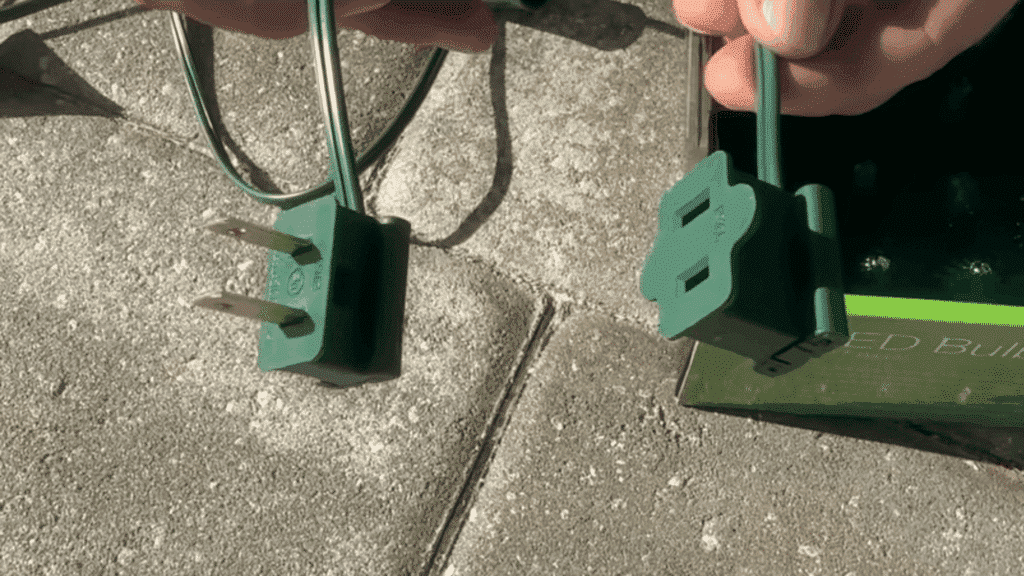
Choose the outlet location, then make a custom extension cord using no-socket wire with a male end at the outlet and a female end at the first run.
For blank roof gaps, make jump cords the same way and lay them discreetly on the roof to connect runs invisibly.
Step 8: Power Ridges with An Inline Vampire Tap and Test Everything
To feed the hips and ridges, run a cord from the ridge start down to a powered section and attach an inline vampire plug over the live line, then plug your ridge feed into it.
Turn the power on, test every section, fix loose plugs, then trim the extra length for a polished finish.
Step 9: Finish the Install with A Final Night Test and Clean Trim
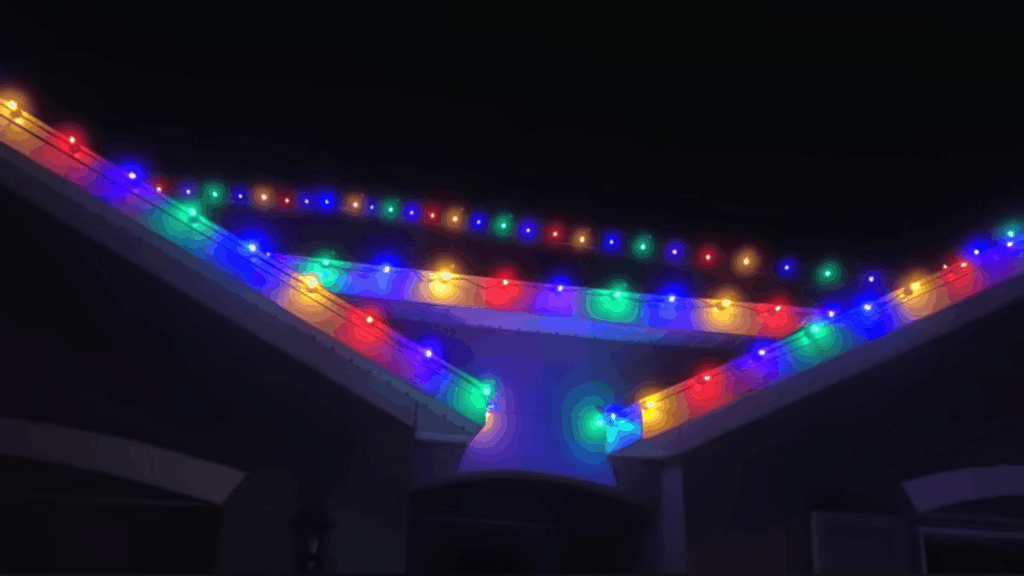
Once every run is connected with your male/female plugs, jump cords, and any vampire taps, plug into the power source and check the full outline in the dark.
Look for any dead sections or loose connections, then tighten and re-seat plugs as needed. After everything is working, trim off the extra length you left on each run so the lines look clean and intentional.
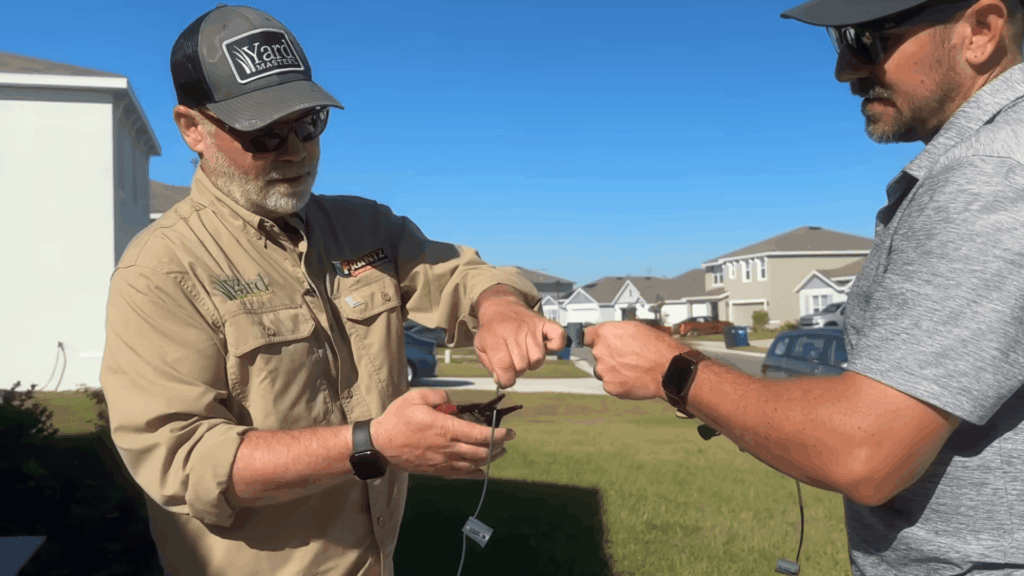
Video Tutorial
Special thanks to The Lawn Care Nut for providing valuable insights in their video, which I referenced while creating this guide.
Check out this video for the full tutorial!
Types of Christmas Lights and How to Hang Them
Different lights need different mounting strategies to look clean and professional. Use the quick guides below to match the light type to the right hanging method and best-use spots.
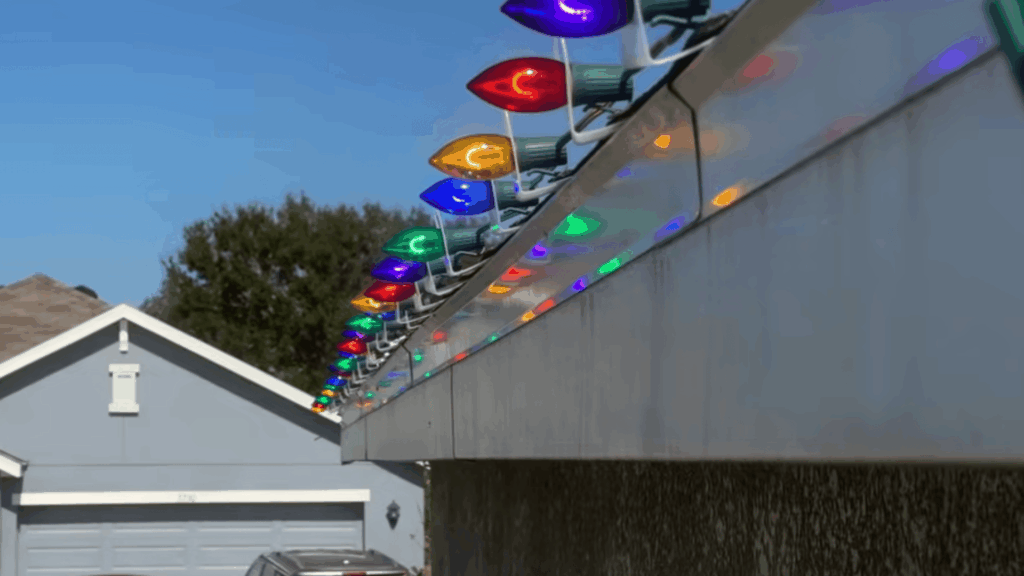
1. LED Filament Bulbs (Multi-Color or Warm White)
Bright, modern-looking bulbs with a premium glow; excellent for newer homes and displays needing extra punch and clarity.
Method:
- Pre-plan a repeating color sequence and stage bulbs in order to avoid pattern drift during installation.
- Keep bulbs facing outward by using fascia, shingle-tab, or socket-integrated clips consistently.
- Test each section before trimming extra length to maintain clean, even alignment.
Best use: Modern homes, high-visibility rooflines, and displays where brightness and “clean lines” are the priority.
2. Mini String Lights
Small, flexible lights are ideal for wrapping shapes and filling detail areas, but can look messy without frequent anchoring points.
Method:
- Secure every 12–18 inches (and at every corner/turn) using surface-appropriate clips, never staples into wire.
- Start at the power source and work outward to keep plug ends manageable and hidden.
- Use short, hidden jump runs behind trim where you don’t want visible bulbs.
Best use: Railings, shrubs, garlands, columns, and outlining smaller architectural details.
3. Icicle Lights
Hanging “drip” strands adds texture along eaves and creates a fuller facade, especially when paired with a roofline outline.
Method:
- Hang from gutter/eave clips so drops face outward and stay evenly spaced across the full run.
- Keep the top wire tight and level to prevent sagging and uneven drip lengths.
- Connect sections with hidden jump cords behind corners to avoid visible gaps.
Best use: Eaves, porch lines, and front facades where you want extra depth without adding roof ridges.
4. Net Lights
Pre-woven grids cover bushes fast and evenly, delivering a clean “ground game” look with minimal installation time required.
Method:
- Size the net to the shrub and anchor the perimeter so it stays square and doesn’t slide off.
- Secure corners first, then lightly tie midpoints to prevent bunching and dark patches.
- Hide cord routing behind the bush line and connect with outdoor-rated extensions.
Best use: Shrubs, hedges, low landscaping, and fast coverage in large front-yard areas.
5. Rope Lights
Continuous tubes create smooth lines and outlines, but need firm mounting to avoid waves, sags, or uneven brightness.
Method:
- Use rope-light mounting clips/channels rated for outdoor use and place them frequently to prevent droop.
- Measure and mark your path first; install clips, then press the rope into place.
- Keep power connections sheltered and strain-relieved so the rope doesn’t pull loose.
Best use: Path edges, porch trim accents, railings, and clean linear highlights where individual bulbs aren’t desired.
6. Fairy Lights (Micro LEDs)
Tiny twinkle-style lights add sparkle and layering, yet can tangle easily and look chaotic without structured anchoring points.
Method:
- Anchor a “spine line” first, then weave fairy lights onto it to keep the pattern controlled.
- Secure frequently with small hooks/clips to prevent sagging and wind movement.
- Store on spools after the season to avoid knots and broken wire.
Best use: Wreaths, indoor decor, trees, mantels, and outdoor accent zones where subtle sparkle is the goal.
Exceptional Cases when Hanging Christmas Lights
Some areas need different techniques because you can’t clip to shingles or use outdoor hooks the usual way.
- Indoor windows: Use suction cups or removable adhesive clips. Clean glass first, space clips evenly, route cord around corners, and hide excess behind curtains.
- Brick walls: Use brick clips or outdoor-rated adhesive hooks on mortar lines. Space supports often, avoid sharp edges, and never drill unless you’re sure it’s safe.
- Vinyl siding: Use siding hooks that slide into seams. Don’t staple. Anchor corners and turns, keep cords flat, and route behind trim for a cleaner look.
- No gutters/gutter guards: Use shingle-tab clips or fascia clips instead. Test from the ground, support corners, and use hidden jump cords to cross blank sections cleanly.
These special-case setups keep lights secure, damage-free, and still professionally finished.
How to Remove the Lights After Season
After the season, unplug everything first, then work in reverse order from your power source so you’re never dragging live cords or snagging connections.
Disconnect jump cords, then remove each run section-by-section, supporting the strand with your hand to prevent yanking on plugs or clips.
As you take each section down, coil it immediately onto a spool, cardboard wrap, or tote reel to prevent tangles.
Label each coil by location (front eave, peak, ridge) so reinstalling is faster next year. Store plugs and adapters together in a small bag, and keep lights dry, crush-proof, and rodent-safe.
Conclusion
A clean Christmas light install comes down to three things: planning the layout, using the right clips for your surface, and keeping wiring hidden and secure.
If you follow the steps in this guide, your roofline should look straight, evenly spaced, and bright, and you’ll avoid the usual problems like sagging strands, random gaps, and loose plugs.
Before you pack up, test everything at night, then trim only after it’s working. When the season ends, take lights down in reverse order and label coils for next year.
Got questions or a trick that works? Drop it in the comments.

With a Master’s in Architecture from the University of California, Berkeley, Alexander Martin has dedicated the last 18 years to enhancing outdoor living through thoughtful and robust structure design. His career kicked off in urban planning, giving him a unique perspective on integrating structures into diverse environments. In 2019, Alexander brought his expertise to our website, offering insights into creating versatile outdoor spaces. Since then, he has been the lead advisor for our outdoor design projects and is known for his ability to merge functionality with environmental consciousness. Alexander enjoys rock climbing outside of work and participates in community development projects, activities that reflect his passion for the outdoors and sustainable design.