
Planting a single garlic clove produces an entire bulb with multiple cloves, one of the most satisfying returns in the garden.
Garlic rewards patient gardeners with flavorful harvests that store for months, but success depends on understanding the right timing, soil conditions, and care practices.
This guide covers everything from choosing between fall and spring planting to selecting varieties, preparing your soil, handling the long growing season, harvesting at the peak moment, and properly curing and storing your crop.
With straightforward steps and practical advice, you’ll learn how to grow garlic that rivals anything you’d find at farmers’ markets or specialty stores.
When to Plant Garlic
Fall planting produces the biggest, most robust bulbs in most climates. Plant garlic cloves 4–6 weeks before the ground freezes, typically between late September and November, depending on your region.
The cloves need time to develop roots before winter dormancy, then they break dormancy in spring and grow through early summer.
Regional timing follows first frost patterns. In cold-winter areas (zones 3–5), plant in late September or early October.
In moderate climates (zones 6–7), aim for October through early November. In mild-winter regions (zones 8–10), plant in November or December after providing pre-chilling if needed.
Spring planting works when fall planting isn’t possible, but expect smaller bulbs. Plant as soon as the soil can be worked in early spring (March or April in most areas).
Spring-planted garlic has less time to develop before heat triggers bulbing, resulting in smaller heads with fewer cloves.
What to Consider Before Planting
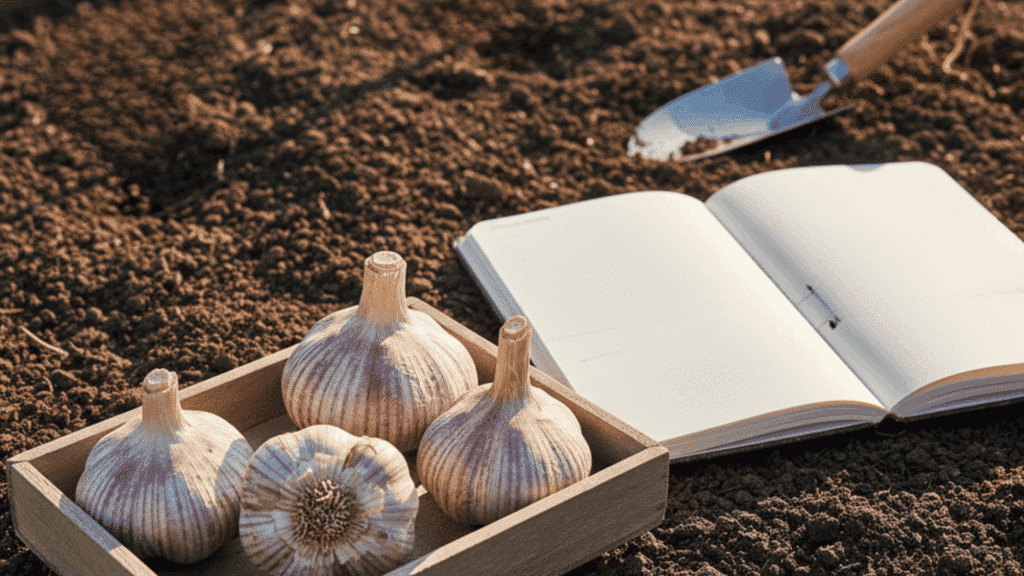
A few key decisions before you plant set the stage for a successful garlic harvest. Consider these factors to avoid common pitfalls and give your garlic the best start possible.
1. Don’t Use Grocery Store Garlic
Seed garlic from garden suppliers or local growers gives more consistent, reliable results. Grocery store garlic is often treated with sprout inhibitors, may carry diseases, and isn’t selected for your climate.
Seed garlic comes in varieties suited to specific growing conditions and offers better disease resistance.
2. Choose the Right Planting Location
Garlic needs full sun, at least 6–8 hours of direct sunlight daily for proper bulb development. More sun means bigger bulbs.
Avoid heavy shade, consistently soggy or poorly drained soil, and beds where you’ve grown onions, leeks, or other alliums in the past 2–3 years. Crop rotation prevents disease buildup in the soil.
3. Plan for the Long Season
Garlic occupies garden space for 8–9 months from fall planting to summer harvest. Make sure the bed won’t be needed for quick-turnover crops like lettuce or radishes.
If garden space is limited, consider dedicating a permanent garlic bed or using containers.
How to Plant Garlic Cloves Step by Step
Planting garlic correctly ensures strong root development and healthy growth through winter into spring. Follow these four straightforward steps for the best results.
Step 1: Prep the Bulbs
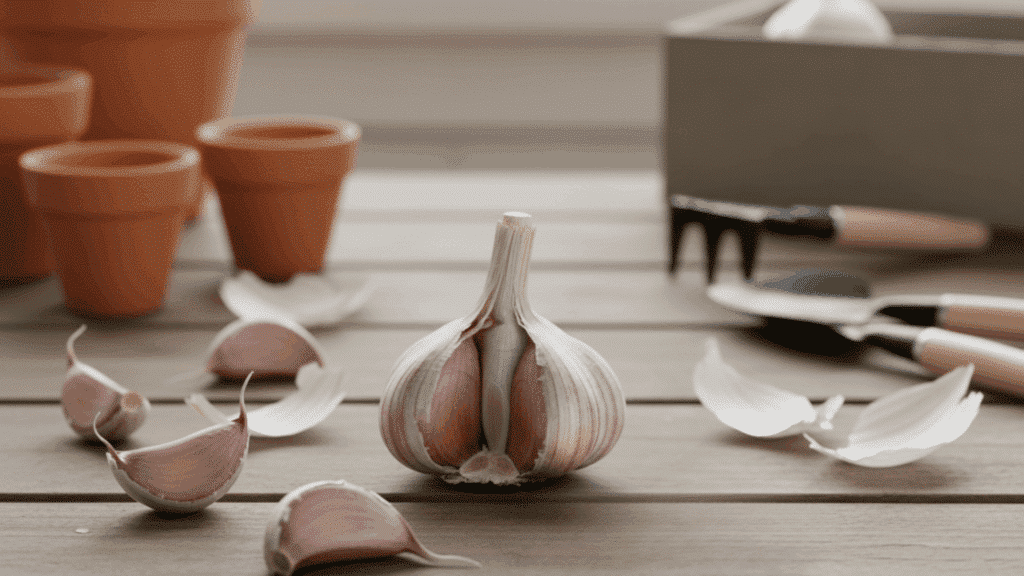
Break bulbs into individual cloves just before planting; don’t separate them weeks in advance. Keep the papery skin intact on each clove; it protects against rot and disease.
Choose the largest, healthiest cloves for planting and save smaller ones for cooking. Each clove becomes one new bulb.
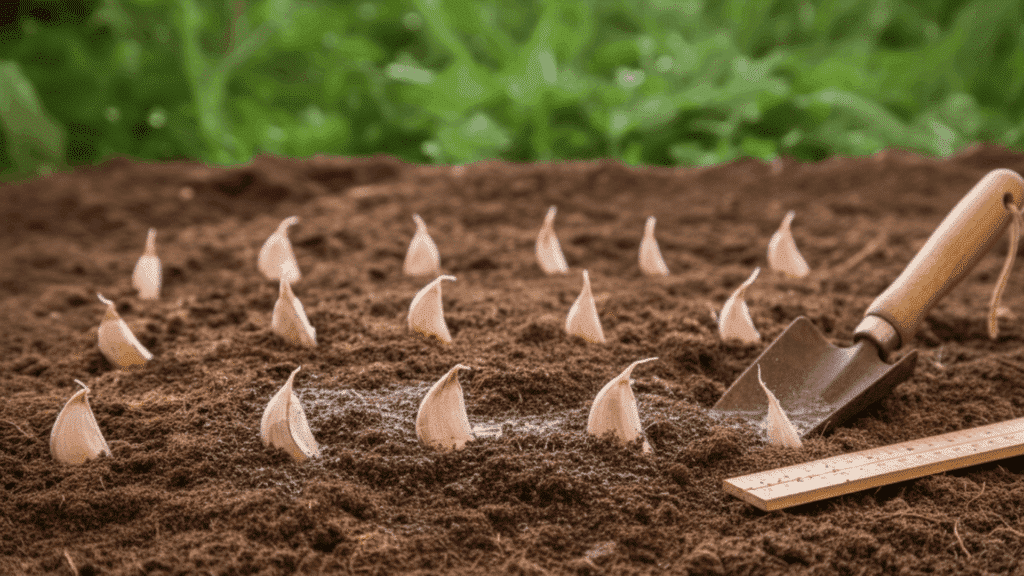
Step 2: Planting Depth, Spacing, and Direction
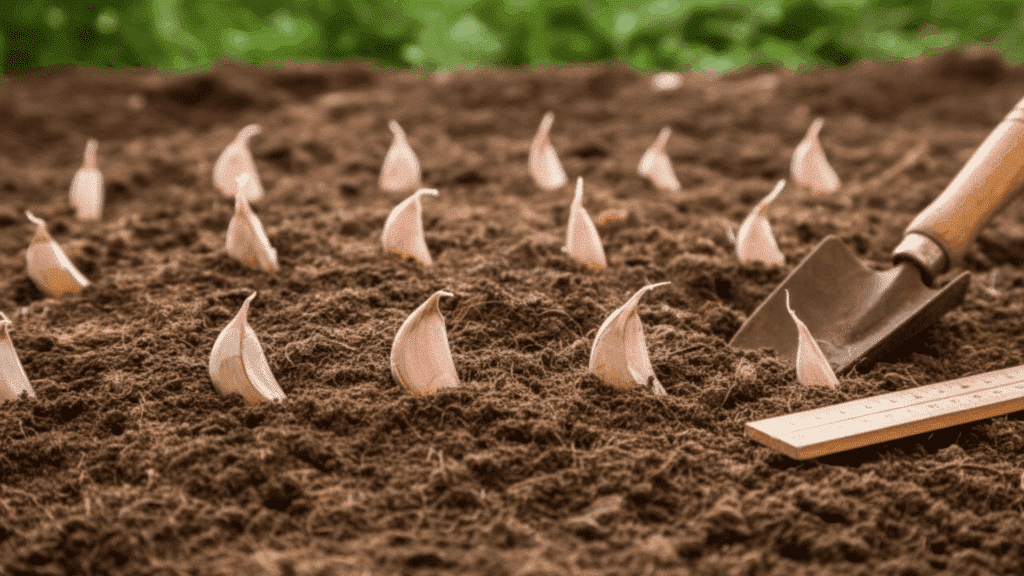
Plant cloves with the pointed end facing up and the flat root end down. Set cloves 2–3 inches deep in mild climates, 3–4 inches deep in cold-winter areas where deeper planting provides better insulation.
Space cloves 4–6 inches apart in rows 8–12 inches apart. Closer spacing produces smaller bulbs; wider spacing allows larger bulb development.
Step 3: Watering After Planting
Water thoroughly after planting to settle the soil around cloves and initiate root growth.
Keep soil evenly moist but not waterlogged through fall. In areas with regular fall and winter precipitation, supplemental watering may not be needed until spring.
In dry climates, water every 2–3 weeks if natural rainfall is insufficient.
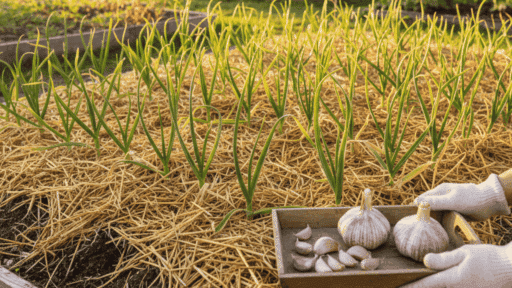
Step 4: Mulch the Bed
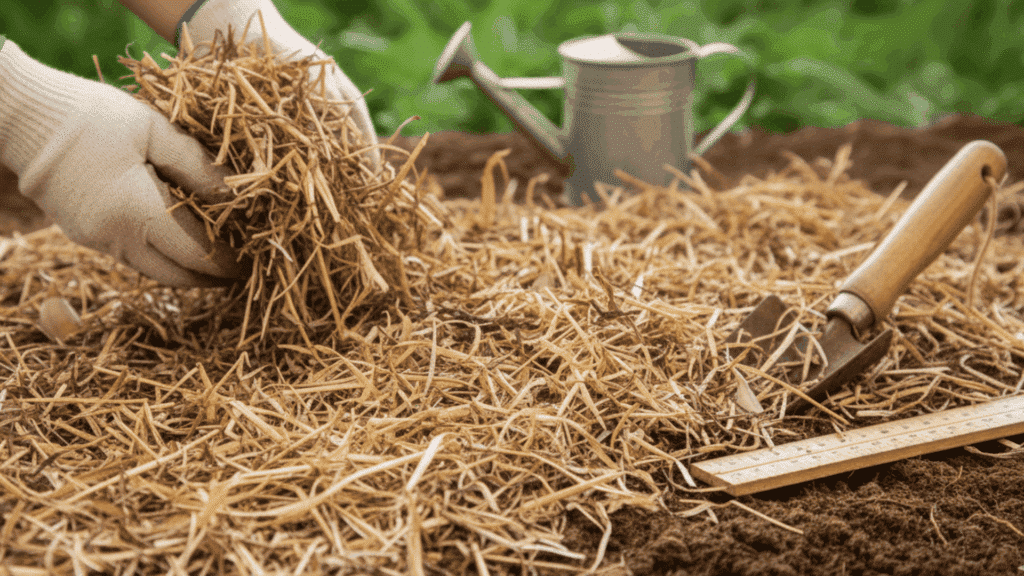
Apply your mulch layer immediately after watering. Spread 4–6 inches of organic mulch evenly across the entire bed, covering the soil surface completely.
The mulch settles and compacts over winter, so start with a generous layer.
Soil and Bed Requirements for Great Garlic
Garlic bulbs need specific soil conditions to develop properly and reach full size. Getting these basics right makes the difference between small, disappointing heads and large, storage-worthy bulbs.
| Requirement | What Garlic Needs | Why It Matters |
|---|---|---|
| Soil Texture | Loose, well-drained soil worked 8–10 inches deep | Allows cloves to expand freely; prevents misshapen bulbs; raised beds are ideal for heavy clay |
| Soil pH | 6.0–7.0 (slightly acidic to neutral) | Optimal nutrient availability; test and amend if needed |
| Fertility | 2–3 inches compost + balanced fertilizer | Provides organic matter and nutrients; avoid excessive nitrogen near planting |
| Mulch | 4–6 inches of organic mulch after planting | Protects through winter; moderates temperature; retains moisture; suppresses weeds |
Proper soil preparation and mulching create the foundation for healthy garlic growth throughout the long growing season.
Best Types of Garlic to Plant
Garlic comes in two main types, each suited to different climates and growing conditions.
Understanding the differences helps you choose varieties that thrive in your garden and meet your storage needs.
Hardneck vs Softneck
Hardneck garlic produces a central flower stalk (scape) and typically has larger cloves arranged around this hard stem.
Best for cold climates (zones 5 and colder), hardneck varieties need a cold period to form bulbs properly. They offer complex flavors but store for shorter periods—typically 3–5 months.
Softneck garlic doesn’t produce scapes and has a flexible stem you can braid.
These varieties store longer (6–8 months or more) and grow well in mild-winter climates (zones 7–10). Softneck types produce more cloves per bulb, but they’re often smaller than hardneck cloves.
Picking Varieties for Your Climate
Short-season varieties mature faster and work well for spring planting or mild climates. Long-season varieties need the full fall-to-summer cycle to develop large bulbs.
In very mild winter areas where temperatures rarely drop below 40°F, pre-chill seed garlic in the refrigerator for 6–8 weeks before planting to meet cold requirements.
How to Plant Garlic Indoors?
Container-grown garlic needs pots at least 8–10 inches deep with drainage holes. Fill with well-draining potting mix and place in the sunniest location possible, a south-facing window or under grow lights.
Indoor bulb production is challenging because garlic needs the full seasonal cycle, consistent cool temperatures for root development, and strong light. Expect smaller bulbs than those produced for outdoor planting.
For fresh garlic greens (garlic shoots), plant cloves close together—1–2 inches apart, in shallow containers filled with potting mix.
Water regularly and place it in a sunny window. Snip greens when they reach 6–8 inches tall, cutting above the soil line.
Cloves will resprout for multiple harvests. This method is perfect for winter fresh garlic flavor without waiting for bulb development.
Harvesting Garlic
Harvest when the lower 3–4 leaves have turned brown, but 5–6 green leaves remain at the top. This typically occurs in late June or July, depending on your planting time and climate.
Harvesting too early results in small bulbs with loose clove wrappers that don’t store well. Waiting too long causes the bulb wrapper to split and separate, reducing storage life.
Loosen soil around bulbs with a garden fork, working 4–6 inches away from the stems to avoid piercing bulbs. Gently lift the entire plant, roots and all.
Don’t yank plants out by pulling on stems; this can break the stems away from bulbs or damage the bulb wrapper. Brush off excess soil, but don’t wash bulbs; moisture promotes rot during curing.
Curing, Storing, and Processing Garlic
Proper post-harvest handling determines how long your garlic stays fresh and flavorful through the months ahead.
| Stage | Process | Details |
|---|---|---|
| Curing | Hang in bundles or lay in a single layer for 2–4 weeks | Shaded, well-ventilated location; avoid direct sunlight; cure until skins are papery and stems are completely dry |
| Cleaning & Trimming | Trim roots to 1/4 inch; cut stems to 1–2 inches | Brush off dirt and loose skin; don’t remove too many wrapper layers; braid softneck stems if desired |
| Storage | Store at 60–65°F in a dry, ventilated location | Use mesh bags, paper bags, or wire baskets; avoid plastic or sealed containers; don’t refrigerate whole bulbs |
| Preservation | Freeze peeled cloves, dehydrate slices, or make garlic powder | Freeze minced garlic in oil (ice cube trays); dehydrate thin slices and grind to powder; roasted garlic puree freezes well |
| Shelf Life | Softneck: 6–8 months; Hardneck: 3–5 months | Properly cured and stored under ideal conditions |
Conclusion
Growing garlic from cloves to full bulbs takes patience but delivers gratifying results.
With proper timing, soil preparation, and seasonal care, you’ll harvest flavorful garlic that stores through winter and into the following spring.
Start with fall planting for the biggest bulbs, choose varieties suited to your climate, and give your garlic the whole growing season it needs to develop correctly.
The satisfaction of pulling your own home-grown garlic, with its paper-wrapped bulbs and complex flavors, makes the wait entirely worthwhile.

With a Master’s in Landscape Architecture from the University of Virginia, Sophia Stephenson has dedicated the last 20 years to creating and maintaining vibrant outdoor spaces. Her professional journey started in landscape design, where she gained a reputation for innovative and sustainable approaches. Sophia became a part of our editorial team as a freelancer in 2019, offering a fresh perspective on outdoor living. Since 2020, she has been the chief for our outdoor design content, blending aesthetic appeal with environmental stewardship. In her leisure time, Sophia is a keen photographer, capturing the beauty of natural landscapes, a hobby that complements her professional expertise.