Thinking about a bathroom makeover? A wet room bathroom might be your answer.
This design combines an open shower area with full waterproofing to create a modern, practical space.
Unlike traditional bathrooms with bulky shower doors and tubs, wet rooms feel more spacious and work better for people of all ages.
They’re especially helpful for anyone who needs easier bathroom access.
In this article, you’ll learn what makes wet room bathrooms different, the must-have features that keep them working properly, and some smart design ideas you can use in your own home.
What is a Wet Room Bathroom?
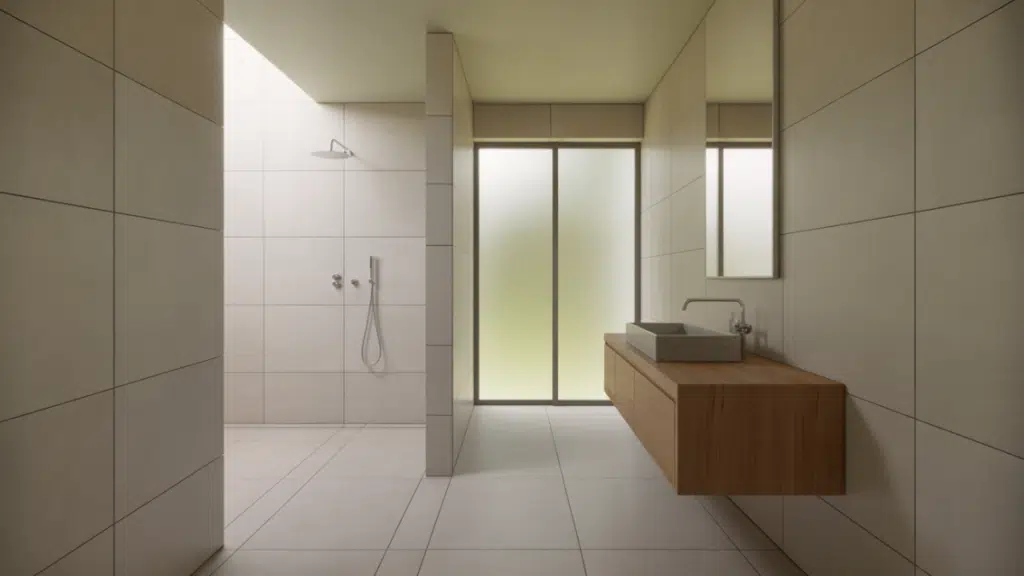
A wet room bathroom is a fully waterproofed space where the shower area stays open, and water drains through a sloped floor.
How a wet room bathroom works: The shower has no traditional enclosure. Instead, the entire floor slopes gently toward a drain. All surfaces are waterproofed, so the whole room can handle water exposure safely.
Wet Room Bathroom vs Traditional Bathroom
| Feature | Wet Room Bathroom | Traditional Bathroom |
|---|---|---|
| Shower enclosure | Open, no doors or curtains | Enclosed with doors, curtains, or walls |
| Floor threshold | No curb or step | Raised threshold or shower tray |
| Space feel | Larger, more open | Divided into sections |
| Waterproofing | Entire room treated | Mainly the shower area |
| Drainage | Sloped floor with drain(s) | Drain inside the shower pan |
| Accessibility | Easy, barrier-free | May require stepping over the curb |
Key Features of a Wet Room Bathroom
Wet room bathroom design relies on specific construction and material choices to manage water safely.
1. Full Waterproofing (Tanking System)
A waterproof membrane goes behind walls and under floors throughout the room.
The membrane covers all surfaces that might get wet, not just the shower zone, creating complete protection.
2. Sloped, Slip-Resistant Flooring
The floor slopes gently toward the drain, so water flows away naturally.
Small tiles or textured surfaces provide grip when wet. The slope is subtle enough to feel comfortable but steep enough to drain properly.
3. Floor Drainage System
You can choose a central drain or a linear drain. Central drains sit at the lowest floor point.
Linear drains run along one wall, making the floor easier to slope in just one direction.
4. Wall-Mounted Fixtures
Floating vanities and toilets lift off the floor. This creates more open space and makes cleaning easier. It also keeps cabinets away from water on the floor.
5. Ventilation and Moisture Control
Strong exhaust fans are essential. They remove humidity and prevent mold. Your fan should match your room size for best results.
Wet Room Bathroom Layout Basics
Good layout planning keeps water contained while maintaining an open feel.
Start by thinking about where your shower head will be; this determines your splash zone.
A glass panel or short wall can redirect spray without blocking the view.
Place your toilet and storage away from direct water spray. Use corners and walls to protect items like toilet paper and towels.
Choose closed cabinets made from water-resistant materials for storing toiletries and linens.
Stylish Wet Room Bathroom Design Ideas
These wet room bathroom ideas focus on layout, materials, and visual balance. Each approach addresses specific needs while adding to your space’s overall look.
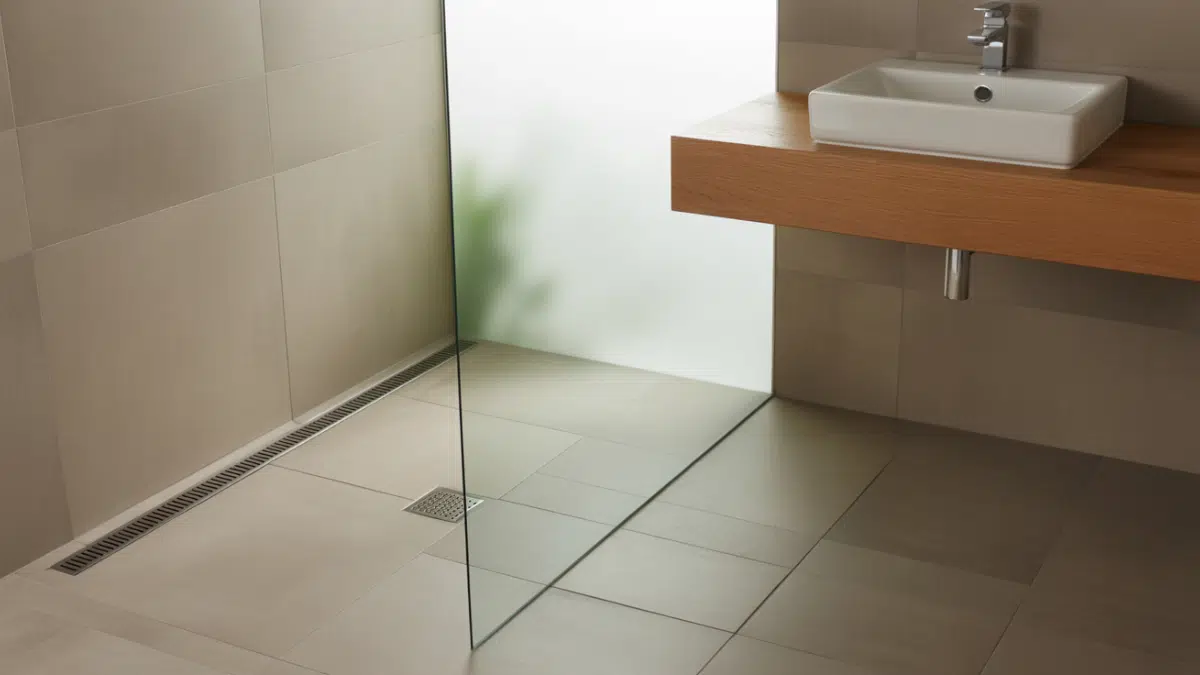
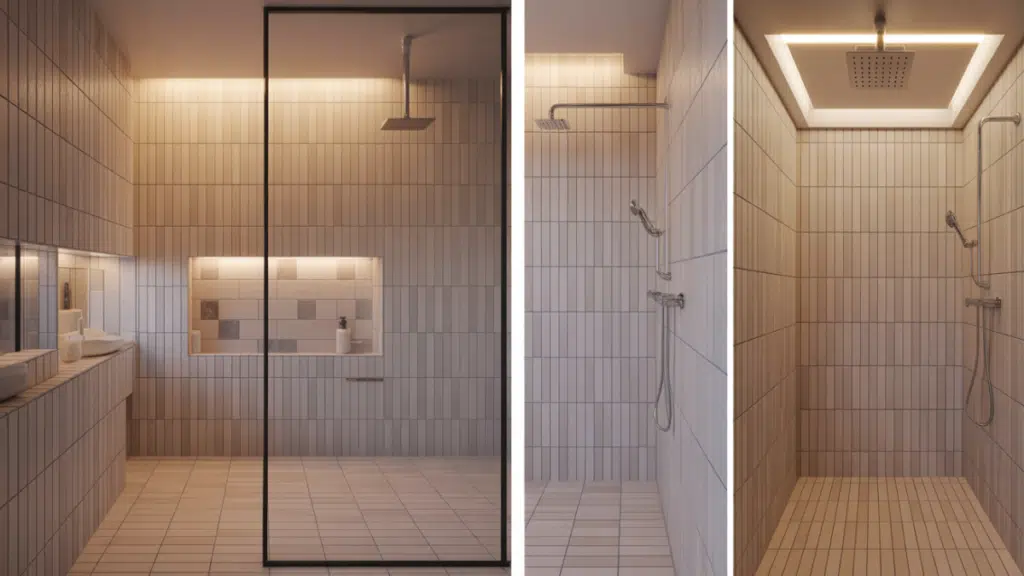
1. Frameless Glass Splash Panel
A single sheet of clear glass controls water without closing the space. This offers one of the cleanest solutions in wet room bathroom design.
Unlike fully enclosed shower screens, a frameless glass splash panel typically covers only the side from which water sprays. The rest of the shower zone stays open.
This keeps the spacious feel of a wet room while providing practical splash control.
The absence of frames creates clean sightlines and makes the glass nearly invisible. Your tile work and fixtures remain the focal point.
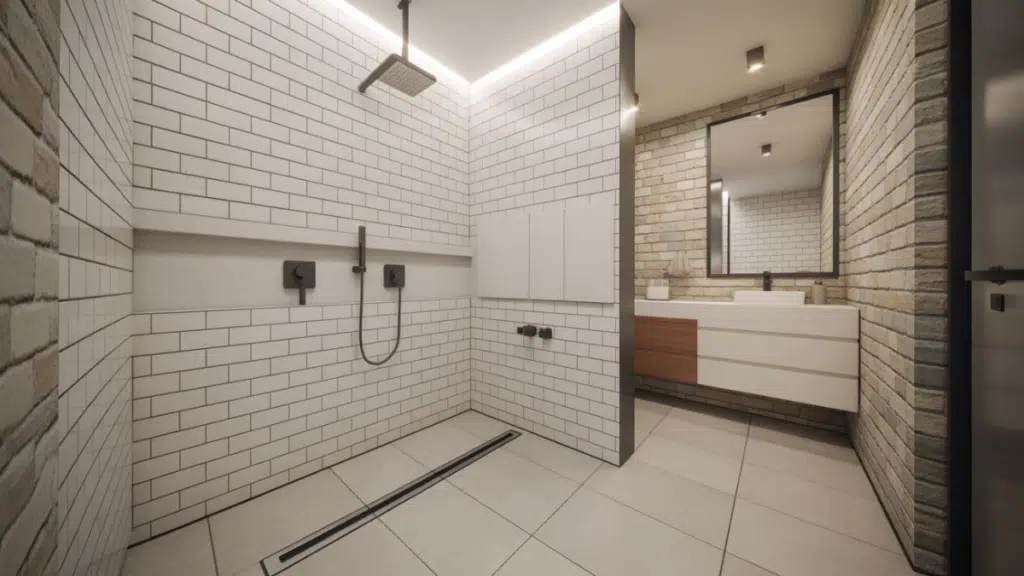
2. Linear Drain Along One Wall
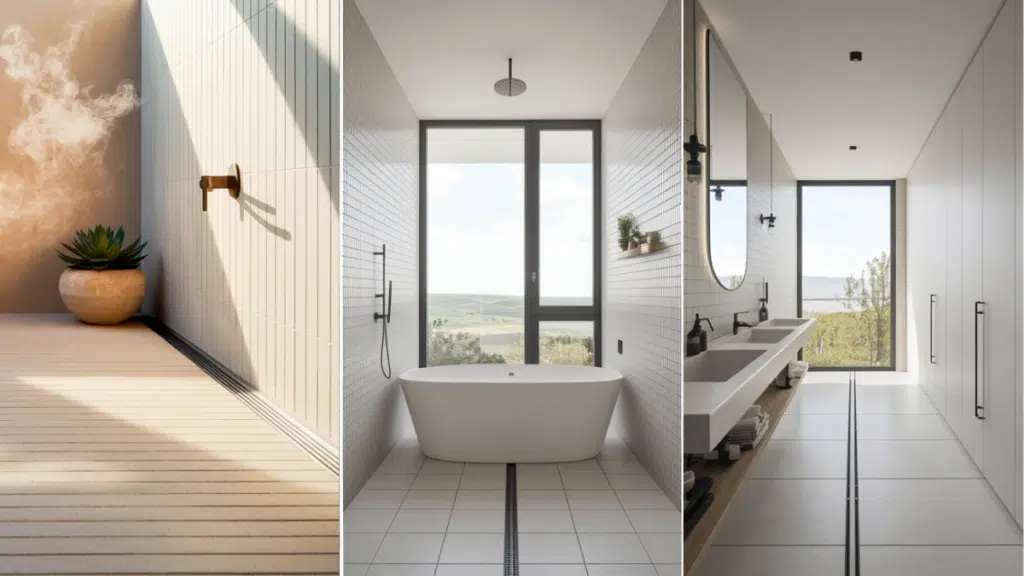
A linear drain creates a cleaner, modern look compared to traditional central drains.
These long drainage channels often sit where the shower zone meets the rest of the bathroom.
They create a defined edge while making the floor slope direction simpler. Instead of sloping toward a single central point, the entire floor can slope in one direction toward the linear drain.
This often results in a more comfortable floor surface and allows for more consistent tile installation.
Many linear drains feature simple grates that blend with surrounding tiles, nearly disappearing from view.
3. Small-Format Floor Tiles
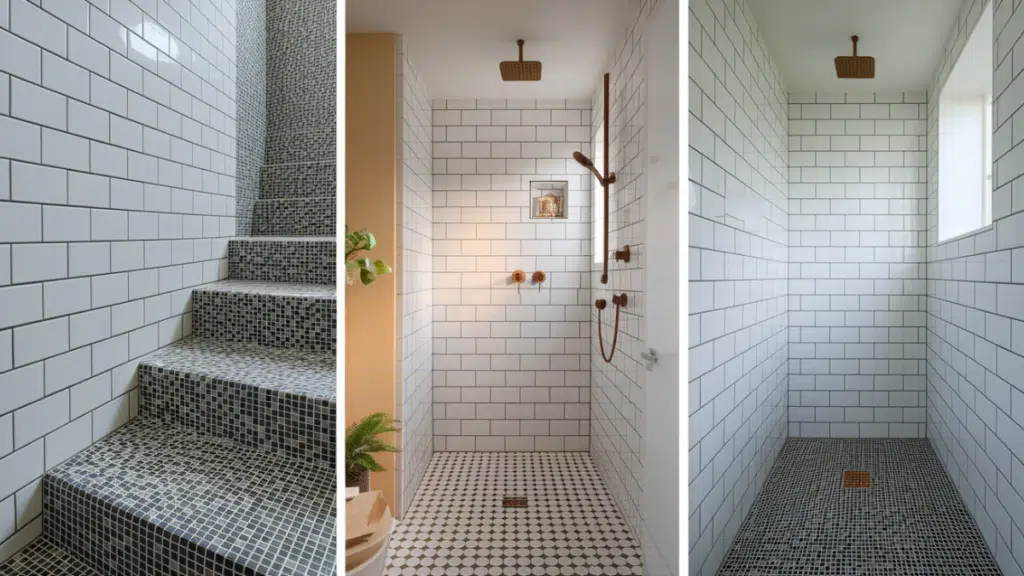
When safety and function matter, small-format tiles offer better traction than their larger counterparts.
Tiles in the 2-inch to 4-inch range create many grout lines that provide natural slip resistance critical in a wet room bathroom where floors are regularly wet.
These smaller tiles also handle sloped surfaces well, conforming to the drainage gradient more easily than large-format tiles.
Mosaic sheets, hexagonal tiles, or small square tiles all work beautifully in wet rooms while providing the textured surface that keeps feet secure.
4. Built-in Shower Niche
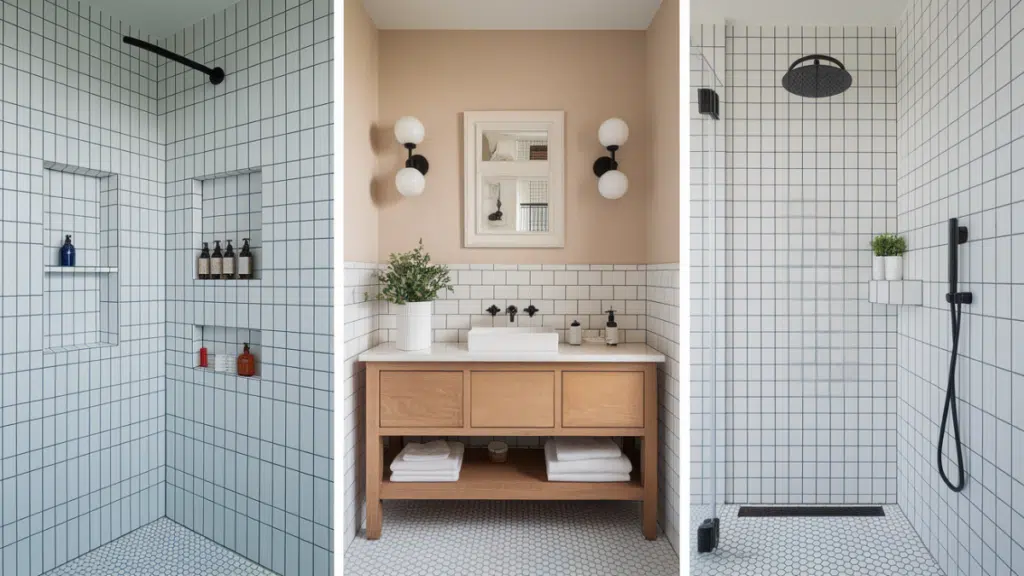
A recessed shelf carved into your shower wall keeps products off the floor and reduces clutter.
Built-in niches should be planned during construction, allowing the waterproof membrane to extend through the recess for complete protection.
Position niches at comfortable heights, typically between waist and shoulder level.
Consider multiple niches if you have the wall space.
These architectural details add style to your wet room bathroom while solving the practical challenge of product storage in an open shower area.
5. Wall-Mounted Vanity
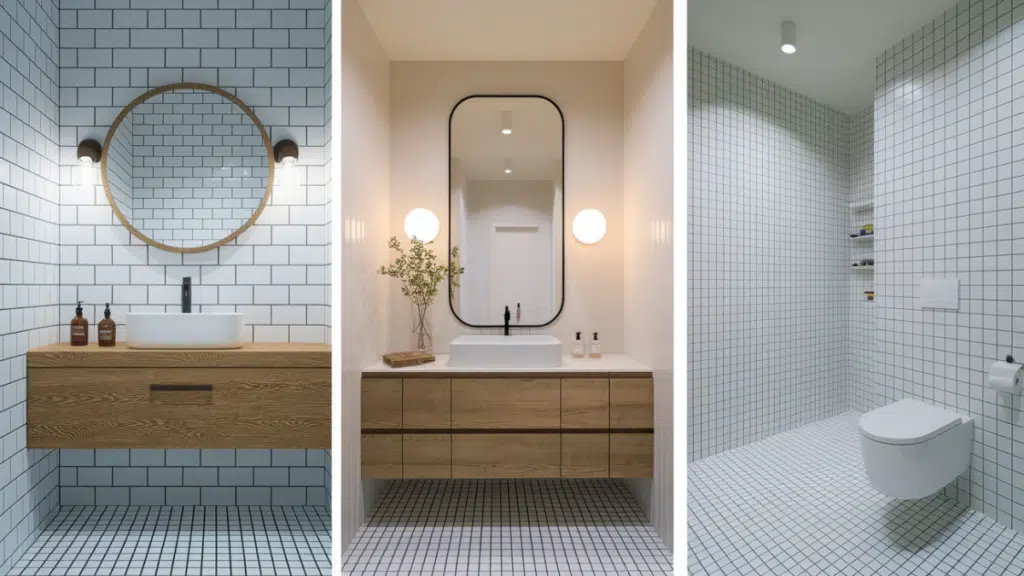
Floating cabinetry makes the room feel larger by creating visual flow across the floor.
A wall-mounted vanity in your wet room bathroom also keeps cabinetry away from water that might travel across the floor.
This extends the life of your storage furniture. The open space beneath a floating vanity can hold baskets for additional storage, or simply remain clear for easy floor cleaning.
This single design choice delivers both aesthetic and practical benefits that improve daily use.
6. Tile Zoning for Visual Separation
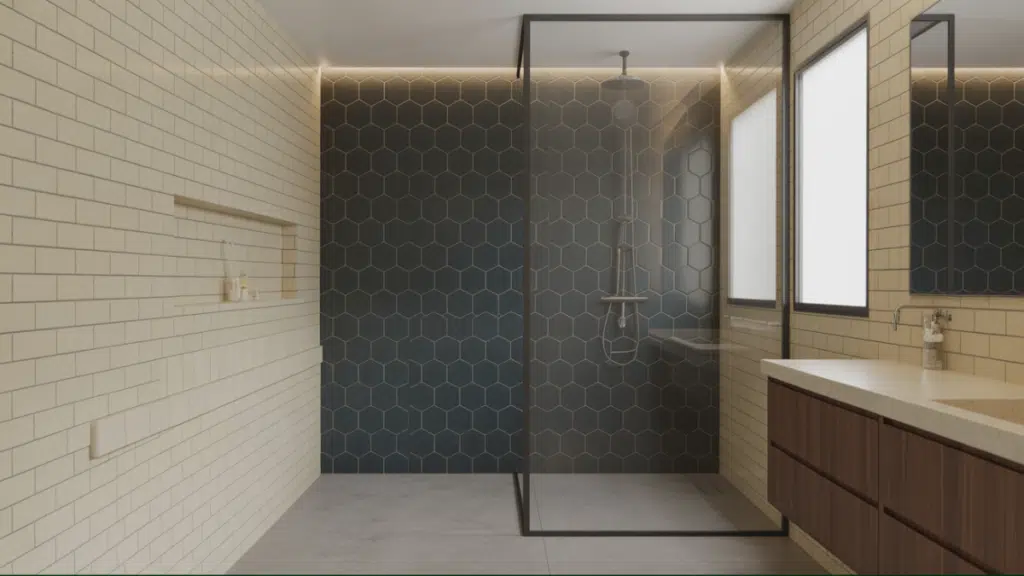
Different tile patterns or colors can define shower and dry areas without physical barriers.
This technique uses visual cues to mark spaces within your wet room bathroom.
You might use a darker or more textured tile within the shower zone while using lighter, smoother tiles in the vanity area.
Or, a change in tile direction, size, or pattern can signal the transition between wet and dry zones.
This approach keeps the open concept while providing subtle guidance about where water is expected.
7. Bench or Shower Seat
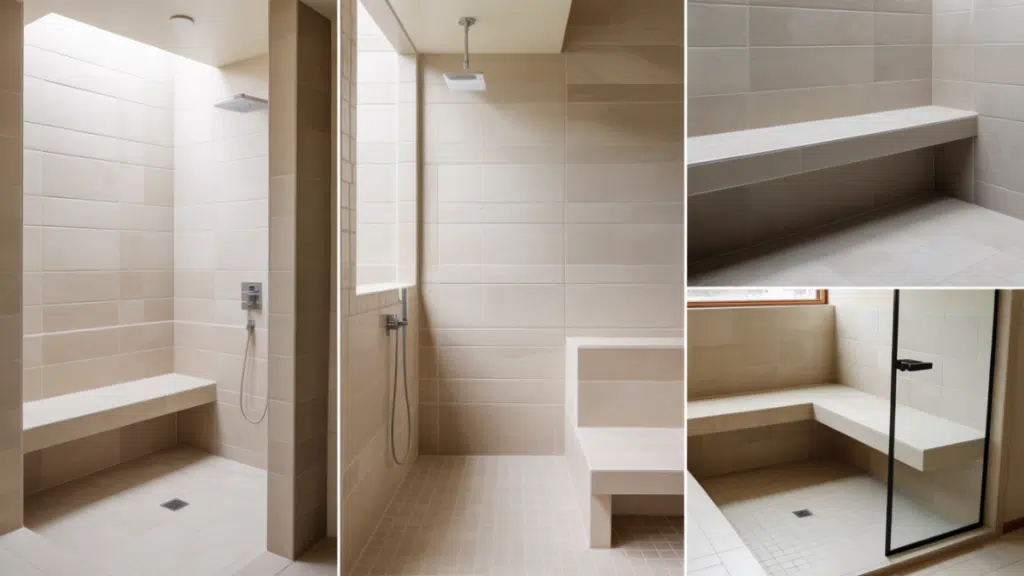
Built-in seating improves comfort and accessibility in your wet room bathroom.
A tiled bench or fold-down seat provides a place to sit while showering, a feature that boosts safety and makes the space more inclusive for people with mobility considerations.
Benches are useful in larger wet rooms where you have space for comfortable seating without crowding the shower area.
These elements can double as design features, creating visual interest through material contrast or architectural detailing while serving their practical purpose.
8. Minimalist Color Palette
Neutral tones boost openness in a wet room bathroom, making even modest-sized spaces feel more generous.
A unified color scheme typically built around whites, grays, or soft earth tones creates visual calm and allows the spatial quality of the room to take center stage.
Simple palettes are also easier to maintain visually over time, as they don’t rely on trendy colors that may feel dated quickly.
This approach doesn’t mean your wet room bathroom must be boring. Texture, material variation, and fixture design can provide visual interest within a restrained color palette.
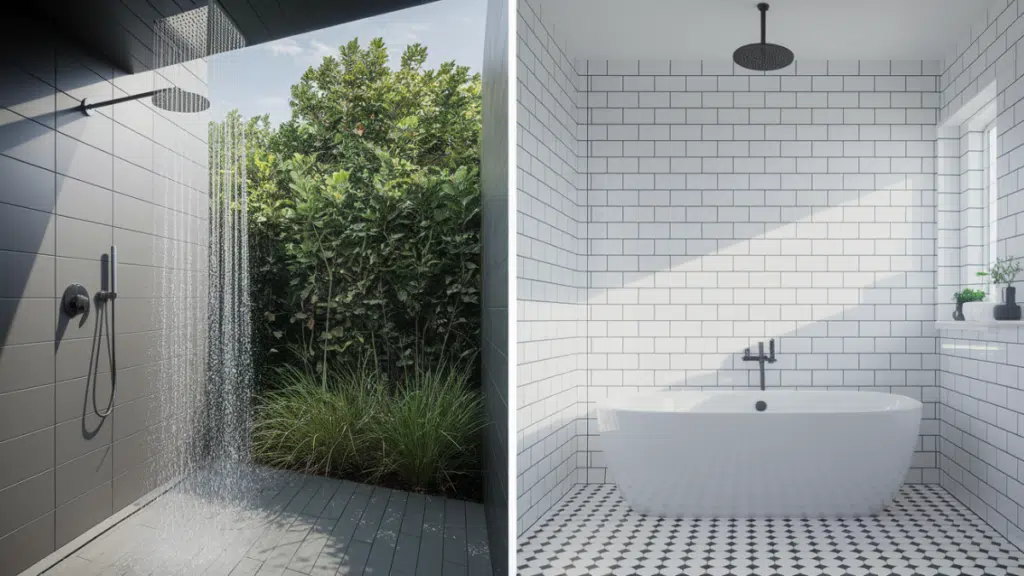
9. Floor-To-Ceiling Tile in Shower Zone
Extending tile from floor to ceiling in the shower area protects the walls while adding a unified design look.
Full-height tiling ensures any splashes or steam that reach upper walls encounter waterproof surfaces rather than potentially vulnerable drywall or paint.
This approach also creates a striking visual element, particularly when you choose distinctive tiles or arrange them in interesting patterns.
The continuous tiled surface emphasizes the height of your wet room bathroom while making maintenance simpler, one surface to clean rather than managing the transition between tile and painted walls.
10. Compact Layout for Small Bathrooms
Surprisingly, wet rooms can make small spaces feel larger by removing bulky enclosures.
A traditional shower enclosure in a small bathroom takes up precious square footage with its frame, door swing, and threshold.
Removing these elements opens up the floor plan, allowing your eye to take in the full room at once.
A compact wet room bathroom layout concentrates the shower zone in one corner, uses strategic splash control, and maximizes every inch of available space.
Small-format tiles, wall-mounted fixtures, and careful drainage planning make this approach work even in bathrooms of modest size.
11. Strategic Lighting Placement
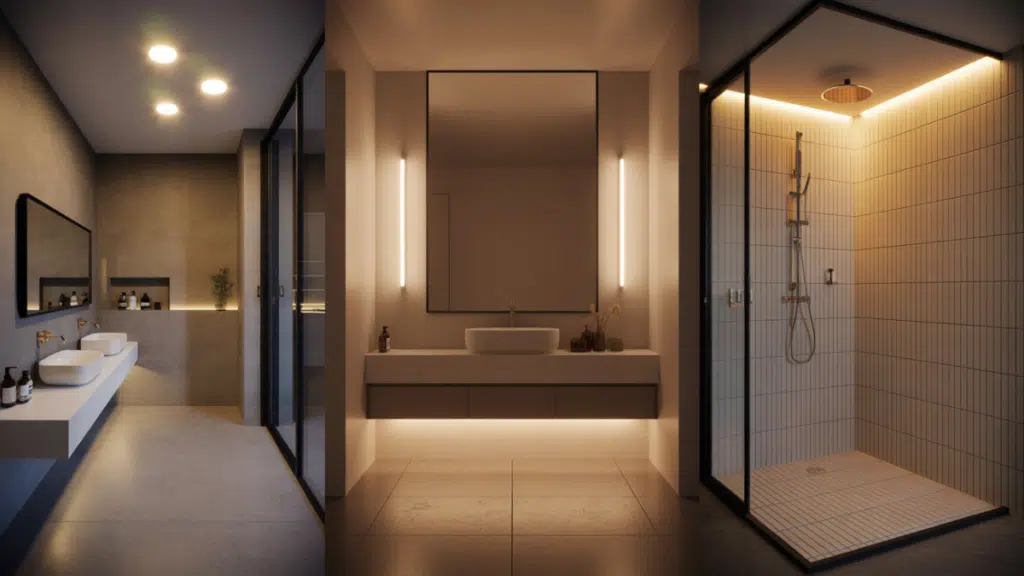
Thoughtful ceiling and wall lighting creates even brightness throughout your wet room bathroom and avoids shadowed wet areas where visibility might be compromised.
Layer your lighting with general ceiling fixtures for overall illumination, task lighting near the mirror for grooming activities, and potentially accent lighting to highlight architectural features.
All fixtures must be rated for wet or damp locations, depending on their proximity to water.
LED lights designed for bathrooms offer energy efficiency and long service life, reducing the frequency of bulb changes in moisture-rich environments.
Is a Wet Room Bathroom Right for Your Home?
Wet room bathrooms work best when you need better accessibility or plan to age in place.
They’re great for removing barriers that make bathroom use difficult.
However, you need enough space to manage water spray properly and keep dry zones for the toilet and storage.
The cost is higher than traditional bathrooms because of waterproofing and drainage needs.
Professional installation is important; this isn’t a DIY project. Think about your daily routine too.
If several people use the bathroom in quick succession, the wet floor might be inconvenient.
Budget typically ranges from $8,000 to $25,000, depending on size and materials.
Conclusion
A wet room bathroom offers a smart, modern alternative to traditional bathroom layouts.
When built correctly with proper waterproofing, drainage, and planning, these spaces provide better accessibility, easier cleaning, and a more open feel.
The eleven design ideas in this article show that you don’t need to sacrifice style for function.
Remember that successful projects start with an honest evaluation of your space, budget, and household needs.
Small bathrooms can work as wet rooms, but you need enough room for splash control and dry zones.
What’s your biggest question about wet room bathrooms? Drop a comment below and let’s discuss whether this design fits your home!

Ava Taylor, holding a Bachelor’s degree in Interior Design from the Pratt Institute, has made her mark in creating engaging and functional living spaces for over 14 years. She began her career with a New York-based design studio, where she gained a reputation for her innovative and user-centric designs. Ava joined our team in 2019, bringing a blend of artistic flair and practicality to our home improvement section. Since the she has been the lead contributor to our room transformation series, inspiring readers with her unique approach to maximizing space utility and aesthetic appeal. Beyond her professional work, Ava is a passionate collector of vintage furniture, a hobby that enriches her design perspective.