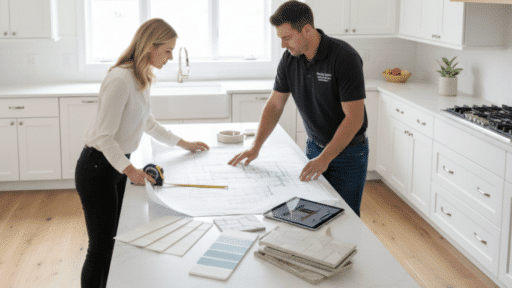
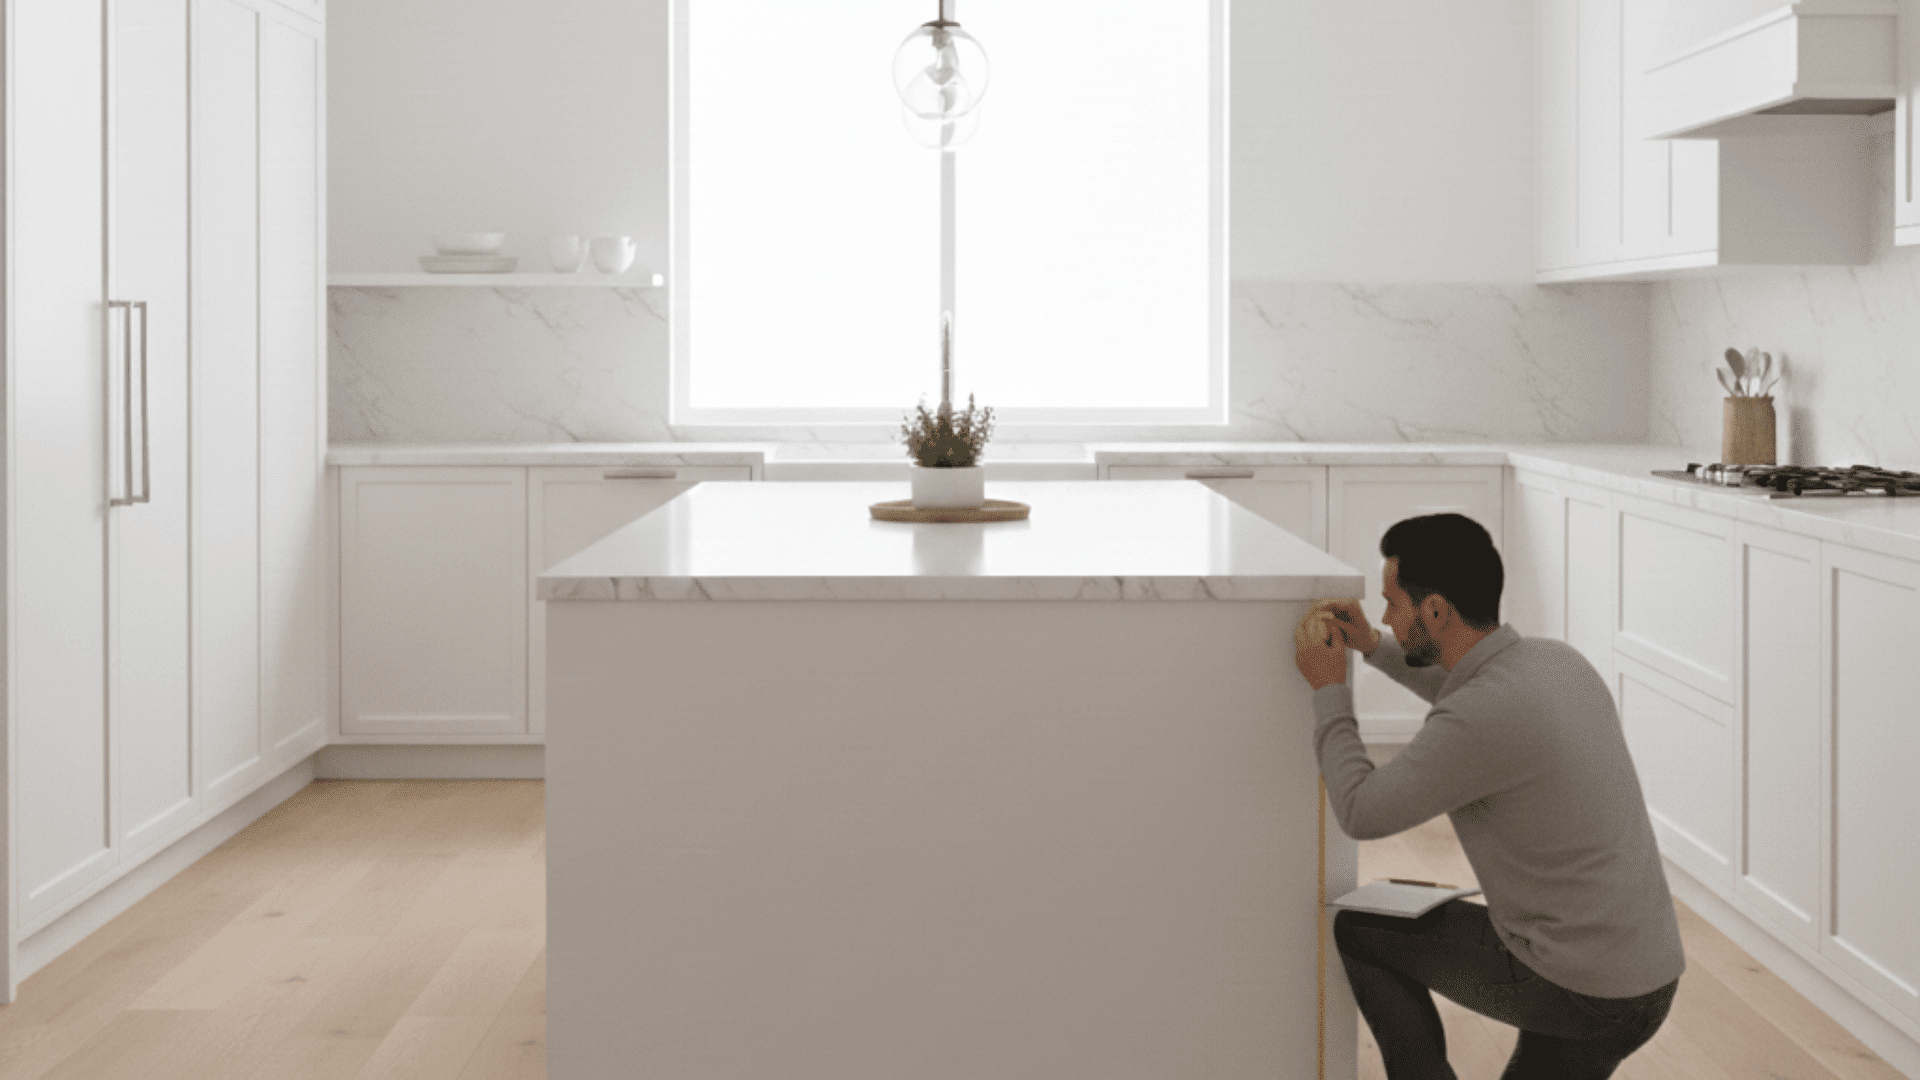
Kitchen islands have become a central feature in modern home design, but getting the dimensions right makes the difference between a functional workspace and a crowded obstacle.
The wrong size can turn your kitchen into a traffic jam, block appliance doors, and make cooking feel like a choreographed dance.
The right dimensions, however, create a space where movement feels natural, seating is comfortable, and storage actually works for your daily routine.
Here are the standard island sizes, the clearances that keep your kitchen flowing smoothly, and how to choose dimensions that match both your space and the way you cook.
Kitchen Island Dimensions at a Glance
Before diving into specific sizes, here’s what you need to know: most kitchen islands range from 24″ to 48″ deep and 48″ to 96″ long, with a standard height of 36″.
But the numbers that matter most aren’t just the island itself. They’re the spaces around it. Work aisles should provide enough room for actual movement, not just the bare minimum to squeeze through.
The NKBA planning guidance suggests 42″ minimum clearance for one cook and 48″ when multiple people are working in the kitchen.
These measurements protect your layout from feeling cramped and ensure appliance doors can open without hitting the island or blocking pathways.
Common Kitchen Island Sizes
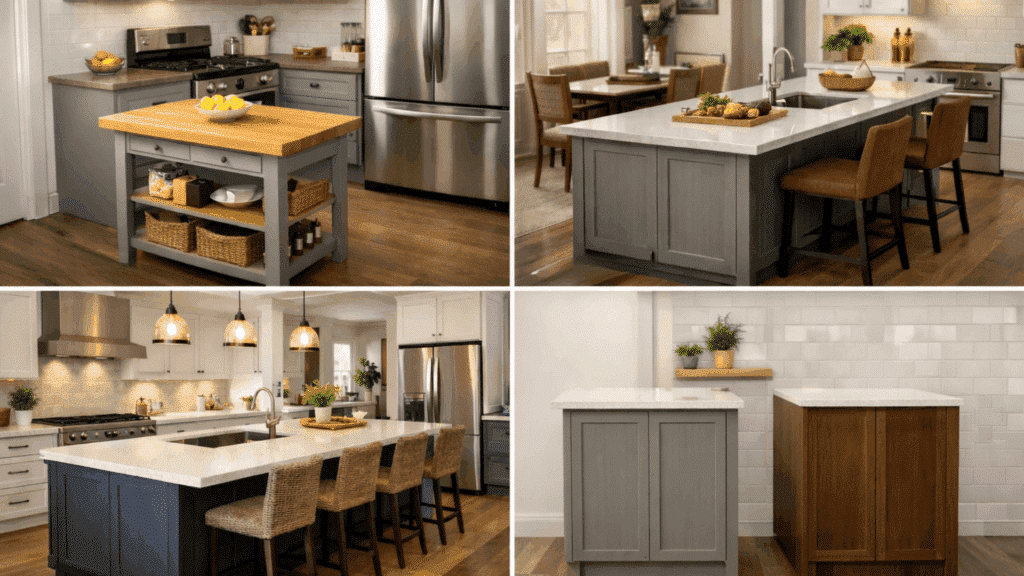
Kitchen islands come in three main size categories, each designed for different space constraints and uses. Here’s how small, medium, and large islands compare.
1. Small Kitchen Island Sizes
Small islands typically measure around 24″ deep by 48″ long. These compact designs work well for apartments, narrow kitchens, or spaces where you need extra prep surface without committing to a full seating area.
Butcher-block style islands fall into this category and offer the flexibility of being movable if needed.
2. Medium Kitchen Island Sizes
Medium islands usually fall in the 30–36″ deep by 60–72″ long range. This size handles prep work, provides storage, and can accommodate one or two stools if you add a slight overhang.
You can fit a microwave drawer, trash pull-out, or additional cabinet storage while maintaining comfortable clearances.
3. Large Kitchen Island Sizes
Large islands start at 42″+ deep and extend 84–96″ or longer. These designs support seating, prep zones, storage, and often include built-in appliances like cooktops or sinks.
Multi-cook households and people who entertain frequently benefit from the extra surface area and functional zones.
4. Standard Kitchen Island Height
Most islands are built to counter height, which sits around 36″ from the floor. This height matches standard base cabinets and creates a consistent work surface.
Some designs incorporate bar-height seating at 42″, either as a two-tier feature or as a raised section at one end.
The Clearances That Make or Break Your Kitchen Island
The space around your island matters just as much as the island itself. Proper clearances keep your kitchen functional, prevent traffic jams, and ensure appliances can open without obstruction.
1. Work Aisle Clearance Around the Island
The space around your island determines whether your kitchen functions well or feels frustrating every time you cook.
NKBA planning guidance recommends 42″ minimum clearance for one cook and 48″ when multiple people are working simultaneously. These measurements provide room to open cabinets and pass comfortably.
2. Minimum Clearance in Tighter Kitchens
Some kitchens can function with 36″ clearance in limited-use situations or areas with lighter traffic. This works if the aisle isn’t a primary work zone or if appliances don’t open into that space.
However, 36″ feels tight during active cooking and becomes uncomfortable when doors swing open.
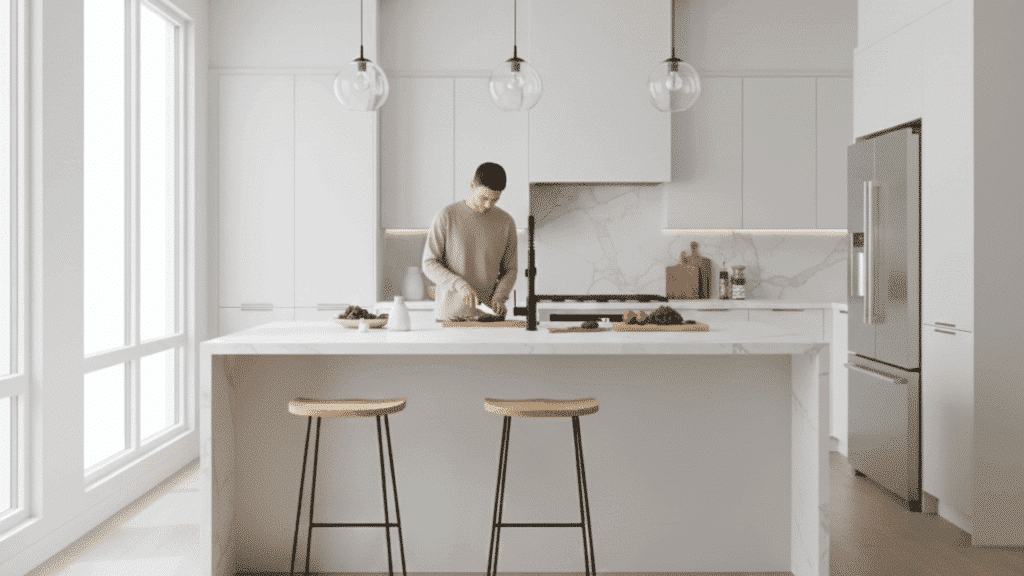
3. Seating Basics: Overhang and Legroom
Adding stools to your island changes the depth requirements. Seating needs an overhang, typically around 12″ at counter height, so people can sit comfortably without their knees hitting the cabinet base.
Islands with seating also need wider clearances behind the stools for easy access.
How to Decide the Correct Kitchen Island Size
Choosing the right island size requires more than measuring your available floor space. You need to consider how you’ll use the island, what your layout can support, and where potential conflicts might arise.
1. Start With Your Primary Use
Think about what you need the island to do before you pick dimensions. The primary function determines the minimum size and depth requirements:
- Prep-only – Focus on counter space and storage without adding seating depth
- Prep + seating – Requires deeper footprint to accommodate overhang and legroom
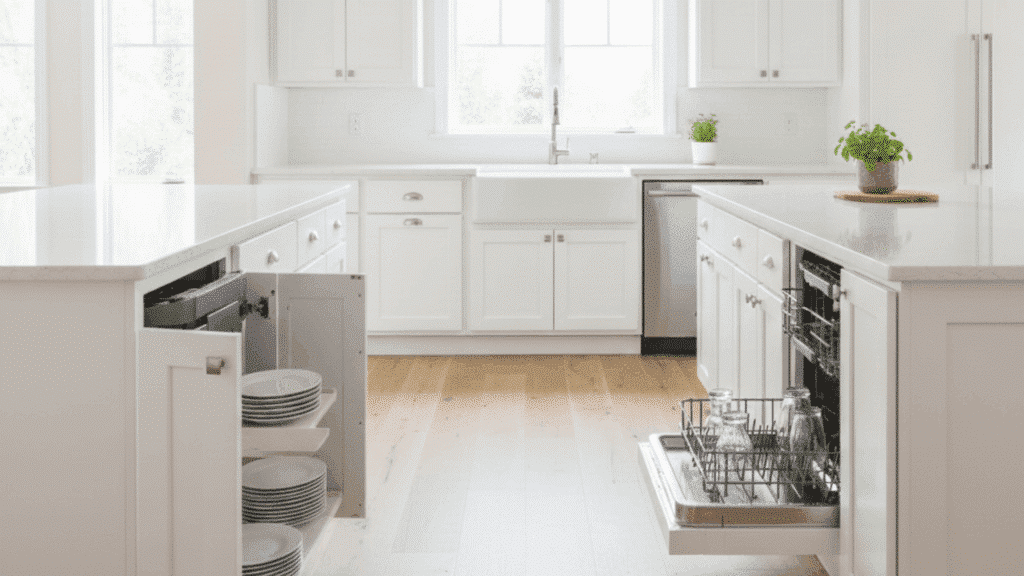
- Storage-heavy – Prioritize cabinet space for small appliances and kitchen essentials
- Entertaining hub – Needs extra surface area for serving and guest interaction
- Adding appliances – Sink or cooktop installation requires space for comfortable access and safe clearances
Islands that combine seating and prep work usually need more depth, while those with appliances require enough space for functional access and proper ventilation.
2. Match the Island to Your Kitchen Layout Design
Your kitchen layout dictates how much room you have for an island and where it should sit:
| Layout Type | Island Considerations |
|---|---|
| Galley kitchens | Prioritize aisle width; islands can crowd circulation quickly |
| L-shaped kitchens | Islands positioned parallel to the long run improve the work triangle without blocking movement |
| U-shaped kitchens | Often work better with a peninsula unless the room is wide enough to maintain clearances on all sides |
| Open concept | Larger islands work well, but make sure seating doesn’t create obstacles between the kitchen and living areas |
Choose an island size that respects your layout’s natural traffic flow and work zones.
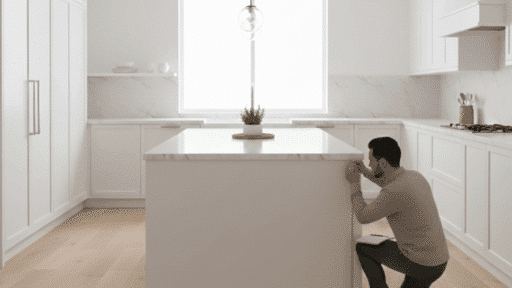
3. Plan for Traffic and Pinch Points
Common mistakes include stools that block walkways, dishwasher doors that collide with the island edge, and refrigerator doors that can’t open fully because the island sits too close.
|
If the main path cuts through the kitchen, don’t let the island create a bottleneck.
4. Decide if You Need Seating
Seating adds depth, requires overhang planning, and increases clearance needs if stools are part of your daily routine: breakfast, homework, casual meals.
Then plan for wider aisles and deeper islands. If seating is occasional or purely social, you might be able to keep dimensions smaller and use the island primarily for food prep and storage.
5. Consider Appliances and Utilities Early
Adding a sink or cooktop to your island brings plumbing and electrical work into the equation, which can change your minimum size expectations. Islands with appliances need enough counter space on either side for safe food handling and prep work.
Combining prep, seating, and appliances in one island usually pushes you into large island territory, 42″ deep or more, to make everything feel comfortable and functional rather than cramped.
Common Kitchen Island Dimension Mistakes to Avoid
Even well-planned kitchens can suffer from preventable sizing errors. Here are the most common mistakes that turn islands into obstacles:
- Choosing dimensions before confirming clearances – Picking length and depth first, without measuring aisle space, leads to tight walkways and blocked appliances
- Adding seating that blocks appliance doors – Stools positioned too close to dishwashers or ovens create awkward traffic patterns and limit access
- Oversizing the island for the room – An island that’s too large dominates the space and makes the kitchen feel cramped and difficult to move through
Measure your clearances first, then choose an island size that keeps your kitchen flowing smoothly.
Conclusion
Getting kitchen island dimensions right comes down to measuring carefully, planning for real movement, and matching the size to how you actually use your kitchen.
Small islands work for compact spaces and prep-focused tasks. Medium islands balance function and flexibility for most family kitchens.
Large islands suit open-concept homes and households that cook and entertain frequently. The clearances around your island matter just as much as the island itself.
Start with your primary use, confirm your layout can handle the clearances, and avoid the temptation to oversize.
A well-proportioned island improves workflow, adds storage and seating, and becomes the focal point of a kitchen that actually works the way you need it to.

Veronica Lee holds a Master’s degree in Landscape Architecture from Cornell University and has dedicated more than 15 years to transforming outdoor areas into artistic and sustainable spaces. Her career took off in a renowned landscape design firm, where she excelled in creating visually stunning and environmentally responsible designs. In 2019, Veronica brought her expertise to our platform, quickly becoming a key contributor to our outdoor design and sustainability sections. As the lead of our landscape innovation series ever since joining, she has inspired readers with her forward-thinking and practical approach. When not drafting designs, Veronica enjoys pottery and participates in local conservation efforts, activities that complement her professional ethos of blending art with nature.