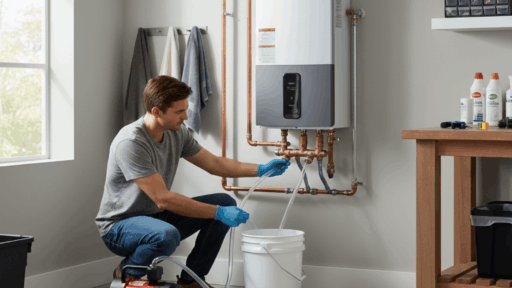
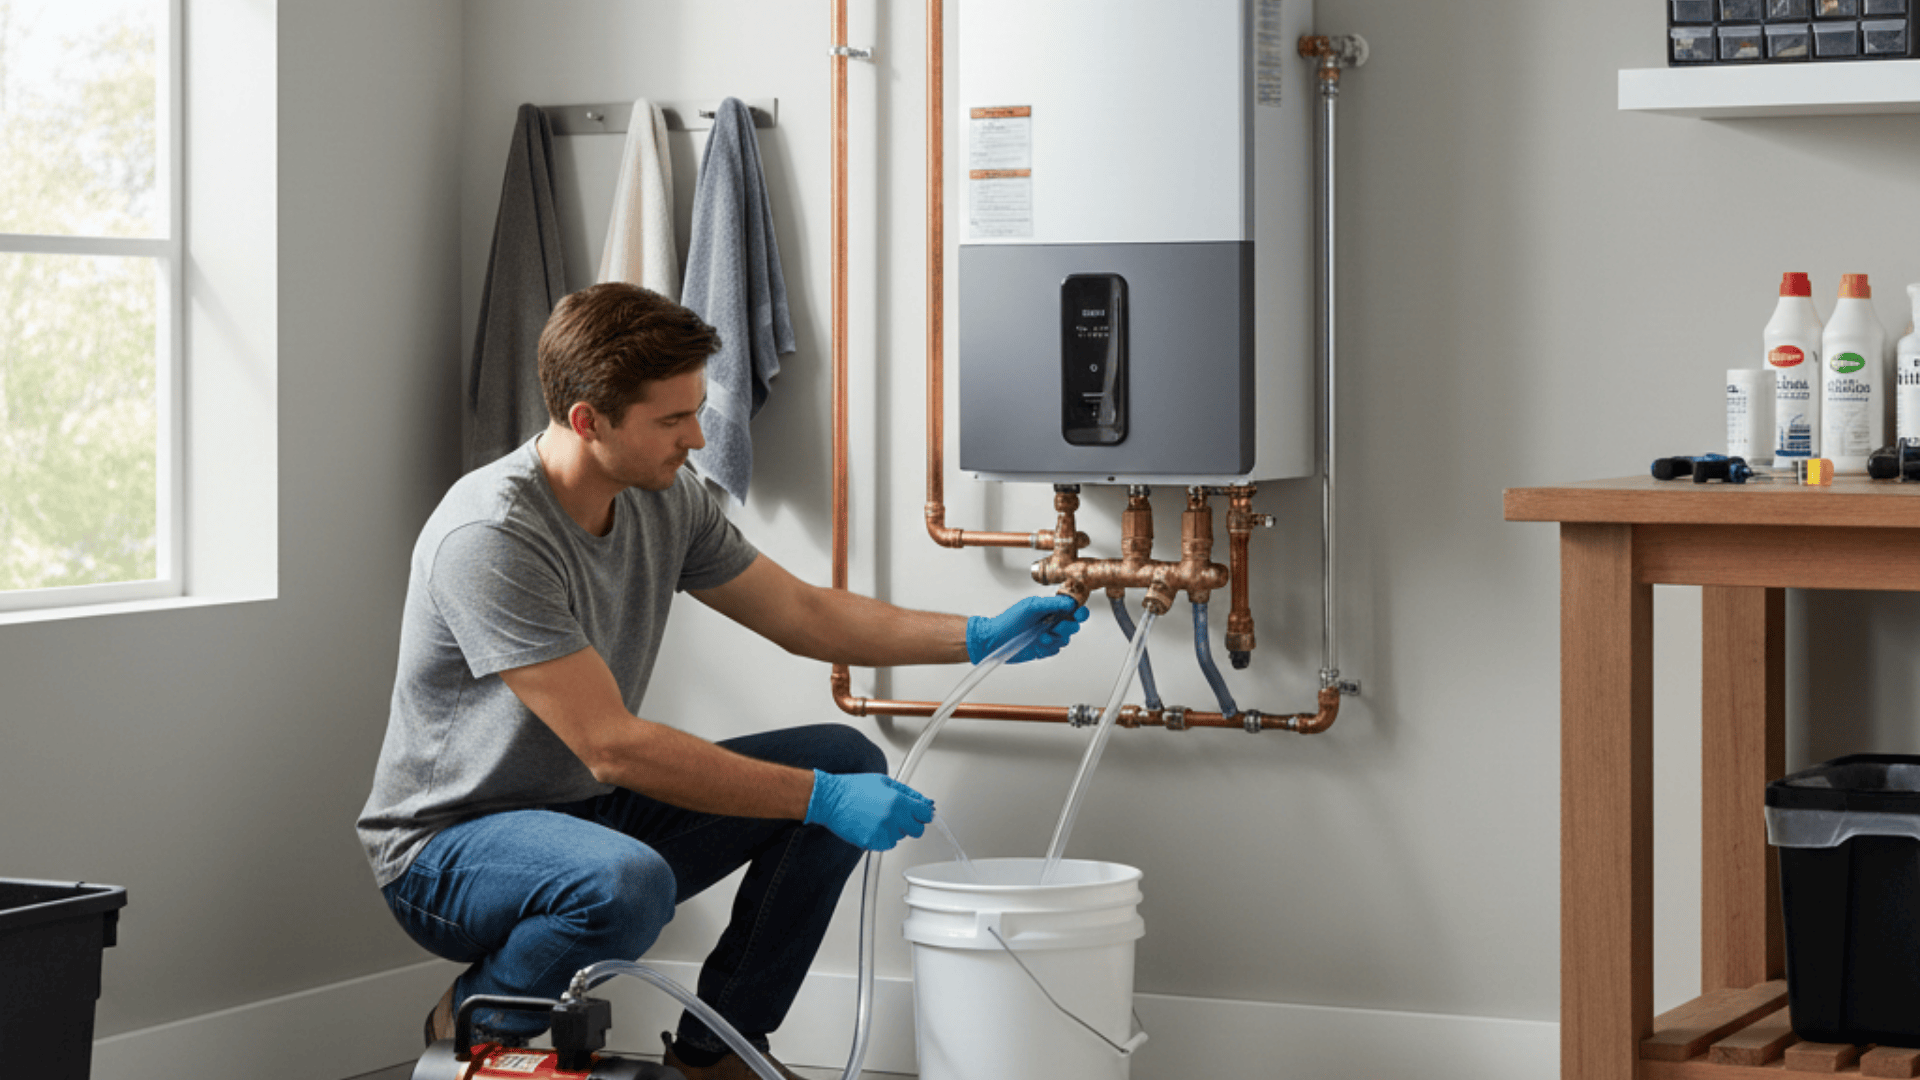
Knowing how to flush a tankless water heater is essential for maintaining efficiency, water quality, and system lifespan.
Over time, minerals like calcium and magnesium accumulate inside the heat exchanger, reducing performance and increasing energy use.
Regular flushing removes this buildup before it causes damage or costly repairs. The process is straightforward for homeowners with the right tools and preparation.
By isolating the unit, circulating a cleaning solution, and rinsing thoroughly, a tankless water heater can continue delivering consistent hot water.
Performing this maintenance annually helps prevent breakdowns and preserves manufacturer warranties.
How to Flush a Tankless Water Heater Step-by-Step
Regular maintenance is essential for keeping a tankless water heater efficient and reliable. The steps below walk through the correct flushing process to remove mineral buildup safely and restore optimal performance.
Materials & Tools Required
| Item | Quantity |
|---|---|
| Circulation pump (tankless flush pump) | 1 |
| Washing machine hoses | 2 |
| Bucket (5-gallon minimum) | 1 |
| Tankless water heater flush chemical or white vinegar | 1 gallon of chemical or 3–4 gallons of vinegar |
| Channel-lock pliers (small) | 1 |
| pH test strips | 1 pack |
| Safety gloves & eye protection | 1 set |
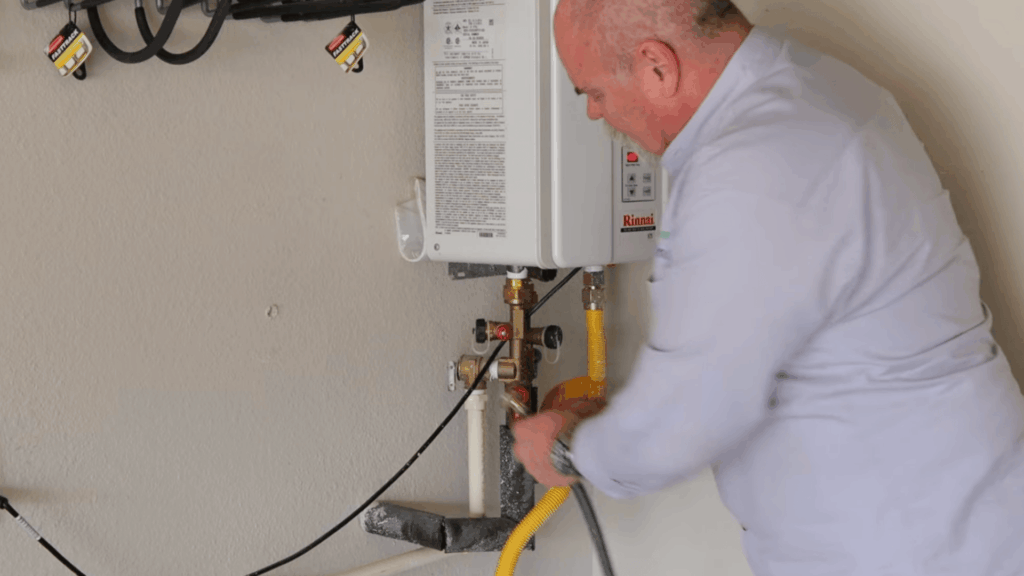
Step 1: Verify Flush Valves and Isolate the Heater

Confirm the unit has dedicated hot and cold flush valves. Turn off the water supply to the house and close the isolation valves on both hot and cold sides of the heater.
This fully separates the heater from the plumbing system and prevents cleaning solution from entering household pipes.
Step 2: Attach Hoses to Flush Valves
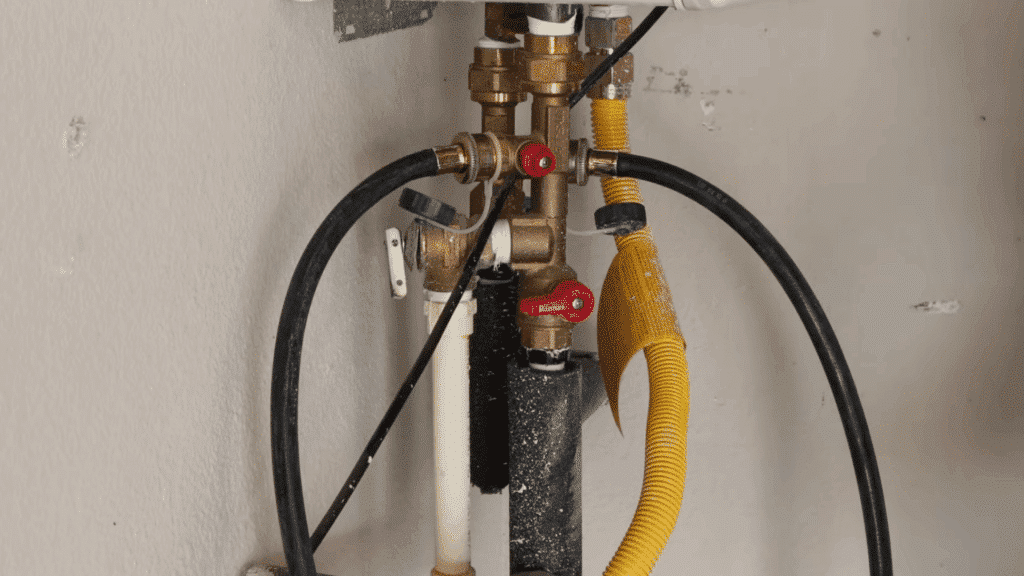
Ensure rubber washers are seated inside both hoses. Connect one hose to the cold-side flush valve and the other to the hot-side flush valve.
Tighten securely with pliers, avoiding overtightening. Place the free ends into a bucket to prepare for a closed-loop circulation setup.
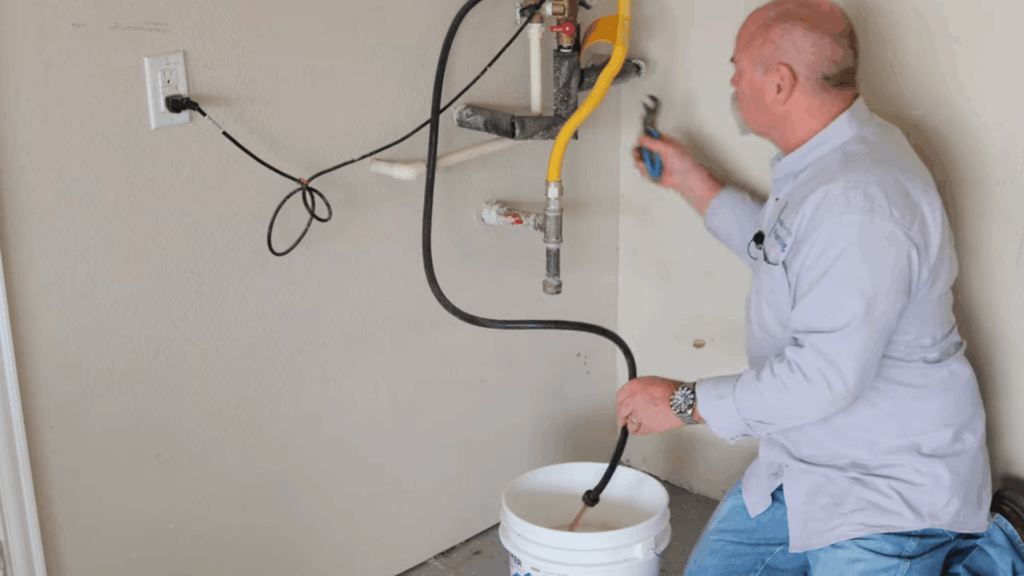
Step 3: Connect the Circulation Pump
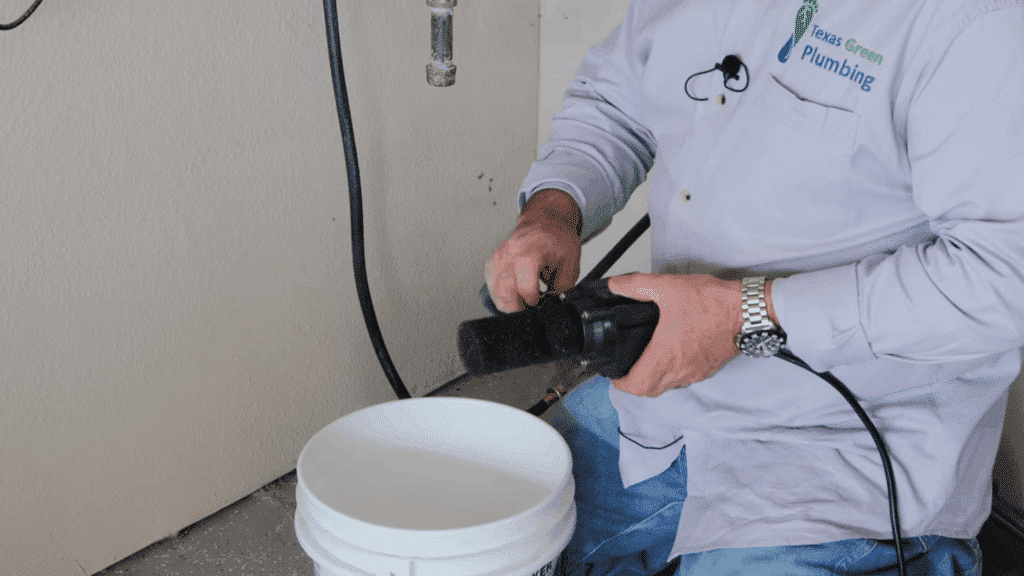
Attach the cold-side hose to the discharge side of the circulation pump. Submerge the pump intake into the bucket.
Leave the hot-side hose loose and positioned in the bucket. This configuration creates a loop that pulls solution from the bucket through the heater and back again.
Step 4: Add Cleaning Solution
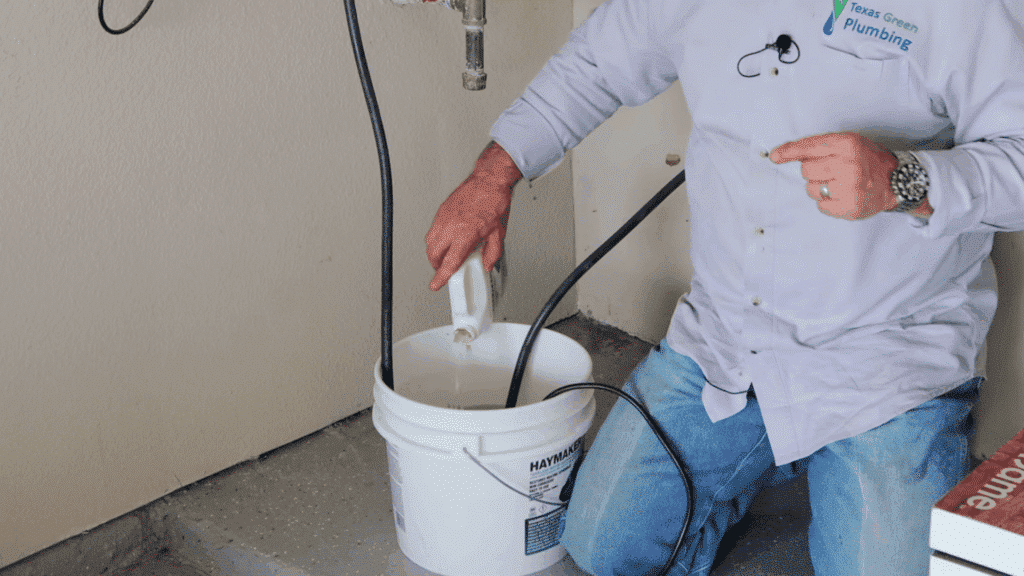
Pour approximately one gallon of water into the bucket, then add the tankless water heater descaling chemical per the manufacturer’s instructions.
If using vinegar, drain all water from the heater first and add 3–4 gallons of vinegar. Ensure the pump remains fully submerged before proceeding.
Step 5: Open Flush Valves and Circulate

Open both hot and cold flush valves on the heater to allow flow through the heat exchanger.
Plug in the circulation pump and allow the solution to circulate for 30 minutes (or 90–120 minutes if using vinegar). Monitor hoses and the bucket for leaks during operation.
Step 6: Stop Pump and Drain Solution
Unplug the pump after circulation completes. Close the cold-side flush valve, then loosen the cold-side hose to allow the solution to drain back into the bucket.
Dispose of the used solution according to local guidelines. This prepares the system for a clean-water rinse.
Step 7: Rinse the System Thoroughly
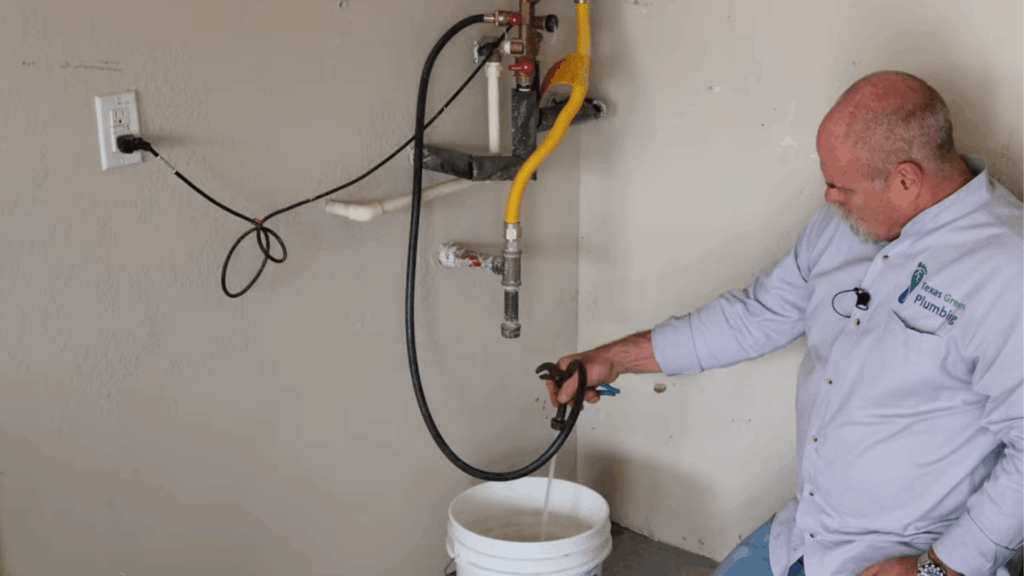
Reconnect the cold-side hose loosely to the bucket. Open the cold water supply to the heater and allow fresh water to flush through the system into the bucket.
Repeat this rinse process three to four times until the water runs clear and neutral.
Step 8: Restore Normal Operation
Close both flush valves and remove hoses. Open the isolation valves to restore water flow to the house. Check the inlet filter and clean it if needed.
Run a pH test to confirm neutrality. Verify there are no leaks and return the heater to normal service safely.
Video Tutorial
Special thanks to Roger Wakefield Plumbing Education for providing valuable insights in their video, which I referenced while creating this guide.
Practical Solutions to Common Tankless Water Heater Problems
Homeowners often notice performance issues before realizing maintenance is overdue.
These are common user-reported experiences that can usually be resolved with proper flushing or simple corrective steps.
1. Low Hot Water Pressure
Reduced hot water pressure at fixtures while cold water pressure remains normal is often caused by mineral scale restricting internal flow.
A full flush with a descaling solution clears buildup inside the heat exchanger. Cleaning the inlet filter during reassembly helps restore proper pressure.
2. Error Codes After Flushing
Error codes or failure to restart commonly occur when air is trapped in the system. Opening a hot water faucet for several minutes purges trapped air.
Verify all isolation valves are fully open and the inlet filter is properly cleaned and seated.
3. Loud or Unusual Noises
Clicking, popping, or rattling sounds during operation are usually caused by mineral deposits creating hot spots inside the heat exchanger. Flushing removes the buildup and typically eliminates noise. Persistent sounds may indicate heavy scaling that requires professional service.
4. Chemical Smell After Maintenance
Lingering odors after flushing indicate the system was not rinsed thoroughly.
Running multiple fresh-water rinse cycles and confirming a neutral pH ensures all cleaning solution is removed before normal operation resumes.
5. Water Leaks at Hose Connections
Drips during flushing usually result from misaligned or worn hose washers. Reseating the washers and tightening connections evenly resolves most leaks. Replace damaged washers if leakage continues.
Addressing these issues early helps maintain consistent performance, extend equipment lifespan, and reduce the risk of unexpected system failures.
Conclusion
Understanding how to flush a tankless water heater allows homeowners to protect their investment and avoid unnecessary service calls.
This routine maintenance keeps heat exchangers free of mineral scale, ensures proper water flow, and maintains optimal heating performance.
Skipping flushing can shorten equipment life and lead to efficiency loss, error codes, or premature failure.
When performed correctly and safely, the process restores system performance without specialized plumbing skills.
Making flushing part of an annual maintenance schedule ensures reliable hot water, lower operating costs, and long-term durability for any tankless water heater system.

Stephanie Grace, a graduate with a degree in Fine Arts from the Savannah College of Art and Design, has been inspiring DIY enthusiasts with her creative and practical guidance for over 14 years. Her career in design and crafting began in a small artisan workshop, where she developed a passion for transforming everyday materials into beautiful and functional items. Stephanie joined our website in 2018, rapidly gaining popularity for her easy-to-follow DIY tutorials and innovative project ideas. Since then, she has been the creative mind behind our DIY section, helping readers bring their artistic visions to life. Outside her professional pursuits, Stephanie enjoys pottery and urban gardening, hobbies that showcase her love for hands-on creativity and nature.