
Electric water heaters are reliable, but when something goes wrong, the problem is often simple and inexpensive to fix.
A failed thermostat, a damaged heating element, or sediment buildup inside the tank usually cause sudden loss of hot water, overheating, or inconsistent temperatures.
Understanding how these components work makes troubleshooting far less intimidating.
With proper safety precautions and basic tools, many common issues can be diagnosed and repaired without replacing the entire unit.
This guide explains what causes typical electric water heater failures, how to address them safely, and how routine maintenance prevents repeat problems and extends the system’s lifespan.
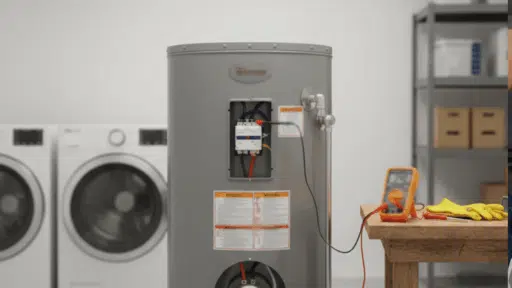
How to Diagnose and Repair an Electric Water Heater
You can safely diagnose and repair common electric water heater issues, including faulty thermostats and heating elements.
Follow each step carefully and stop immediately if unsafe conditions are found.
Materials & Tools Required
| Item | Quantity |
|---|---|
| Multimeter (with resistance setting) | 1 |
| Flathead and Phillips screwdrivers | 1 each |
| Adjustable wrench or channel-lock pliers | 1 |
| Heating element wrench (water heater socket) | 1 |
| Replacement thermostat (upper or lower, as needed) | 1–2 |
| Replacement heating element (matching wattage) | 1–2 |
| Garden hose | 1 |
| Bucket (5-gallon) | 1 |
| Safety gloves | 1 pair |
| Safety glasses | 1 |
| Towels or rags | As needed |
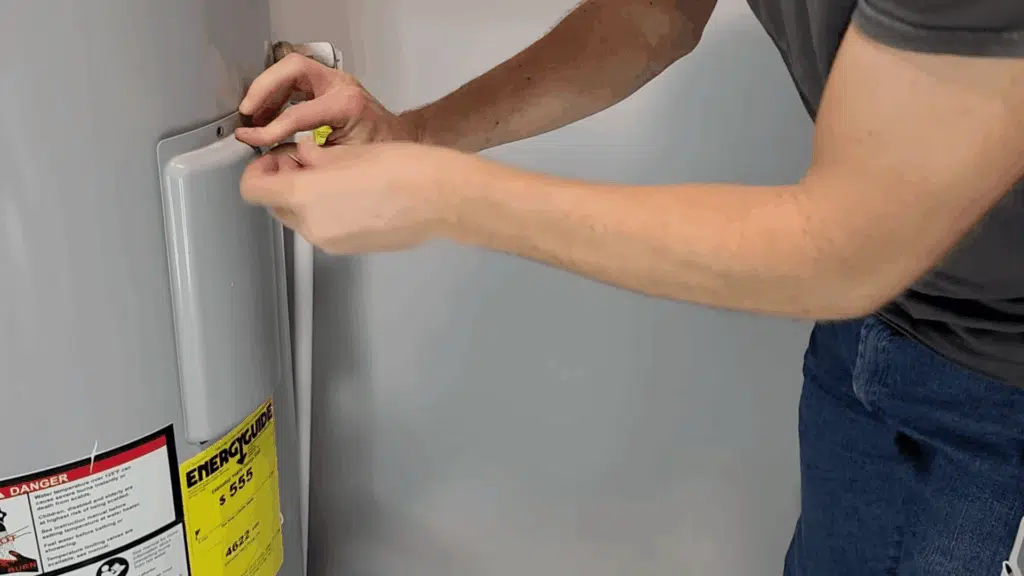
Step 1: Shut Off Power and Confirm Zero Voltage
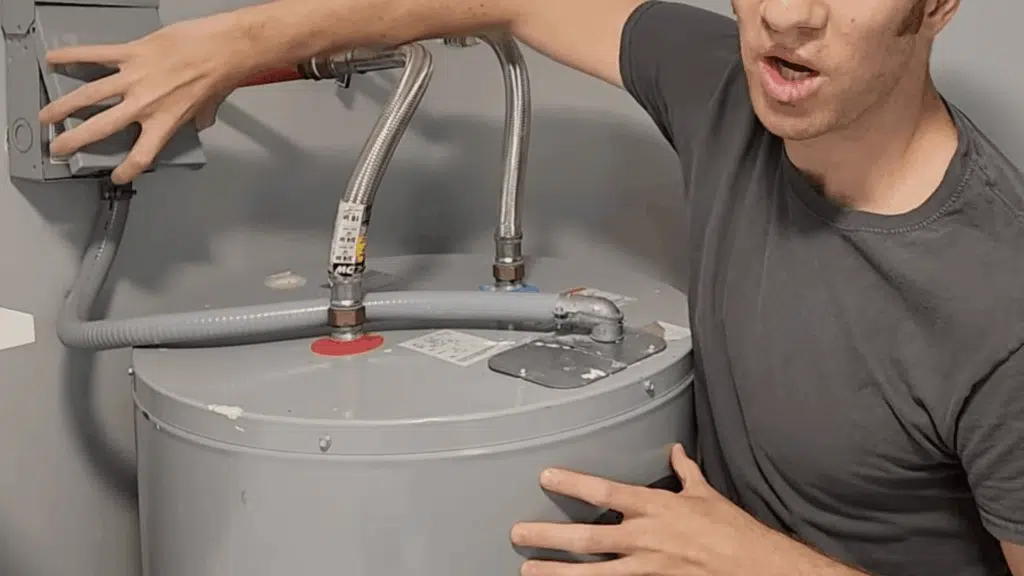
Turn off the breaker supplying the water heater or use the nearby disconnect switch. Remove the access panels and insulation.
Use a multimeter to confirm there is no voltage present at the thermostat terminals before touching any wires. Never proceed until power is fully de-energized.
Step 2: Check the Breaker and High-Temperature Reset
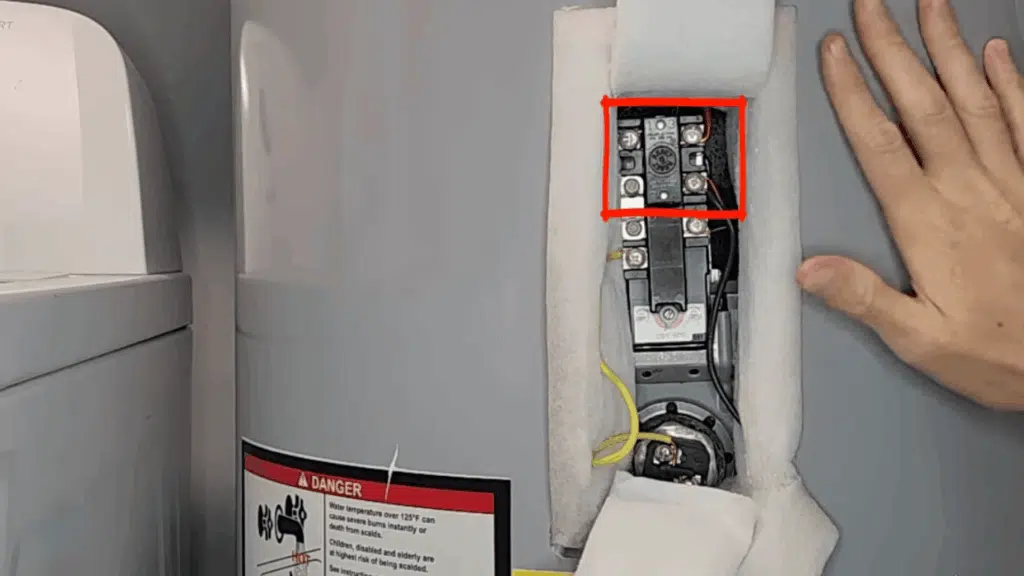
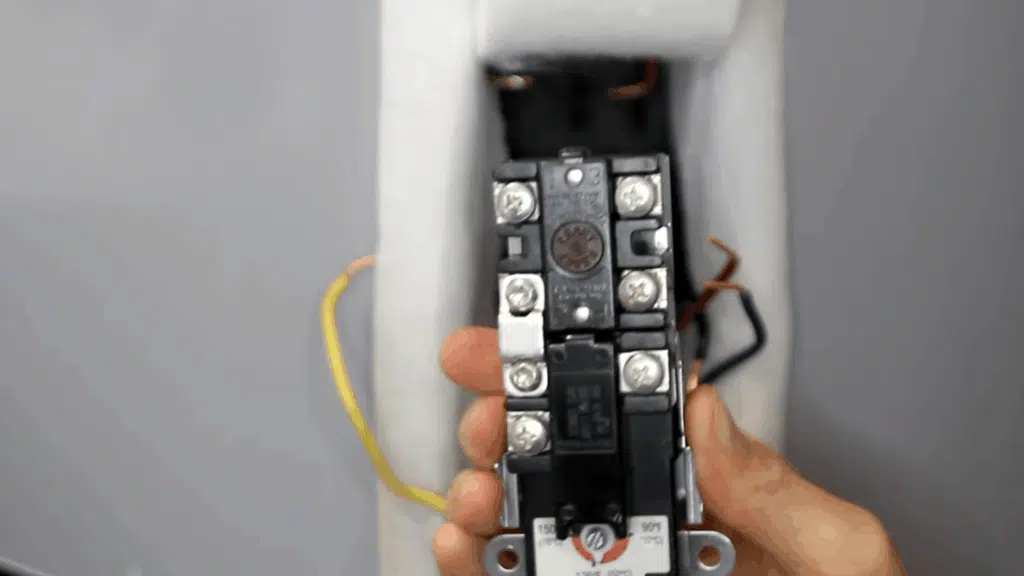
Confirm the circuit breaker is fully seated and not tripped. Inspect the upper thermostat’s high-temperature reset button.
Press it firmly if it has tripped. If it trips again, further diagnosis is required before restoring power, as this indicates overheating or component failure.
Step 3: Test the Upper Thermostat for Proper Operation
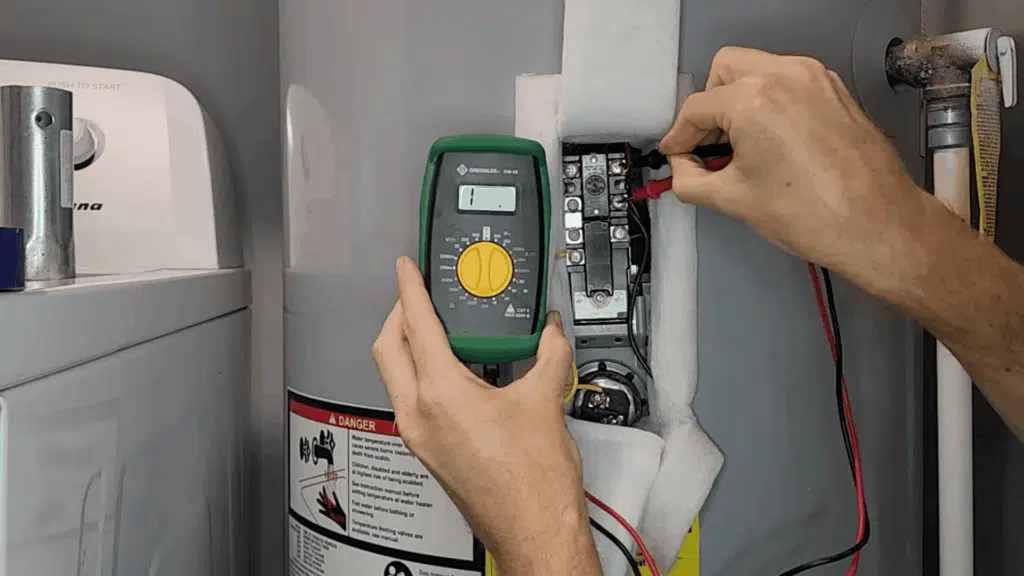
Set the multimeter to measure resistance. Test continuity across the upper thermostat terminals according to hot and cold tank conditions.
Low resistance indicates proper electrical flow. If resistance readings do not match expected behavior, the thermostat is faulty and must be replaced.
Step 4: Test the Lower Thermostat

Measure resistance across the lower thermostat terminals. When the tank temperature is below the set point, resistance should be near zero.
High or infinite resistance indicates the thermostat is not sending power correctly and requires replacement to restore proper heating control.
Step 5: Inspect and Test the Heating Elements
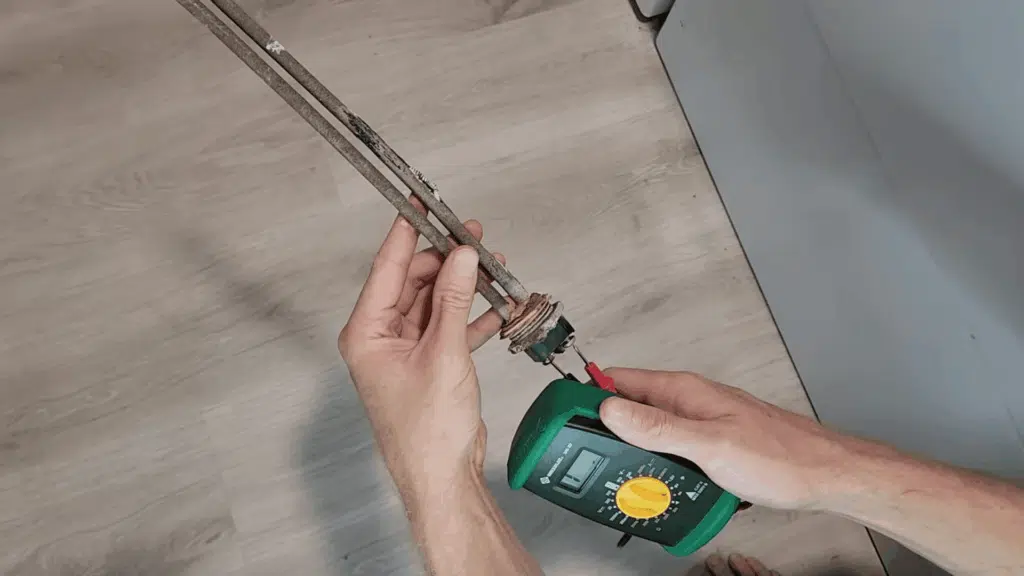
Visually inspect each heating element for corrosion, warping, or leaks. Use a multimeter to measure resistance.
A typical 4500-watt element should read around 12–13 ohms. Infinite or zero resistance indicates a failed element that must be replaced.
Step 6: Replace a Faulty Thermostat
With the power off, loosen the terminal screws and remove the wires. Release the retaining clips and slide the thermostat upward.
Install the new thermostat fully seated against the tank surface. Re-engage the clips and reconnect wires exactly as they were originally installed.
Step 7: Replace a Faulty Heating Element
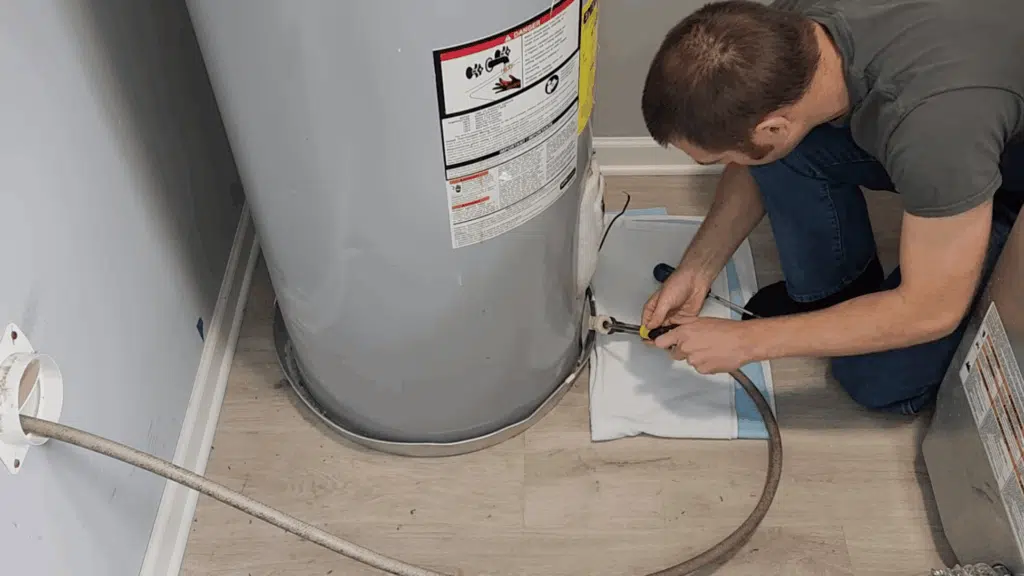
Turn off the water supply and connect a garden hose to drain the tank completely. Remove the element wires and use a heating element wrench to unscrew the old element.
Clean threads, install the new element with the gasket appropriately seated, and reconnect wires securely.
Step 8: Refill, Restore Power, and Test Operation
Close the drain valve, remove the hose, and open the water supply. Open a hot faucet to purge air until water flows steadily.
Replace insulation and access panels. Restore power at the breaker and allow the tank to heat fully. Verify normal operation and stable temperature.
Video Tutorial
Special thanks to Practical Home Projects for providing valuable insights in their video, which I referenced while creating this guide.
Maintenance Tips for Long-Term Performance
Regular maintenance prevents unexpected failures and extends the life of an electric water heater.
Flush the tank once a year to remove sediment that settles at the bottom and insulates heating elements, causing overheating and premature failure.
Inspect thermostats and wiring annually for signs of corrosion, loose connections, or heat damage.
Test the temperature setting and keep it around 120°F to reduce energy use and limit mineral buildup.
Check the pressure relief valve periodically to ensure it operates correctly. Address minor issues promptly, as small problems left unattended often lead to costly repairs or full system replacement.
Other Common Water Heater Problems and Solutions
Many water heater issues are not complete failures but warning signs of developing problems. Identifying these early helps prevent damage and costly repairs.
- Water takes too long to heat: Often caused by sediment buildup insulating the heating element or a failing lower thermostat.
- Hot water runs out quickly: Indicates a burned-out lower heating element or incorrect thermostat settings.
- Popping or rumbling noises: Sediment hardened at the bottom of the tank is overheating and should be flushed.
- Discolored or rusty water: May signal internal tank corrosion or deteriorating anode rod.
- Frequent breaker trips: Can result from a shorted heating element or loose electrical connections.
Early diagnosis keeps minor issues from escalating into full system failure.
Conclusion
Electric water heater problems are often manageable when addressed methodically and early.
Most issues trace back to thermostats, heating elements, electrical supply, or sediment buildup, all of which can be inspected and corrected with basic tools and careful steps.
Routine flushing, annual inspections, and prompt repairs prevent inefficiency, overheating, and premature component failure.
With consistent upkeep and attention to warning signs, an electric water heater can deliver dependable hot water for many years without unexpected breakdowns.
Consistent maintenance and early troubleshooting are the most effective ways to avoid major water heater failures.

James McLaren, with a rich background in architecture from the University of Manchester, has been contributing his expertise to the world of creative construction and home innovation for over 20 years. His journey began as a project manager for a leading construction firm, where he honed his skills in bringing complex designs to life. James joined our platform as a freelancer in 2019, quickly becoming a favorite for his insightful and practical advice. He has been a pivotal force to our wing ever since, bringing our readers a blend of technical know-how and creative flair. Beyond his professional life, James is an avid woodworker and enjoys restoring vintage furniture, a hobby that complements his professional insights beautifully.