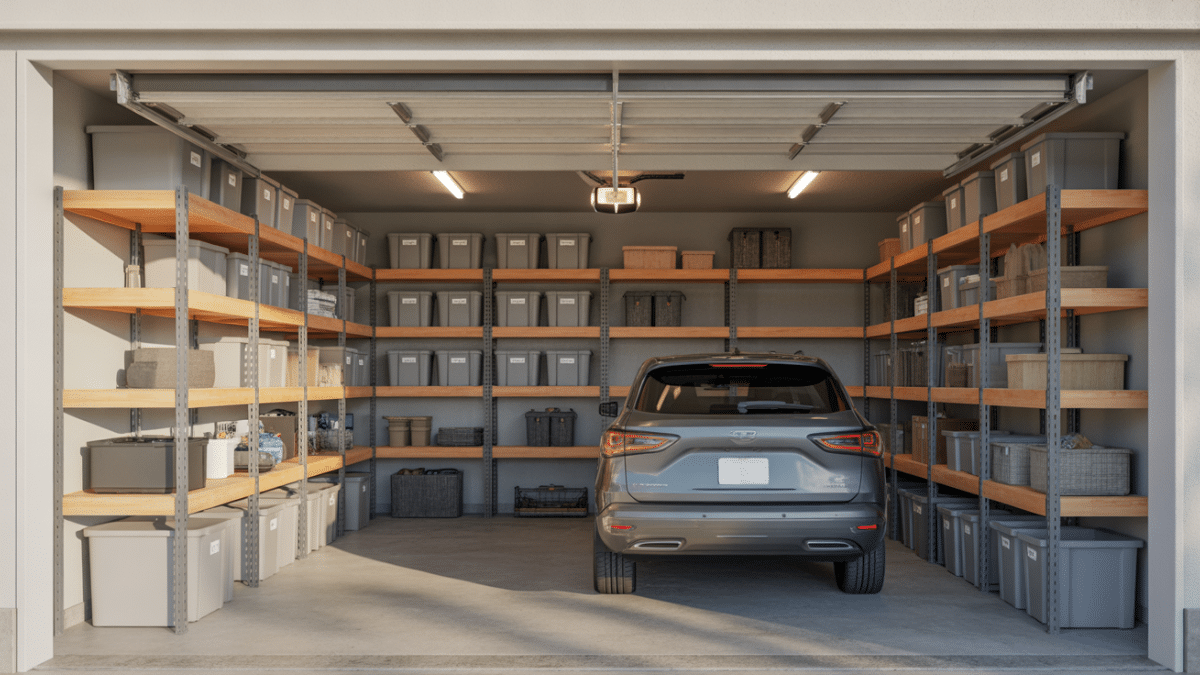
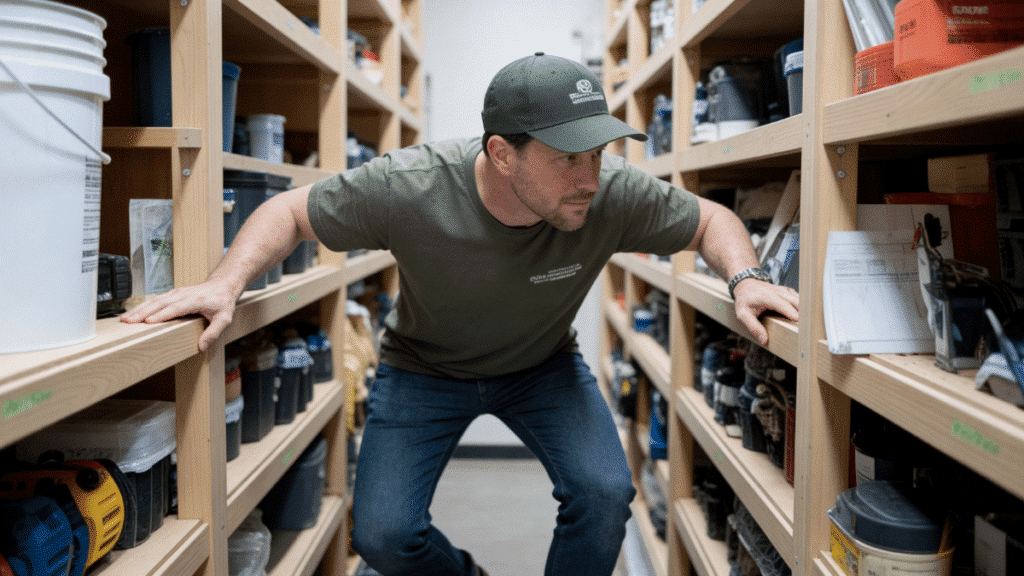
Your garage floor is buried under boxes, tools, and seasonal items you can’t quite throw away.
Every time you pull in, you’re playing Tetris with your car just to avoid crushing something important.
You’ve looked at pre-made shelving systems, but the prices are ridiculous for what’s basically wood and screws.
The truth is, you can build stronger, custom garage shelves yourself for a fraction of the cost.
This guide walks you through a modular shelving system that requires only basic tools and simple cuts.
You’ll learn how to anchor shelves securely, handle uneven walls, avoid common mistakes, and create storage that actually fits what you own. Let’s clear the floor.
What to Know Before Building DIY Garage Shelves?
Before cutting wood or drilling into walls, it helps to plan the layout carefully. Garage walls are rarely straight, and floors usually slope toward the door for drainage.
Measuring from a level reference instead of the wall itself prevents uneven shelves later. Locating studs is also essential because shelves must be anchored securely to support weight.
Shelf depth should match what will be stored. Deep shelves work well for bins, but can reduce parking space. Narrow shelves keep walkways clear but limit storage size.
It is also important to plan access. Shelves installed too high may look efficient, but become difficult to use for heavy items.
How Deep and Tall Should Garage Shelves Be?
Shelf size depends on what is being stored and how the garage is used.
Common shelf depths range from 16 to 32 inches. Shallower shelves work well for tools and small boxes. Deeper shelves hold large storage bins and bulky equipment.
Shelf height should allow easy access without climbing. Items used often should stay between waist and shoulder height. Seasonal or lightweight items can go higher.
Leaving space between shelves allows flexibility. Adjustable systems are easier to live with long-term than fixed layouts.
How to Build DIY Garage Shelves?
This system uses basic materials, simple cuts, and screws only. The layout is modular, which means shelf depth, height, and spacing can be changed later without tearing everything apart.
Tools and Materials Needed for DIY Garage Shelves
Before starting the build, having the right tools and materials ready makes the process faster, safer, and more accurate. The table below breaks down what is typically needed and why each item matters.
| Category | Item | Purpose |
|---|---|---|
| Lumber | 2×4 boards | Used for frames, supports, and wall cleats that carry the load |
| Sheet material | ¾-inch plywood | Form the shelf surfaces and workbench tops |
| Fasteners | Construction screws | Provide strong, removable joints that hold weight better than nails |
| Cutting tools | Circular saw, or miter saw | Used to cut lumber and plywood to size |
| Drilling tools | Drill or impact driver | Drives screws into studs and framing securely |
| Measuring tools | Measuring tape | Ensures accurate shelf width, depth, and spacing |
| Leveling tools | Level or laser level | Keeps shelves straight despite uneven floors or walls |
| Stud location | Stud finder | Helps anchor shelves directly into wall studs |
| Safety gear | Safety glasses and gloves | Protects eyes and hands during cutting and installation |
Step 1: Clear the Wall and Mark a Straight Reference Line
Start by clearing the garage wall completely so you have a true blank slate to work with.
Garage walls are rarely straight, so it’s important to rely on a level reference instead of the drywall itself.
Use a laser level or a long level to mark a clean horizontal line where the base of the shelving system will sit.
Locate the wall studs using a stud finder or a magnet, then pre-load screws into the board before lifting it into position. This makes installation faster and more controlled.
Always measure from this reference board rather than the wall to avoid uneven shelves caused by wavy drywall.
Step 2: Build a Flat and Level Base Platform
A strong shelving system depends on a solid, level base. Attach a long 2×4 ledger board to the wall studs along your reference line.
Since most garage floors slope toward the door, use shims to level the base front-to-back and side-to-side.
Once level, secure the base firmly so it does not move. If you want a cleaner look or added stability, add a plywood base on top and create a small toe-kick.
Taking time here prevents problems later when shelves are loaded.
Step 3: Install a Top Mounting Strip for Vertical Support
For taller shelving systems, a top mounting strip helps keep everything straight and secure. Use the laser level again to project a straight line at the desired top height.
Attach plywood strips along this line across the wall or ceiling.
This strip becomes the attachment point for vertical partitions and ensures consistent alignment across the entire system.
Even if the wall leans slightly, this method keeps the front faces straight and professional-looking.
Step 4: Build and Install Vertical Partitions
Vertical partitions divide the system into usable storage bays.
Measure the exact distance between the base and the top mounting strip, then cut your 2×4 supports to match.
Use short plywood strips at the top and bottom to tie each partition together. Lift each partition into place, snug it between the base and top strip, and secure it with screws.
If the back wall is uneven, allow the partition to follow it while keeping the front edge plumb. This keeps the shelves sliding smoothly later.
Step 5: Add Cleats and Set Shelf Heights
Once the partitions are installed, attach cleats inside each bay to support the shelves.
Shelf height should be based on what you plan to store, such as bins, tool cases, or bulky equipment.
Position the cleats carefully and keep them level so the shelves sit flat. It helps to build one storage bay first and load it early.
Clearing items off the floor creates more working space and keeps the project moving smoothly.
Step 6: Build the Shelves Using Plywood and Support Cleats
Shelves are built as rigid trays that slide into each bay. Cut ¾-inch plywood to size, then attach cleats underneath to prevent sagging.
These cleats add stiffness and help keep shelves straight over time.
Slide each shelf into place and secure it lightly so it stays put but can still be removed later if the layout changes. This approach balances strength with flexibility.
Step 7: Straighten Bowed Lumber Using a Simple Pull Technique
Framing lumber often arrives twisted or bowed, which can affect how shelves fit.
To correct this, drive a longer screw partway into the bowed section of a 2×4 and use the screw head as a handle to pull the board into alignment.
Once straight, lock it in place with a screw through the shelf or cleat. This technique allows you to force straight lines even when the lumber is imperfect.
Step 8: Customize with Workbenches and Specialty Storage
Once the main shelves are installed, customize the system to match how the garage is used.
A recessed shelf can act as a workbench, while tall bays are ideal for ladders and long tools. Low sections work well for freezers or rolling carts.
Because everything is screwed together instead of nailed, changes are easy. A partition can be removed, shelves adjusted, or a workbench added later without rebuilding the entire system.
How Much Weight Can DIY Garage Shelves Hold?
Weight capacity depends on lumber quality, fastening method, and stud spacing.
Shelves anchored directly into wall studs using screws can hold significant weight. Properly built supports can handle heavy bins, tools, and equipment without sagging.
Plywood thickness and added cleats underneath the shelves improve strength. Shorter spans between supports also increase load capacity.
When in doubt, store heavier items lower and spread weight evenly across shelves instead of stacking them in one spot.
Common Mistakes to Avoid When Building Garage Shelves
Here are a few simple mistakes that can quietly undermine even a well-built garage shelving project if they are not addressed early.
Measuring directly from uneven walls instead of using a level reference can cause shelves to sit crooked or look misaligned once installed.
Building shelves too deep without checking garage clearance can block parking space, walkways, or door movement.
Using nails instead of screws reduces long-term stability and makes future adjustments difficult.
Skipping level checks during installation often leads to shelves that sag or tilt after weight is added.
Anchoring shelves into drywall instead of wall studs weakens the structure and increases the risk of failure.
Loading shelves immediately without testing strength can hide issues that become bigger problems later.
Conclusion
DIY garage shelves turn wasted wall space into strong, practical storage that grows with your needs.
With basic materials and careful planning, it is possible to build a system that keeps the floor clear and the garage usable.
Starting with a level base, anchoring into studs, and building in flexibility makes a big difference over time. The result is not just more storage, but a garage that feels safer, cleaner, and easier to use.
If a garage currently feels crowded or hard to manage, a simple shelving system can change how the space works entirely.
If there are questions, ideas, or variations that worked well, share them in the comments.

James McLaren, with a rich background in architecture from the University of Manchester, has been contributing his expertise to the world of creative construction and home innovation for over 20 years. His journey began as a project manager for a leading construction firm, where he honed his skills in bringing complex designs to life. James joined our platform as a freelancer in 2019, quickly becoming a favorite for his insightful and practical advice. He has been a pivotal force to our wing ever since, bringing our readers a blend of technical know-how and creative flair. Beyond his professional life, James is an avid woodworker and enjoys restoring vintage furniture, a hobby that complements his professional insights beautifully.