Many homeowners run into trouble by rushing the prep stage or using tools that are too aggressive. High pressure, harsh chemicals, or unstable ladders can cause damage that is expensive to fix and difficult to hide under paint.
You safely prep a house exterior for painting by inspecting surfaces, cleaning them gently, protecting fixtures, and timing each step so materials fully dry before paint is applied. Proper preparation prevents paint failure, surface damage, and unnecessary safety risks.
A safe, methodical approach makes painting easier and delivers better results. The steps below walk through how to prepare your exterior thoughtfully, starting with assessment and ending with a clean, paint-ready surface.
Assess the Exterior Before You Clean
Before any washing begins, take time to assess the condition of your siding, trim, and surrounding areas. Look for cracked boards, loose render, peeling paint, and areas where moisture may already be present.
Understanding the surface condition helps you choose the right cleaning method and pressure level. Knowing the condition is especially important when deciding whether to use a pressure washer or a gentler alternative, and resources like a guide to smart pressure washer choices can help you match PSI and flow rate to your specific surface.
Remove Surface Grime and Debris
Paint adheres best to clean surfaces. Dirt, pollen, mold, and chalky residue can all prevent primer and paint from bonding correctly.
Start by clearing loose debris manually before introducing water. Following these initial steps reduces the amount of pressure or detergent needed during washing.
Common pre-cleaning steps include:
- Sweeping siding and eaves
- Brushing cobwebs from corners
- Removing loose paint flakes
Choose a Gentle Cleaning Method
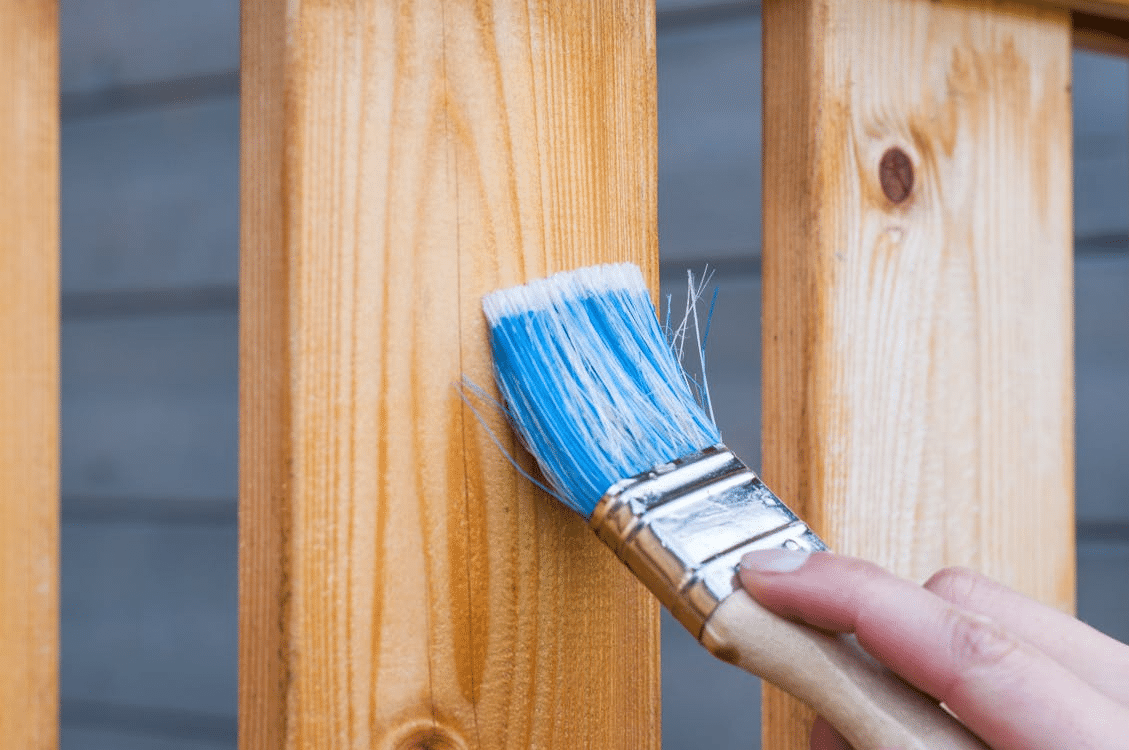
Not every exterior needs the same level of cleaning force. Timber, older render, and weathered surfaces can be damaged by excessive pressure.
In many cases, low-pressure washing combined with a mild detergent is enough. Soft washing methods prioritize water volume over force, reducing the risk of etching or gouging surfaces.
Match PSI and Nozzle to the Surface
Pressure washers vary widely in output, and using the wrong settings is a common mistake. Higher PSI is not always better, especially for residential exteriors.
Selecting the correct nozzle and pressure helps clean effectively without damaging materials. A wider spray angle disperses force more evenly and is safer for most siding types.
General guidelines include:
- Lower PSI for timber and painted surfaces
- Medium PSI for masonry and concrete
- Wide-angle nozzles for siding
Use Detergents Sparingly and Safely
Detergents can help break down grime, but stronger is not better. Harsh chemicals may damage finishes, harm plants, or leave residue that interferes with paint adhesion.
Choose cleaners designed for exterior use and follow dilution instructions carefully. Rinse thoroughly to ensure no soap remains on the surface.
Protect Fixtures, Windows, and Landscaping
Before washing or painting, mask and cover areas that should not be exposed to water or chemicals. Covering these areas prevents damage and reduces cleanup time later.
Use plastic sheeting and painter’s tape to shield light fixtures, vents, and outdoor outlets. Move or cover plants to protect them from runoff.
Prioritize Ladder and PPE Safety
Exterior prep often involves working at height and around water, which increases risk. Ladder stability and personal protective equipment should never be an afterthought.
Always place ladders on stable ground and avoid overreaching. Wear gloves, eye protection, and non-slip footwear to reduce injury risk during cleaning.
Basic safety essentials include:
- Sturdy extension ladders
- Non-slip shoes
- Safety glasses
- Gloves
Allow Proper Drying Time
Drying time is critical between cleaning and painting. Trapped moisture can cause blistering, peeling, or mold growth under fresh paint.
Most surfaces need at least 24 to 48 hours of dry weather after washing. Shaded or humid areas may require additional time before primer is applied.
Inspect Again Before Painting
Once the exterior is clean and dry, do a second inspection. This is your opportunity to spot missed damage or areas that need sanding or repair.
Addressing small issues now prevents them from showing through the finished paint. A smooth, sound surface leads to a more professional-looking result.
Prep Makes Paint Last Longer
Proper exterior preparation is not just about appearance. It directly affects how long your paint job will last and how well it protects your home.
Skipping steps or cutting corners often leads to premature failure. Taking time during prep saves time and money in the long run.
Safe Prep Leads to Better Results
Prepping your house exterior safely requires patience, the right tools, and an understanding of your surfaces. When done correctly, it sets the foundation for a durable and attractive paint job.
By choosing appropriate cleaning methods, respecting pressure limits, and prioritizing safety, homeowners can avoid costly mistakes. Helpful resources from Supercheap Auto make it easier to select the right tools and approach, ensuring your exterior is clean, protected, and ready for a fresh coat of paint.

With a Master in Architectural Studies from University of Pennysylvania, Marwa Haydar has pioneered living spaces since 2005. Her expertise, initially honed in a prestigious architectural firm, is evident in her approach to creating environments. Marwa became part of our team in 2019 and has since been a driving force in our home improvement section, known for her practical yet stylish solutions. She’s been spearheading our design workshops since then, infusing her passion for teaching into her work. In her leisure time, Marwa enjoys exploring historic architecture and is an enthusiastic pottery hobbyist, further enriching her understanding of form and texture.