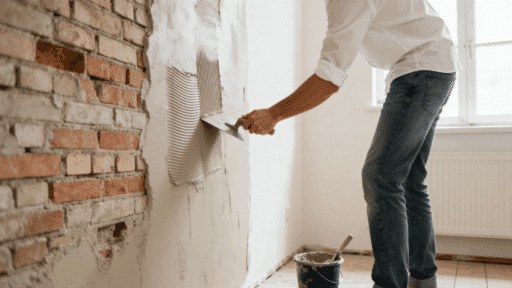
Plastering walls looks complicated. And for first-timers, it honestly can be. Uneven surfaces, wrong mixes, and rushed coats often lead to results that need redoing.
But here is the thing: with the right approach and a clear process, getting a smooth finish is completely achievable.
This blog breaks down every step in plain, simple terms.
From prepping the surface to applying the final coat, beginners will find everything they need right here. No trade experience needed. Just the right tools, the right technique, and a bit of patience.
What Does Plastering a Wall Mean?
Plastering walls is the process of applying a smooth, even layer of plaster material over a wall surface. It covers rough areas, fills imperfections, and creates a clean base ready for painting or decorating.
There are two main types to know: base coat plastering, which builds up uneven or bare surfaces, and skimming, which adds a thin finishing layer on top for a polished result.
Skimming is particularly useful for walls that are already in reasonable condition but need a cleaner, more refined surface before painting.
Knowing how to plaster a wall also means understanding when it is actually needed. Not every imperfection calls for a full plaster job. Small holes or minor damage can often be fixed with filler or patching compound.
But for large bare areas, freshly stripped walls, or surfaces with significant unevenness, plastering walls is the right and most durable solution to get a proper finish.
Key Factors Before You Start Plastering
Before picking up a trowel, there are a few key things to assess. Getting these right from the start makes the whole plastering process more controlled and far less likely to go wrong.
- Wall Surface Type: Brick, drywall, and painted walls absorb plaster differently, so knowing the surface type helps in choosing the right approach.
- Wall Condition: Check for cracks, damp patches, or uneven areas before starting, as underlying issues will affect the final finish if left unaddressed.
- Plaster Type: Multi-finish plaster works for most surfaces, but bonding plaster suits low-absorption walls that need extra grip.
- Room Conditions: Temperature and airflow directly affect drying time, so a well-ventilated room at a moderate temperature gives the most consistent results.
- Skill Level and Project Size: Beginners should start with smaller sections to build confidence and control before taking on larger plastering jobs.
Tools and Materials Required for Plastering Walls
Having the right tools on hand makes a real difference when plastering walls. Here is everything you need before starting to plaster a wall correctly.
| Tool/Material | Purpose |
|---|---|
| Plastering Trowel | Applying and smoothing plaster across the wall surface |
| Hawk Board | Holding a working amount of plaster while applying |
| Mixing Bucket | Preparing the plaster mix before application |
| Drill with Paddle Attachment | Blending plaster evenly to a lump-free consistency |
| Multi-Finish or Bonding Plaster | The primary coating material used on the wall |
| Water Brush or Spray Bottle | Keeping the wall surface workable during application |
| Straight Edge or Feather Edge | Leveling out the plaster across larger wall areas |
| Sandpaper | Smoothing out minor imperfections after drying |
| Protective Sheets or Dust Sheets | Covering floors and furniture to prevent mess |
How to Plaster a Wall (Step-by-Step Guide)
Following a clear process is what separates a smooth result from a messy one. Each step below builds on the last, so skipping ahead is not recommended.
Step 1: Prepare the Wall Surface
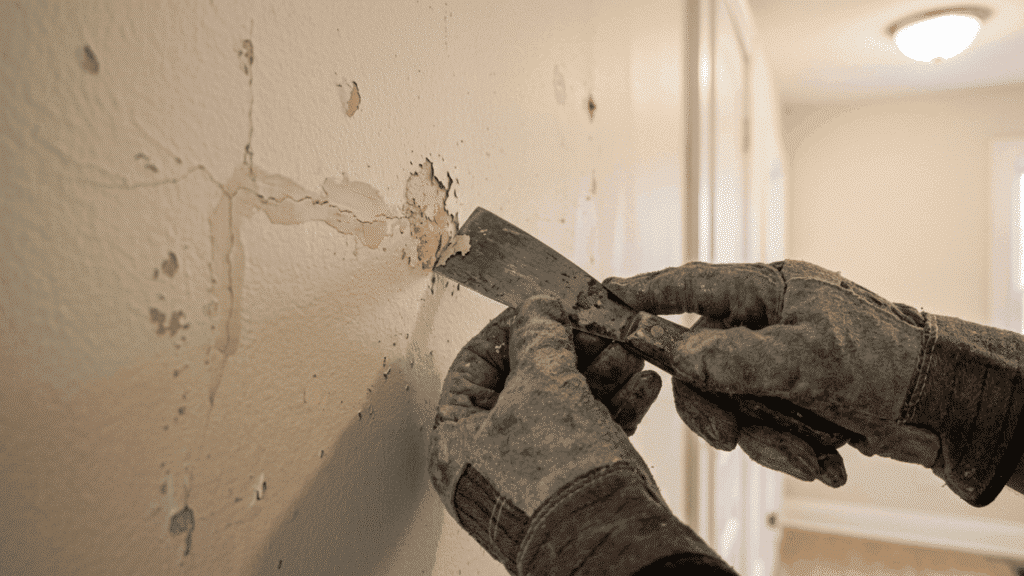
Preparation is the foundation for properly plastering a wall. Start by clearing the surface of dust, dirt, and any loose material.
Use a scraper to remove flaking paint or old plaster. Fill visible cracks and holes with suitable filler, press it firmly into the gap, and allow it to set fully before applying any plaster.
If the wall is smooth, painted, or has low absorption, apply a bonding agent and let it become tacky. This gives the plaster something to grip onto and prevents it from sliding or cracking once applied.
Step 2: Mix the Plaster Correctly
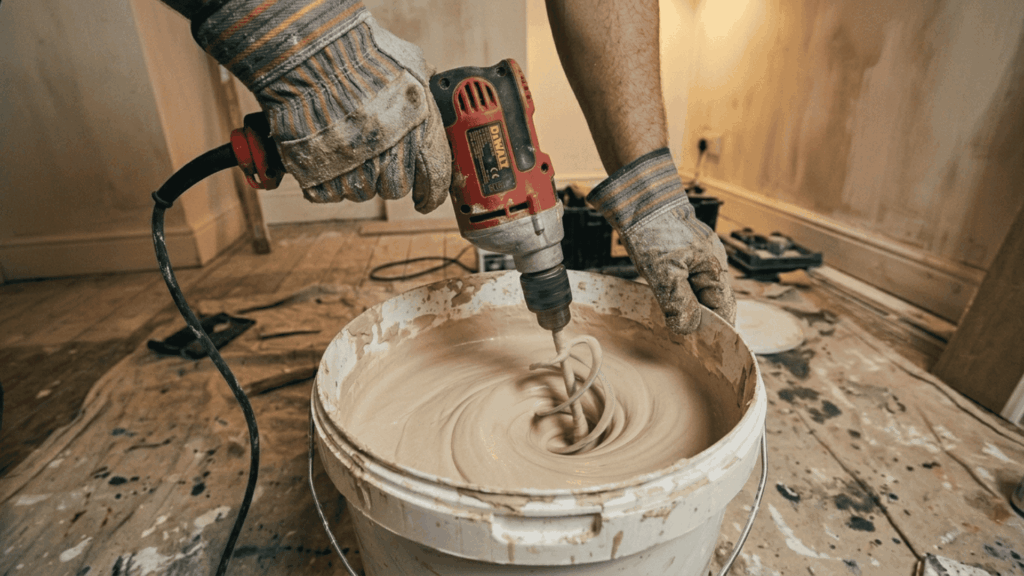
Getting the mix right is one of the most important parts of plastering walls. Always add plaster to water, not the other way around.
Pour it in gradually and mix using a drill with a paddle attachment until the consistency is smooth and lump-free. The mix should be thick enough to stick to the trowel without sliding off.
A quick way to test this: turn the trowel sideways, and the plaster should hold its position briefly before slowly dropping. Work quickly once mixed, as plaster begins to set faster than most beginners expect.
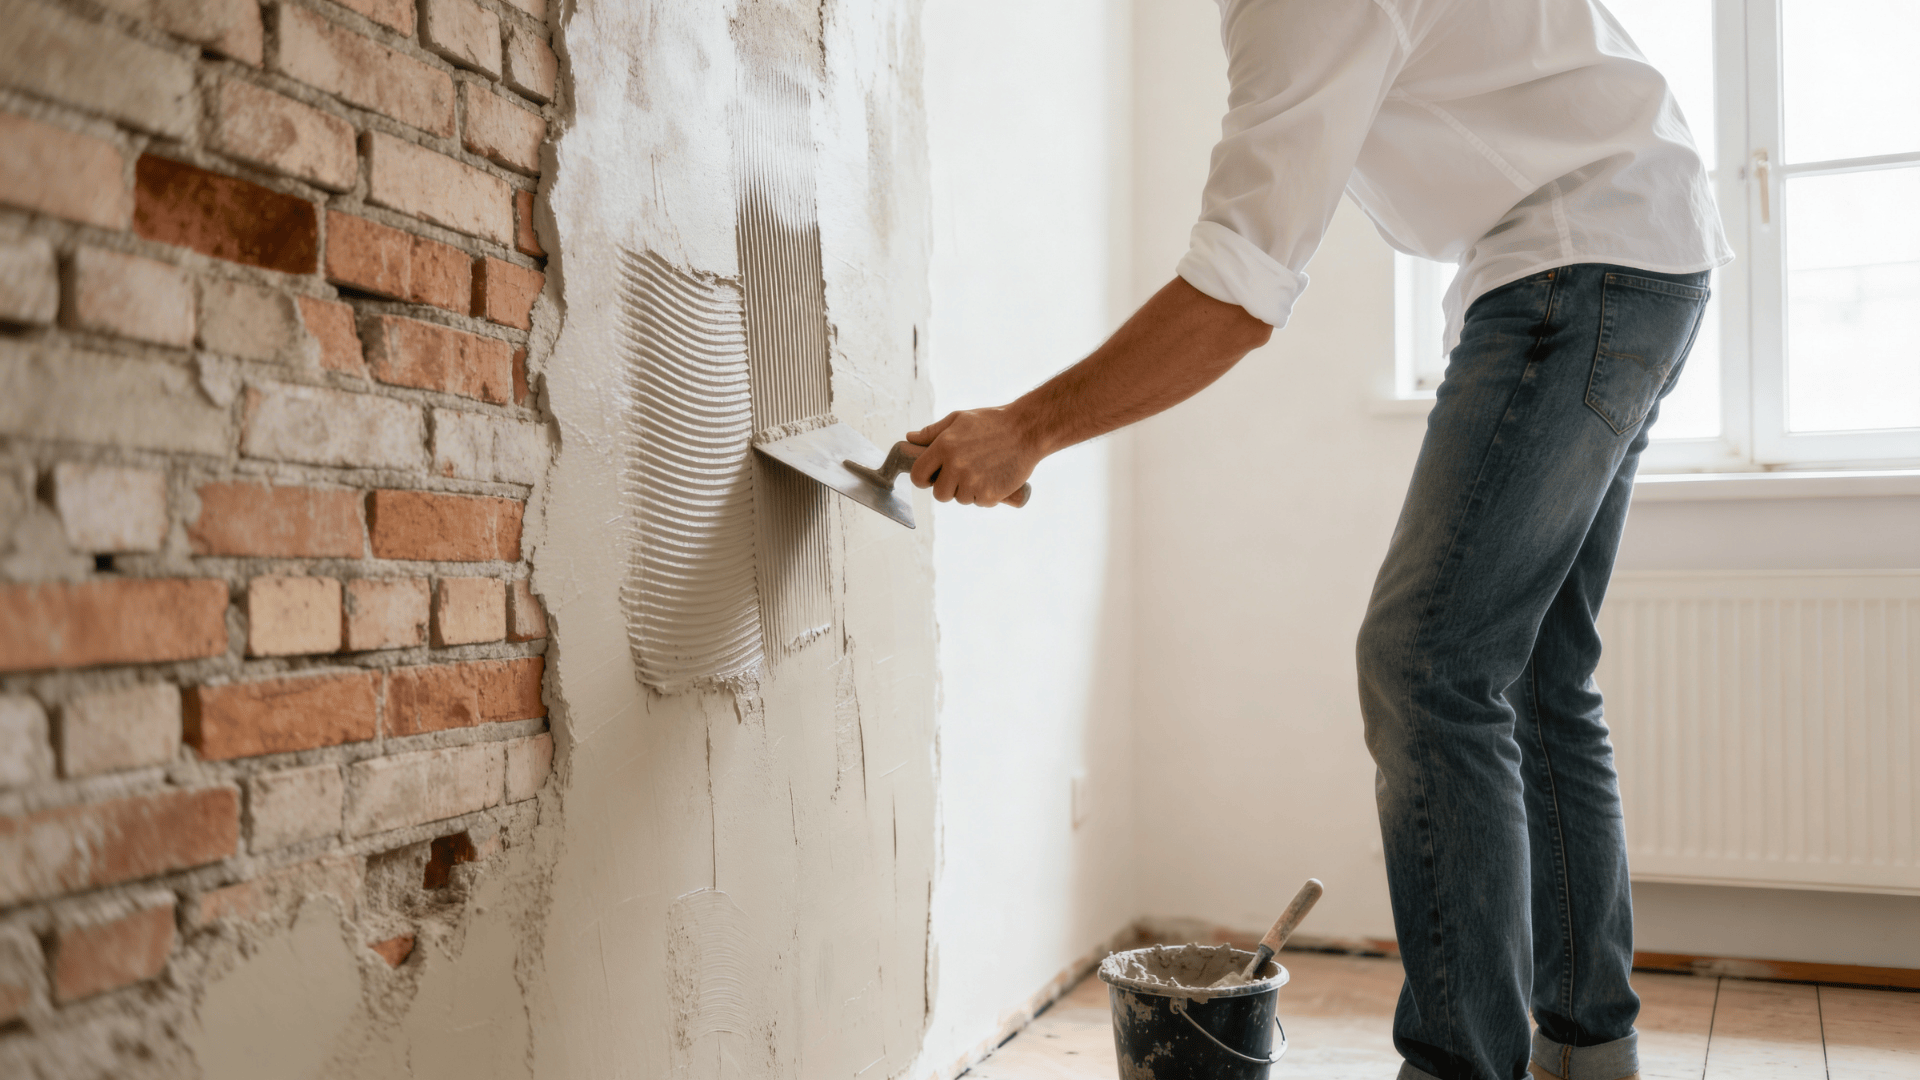
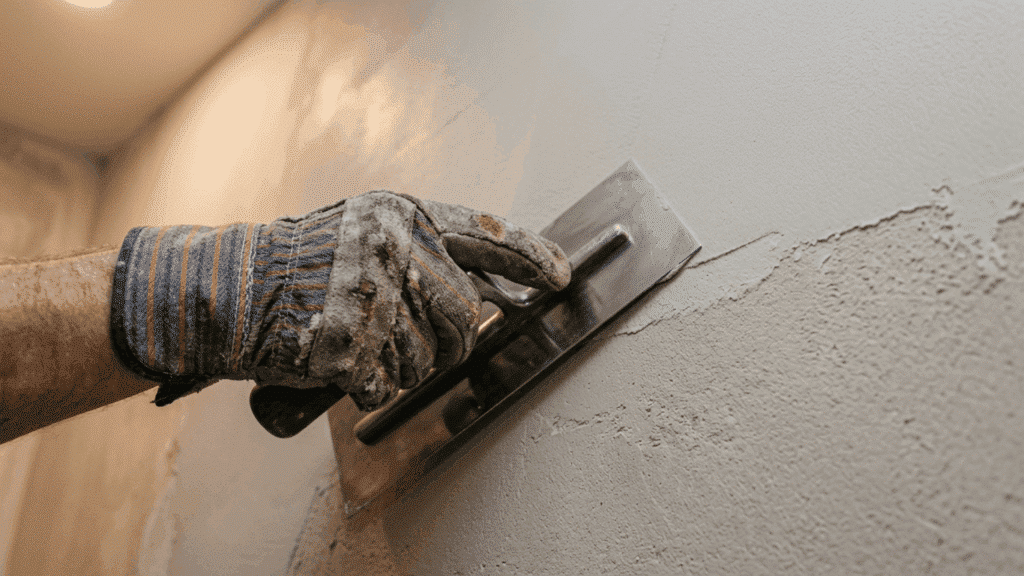
Step 3: Apply and Level the First Coat
This is where how to plaster a wall starts to take shape on the actual surface. Load the hawk board with a good amount of plaster, then transfer it to the wall using the trowel.
Apply it with firm, upward strokes, spreading it evenly across the surface. Once the wall is covered, use a straight edge to flatten any high spots. The goal here is full, even coverage rather than a perfect finish at this stage.
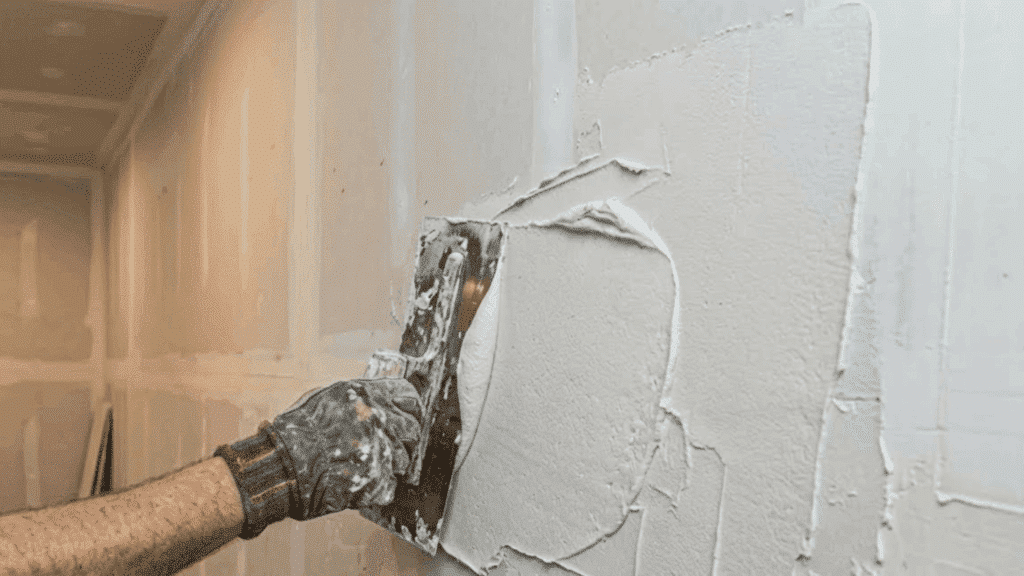
Step 4: Apply the Second Coat
The second coat is what gives plastered walls that clean, finished look. Once the first coat has firmed up but not fully dried, apply a thinner layer on top.
Keep the trowel at a low angle and maintain a consistent thickness across the entire surface. Speed matters here.
Moving too slowly allows the plaster to begin setting unevenly, which makes the final smoothing much harder to achieve.
Step 5: Final Smoothing and Polishing
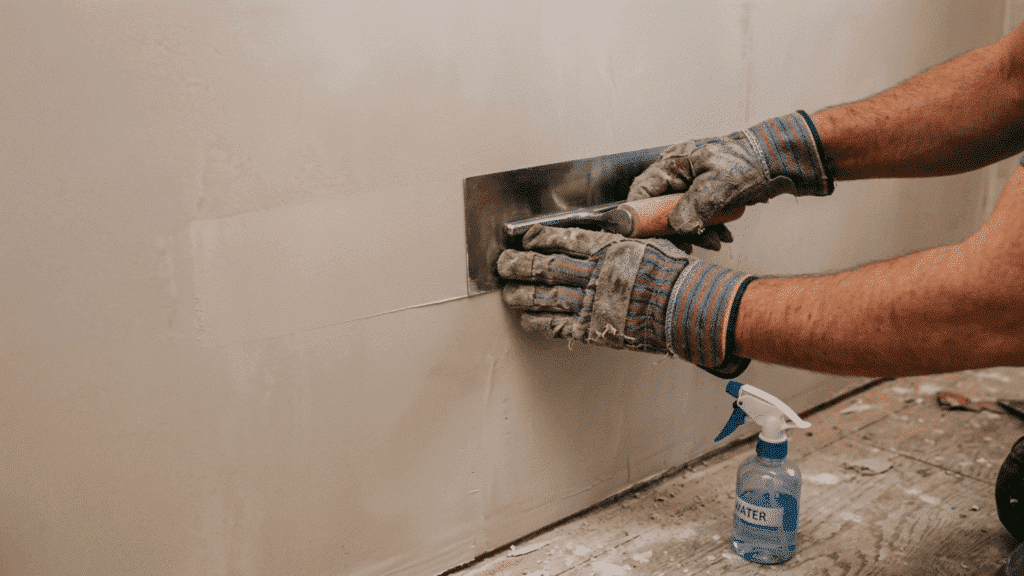
This step defines the quality of plastering a wall from start to finish. Using a clean trowel, go over the surface with light, controlled passes.
If the plaster starts to drag or pull, lightly mist the surface with water using a spray bottle and continue smoothing.
Work in long, overlapping passes across the wall. Avoid pressing too hard, as this can pull the plaster away from the surface and undo the work already done.
Step 6: Let the Plaster Dry Properly
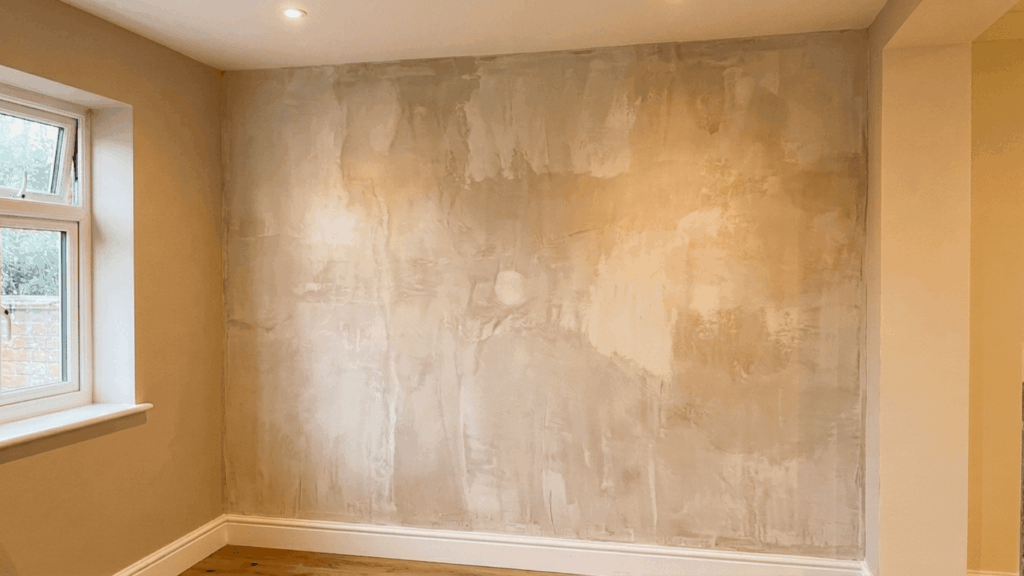
Drying is a step many beginners rush, and it often leads to problems with plastering walls. Allow the plaster to dry completely at its own pace.
Keep windows partially open for gentle airflow, but avoid using heaters or fans to speed up the process, as rapid drying can cause shrinkage cracks.
Watch the color of the plaster as it dries. It will shift from a darker to a lighter, more consistent tone across the surface, confirming it is drying evenly.
Step 7: The Final Result
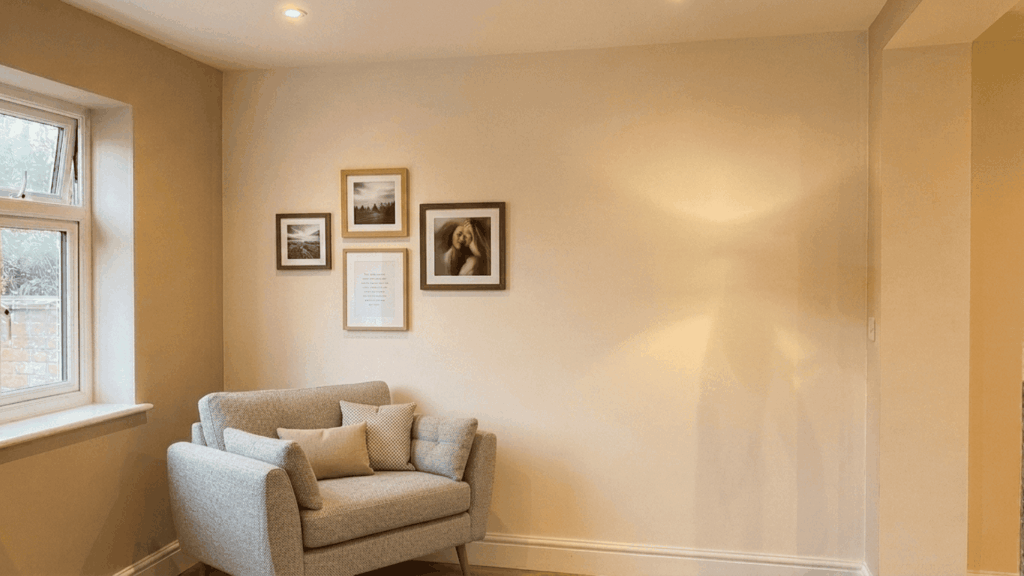
A properly finished wall is the clearest sign that how to plaster a wall has been carried out correctly from start to finish.
The surface should look consistent in color, completely flat, and free of any visible marks or ridges across the entire area.
Once plastering is complete, the wall is ready for priming and painting.
At this point, the space can be set up just as intended, furniture moved back in, and wall decorations put back in place, with a clean, smooth surface as the finished result.
Common Plastering Mistakes to Avoid
Even with the right tools and materials, small errors can affect the final result. Here are the most common mistakes made when plastering walls, along with how to avoid them.
- Mixing Plaster Incorrectly: Adding water to plaster instead of the other way around creates a lumpy, unworkable mix that is difficult to spread evenly across the wall.
- Skipping Surface Preparation: Applying plaster to dusty, greasy, or unstable surfaces results in poor adhesion and increases the risk of cracking or peeling later.
- Applying Uneven Pressure: Inconsistent trowel pressure leaves visible lines and ridges behind, making the final finish look uneven and harder to correct once the plaster sets.
- Forcing the Drying Process: Using heaters or fans to speed up drying in how to plaster a wall causes shrinkage cracks that compromise the surface quality significantly.
- Overworking the Second Coat: Going over the skimming layer too many times pulls the plaster and creates a rough, uneven texture that is difficult to salvage without starting over.
Conclusion
Plastering walls is a skill that genuinely improves with every attempt. The first try may not be perfect, and that is completely fine.
What matters is understanding the process, preparing properly, and working through each step without rushing. Starting with a small section of wall is always the smart move for beginners.
It builds confidence, highlights areas for improvement, and makes the full process of plastering a wall far less overwhelming when tackling larger surfaces later.
Consistency across each coat, not speed, is what produces a finish worth keeping, and let the plaster dry naturally. Do those three things consistently, and each wall plastered after that will only get better.

Veronica Lee holds a Master’s degree in Landscape Architecture from Cornell University and has dedicated more than 15 years to transforming outdoor areas into artistic and sustainable spaces. Her career took off in a renowned landscape design firm, where she excelled in creating visually stunning and environmentally responsible designs. In 2019, Veronica brought her expertise to our platform, quickly becoming a key contributor to our outdoor design and sustainability sections. As the lead of our landscape innovation series ever since joining, she has inspired readers with her forward-thinking and practical approach. When not drafting designs, Veronica enjoys pottery and participates in local conservation efforts, activities that complement her professional ethos of blending art with nature.