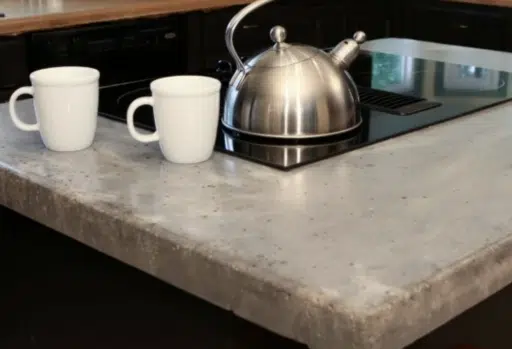

Are you tired of boring, cookie-cutter kitchen countertops? We have a solution that will make your kitchen stand out. Concrete countertops offer a unique, customizable look that can transform your space.
Many people think concrete countertops are too hard to make. We’re here to show you that they’re not as tough as you think. This guide will walk you through each step of building your concrete countertop.
You’ll learn to mix, pour, and finish concrete to create a durable, beautiful surface. By the end, you’ll have the skills to craft a one-of-a-kind countertop that will impress your friends and family. Ready to roll up your sleeves and get started?
Let’s explore.
Tools and Materials Required for Concrete Countertops
| Tools | Materials |
|---|---|
| Sandpaper | Ready-mix concrete |
| Sawhorses | Liquid release agent |
| Table saw | Masonry sealer |
| Concrete stamp | Silicone caulk |
| Bolt cutters | Galvanized structural stucco wire |
| Chemical-resistant protective gloves | 1″ melamine-coated MDF boards |
| Drill | Beeswax |
| Orbital sander | 2x4s |
| Concrete mixer | 2″ screws |
| Eye protection | Muriatic acid |
| Concrete trowel | Release agent |
| Clippers (for stucco wire) | Pigment (optional) |
| Jigsaw (if cutouts are needed) | Plastic or damp burlap (for curing) |
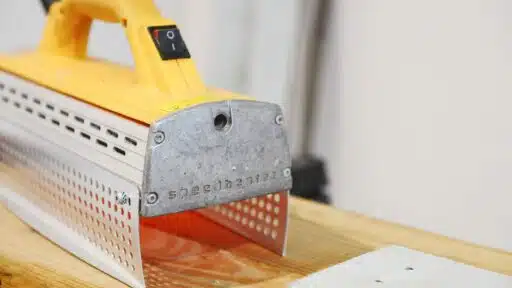
When working with concrete, especially during mixing, cutting, and sanding, proper eye protection is essential to prevent injury from dust and debris. For enhanced safety, consider using high-quality protective lenses from ridgeproductswelding.com, which are trusted by professionals for their durability and clarity.
Step-by-Step Guide to Building a Concrete Countertop
Step 1: Building the Mold
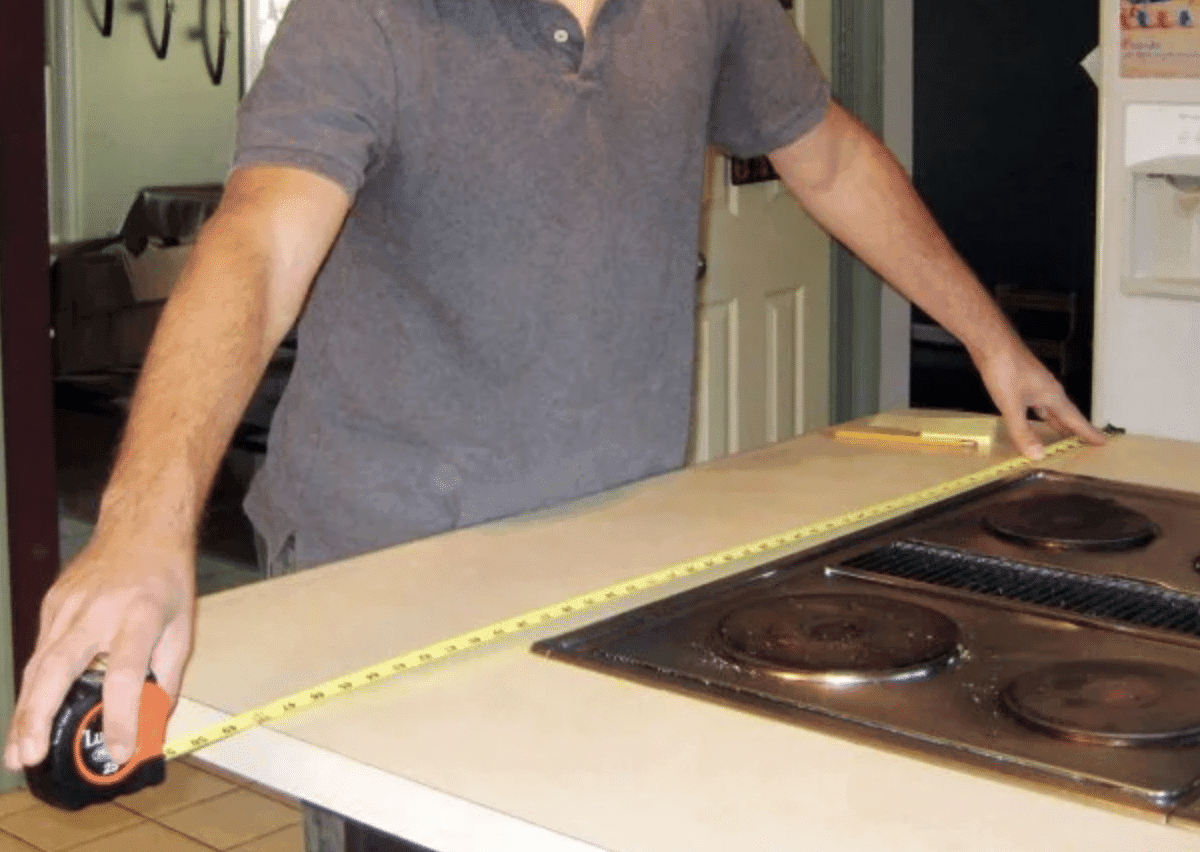
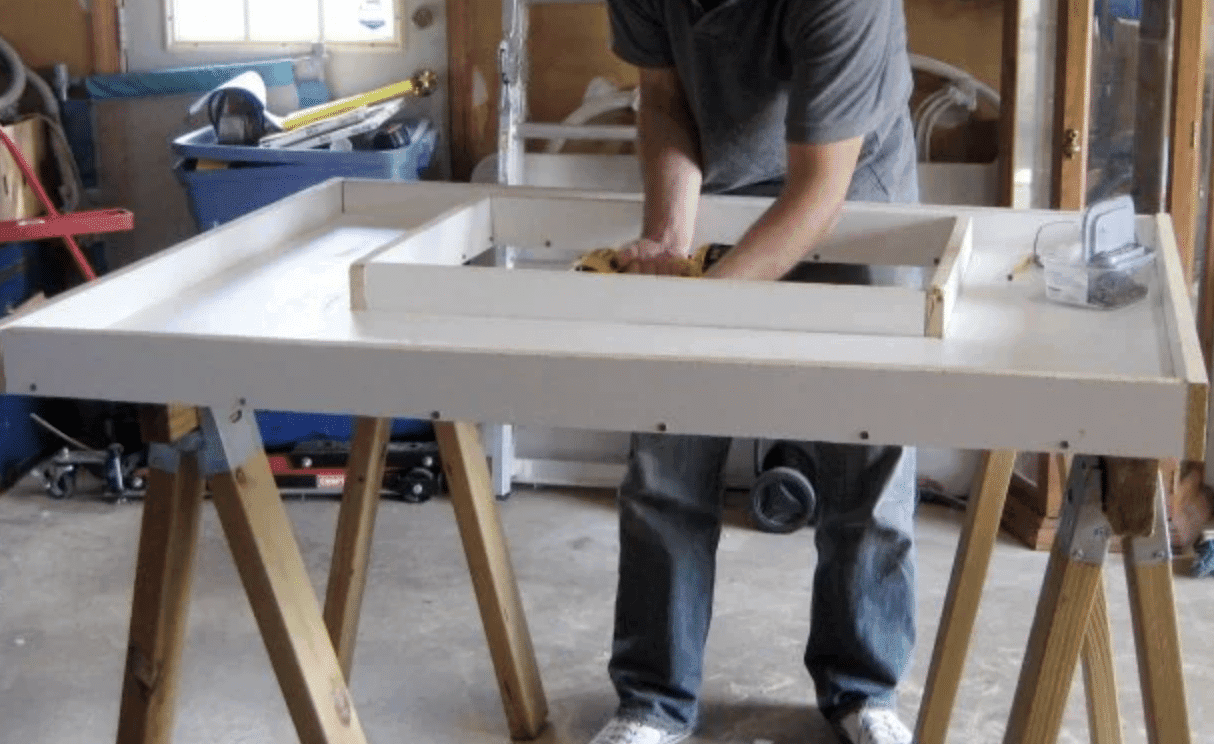
Building a sturdy mold is essential for shaping your concrete countertop. Start by measuring the base cabinets, adding ¾ inch on each side for the overhang. Cut a 1-inch thick melamine particleboard according to these dimensions.
Next, cut four strips of melamine, 2¾ inches wide, to form the sides of the mold. Attach the strips to the base using 2-inch screws, making sure the corners are square. Check all the angles with a carpenter’s square.
To prevent leaks, seal the inside edges of the mold with a thin line of 100% silicone caulk. Smooth the caulk, then let it dry for 24 hours before proceeding to the next step.
Step 2: Creating Cutouts
If your countertop design includes features like a sink or cooktop, you’ll need to add cutouts to the mold. Begin by marking the precise location and size of the cutouts on the base of your mold. Double-check these measurements by doing a dry fit of the sink or cooktop to ensure they align properly.
Once marked, drill pilot holes at the corners of the cutout area. Then, use a jigsaw to carefully cut along the lines from one hole to the next. This will create clean and accurate edges for your cutouts.
After cutting, attach additional side pieces to the mold around the cutout area, using the same method as before—drill pilot holes and secure them with screws.
Clean the mold thoroughly, as debris can affect the countertop’s final surface. Finally, apply silicone caulk to the seams around the cutout sections to prevent concrete leaking.
Step 3: Building the Support Frame and Prepping the Wire
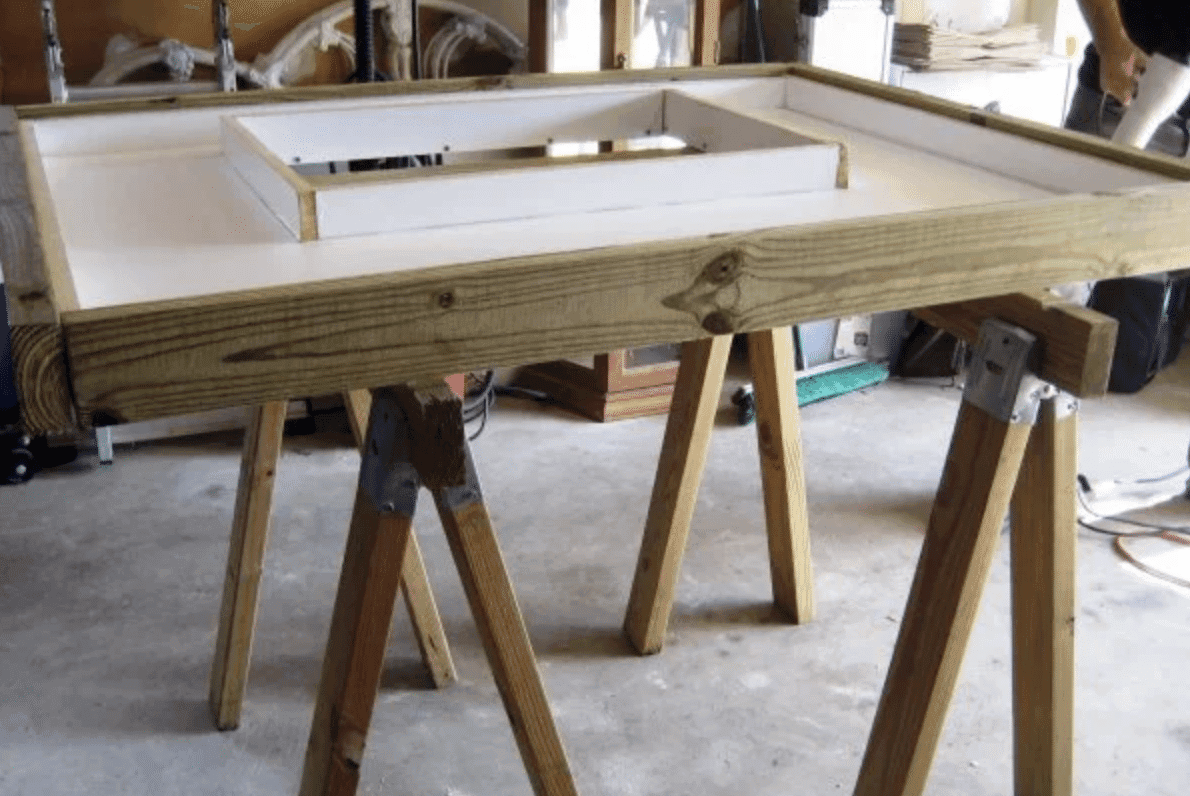
To prevent the mold from warping under the concrete’s weight, building a sturdy support frame is essential. Cut several 2×4 boards to form a frame surrounding the mold, with about 1¾ inches of overhang on all sides.
Secure the boards to each other without attaching them directly to the mold. This frame will help keep the mold from bending during the pour.
Before pouring the concrete, cut a piece of galvanized structural stucco wire slightly smaller than the mold’s dimensions.
This wire adds strength to the countertop and helps prevent cracking. After the first layer of concrete is poured, keep it ready to place in the mold.
Step 4: Mixing and Pouring the Concrete
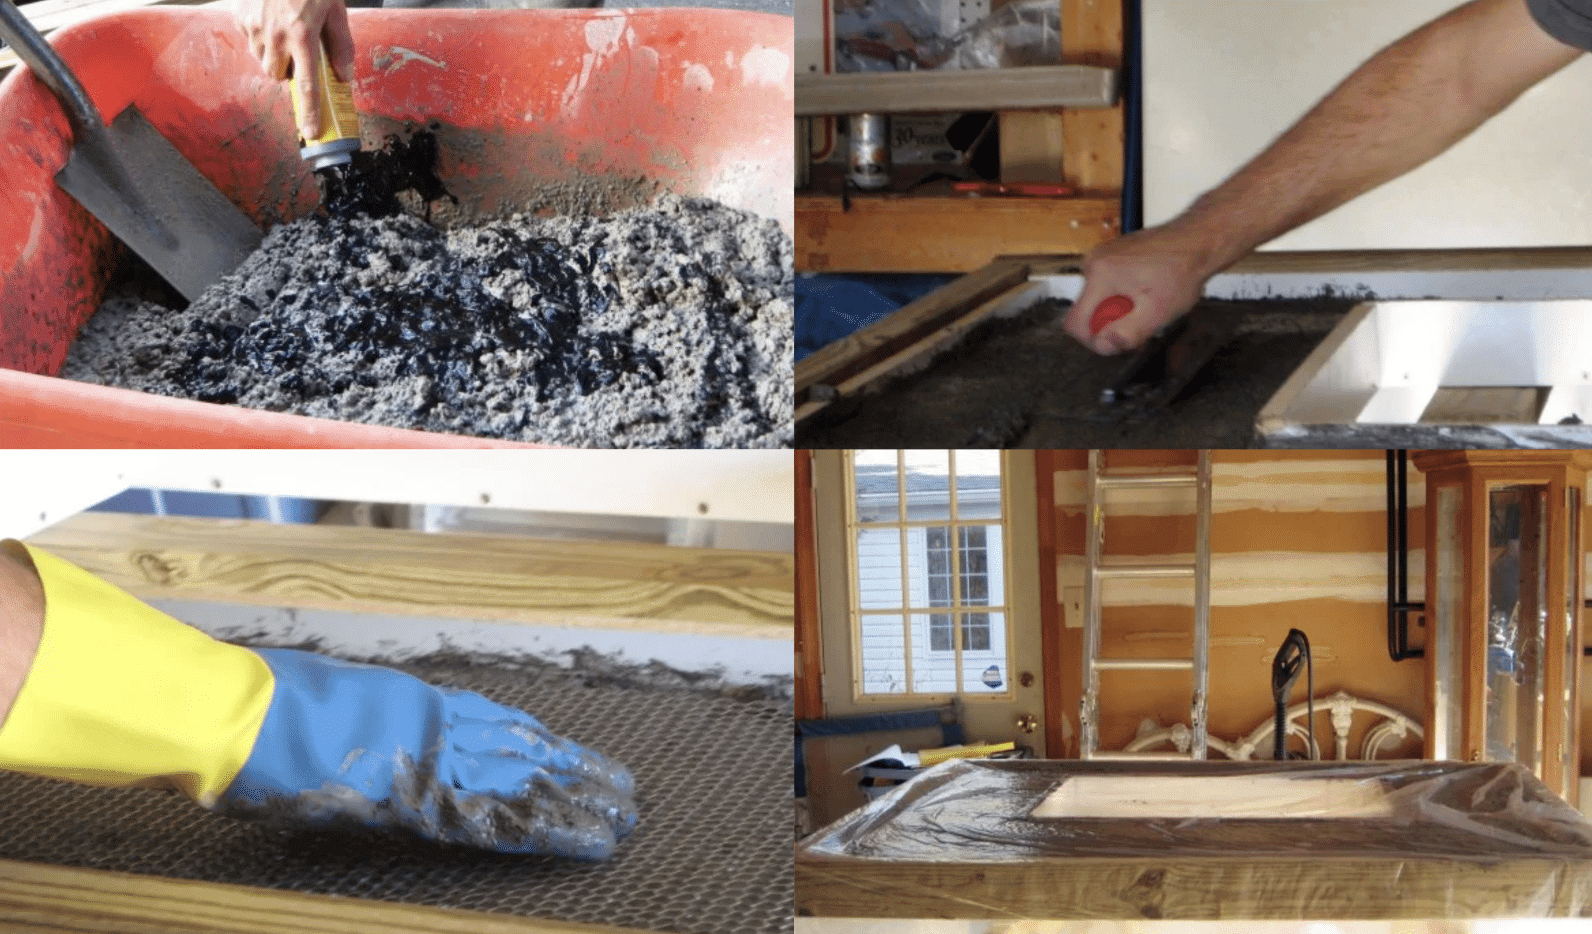
You’ll likely need three 60-pound bags of ready-mix concrete for a standard-sized countertop. Follow the manufacturer’s instructions when mixing the concrete, adding water gradually until it reaches a thick, peanut butter-like consistency.
If you want to add color to the countertop, add pigment to the mixture now. Make sure to mix thoroughly to ensure the color is even.
Pour the concrete into the mold to about half of its depth. Place the galvanized wire into the concrete, ensuring it doesn’t touch the sides of the mold. Then, pour the remaining concrete on top, slightly overfilling the mold.
Use a trowel to smooth the surface, and run an orbital sander (without sandpaper) along the sides of the mold to help vibrate out any air bubbles. Once the surface is smooth, cover the mold with plastic or damp burlap to keep dust away while it cures.
Step 5: Removing the Mold
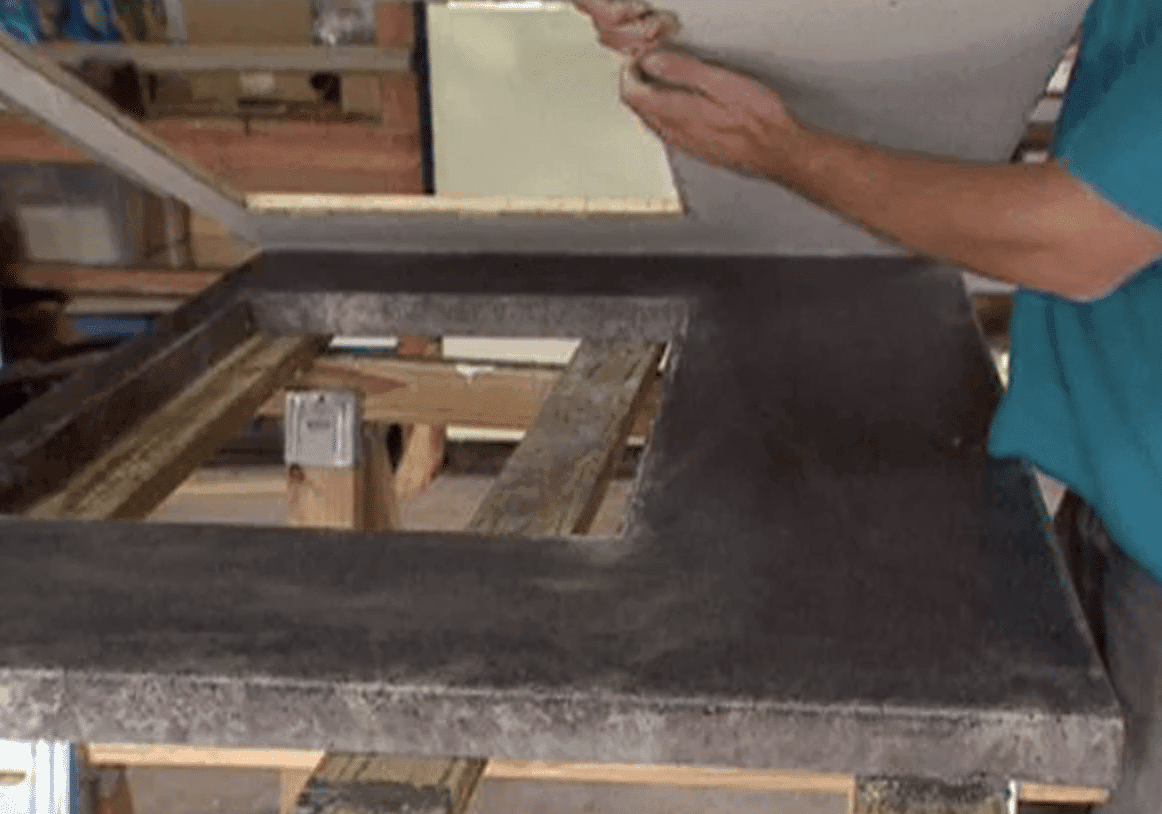
After letting the concrete cure for at least one week, carefully remove the 2×4 support frame and then the mold. Start by removing the screws and gently prying the mold’s sides away from the concrete slab.
Be cautious not to chip or crack the countertop during this step. Once the sides are removed, get help to flip the countertop over, as it will be heavy. After the slab is flipped, the base of the mold should come off easily.
Step 6: Finishing the Concrete Countertop
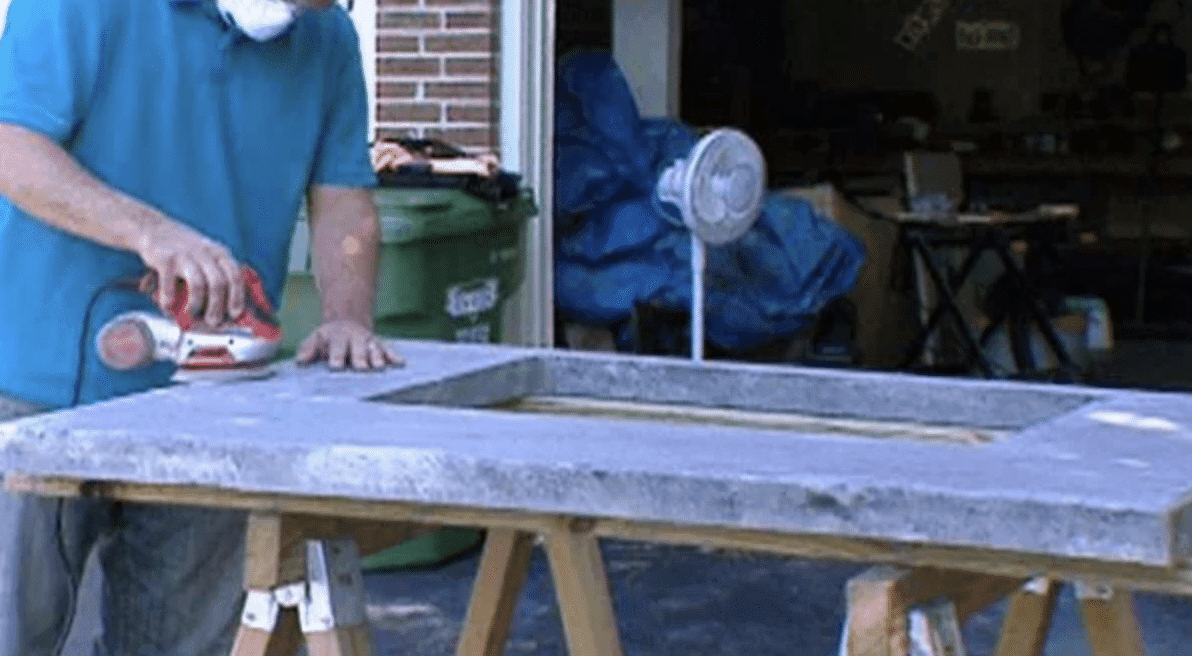
When removed from the mold, the countertop will have rough edges and imperfections. Use an orbital sander to smooth the surface and edges, starting with 100-grit sandpaper and working up to 220-grit. Be sure to wear a respirator, as this process creates a lot of dust.
Once sanding is complete, prepare a solution of muriatic acid mixed with water (1 ounce of acid per gallon) to etch the surface. Use a sponge to apply the solution, then rinse it off thoroughly and let the countertop dry.
Apply a concrete sealer with a sponge or brush in long strokes. Let the sealer dry before applying a second coat at a right angle to the first. Keep adding sealer until the concrete no longer absorbs liquid.
Step 7: Installing the Concrete Countertop
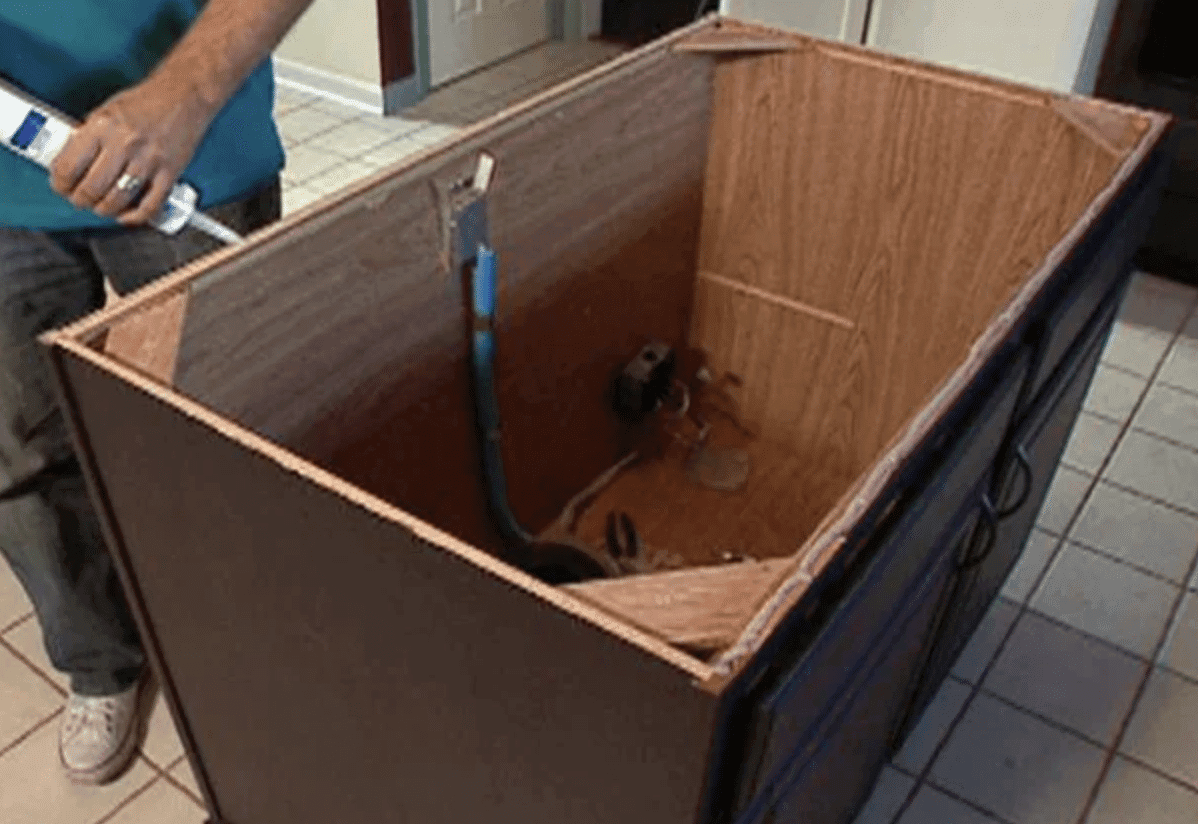
Before installing the countertop, run a thick bead of silicone caulk along the top edge of the base cabinets. With help, lift the countertop into place and press it down gently to form a seal with the caulk.
Make sure the countertop is level and securely in place. Allow the silicone to cure for at least 24 hours before using the countertop.
Pros and Cons of Concrete Countertops
Pros
- Durability: Concrete countertops are highly durable and can last many years with proper care.
- Customization: These countertops can be customized in color, texture, and shape, making them suitable for various styles.
- Heat Resistant: Concrete naturally resists heat, making it suitable for kitchens.
- Unique Look: Concrete offers a modern, industrial aesthetic that stands out.
- Eco-friendly Options: Concrete countertops can be more environmentally friendly using recycled materials and local aggregates.
Cons:
- Cracking: Concrete can develop small cracks over time due to natural settling or temperature changes.
- Porosity: Without proper sealing, concrete is porous and can stain from liquids.
- Maintenance: Regular sealing is required to maintain the countertop’s appearance and functionality.
- Weight: Concrete countertops are heavy and may require additional structural support.
- Cost: While DIY options can be cost-effective, custom-built concrete countertops can become expensive due to labor and material costs.
Conclusion
Let’s wrap up our concrete countertop journey. Building your countertop might seem daunting at first, but with the right steps, it’s a task you can handle. We’ve walked through the process, from mixing the concrete to adding the final polish.
Remember, patience is key. Take time with each step and don’t rush the curing process. Your effort will pay off with a unique, sturdy surface that perfectly fits your style.
As you use your new countertop, you’ll feel proud knowing you built it with your own hands. This project saves money and gives you a chance to express your creativity. So, are you ready to tackle your kitchen renovation?
Your perfect concrete countertop awaits.

Holding a Master’s in Construction Management from Purdue University, William Ray has dedicated more than two decades to studying and applying construction principles. His professional journey includes a tenure with a prominent construction firm, where he specialized in project management and building technologies. William brought his knowledge to our team, providing in-depth insights into practical construction techniques. As the leader of our beginner’s guide to building since 2019, he has a knack for breaking down intricate processes into easily digestible content. When not involved in writing or onsite consultations, William enjoys woodworking and volunteering in community building projects, which aligns with his passion for hands-on construction and community service.