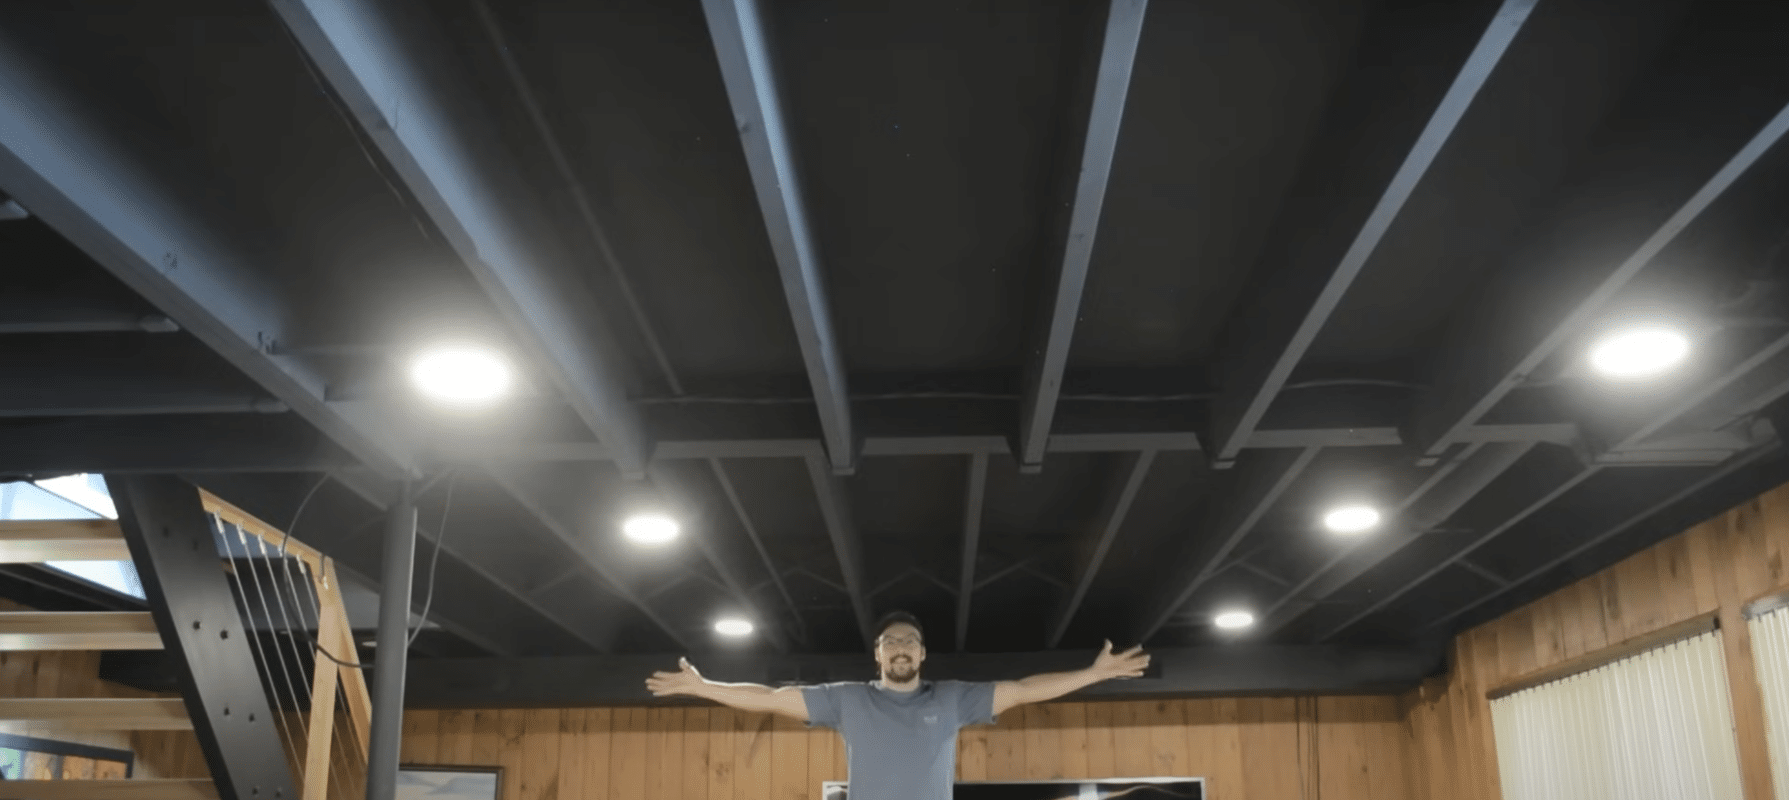
Have you ever walked into a basement and felt overwhelmed by low ceilings and exposed pipes?
A black ceiling can transform your basement into a sleek, modern space. It hides flaws and creates an illusion of height.
We’ll show you how to turn your basement ceiling from an eyesore into a striking feature. Our guide will help you create a polished look that adds value to your home.
Follow our step-by-step instructions to paint your basement ceiling black. We’ll cover everything from prep work to final touches.
Get ready to give your basement a fresh, stylish update that will wow your guests and make you love spending time downstairs.
Materials and Tools You’ll Need
| Item | Description |
|---|---|
| Paint | Sherwin-Williams Dry Fall in black or a similar product. |
| Paint Sprayer | Graco Magnum X5 or an equivalent model. |
| Protective Gear | Includes gloves, masks, and safety glasses. |
| Painter’s Tape | Green Frog Tape or high-quality painter’s tape. |
| Plastic Sheeting | For protecting walls and floors from overspray. |
| Vacuum | To clean the ceiling before painting. |
| Screwdriver and Pry Bar | For removing the old ceiling structure. |
| Shop Vac | For cleaning up after painting. |
Painting Exposed Basement Ceiling Black: Step-by-Step Guide
Step 1: Prepare Your Basement
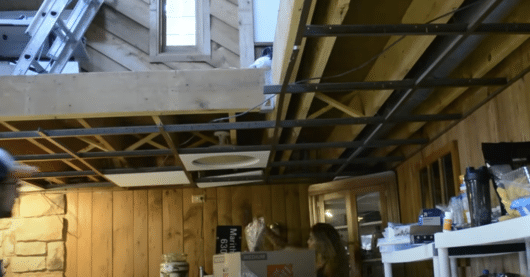
Before you start, it’s important to clear out the basement. Move out any furniture, storage boxes, or items that could get in the way. This will give you enough room to work and prevent accidental damage to your belongings.
Wear gloves and a mask for safety. The ceiling might have built-up dust, and the last thing you want is to inhale dust or get cuts from sharp materials.
Step 2: Remove the Old Ceiling
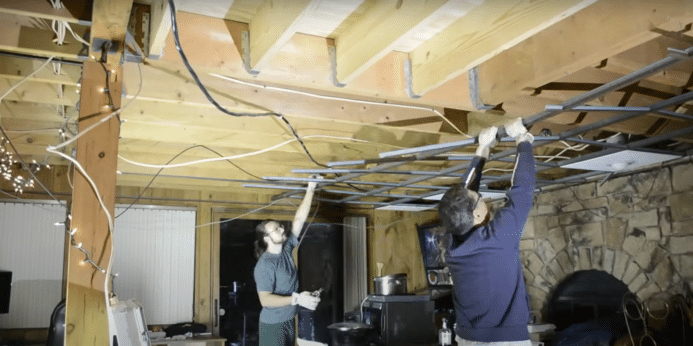
Now, it’s time to remove the old ceiling tiles. If your basement has a drop ceiling, gently remove the tiles and set them aside. Next, use a screwdriver or pry bar to remove the metal framework holding the tiles in place.
These metal pieces can be sharp, so wear gloves to avoid cuts. Be patient with this process, especially if many metal clips need to be removed.
Step 3: Clean the Ceiling Thoroughly
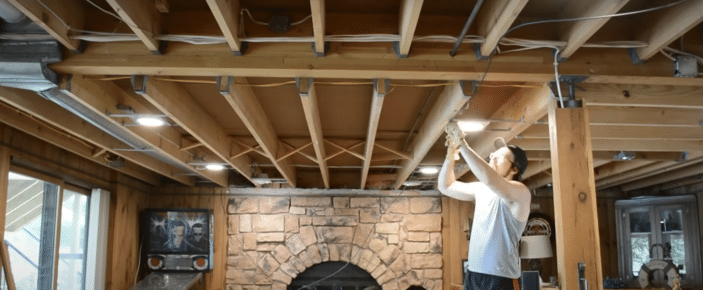
Once the old ceiling is gone, it’s time to clean the exposed area. Dust and dirt can affect how the paint sticks, so this step is crucial. Use a vacuum cleaner to go over the ceiling thoroughly.
Remove cobwebs, dust, and any loose particles that might be left behind from the old ceiling. Taking the time to do this will help ensure a smooth and even paint job later on.
Step 4: Prepare the Room for Painting
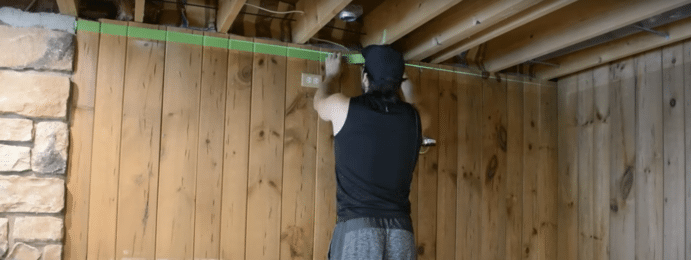
Prep the room to avoid getting paint on areas you don’t want to be covered. Use painter’s tape to seal off any gaps around HVAC vents, lights, and other areas that shouldn’t be painted.
Next, cover your walls and floors with plastic sheeting or drop cloths. This will catch any paint overspray and protect your surfaces from stains. Don’t skip this step; cleanup will be much harder without proper protection.
Step 5: Choose the Right Paint and Tools

For this project, it’s best to use black Sherwin-Williams Dry Fall paint. This type of paint is ideal because it dries quickly in the air, meaning any overspray that doesn’t hit the ceiling will be easier to clean. You’ll also need a paint sprayer like the Graco Magnum X5.
This sprayer will help you apply the paint evenly and efficiently. Before you start painting, ensure you follow the instructions for correctly setting up the sprayer.
Step 6: Strain the Paint
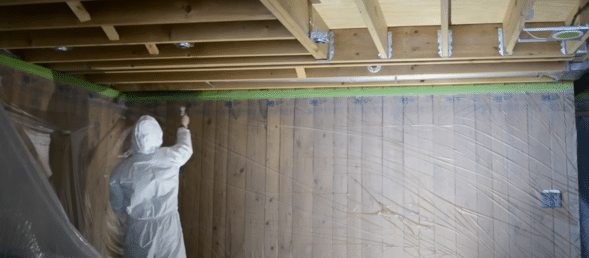
Before you pour the paint into the sprayer, it’s important to strain it first. This helps remove any clumps or debris that could clog the sprayer. Pour the paint through a strainer into a clean container.
This simple step can save you a lot of hassle during the spraying process by ensuring smooth and consistent paint application.
Step 7: Start Spraying
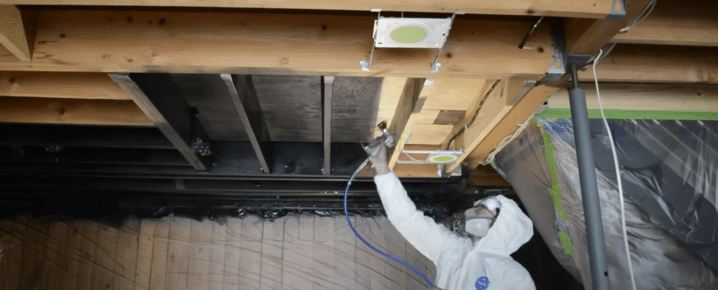
Now that everything is prepared, it’s time to start spraying the ceiling. Begin by testing your sprayer on a small area to check the pressure and flow.
Once you’re satisfied, start applying the paint in smooth, even strokes. Spray from different angles to ensure you cover all the little gaps and edges. Be mindful of drips and don’t oversaturate one area.
Take your time to ensure an even coat across the entire ceiling.
Step 8: Final Touches
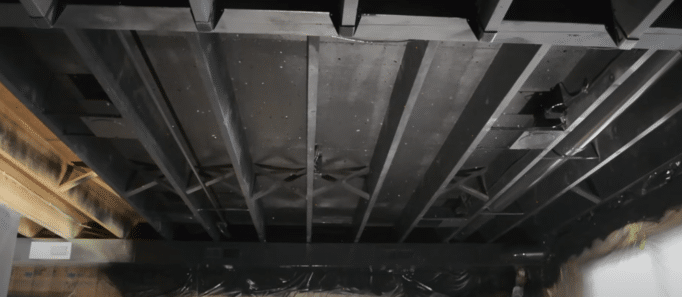
Once the paint is dry, inspect the ceiling carefully. Look for any spots you may have missed and touch them up as needed. After the paint job is complete and fully dry, remove the tape and plastic coverings from the walls and floors.
Be gentle during this process to avoid peeling off any fresh paint. Once everything is clear, you’ll have a sleek black ceiling that transforms your basement into a modern space.
Click here for the full video tutorial on YouTube.
Conclusion
Painting your basement ceiling black is a smart way to update your space. This project can turn a dull room into a cozy and stylish area. By following our steps, you’ve learned how to prep, paint, and finish the job well.
Remember, a black ceiling hides flaws and makes the room feel bigger. It also adds a modern touch to your home. The key is to take your time and do each step right.
We hope this guide has helped you see your basement in a new light. You’ve given your home a fresh look with some paint and effort. Now you can enjoy your updated space and feel proud of what you’ve done.

