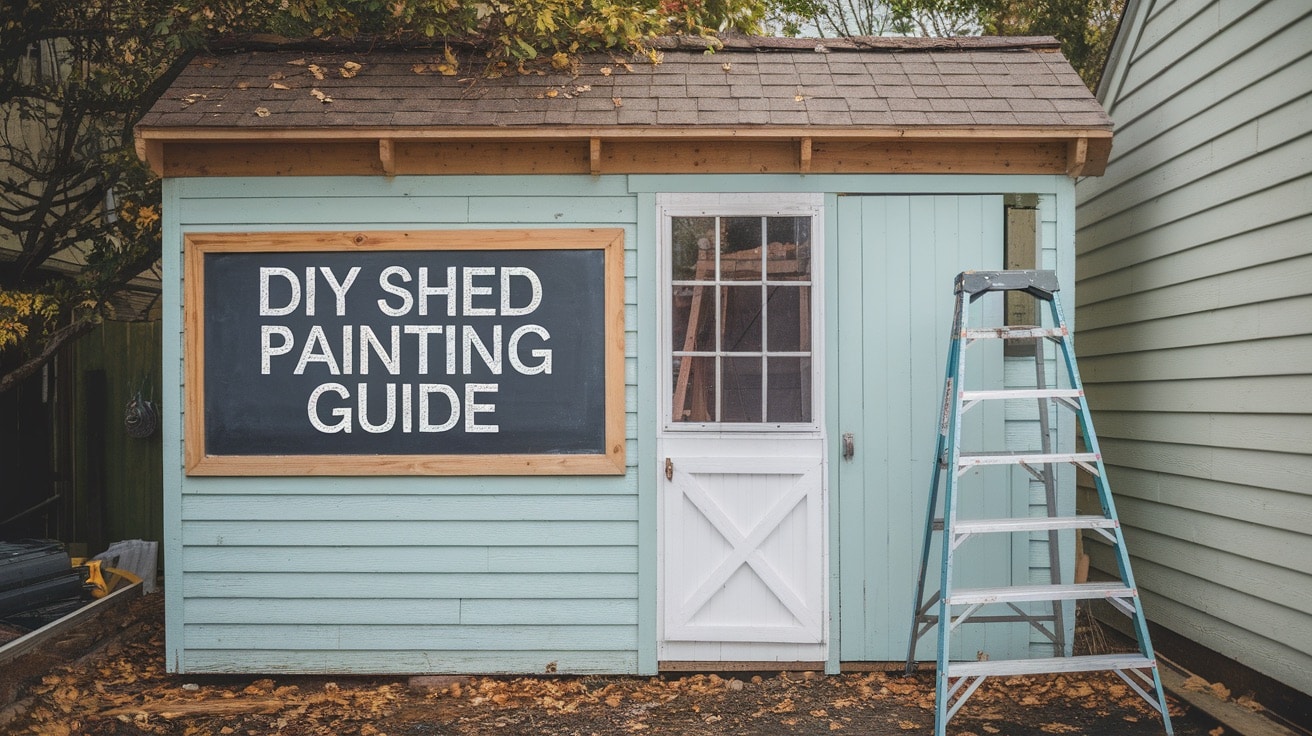
Every backyard shed faces sun, rain, and weather year after year. Without good paint protection, your shed’s wood can rot, warp, and look worn. Yet many homeowners put off painting their sheds, unsure where to start.
Good news: painting your shed doesn’t have to be hard. With the right steps and tools, you can give your shed lasting protection and fresh appeal. Plus, a well-painted shed adds value to your yard.
This guide walks you through each step of painting your shed. You’ll learn to pick the right paint, properly prep your surfaces, apply lasting paint, and keep your shed looking good for years.
Let’s turn your tired shed into a yard feature you’ll feel proud to show off.
Choosing the Right Paint for Your Shed
Picking the correct paint can make all the difference in your shed’s appearance and protection. Let’s examine your options and help you make the best choice for your project.
Types of Paint for Sheds: What’s Best for Your Shed?
Each paint type offers specific benefits for your shed. Here’s what you need to know about the main options:
Exterior Acrylic Latex Paint works well for most shed projects. It sticks firmly to surfaces and handles temperature changes well. You can clean your brushes with water, and the paint dries quickly.
Oil-based paints provide strong protection against weather. They take longer to dry but create a tough coating that stands up to rain and sun. These paints need mineral spirits for cleanup.
Paint Finishes: Choosing the Right Look for Your Shed
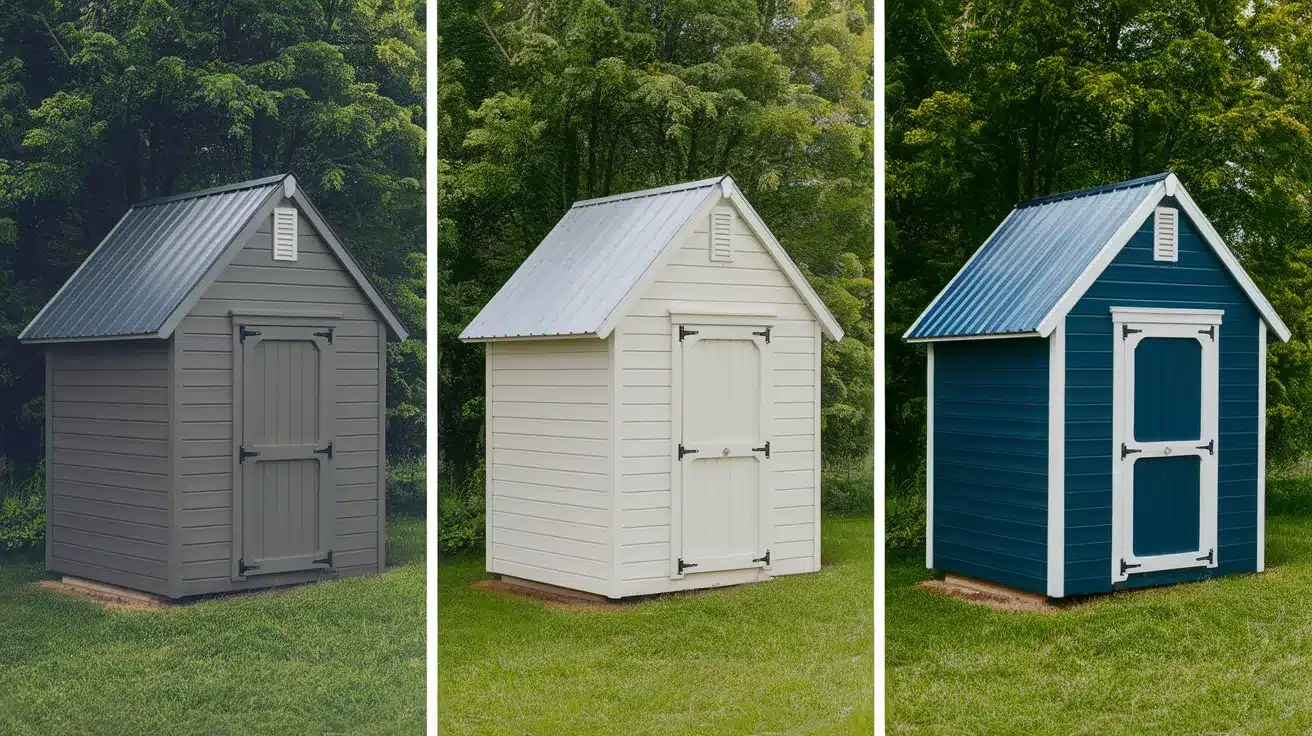
The finish you pick affects both looks and function:
- Matte Finish creates a smooth surface without shine. It hides small flaws in the wood but might need more frequent cleaning.
- Satin Finish offers middle-ground benefits. It cleans easily and provides a soft sheen that many homeowners prefer.
- Gloss Finish creates a bright, shiny look. It’s easy to clean but shows every bump and scratch in the surface.
Pros and Cons of Each Finish
| Finish | Best For | Benefits | Drawbacks |
|---|---|---|---|
| Matte | Imperfect surfaces, older sheds | Natural look hides imperfections well | Shows dirt more easily, harder to clean |
| Satin | Balanced look, sheds with minor flaws | Resists dirt, easy to clean, attractive finish | It may not hide imperfections as well as matte |
| Gloss | Newer sheds, smooth surfaces | High shine, easy to clean, durable | Highlights imperfections, can be too bold for some |
Step-by-Step Guide: How to Paint a Shed Exterior
Let’s walk through each step to refresh your shed’s look. This guide takes you from start to finish with methods that work.
Tools and Materials Needed
| Tools | Materials |
|---|---|
| Pressure Washer | Exterior Acrylic Latex Paint |
| Orbital Sander | Oil-Based Paint (if preferred) |
| Small Scrub Brush | Primer (Wood or Multi-Surface) |
| Paint Roller (for Rough Surfaces) | Eco-Friendly Paint (Low-VOC) |
| Paint Brushes (for details) | Paint Finish (Matte, Satin, Gloss) |
| Drop Cloths (to protect ground) | Caulk (for sealing gaps) |
| Painter’s Tape | Wood Filler (for holes or cracks) |
| Paint Tray | Sandpaper (for smoothing) |
| Ladder (if needed for high areas) | Wood Sealer (for extra protection) |
| Nail Gun (for door work) | Painter’s Rags (for touch-ups) |
| Screwdriver (for hinge work) | Exterior Wood Cleaner |
| Measuring Tape (for door size) | Garden Edging (optional for landscape) |
| Safety Gear (gloves, mask) | Water for cleaning brushes & tools |
1. Clean the Shed Exterior
Start by cleaning your shed’s surface. Set your pressure washer to a gentle setting for wood siding. Keep the spray at a safe distance to lift dirt without causing damage.
Use a small brush to clean between wood grooves. This step removes hidden dirt, old webs, and any unwanted items stuck in the gaps. Good cleaning now means better paint results later.
2. Wait for Complete Drying
Give your shed time to dry after cleaning. Plan for several days of drying time. This waiting period is key – painting on wet wood leads to poor results.
3. Sand with Care
Take a small brush to clean deeply between siding grooves. Then, an orbital sander was used on the main surfaces. Sand lightly – you want to smooth the wood just enough to remove splinters and rough spots.
4. Get Ready to Paint
Check that all surfaces feel completely dry to the touch. Pick up a paint roller made for rough surfaces – it holds more paint and gives better coverage on wood siding.
5. Pick Your Paint
Choose colors that fit your yard. Simple shades like medium gray work well. They look fresh without drawing too much attention.
6. Start Painting
Roll paint on with steady, even strokes. Work in small sections. Make sure the paint gets into all the grooves and covers the surface well.
7. Door Work (If Needed)
For new doors, take careful measurements first. Cut wood pieces to match your old door design. Add support beams at 45-degree angles for strength.
8. Paint Details
Sand door surfaces before painting. Use tape to protect areas you want to keep paint-free. Work carefully around edges and details.
9. Fix Any Problems
Small issues often come up during painting. Take time to fix them right away. Adjust it before moving forward if something isn’t lined up, like hinges or trim.
10. Finishing Work
Do one last light sanding on any spots that need it. Clean up the ground around your shed. Add edging to keep mulch tidy.
11. Add Final Touches
Put in new light fixtures that match your shed’s style. Plant flowers or shrubs that grow well in your yard’s lighting conditions.
12. Last Checks
Test your doors to make sure they close right. Add latches or locks if needed. Look over all surfaces for any spots that need touch-ups.
Video Tutorial
Watch the full YouTube video on how to paint the exterior of a shed.
Maintenance and Care: Prolong the Life of Your Paint Job
Good care keeps your shed looking fresh for years. Small efforts in maintenance save you from big repairs later. Let’s look at the key areas of shed care.
Regular Inspections: Catch Problems Early
Set aside time every three months to check your shed’s paint job. Walk around the structure and pay special attention to the corners and edges where water collects. The area near the ground needs extra attention since moisture often causes problems there.
Watch for signs of trouble in the paint surface. Bubbling or peeling paint signals a problem that needs quick fixing. Look for small cracks that could let water get under the paint.
Note any spots where the wood feels soft or the paint color has changed. These signs often mean moisture damage needs attention.
Cleaning the Shed Exterior: Keep It Looking Fresh
A good cleaning routine twice a year helps your paint last longer. The process is simple but important. Start with a mix of warm water and mild dish soap. Grab some soft cloths or sponges for gentle cleaning. Always work from the top of your shed down to avoid drips and streaks.
Strong chemicals can damage your paint, so stick to mild cleaners. After washing, rinse all surfaces with clean water. Make sure everything dries completely.
Avoid using stiff brushes since they might scratch the paint surface. This gentle approach keeps your paint looking fresh without causing wear.
Touch-Up Tips: Fixing Minor Paint Issues Quickly
Small paint problems need quick attention before they grow bigger. Clean the spot first with your soap and water mix when you find a chip or scratch. Wait until the area dries completely.
Then, gently sand the edges of the damaged spot to create a smooth surface. Any bare wood should receive a primer coat before new paint is applied.
Getting a good color match matters for touch-ups. Save some paint from your main paint job in a sealed container. Write the date and color name on the container for future reference.
When you need it, stir the touch-up paint well before using it. This stored paint gives you the best chance at a perfect match.
Conclusion
A fresh coat of paint gives your shed more than just good looks. The time you spend prepping, painting, and maintaining your shed adds years to its life. It shields the wood from damage and prevents costly repairs down the road.
You create results that make a real difference in your yard when you follow each step with care, from cleaning to the final coat. Remember that rushing through any part of the process might save time now but lead to touch-ups later.
Your shed is more than just storage – it’s part of your home’s outdoor appeal. The effort you put into painting it right shows in every detail, from the clean lines of trim to the smooth finish of each wall.
Take pride in protecting your shed and making it shine.

