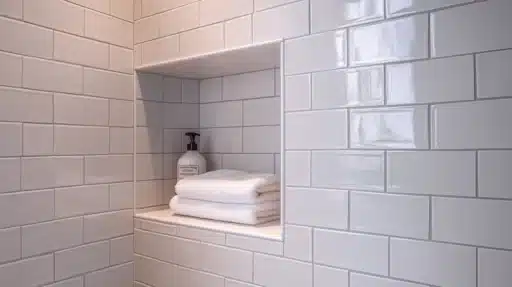
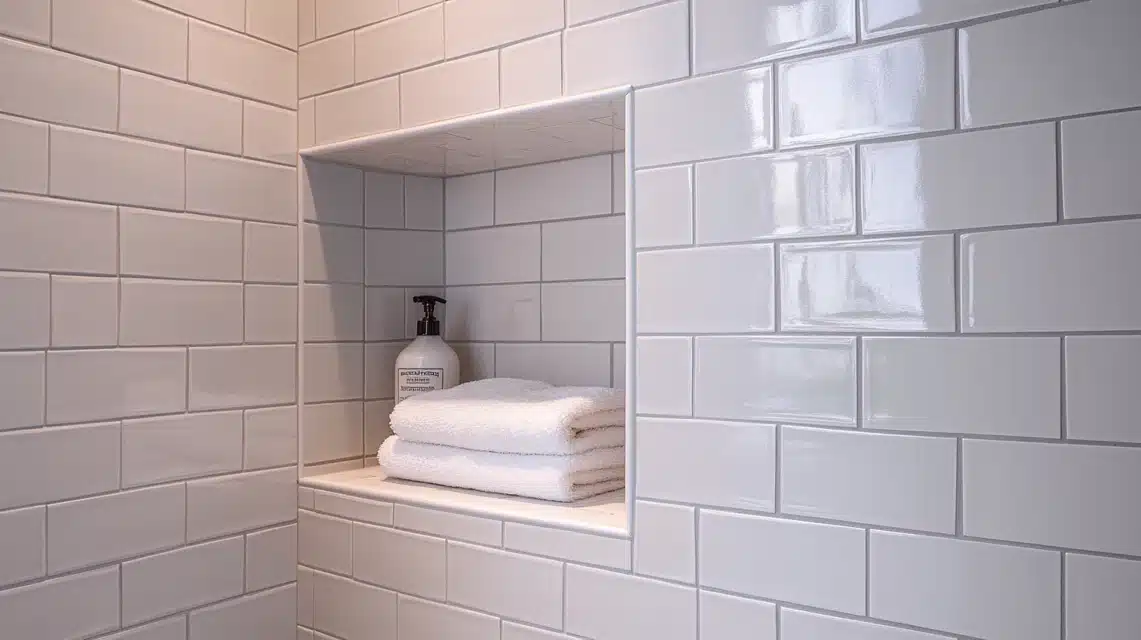
Adding a storage space to your shower wall needs careful planning and the right steps.
A shower niche keeps your bath items within reach while adding style to your space.
With proper tools and materials, you can build a niche that stays dry, looks good, and lasts long.
This guide covers everything from picking the spot to final checks, helping you avoid common problems and create a useful addition to your shower.
Step-by-Step Guide to Installing a Shower Niche
Materials Required
Tiles
- 4×16 tiles (or your chosen tile size)
- Grout (1/8-inch grout line for spacing)
Framing Materials
- 2×4 lumber (for framing the niche)
- Screws (for securing the framing)
Drywall
- Water-resistant mold-treated drywall (for wet areas)
Waterproofing Membrane
- Mapei Aqua Defense (or a similar product like Red Guard)
Adhesives and Sealants
- Thin-set adhesive (for tiling)
- Tile grout (for filling tile joints)
- Grout sealer (optional for sealing grout after it dries)
Tools
- Laser level (for precise measurement and alignment)
- Measuring tape (for accurate sizing)
- Pencil/marker (for marking measurements on the wall)
- Tile cutter or wet saw (for cutting tiles)
- Screwdriver or drill (for securing screws)
- Notched trowel (for applying tile adhesive)
- Sponge (for cleaning excess grout)
- Paintbrush or roller (for applying waterproofing membrane)
Miscellaneous
- Waterproof tape (for sealing drywall seams)
- Joint compound (for sealing drywall joints)
- Safety gear (gloves, goggles, etc.)
1. Planning the Niche Size and Layout
Determine the Size: Decide on the size of your niche. For this project, we’re going with a 16-inch tall niche.
Tile Measurement: Use a 4×16 tile and add a 1/8-inch grout line to each tile, which results in a final height of 16 inches.
Measure and Mark the Wall:
- Mark the wall where you want your niche to be.
- The niche will be 16 inches tall, from finished tile to finished tile.
- Use a laser level to draw a reference line on the wall where the niche will be built.
2. Determining Niche Position
Measure Vertical Height:
- Measure the height of the niche location. A common height is 20 to 36 inches from the tub, ensuring it’s functional and aesthetically aligned with the shower.
- Mark the 20-inch starting point, considering that tubs aren’t perfectly leveled so that some adjustments will be necessary.
3. Prepare the Wall for Niche Construction
Check for Obstructions:
- Ensure no obstructions like pipes, wires, or ducts where you place the niche.
- If the cavity behind the wall has mechanical systems, adjust your niche placement accordingly.
4. Frame the Niche
Mark the Cut Line:
- The next step is to plan the cut for the framing. This involves considering the thickness of the drywall and tile and making a small allowance (1/8-inch mercy) to accommodate tile thickness and flexibility in installation.
- From the laser line, measure down to the desired location (17 and 3/4 inches), accounting for the thickness of drywall, tile, and 2×4 framing.
Install 2x4s for Framing:
- Cut and install a 2×4 at the height you want for your shelf, ensuring a slight slope for drainage (about a 1/4-inch slope per foot). This will prevent water pooling.
- Secure the 2×4 in place using screws.
5. Waterproofing the Niche
Install Drywall:
- Use water-resistant mold-treated drywall for the niche area. This is crucial because it will maintain its integrity while preventing mold growth.
- Attach the drywall to the 2×4 framing and seal the edges with tape and joint compound.
Apply Waterproof Membrane:
- First Coat: Use a waterproofing membrane, such as Mapei Aqua Defense (or a similar product like Red Guard). Apply the first coat of the membrane generously to the niche and surrounding walls.
- Second Coat: After the first coat dries (usually a few hours), apply a second coat for extra protection. Cover all areas completely, ensuring no water can seep through.
- Drying Time: Allow each coat to dry fully before proceeding.
6. Tile the Niche
Plan Tile Layout:
- Layout the tiles around the niche area, starting from the bottom and working upward. Ensure the edges of the tiles align perfectly with the edges of the niche, avoiding slivers.
- Using a tile cutter or wet saw, you may need to cut tiles to fit the niche’s dimensions.
Install the Tiles:
- Begin tiling the niche walls with your selected tiles. Use a tile adhesive to secure the tiles in place.
- After installing the tiles, leave them to set and dry according to the adhesive manufacturer’s instructions.
Grouting: Once the tiles are set, apply grout to the joints between the tiles, ensuring a smooth and uniform finish. Wipe off excess grout with a sponge.
7. Finish the Niche
- After the grout has dried, apply a sealant to protect the grout and tiles.
- Ensure no gaps in the waterproofing or grout could allow water to leak behind the tiles.
8. Test the Niche
- Waterproofing Check: Test the waterproofing by applying some water to the niche and checking for any signs of leakage or pooling.
9. Clean and Seal the Area
Cleaning:
- Clean the tiles and surrounding area to remove any residue or dust.
- Ensure the waterproofing membrane is intact and undamaged.
10. Final Review
Inspect the Niche:
- Inspect the niche from all angles to ensure it’s level, properly sealed, and waterproofed.
- Ensure there’s a slight slope on the shelf for water drainage.
Here are common mistakes to avoid during the installation of a shower niche
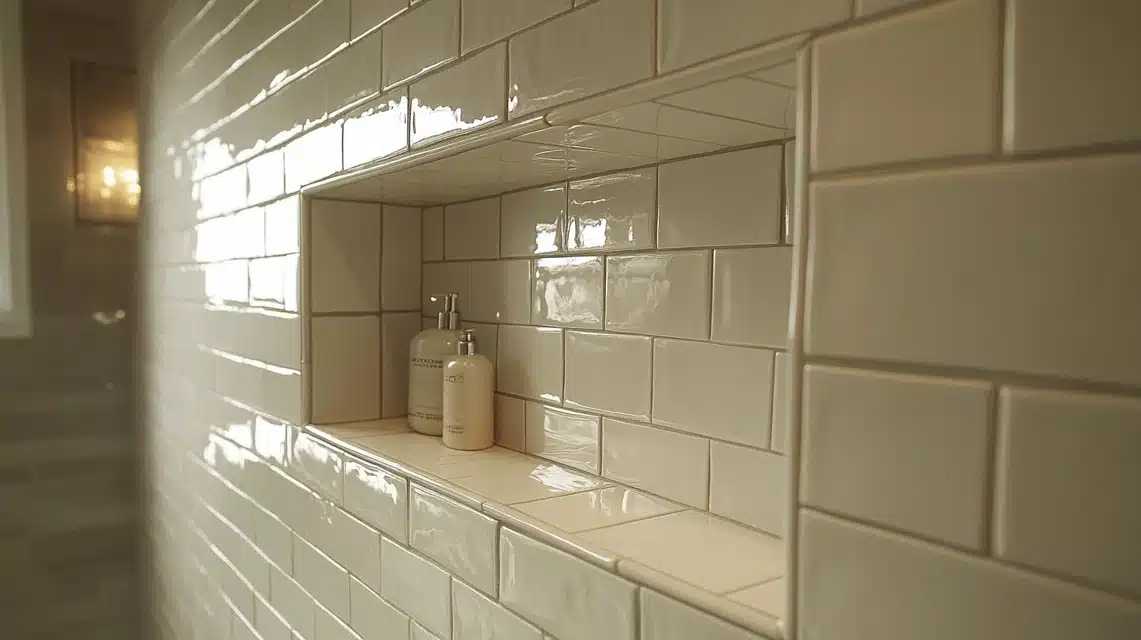
1. Inadequate Planning and Measurement
- Skipping Layout Planning: Not aligning the niche with the tile layout can result in unattractive slivers of tiles around the niche. Plan the tile grid first and position the niche accordingly.
- Incorrect Depth Calculation: Forgetting to account for the thickness of drywall, tile, adhesive, and waterproofing layers can make the niche protrude or recess awkwardly.
- Improper Slope: Failing to create a slight slope on the shelf for water drainage can lead to pooling and water damage.
2. Improper Framing
- Insufficient Support: Not adding adequate framing (e.g., 2×4 blocking) around the niche can compromise its structural integrity and lead to issues like cracking tiles.
- Uneven Framing: Poorly aligned framing can make the niche crooked or uneven, which will show after tiling.
3. Neglecting Waterproofing
- Skipping Waterproof Membrane: Not applying a waterproofing membrane can lead to water penetration, mold growth, and eventual wall damage.
- Thin or Uneven Waterproofing: Applying too little membrane or missing spots can compromise the waterproofing. Ensure full coverage, including all seams and edges.
- Ignoring Screw Holes: Failing to seal screw holes can allow water to seep into the wall.
4. Incorrect Cutting
- Cutting Beyond the Studs: Cutting drywall or framing beyond the stud area weakens the structure and leaves gaps in the framing.
- Inaccurate Cuts: Poorly measured cuts can lead to gaps between the niche and framing or drywall, requiring additional patchwork.
5. Poor Tile Installation
- Misaligned Tiles: Not aligning the niche tiles with the surrounding tiles can create a jarring visual effect.
- Skipping Dry Fit: Failing to dry fit the tiles can lead to incorrect cuts or improper spacing.
- Inadequate Adhesive: Applying too little thin-set adhesive may cause tiles to fall off or loosen over time.
6. Failing to Ensure Drainage
- Flat Shelf: Leaving the shelf flat instead of sloped allows water to pool, potentially leading to mold or water damage.
- Ignoring Framework Slope: Relying solely on the tile for slope instead of sloping the framework beneath can weaken the waterproofing.
Conclusion
By following these steps carefully, you’ll have a professionally installed, properly waterproofed, and functional shower niche.
This method ensures the niche will last, drain correctly, and remain free of mold and water damage.
Take time with each step, especially the waterproofing and slope adjustments, to ensure long-term durability and performance.
Frequently Asked Questions
What can I use instead of a shower niche?
Corner shelves, hanging caddies, or shower poles with baskets work well as alternatives. These options need less installation work and can be moved as needed.
Do you tile the wall or niche first?
Start with the wall tiles below the niche, then install the niche tiles, and finish with the surrounding wall tiles for the best look.
What is the difference between a shower niche and a shower recess?
A niche is built into the wall cavity between studs, while a recess is often shallower and may be added to the wall surface.
Can I add a shower niche to an existing shower?
Yes, but it requires removing wall tiles and checking for pipes and wires first. It’s more complex than installing during initial construction.
Is building a shower niche difficult for beginners?
With good planning and attention to water protection, beginners can install a niche. However, mistakes can lead to leaks, so consider hiring help.

