Hey there! I’m excited to share my experience with box molding. It’s one of my favorite ways to add style to any room.
I’ve installed these in countless spaces, from cozy bedrooms to grand living rooms, and I’m always thrilled with how they transform a plain wall into something special.
Today, I’ll share everything I’ve learned about box molding, from picking the right trim to getting that perfect finished look.
What trim do you use for box molding?
Profile Trim
Box molding works best with a simple, clean profile. To create a sharp, modern look, look for molding with a flat or slightly beveled edge.
More decorative profiles (e.g., crown molding-style profiles) can be used in spaces where you want to add character.
Material
MDF (medium-density fiberboard) is a common choice because it’s easy to work with and paint.
Wood molding (such as pine or oak) is also popular for a more traditional, natural look, but it requires more effort in terms of sanding and finishing.
Size
Typically, a width of 3-4 inches for the molding is standard for box molding, but this can be adjusted depending on the room’s scale and design you want to achieve.
Step-by-step guide to installing box trim molding
Gather your materials
Before you start, make sure you have all the necessary materials for the project:
- Graph paper (for sketching the design)
- Tape measure
- Level
- Painter’s tape
- Chalk line tool
- Pre-made corner pieces (optional, for ease)
- Construction adhesive
- Molding trim (for the box frame)
- Saw (if cutting molding to size)
- Brad nailer (optional, for extra support)
- Caulk and caulking gun
- Paint and paintbrush (for finishing)
1. Plan your design
- Start by grabbing some graph paper to sketch out your design. This will help you visualize how the boxes will look on your wall.
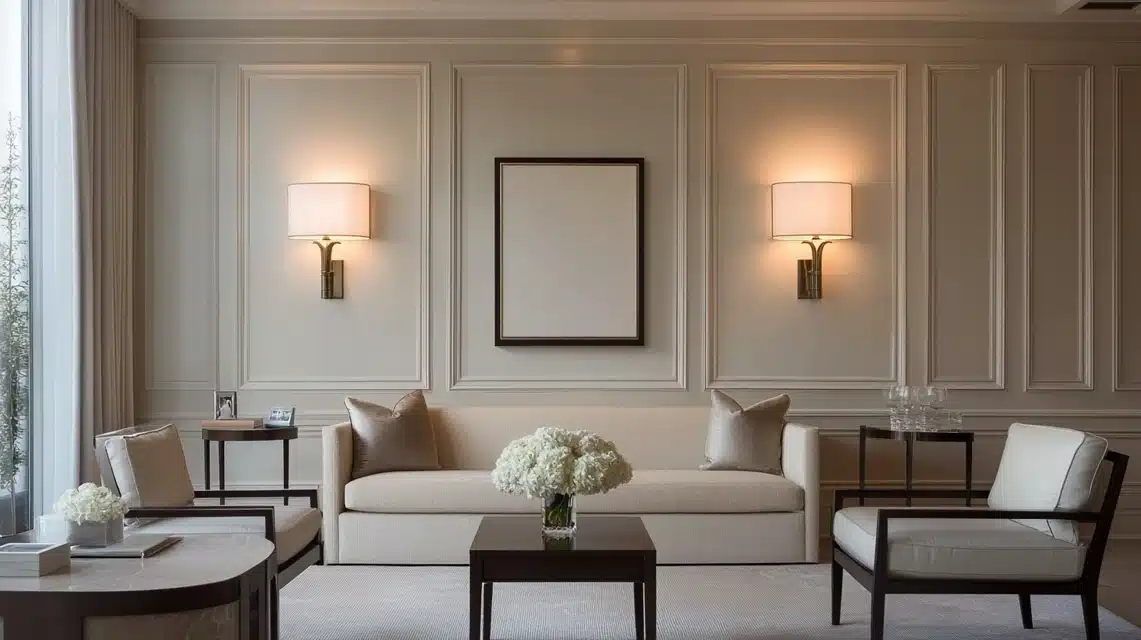
- For this project, the design includes a large box in the center with two smaller boxes on each side. This layout also accommodates sconces for lighting.
- Keep windows, doors, and outlets in mind when planning your design.
2. Prepare the wall
- Fix any imperfections or blemishes on the wall before you start.
- Paint the wall in your desired color so you only need to do touch-ups at the end.
- Mark with a pencil both horizontal and vertical lines where you want your boxes to go. This will give you a guide for placement.
3. Use painter’s tape for a template
- Once your lines are marked, use a chalk line tool to create perfectly straight horizontal lines.
- Apply painter’s tape along these lines to define the edges of each box. This step makes the design layout much easier to see.
- Make sure the tape is level and adjust if needed to ensure everything looks balanced on the wall.
4. Consider using prefabricated corners
- Consider using pre-made corner pieces like those from Ornamental.com to save time and avoid tricky cuts. These corners are a great shortcut, and they’ll help you avoid the need for mitering.
5. Install the corner pieces
- Apply construction adhesive to the back of each corner piece and align it with the painter’s tape on the wall.
- Once the pieces are in position, secure them temporarily with painter’s tape while the adhesive sets. This ensures they stay in place as you work.
6. Cut and install the frame molding
- Measure the distance between the corners to determine the length of each piece of molding. Then, cut the molding pieces accordingly.
- Apply a little construction adhesive to the back of each molding piece, then secure it to the wall using painter’s tape.
- Work on one box at a time to ensure everything aligns properly. The adhesive should hold the pieces while you adjust them if necessary.
7. Adjust for wall imperfections (if needed)
- Walls are rarely perfectly straight. If you notice any bowing or unevenness, don’t worry! You can use a brad nailer to secure areas that need extra support.
- Tape should be enough to hold most parts of the molding in place while the adhesive dries.
8. Caulk the seams
- Once all the molding pieces are in place, apply a bead of caulk around each box where the edges meet the wall.
- This will help fill gaps and give your boxes a clean, polished look.
9. Paint and final touches
- After the caulk dries, give the entire molding a fresh coat of paint. This step helps the molding blend seamlessly with the rest of the room.
- You may only need to do a few touch-ups on the edges where the molding meets the wall, especially if you painted the walls beforehand.
What design options are available for different rooms?

- Living Rooms: In larger living rooms, you might choose larger boxes with more dramatic spacing between them. Adding sconces or artwork inside the boxes can elevate the design further.
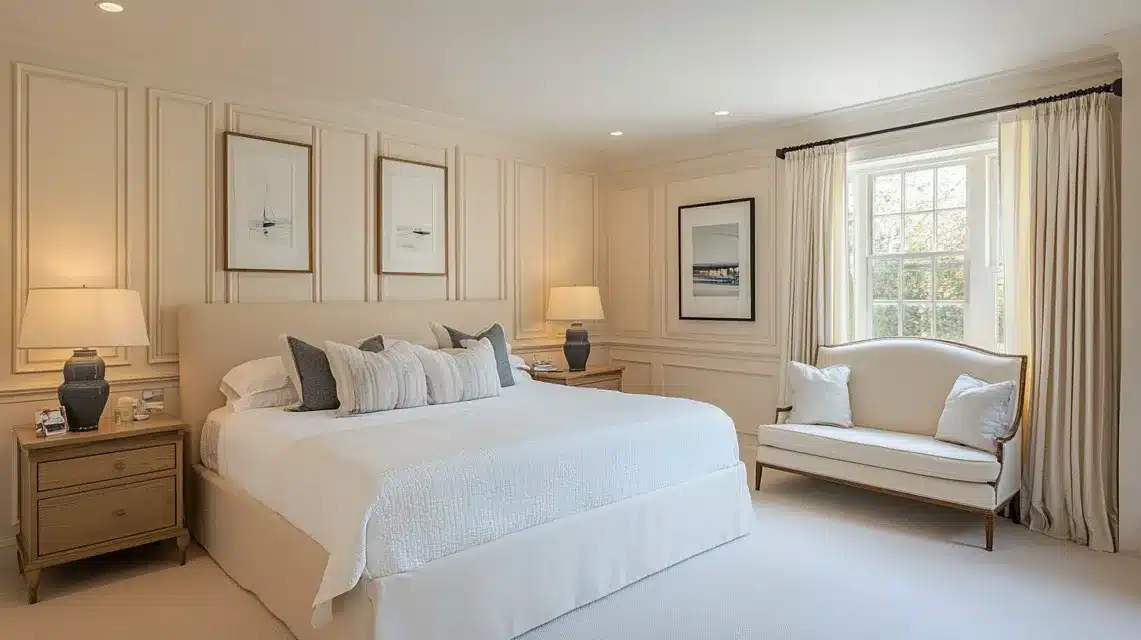
- Bedrooms: Smaller boxes with closer spacing work well in bedrooms for a softer look. Add wall art or mirrors inside the boxes for a more cozy, personalized feel.
- Hallways: Narrow hallways benefit from simpler designs with smaller boxes and tighter spacing. Opt for sleek, minimalist frames that won’t overpower the space.
- Dining Rooms: Picture frame molding can create a formal, elegant look in dining rooms. To add sophistication, you might choose a larger design with ornate details or moldings with a deeper profile.
- Bathrooms: Consider lighter, smaller frames with neutral-colored molding. The design should complement the room’s smaller proportions and possibly coordinate with other elements like mirrors or light fixtures.
Summing Up
Whether you go for a simple design or something more detailed, the results are always worth the effort.
Don’t feel intimidated by the process – with the steps I’ve shared, you can tackle this project.
I’ve seen how box molding can completely change a room’s feel, and I can’t wait for you to try it yourself.
Got questions? I’m here to help! Drop your questions in the comments.
Frequently Asked Questions
Can box molding be used in modern interiors?
Yes, box molding can complement modern interiors. Its clean, simple lines and minimalistic designs add texture and depth without overwhelming the space.
How much does it cost to install box trim molding?
The cost to install box trim molding typically ranges from $3 to $10 per linear foot, depending on materials, complexity, and labor costs.
Do I need crown molding with box molding?
Crown molding is optional. While crown molding adds elegance, box molding can stand alone and still provide a sophisticated, modern look.


