Building a climbing wall at home sounds challenging, right? I thought so, too.
As a climber, I know how tough it can be to find time for the gym, and the costs keep increasing. Plus, many of us want a space where we can practice our moves whenever we want.
I’m here to tell you that making your own climbing wall is totally possible. Even if you’re not a pro builder, you can create a solid home climbing setup that fits your needs and budget.
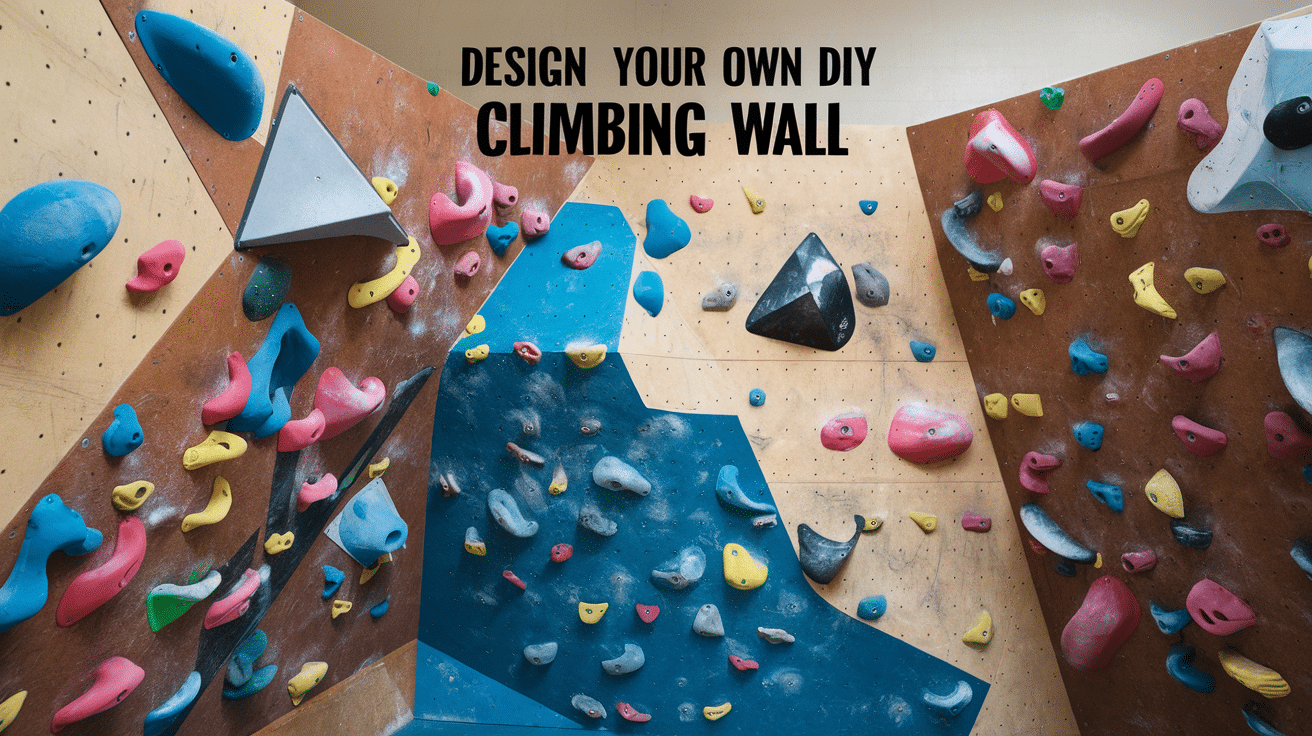
I’ll walk you through each step of building a home climbing wall in this guide.
We’ll discuss space planning, picking materials, setting up the structure, and adding holds—everything you need to get started.
Benefits of DIY Climbing Wall

I’ve been climbing for years, and I can tell you firsthand that building your own wall is one of my smartest moves.
Let me break down the real benefits that make a home climbing wall such a great choice.
- It saves money over time – no more monthly gym fees
- You can practice anytime, day or night
- Perfect for quick training sessions when you’re busy
- Kids can learn climbing in a safe setting
- Change routes whenever you want to keep things fresh
- Great for boosting strength and fitness at home
- Makes a fun hangout spot for friends
- It helps you work on specific moves and techniques
- Weather won’t stop your climbing plans
- You control the difficulty level of each route
- Builds confidence in a low-pressure setting
From my own experience, these benefits really add up over time.
Planning Your DIY Climbing Wall
Before picking up any tools, let’s map out your project. As someone who’s built three home walls, I know good planning saves time and money.
1. How Much Space is Required for a Climbing Wall?
The sweet spot for a home wall is 8 feet high at minimum. As for width, I find 8-10 feet works best for most homes.
To fall safely, you need 6-8 feet of clear space in front. Consider ceiling height—add 2 feet to your planned wall height for safety.
Remember, even small walls can pack lots of climbing fun. I started with a 6×8 wall and still got great workouts.
2. Choosing the Right Location
Look for spots with good airflow and light. Garages work great – they’re open and easy to modify. Basements? Check for moisture first.
Your floor must hold weight well. Think about noise, too – climbing can get loud.
I put my first wall in the garage, and it’s been perfect for year-round use. The natural light helps me see better, and my car still fits, too.
3. Designing the Wall
Draw your plan on paper first. Map out every angle you want. Include measurements for materials.
Think about features like corners or simple slabs. Keep it basic at first – straight walls work best. Add holds to create different routes.
I started with a straight wall and added small features later.
4. Future Modifications
Plan for changes from day one. Build so you can add sections later. Leave room for expansions.
Think about lighting needs. Consider power outlet locations. Maybe you’ll want a timer or music setup later.
Make your frame strong enough to handle future features. My wall grew from basic to better as I learned more.
Supplies Required for Building Climbing Wall
| Item | Estimated Cost |
|---|---|
| Tools | |
| Circular Saw | $60 – $150 |
| Power Drill | $50 – $100 |
| T-Square | $10 – $20 |
| Chalk Line | $10 – $15 |
| Allen Wrench Set | $10 – $25 |
| Safety Gear (Gloves, Goggles, Mask) | $20 – $40 |
| Materials | |
| 2×4 Lumber (per 8-foot board) | $3 – $6 per board |
| 3/4-inch Plywood (4×8 sheet) | $30 – $50 per sheet |
| T-nuts (per 10-pack) | $5 – $15 |
| Climbing Holds (per set) | $30 – $100+ |
| Paint (1 gallon of floor paint) | $20 – $40 |
| Crash Pad (optional) | $100 – $200+ |
Total Estimated Cost (Low-End to High-End)
- Low End (Tools + Premium Materials): $185 – $315
- High End (Tools + Premium Materials): $495 – $765
This estimate focuses on items not commonly owned, assuming you already have basic tools like a hammer, measuring tape, and wood screws. The cost will be higher if you need to purchase these common items.
Prices may also vary based on location and material choices.
Putting It All Together: The Building Process
Step 1:Planning and Preparation
- Identify a suitable wall space that is clear of obstacles and furniture.
- Remove wall molding if necessary, preserving it for future reinstallation.
- Measure the dimensions and note obstructions like windows or beams.
Step 2: Marking Studs
- Use a stud finder to locate and mark the edges of the studs behind the drywall.
- Ensure accurate placement to align framing supports securely.
Step 3: Drafting a Layout
- Create a scaled drawing to plan lumber requirements and plywood placement.
- Account for adjustments like notches to fit around windows or beams.
Step 4: Choosing Hole Patterns
- Decide on the density of T-nut holes based on future flexibility and budget.
- Refer to manufacturer templates for grid designs if available.
Step 5: Purchasing Materials
- Select high-quality climbing holds and ensure compatibility between T-nut and bolt threading (imperial or metric).
- Acquire the necessary quantity of T-nuts based on your chosen hole pattern.
Step 6: Cutting Lumber
- Measure and cut 2x4s to appropriate lengths, especially if working in tight spaces like basements.
Step 7: Framing the Wall
- Pre-drill holes in 2x4s and secure them to studs using screws.
- Check alignment and ensure the framing is level and stable.
Step 8: Preparing Plywood Panels
- Trim plywood sheets to fit wall dimensions.
- Mark a grid for T-nut placement using chalk lines and a tape measure.
- Drill pilot holes for the grid from the back to minimize tear-out.
Step 9: Installing T-nuts
- Hammer T-nuts into the drilled holes, ensuring a snug fit.
- Use a blanket to protect the front face of the plywood during installation.
Step 10: Painting the Panels
- Apply durable floor paint to the plywood for aesthetic and functional purposes.
- Follow the paint manufacturer’s instructions for coats and drying times.
Step 11: Attaching Plywood to the Frame
- Pre-drill and countersink screw holes along the edges of the plywood.
- Secure the plywood to the 2×4 frame with screws, ensuring a flush finish.
Step 12: Adding Climbing Holds
- Bolt holds into the T-nuts using an Allen wrench.
- Optionally, stabilize holds with additional screws once the layout is finalized.
For a more detailed tutorial on DIY rock climbing wall, check out the video below:
Staying Safe: Essential Safety Features
Your climbing wall needs proper safety gear and checks. Here’s my must-have list from years of building and climbing:
Floor Protection:
- Crash pads – at least 4 inches thick
- Safety mats around the edges
- Non-slip surfacing
- Extra padding at the wall base
Wall Safety:
- Weight-tested anchor points
- Regular bolt checks
- Stable frame mounts
- Proper wall backing
Regular Checks:
- Test holds monthly
- Check frame stability
- Look for loose bolts
- Clean holds often
Fall Zone Rules:
- Keep area clear always
- Mark off climbing space
- Good lighting setup
- Keep a first aid kit nearby
My top tip? Double-check everything before each session. I test every hold before climbing – it takes five minutes but saves trouble. Never skip safety checks, even if you’re in a hurry.
How to Maintain DIY Climbing Wall

Climbing wall maintenance doesn’t have to be a chore! Here’s what really matters – my tried-and-tested tips that’ll keep your wall running smoothly with minimal fuss.
- Track your route patterns – swap holds every 3 months to prevent wall wear
- Use markers or tags to spot routes needing fixes quickly
- Keep spare T-nuts, bolts, and common tools in a fix-it box nearby
- Watch for wall paint chips – touch up to protect the wood
- Fix squeaky spots early – they point to frame stress points
- Remove old tape or route markers when changing setups
- Keep a log of hold rotations to spread out wear evenly
- Store extra holds dust-free in boxes to prevent aging
- Use proper wrench size – wrong tools strip bolt heads
- Set up good lights – bad lighting leads to setting errors
A quick tip: Start a climbing wall diary. Note changes, fixes, and updates you make. It helps spot patterns and saves money on repairs. I keep photos of my best routes, too – it makes resetting them much easier later.
Giving Your Personal Touch
Want to make your wall truly yours? I remember staring at my plain wall, thinking, “Now what?” Here’s the fun part—let’s turn that basic setup into something that matches your style!
- Mix different hold sizes – jugs for easy moves, crimps for hard ones
- Set color-coded paths for varied skill levels
- Add volumes (wooden shapes) to change wall features
- Install LED strips to light up specific routes
- Create a tick list board to track climbs
- Put up a small shelf for chalk bags and brushes
- Set up adjustable spots for training tools
- Make a route-setting board to plan moves
- Add grip tape sections for foot placement
- Paint holds in patterns for easy route spotting
Pro tip: Keep your setup flexible. Start with a basic setup, then add features as you learn what works for your style. Get feedback from friends who climb—they’ll spot options you might miss.
Summing It Up
Starting a DIY climbing wall project might feel overwhelming, but don’t let that stop you. Just like my first wall, yours doesn’t need to be perfect right away.
What matters is getting started and learning as you go.
Think simple: begin with a solid frame, quality holds, and the right safety setup. That’s all you need to create something special.
I’ve shared my journey from planning to building, giving you the essential steps to make your wall work. Remember – every great climbing wall started as a basic frame and a few holds.
Ready to turn that empty space into your perfect climbing spot? The tools and knowledge are in your hands now.
Take that first step!

