If you want to make your cornhole boards look great and work well. We’ve covered you. You might think that what is Cornhole? Cornhole is a popular outdoor game for all ages. It involves tossing bean bags into a hole on a wooden board.
Finishing your boards is a crucial step to ensure they seem awesome and can withstand outdoor use. Here, we’ll break down the process of best finish for cornhole boards into simple steps.
Whether you’ve built your boards or bought a set, giving them a proper finish will not only make them look fantastic but also protect them from outdoor wear and tear.
We’ll explain the materials you’ll need and different finishing options and provide step-by-step instructions. You don’t need to be a woodworking expert to follow this guide.
So, let’s start finishing your cornhole boards and getting them ready for hours of fun with family and friends!
What are Cornhole Boards?
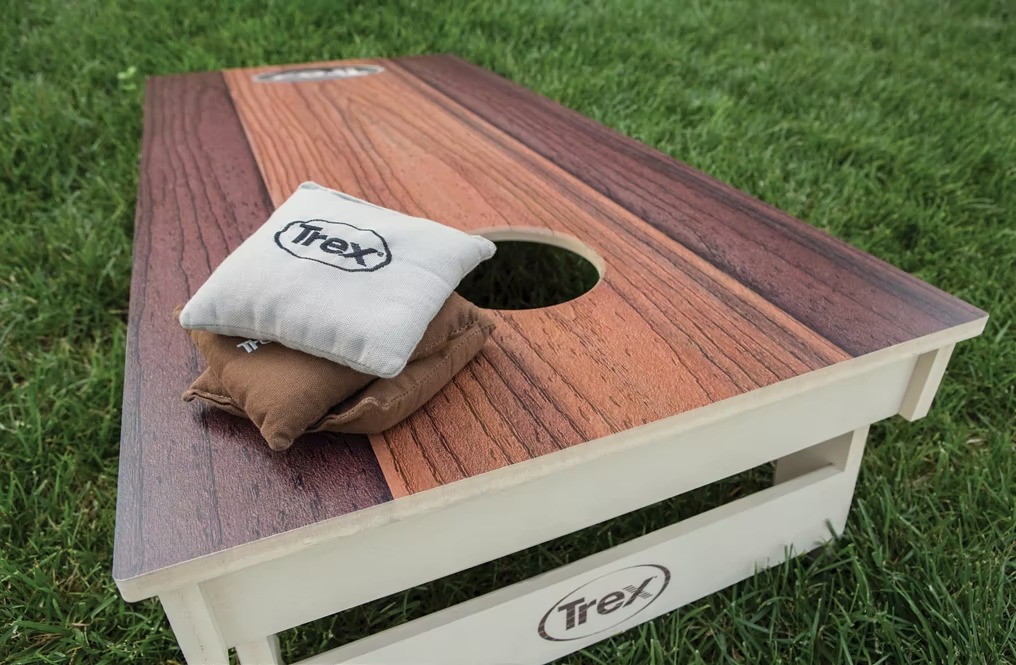
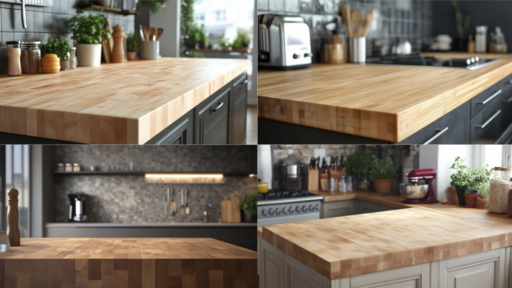
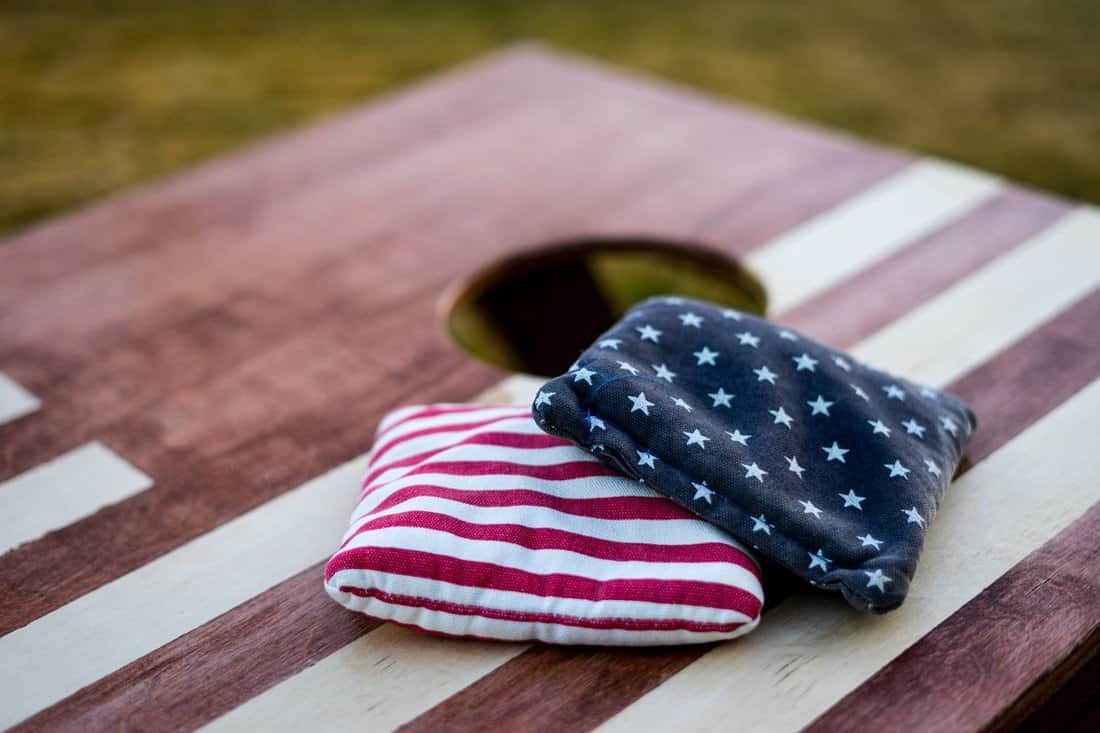
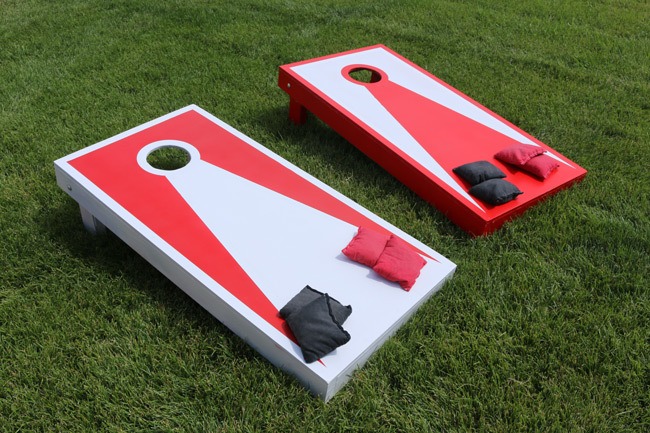
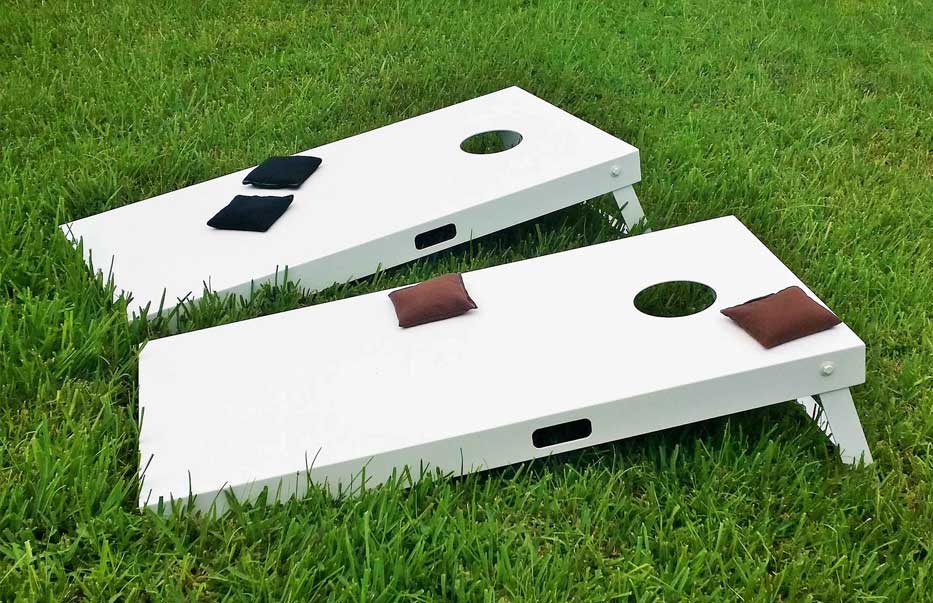
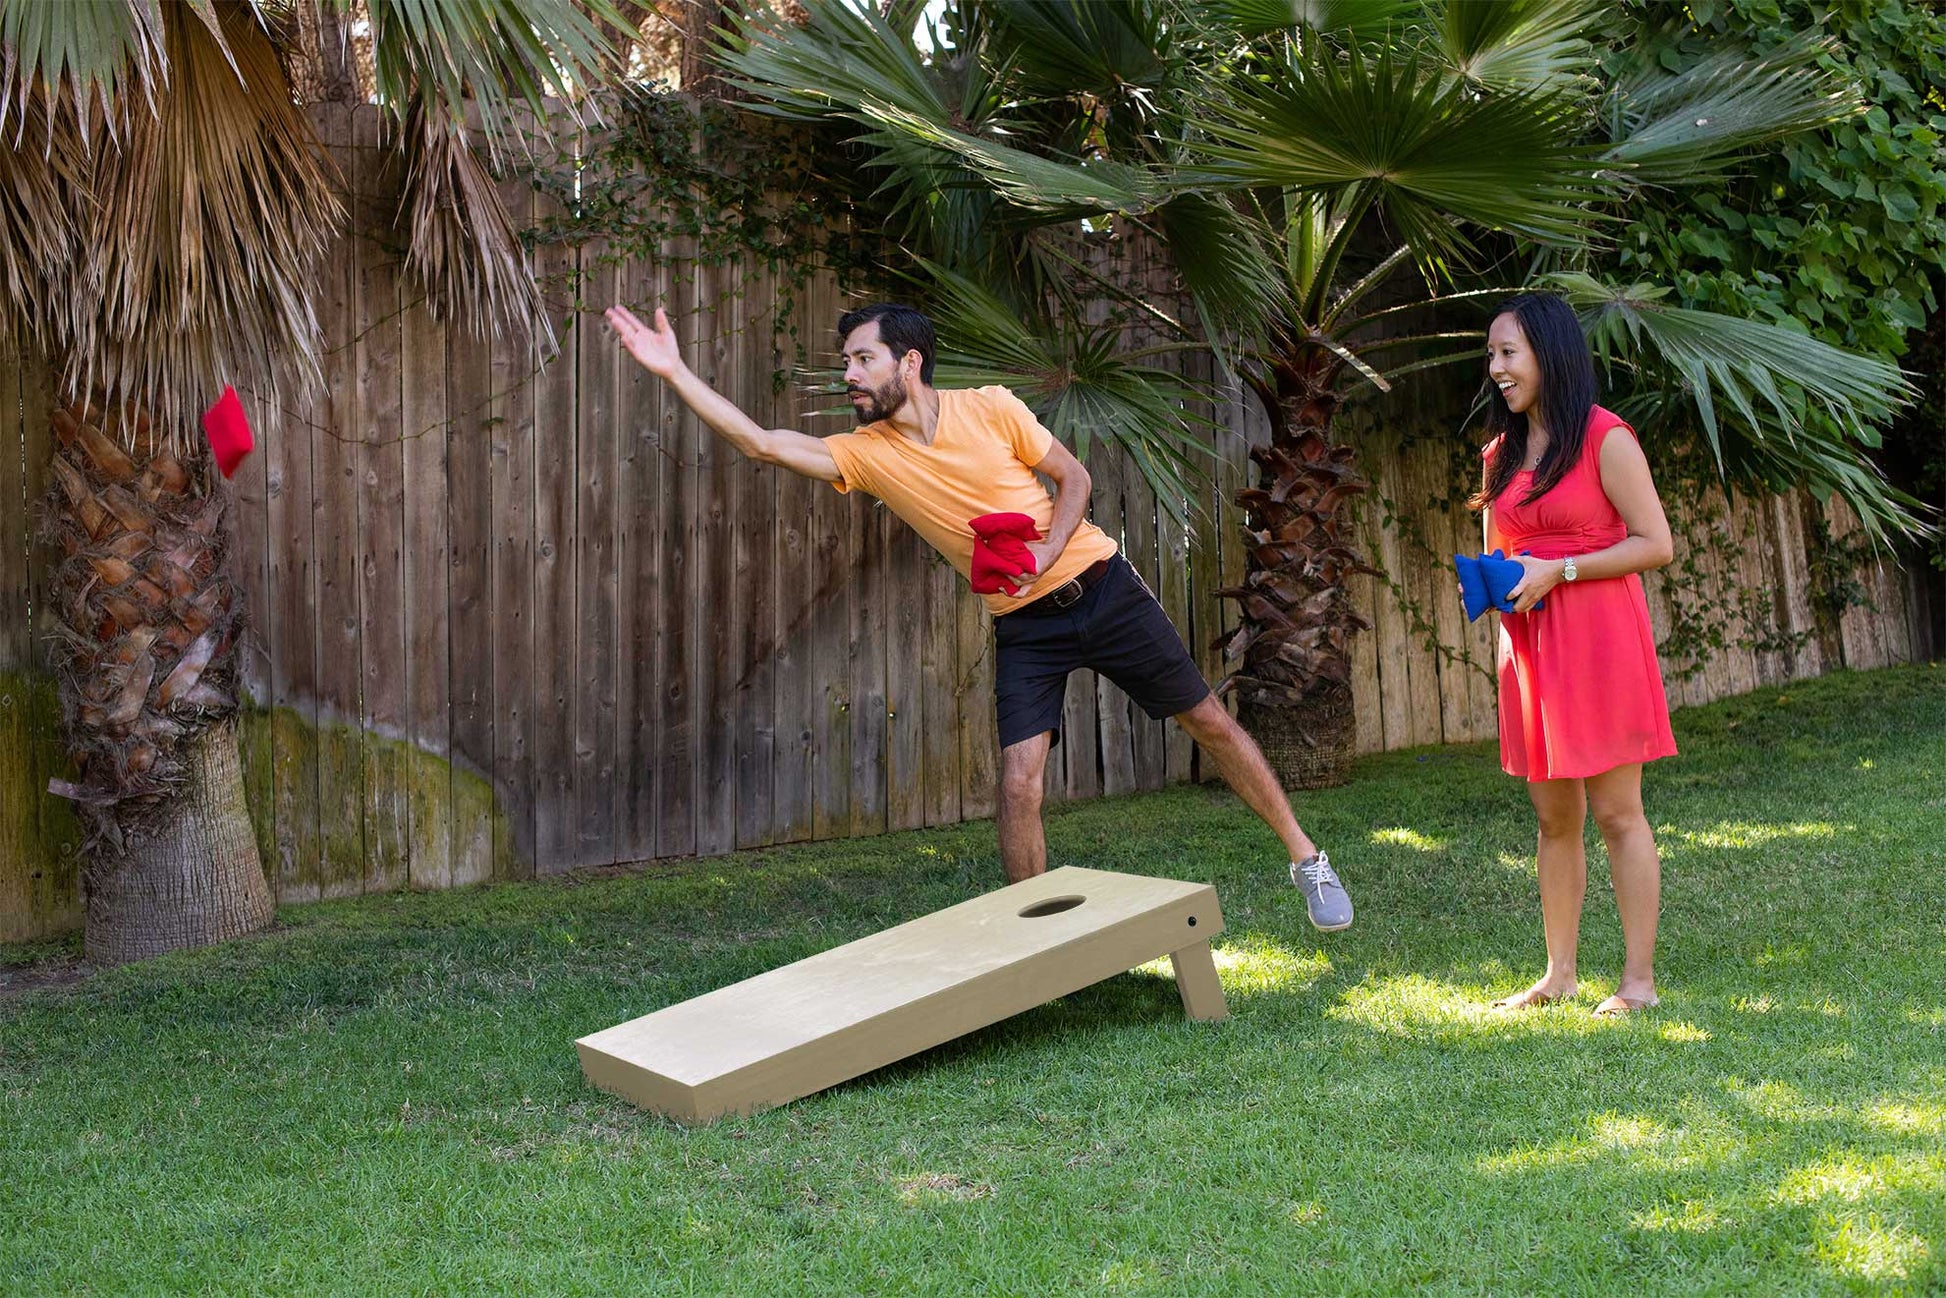
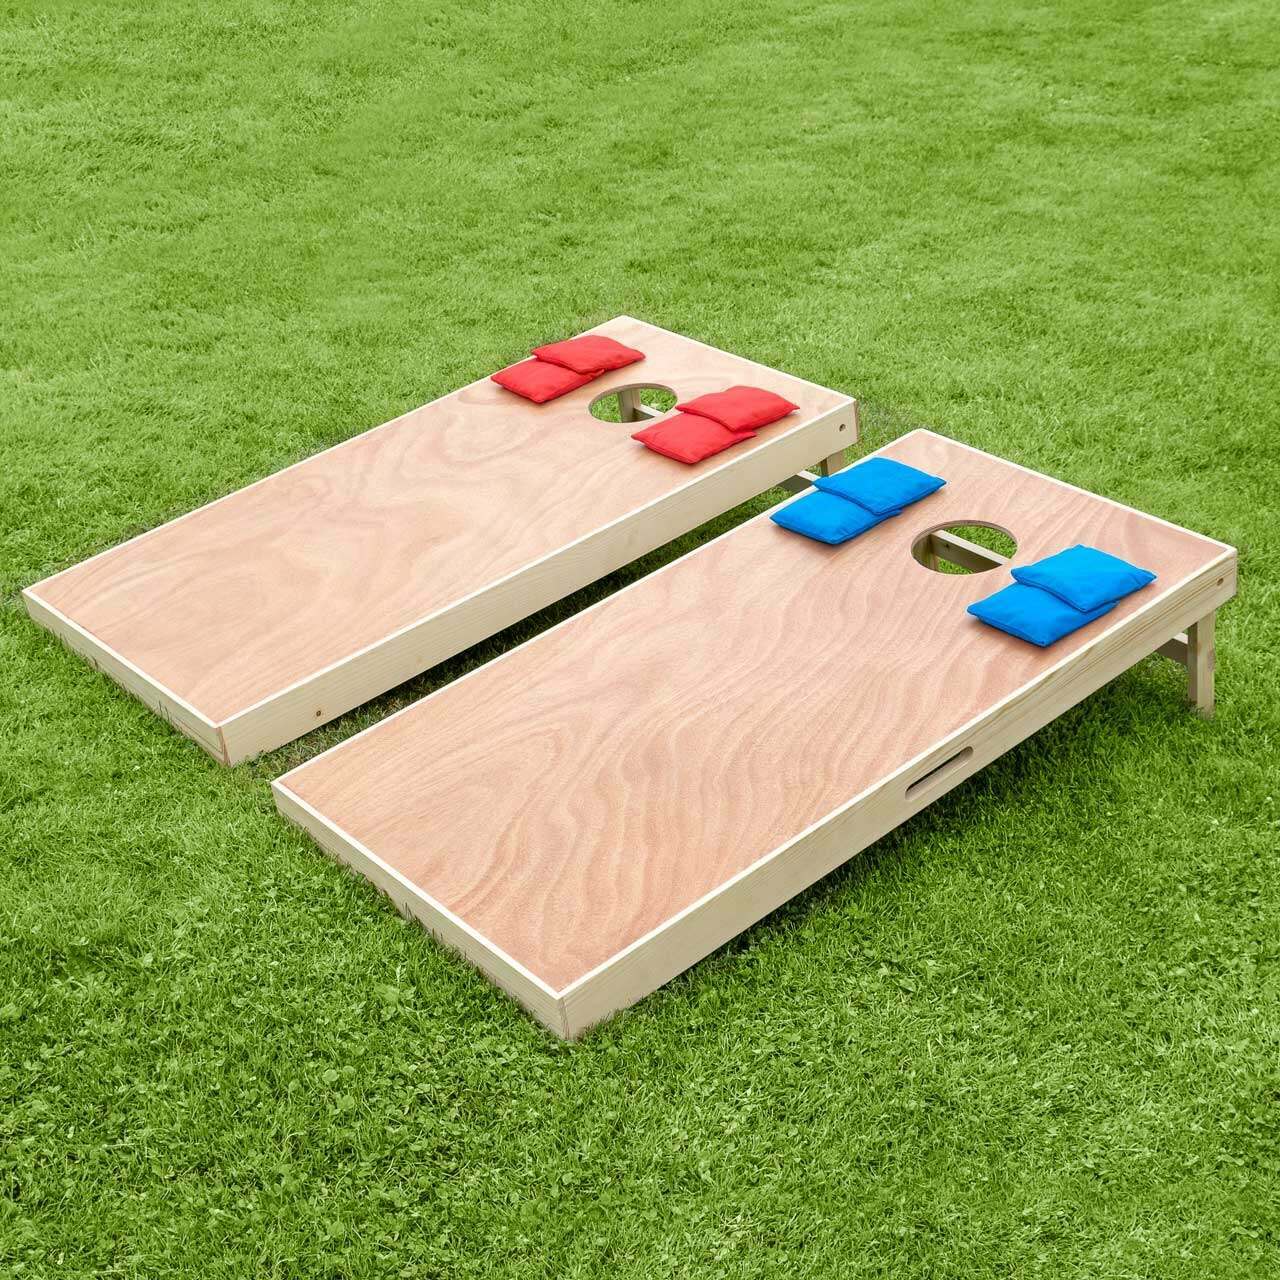
Cornhole boards, also known as bean bag toss boards, are a popular outdoor game enjoyed in the United States and beyond. These boards are made of two rectangular wooden platforms, each with a hole near one end. Players take turns throwing bean bags filled with corn or beans at the hole on the other board from a distance.
The goal is to earn points by getting your bean bags through the hole or landing them on the board. Cornhole boards are usually 2 feet by 4 feet in size, with a 6-inch hole centered 9 inches from the top. They’re often crafted from plywood and can be personalized with different designs and colors.
People of all ages love playing this game at picnics, tailgate parties, and in their backyards.
How to Finish Cornhole Boards
Step 1. Gather Supplies
Before you begin the finishing process, it’s essential to gather all the necessary supplies. Here’s a list of items you’ll need.
- Sandpaper
- Tack cloth or a clean, lint-free cloth
- Paintbrushes or foam brushes
- Stain or paint
- Clear coat finish or sealant
- Drop cloth or plastic sheet to protect your work area
Step 2. Choose Finish
Choosing the best finish for cornhole boards is a big deal because it affects how they look and how long they’ll last. You have two main options to think about.
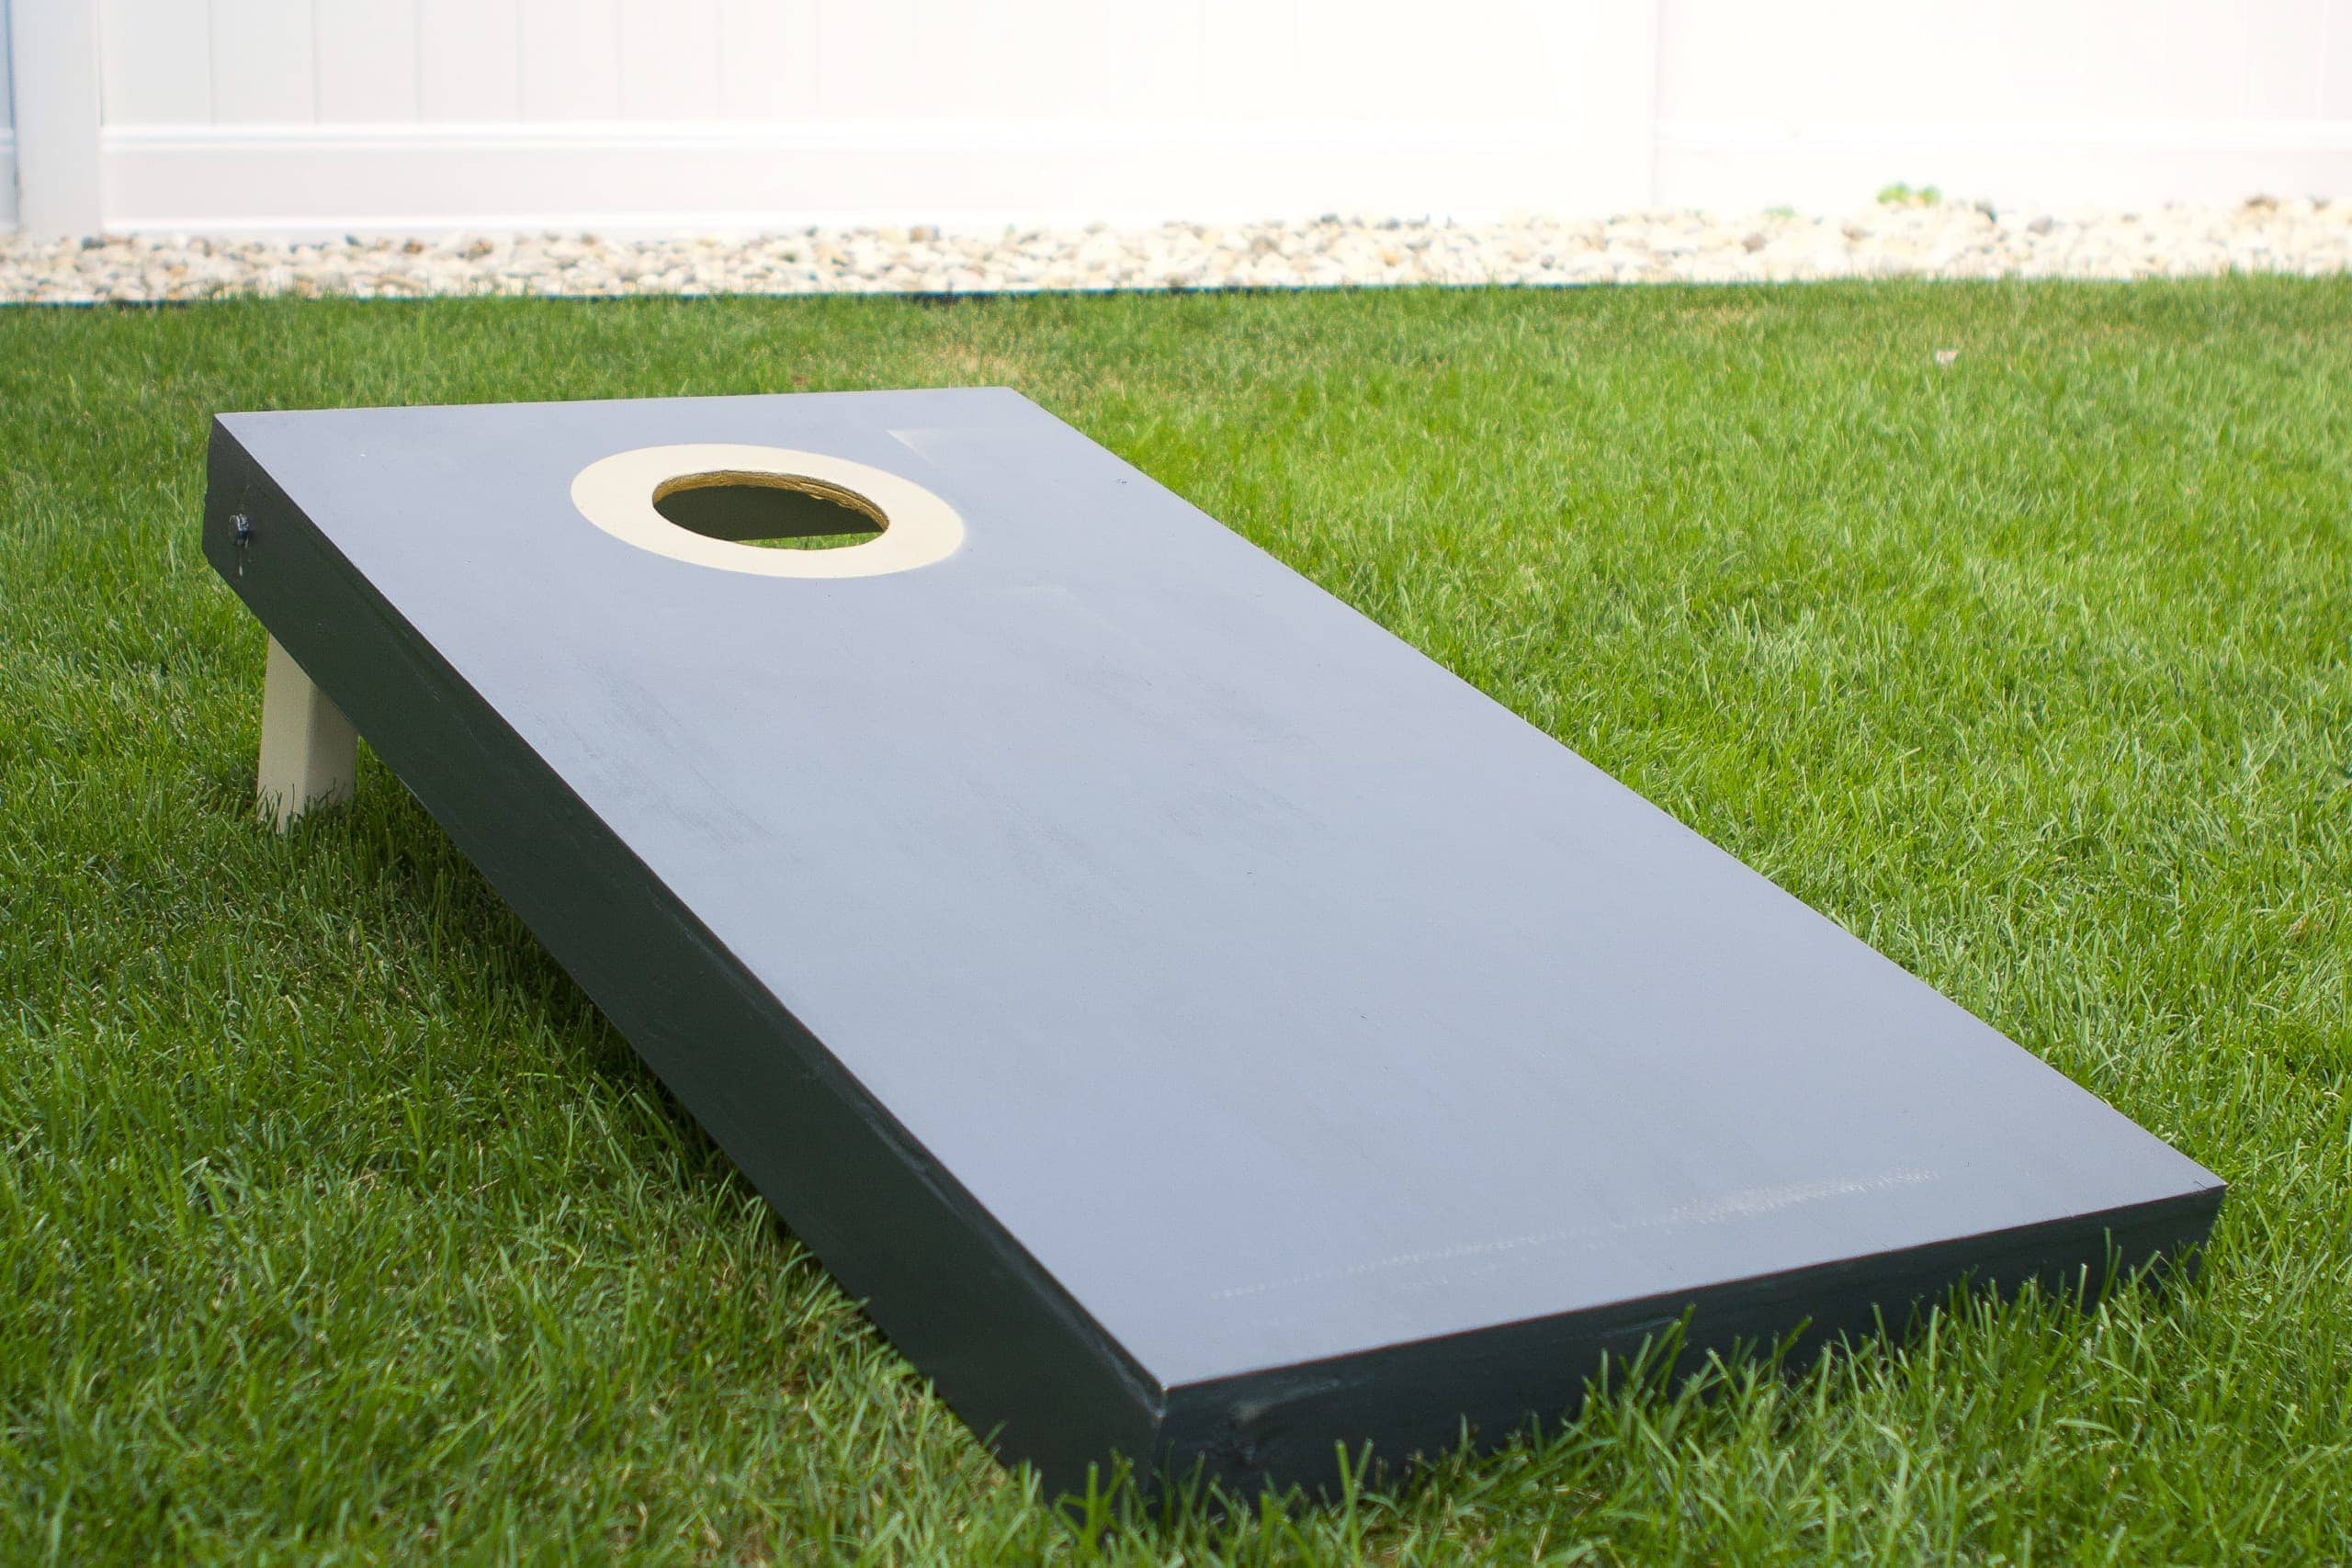
Clear Coat Finish
A clear coat finish is a common pick for cornhole boards because it lets the wood’s natural beauty show and shields it from moisture, UV rays, and damage. Here’s how to apply it.
- Make sure your boards are clean and dry.
- Use a high-quality clear polyurethane or lacquer.
- Apply multiple thin coats, sanding between each one for a smooth finish.
- Let the boards cure for the recommended time.
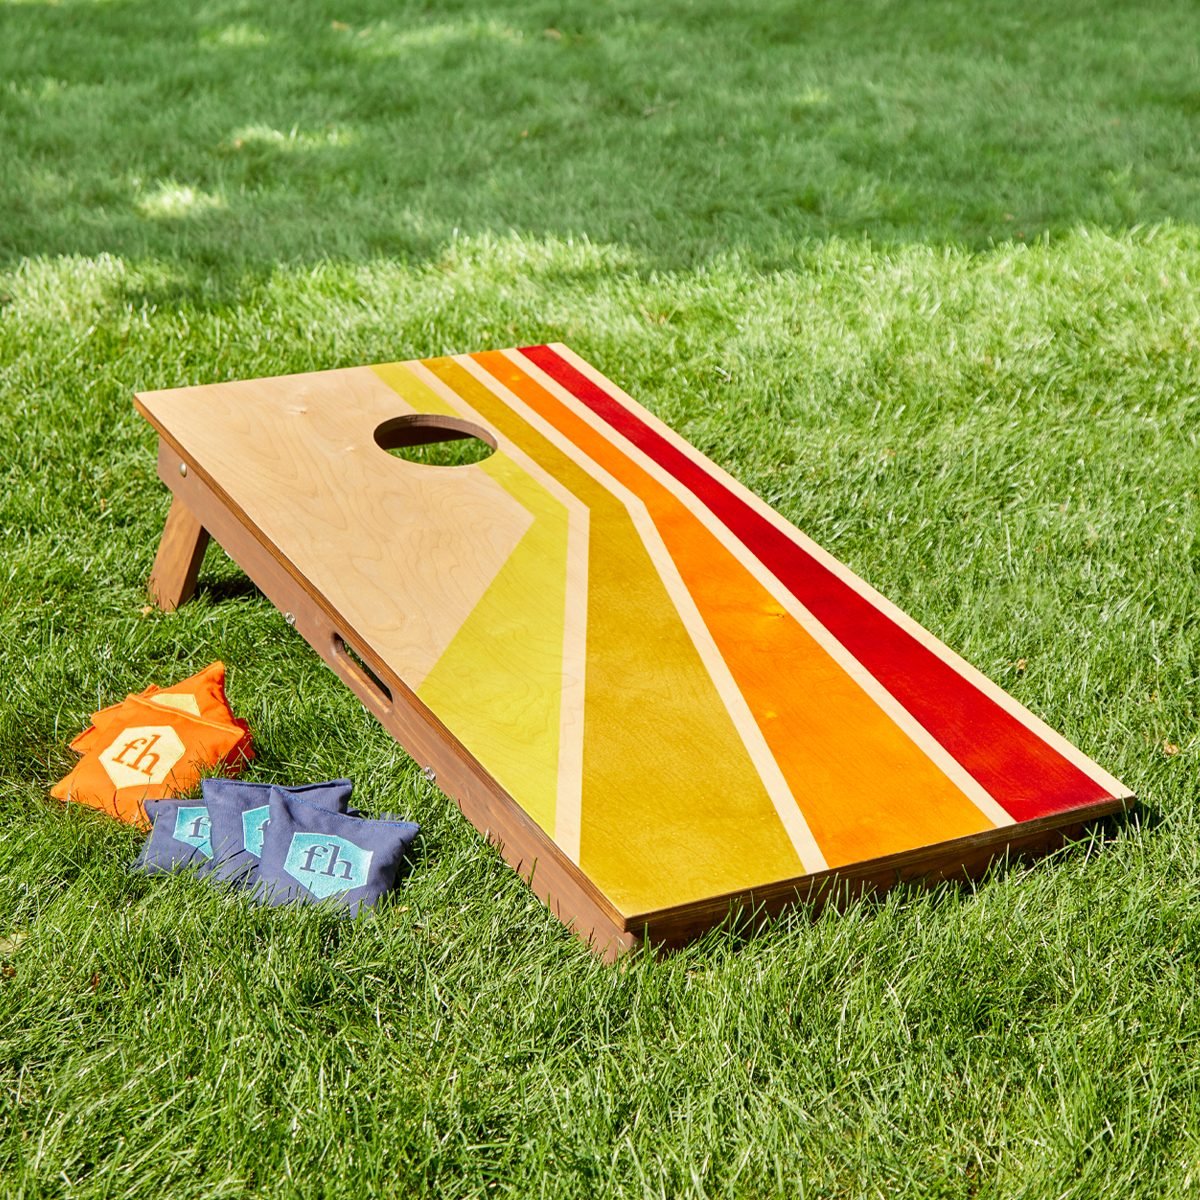
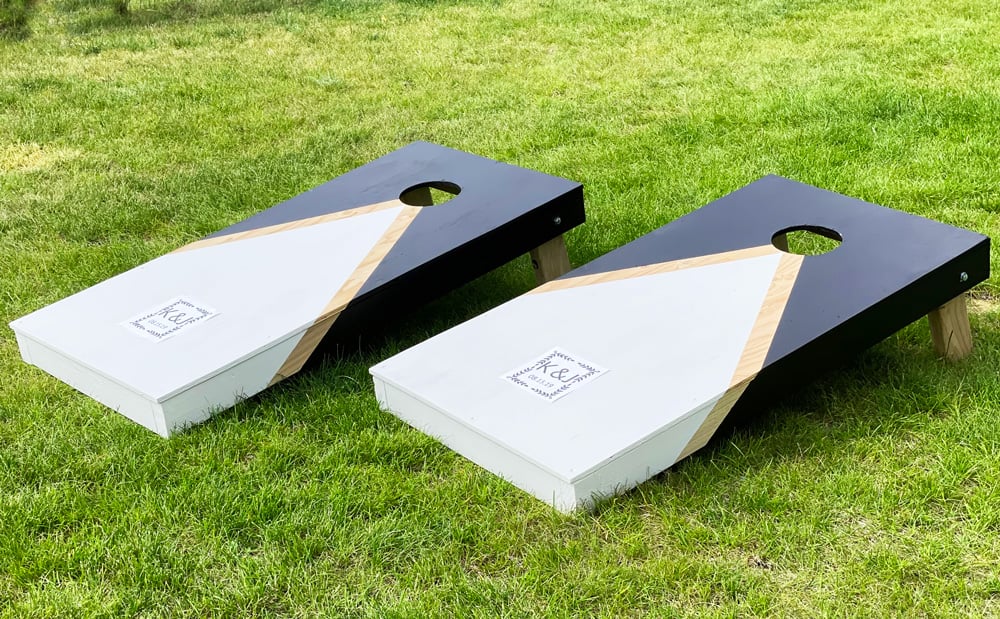
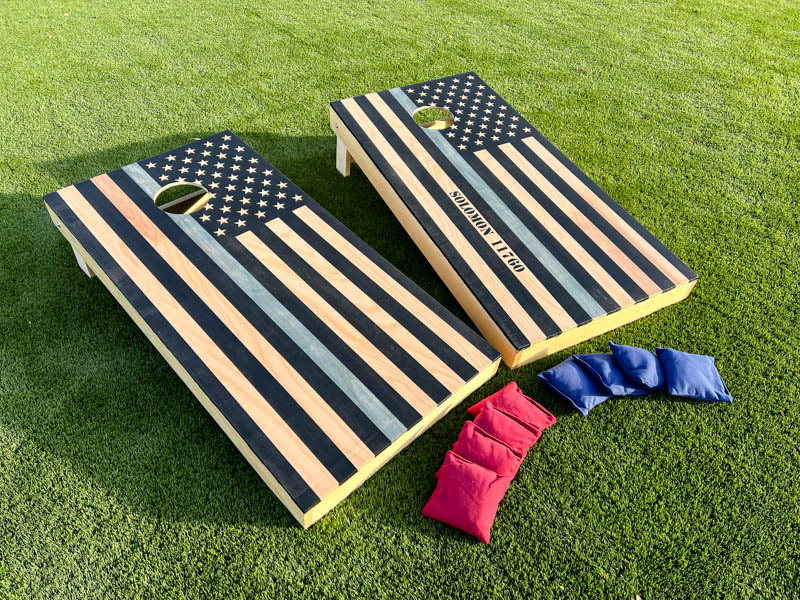
Decorative Finish
To give your best finish for cornhole boards a personal touch, think about adding some designs. You can paint fancy patterns, your favorite team’s logos, or your own unique art. Here’s how to do it.
- Start with a base coat of paint in your desired color.
- Use stencils or freehand techniques for your design.
- Allow the paint to dry completely.
- Apply a clear coat finish for protection.
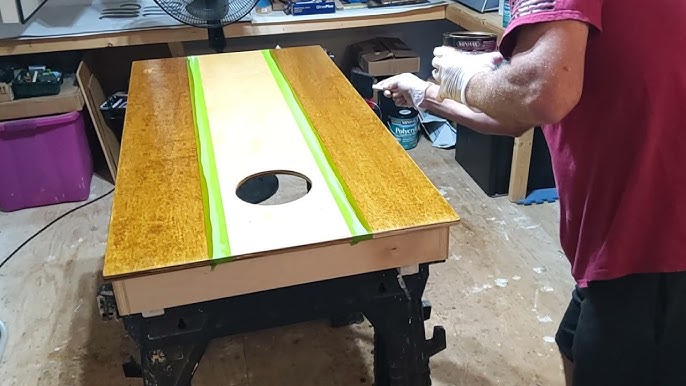
Step 3. Sand Initially and Between Each Coat
Sanding is a crucial step to make your cornhole boards look really good. First, use rough sandpaper to get rid of any rough spots or bumps on the wood. Then, switch to smoother sandpaper to make the surface even nicer.
It’s also important to sand between each layer of finish to help them stick better and make the surface even. Doing all this will make your best finish for cornhole boards seem pro and super flat.
Step 4. Prepare Area
Setting up the right workspace is super important for getting your finishing job done right. First, pick a place with good air circulation and plenty of light. To keep your floor safe from any drips or splashes, put down some drop cloths or plastic sheets.
You should also set up a sawhorse or table to hold your boards while you work on them. This way, you can easily reach all sides of your project.
Step 5. Add Decals, Paint, and Stain
This step allows you to personalize your best finish for cornhole boards further and showcase your creativity.
Paint
To paint your boards, follow these easy steps. Put a primer on the surface. Wait until it’s dry. Then, use brushes or rollers to put your paint color or design on. Let each coat of paint dry before adding more. If you want detailed designs, use stencils or painter’s tape for sharp lines and accurate details.
Stain
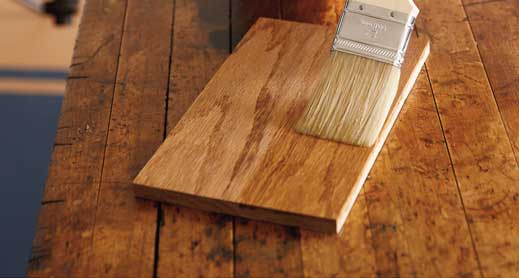
If you want the best finish for cornhole boards to look even better by highlighting the wood’s natural patterns and texture, think of staining them. Here’s how to do it: Start by sanding the boards until they’re nice and smooth.
Then, use a brush or cloth to put on your preferred wood stain, making sure to go with the grain of the wood. After a few minutes, wipe off any extra stain. Wait for it to dry completely, and then add a clear coat finish.
Decals
Increasing the appearance of your cornhole boards is simple with decals. You can find a wide range of designs online, including sports team logos and imaginative patterns. Just peel the backing off the decals and gently stick them onto your boards.
After that, apply a clear coat finish to safeguard and secure the decals onto the wood. This not only makes them look great but also keeps them in place.
Step 6. Sand Between Each Coat
To make your best finish for cornhole boards look perfect, it’s important to sand them between each layer of paint or stain. Here’s how to do it: After the first layer has dried, gently sand the surface with fine-grit sandpaper. This will get rid of any faults like brush marks or drips and make it easier for the next layer to stick. Don’t forget to wipe away any sanding dust before you put on the next coat.
Step 7. Seal the Deal with Polyurethane
Polyurethane is the key to making your best finish for cornhole boards last a long time and stand up to different weather conditions. Once you’ve finished staining or painting your boards and they’ve had enough time to dry completely, it’s time to put on the polyurethane.
Put on some disposable gloves and use a paintbrush or foam brush to cover the boards evenly with polyurethane. This clear coating not only makes your boards look better but also shields them from the weather, making sure they can handle being used outdoors.
Step 8. Apply Several Layers of Coat Finish
The coated finish is like a shield that goes on top of your cornhole boards to keep them safe. It locks in the color and the tough stuff called polyurethane, which helps make the boards strong. When you pick a clear coat, make sure it’s meant for outdoor use because your boards will face all kinds of weather.
Put on several thin coats, and let each one dry completely before doing the next. Doing this makes sure the best finish for cornhole boards is super safe and will stay looking good for many years.
Step 9. Allow Finish to Cure
Once you’ve put on the last coat finish, it’s super important to let your cornhole boards sit and harden properly. The exact time it takes can be different depending on what you used, but usually, it’ll take a few days to a whole week for the finish to get really tough.
While this is happening, make sure to keep your boards in a clean spot where there’s no dust. Don’t put anything heavy on them or play with them until the finish is totally rock-solid. Being patient now will make sure your cornhole boards stay awesome and last a long time.
Step 10. Refinish as Needed
As your cornhole boards get older, they can start to look worn out with scratches and fading. When this occurs, it’s a sign that you should give them a makeover, which we call refinishing. Refinishing is pretty much like the first time you finished them, but you’ll need to do some extra sanding to get rid of the old finish.
After you’ve prepped the surface, just follow the same steps to put on a fresh layer of stain or paint, polyurethane, and a clear-coat finish. This not only makes your boards appear good again but also makes them last longer, so you can enjoy more games of cornhole in the future.
Why to Do Best Finish for Cornhole Boards
Completing your cornhole boards is not just about making them look good; it serves several important purposes. Let’s find out why finishing is crucial with some compelling reasons.
1. Durability
To make your best finish for cornhole boards last a long time, you need to protect them from getting damaged. If you leave the wood, it can easily get ruined by things like rain, sun, or decay.
But if you put on the right coating, like paint or sealant, it acts like a shield to keep the wood safe from water, sunlight, and normal wear and tear. This extra protection doesn’t just make your boards last longer.
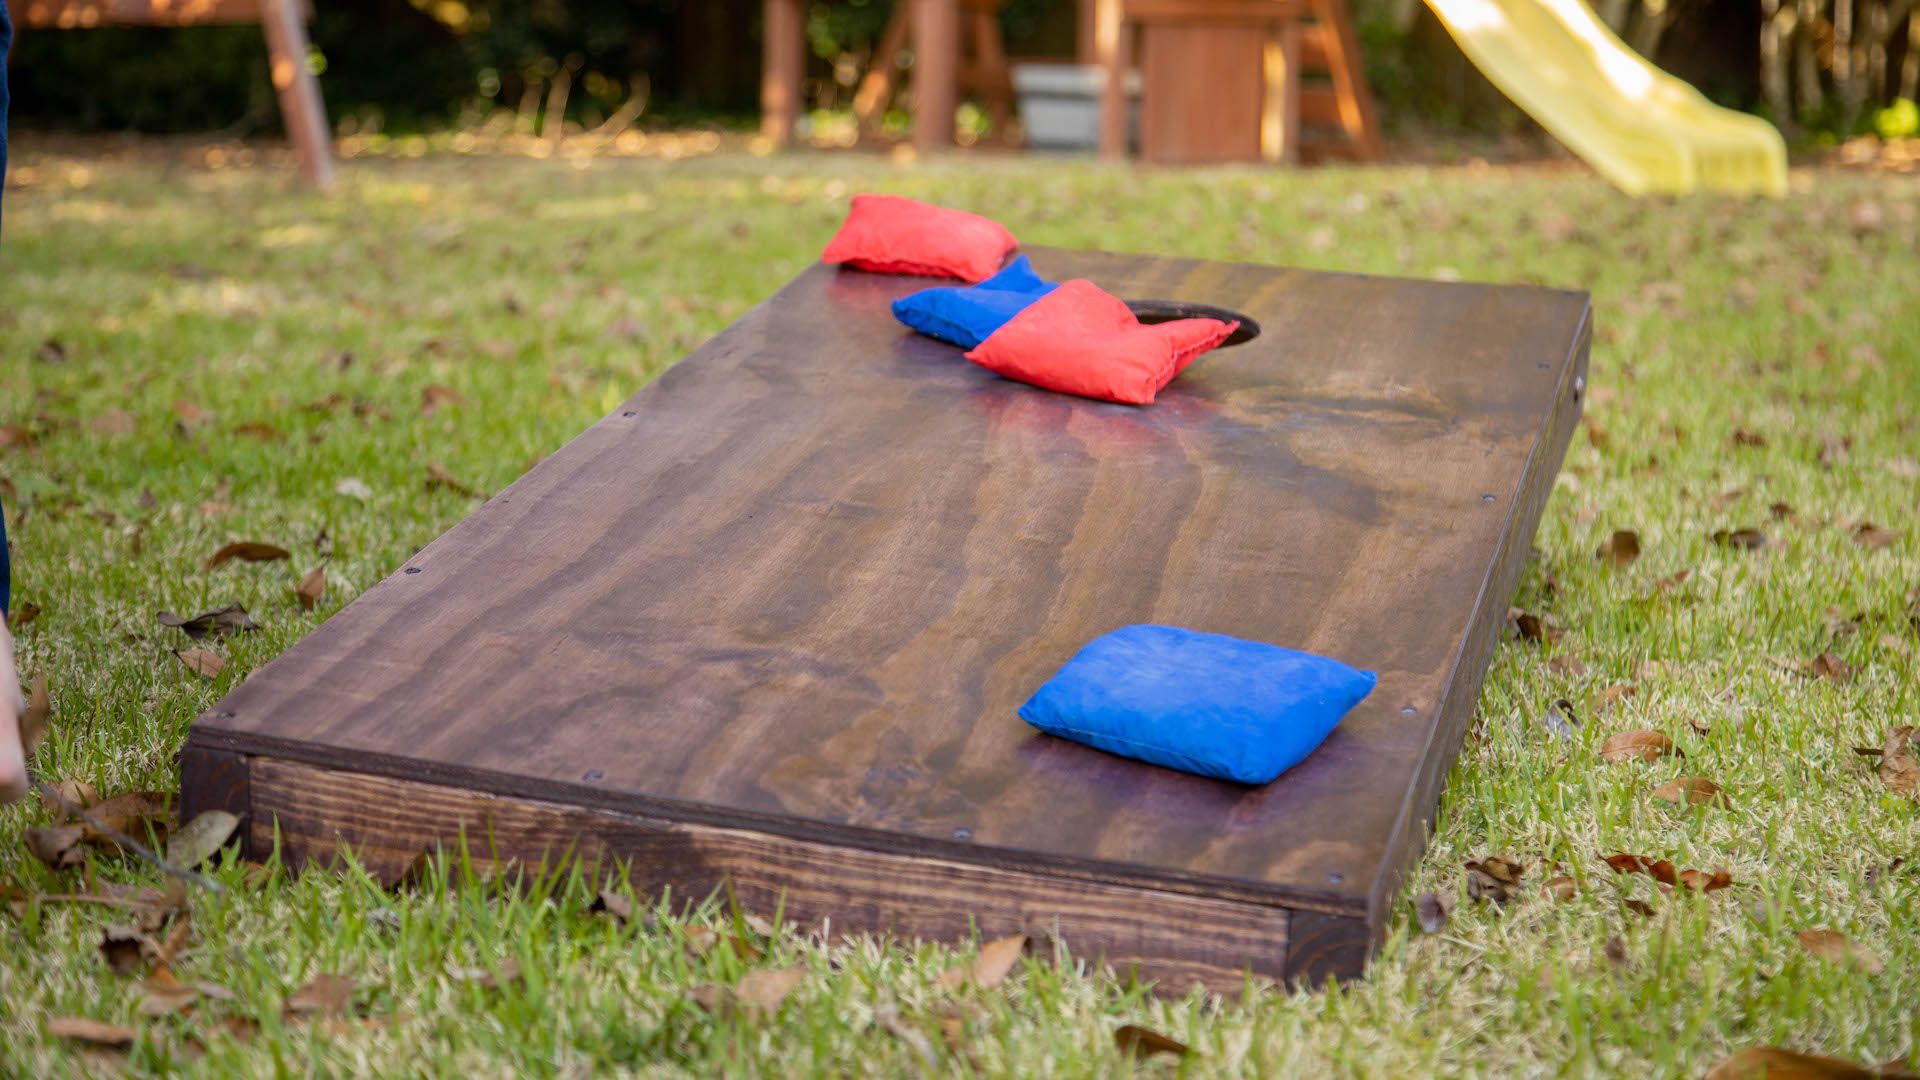
2. Improved Play
Cornhole is a game where accuracy matters a lot. Having a nice, smooth playing surface is super important for how well you can play. When the boards are done nicely, the bags slide easily and in a way you can expect so you can get better at the game.
But if the boards aren’t finished well, they might be bumpy or uneven, and that can make the bags bounce in weird ways, which can be really annoying. So, when the board is nicely finished, it means you have a flat surface to play on, and that makes the game more fun for everyone.
3. Personalization
Cornhole is fun because you can make it your own. When you finish your boards, it’s like showing your creative side. You get to pick from lots of colors, cool designs, and pictures to make your boards special.
And guess what? You can give personalized best finish for cornhole boards as awesome gifts to your family and friends. It’s a cool way to make your games feel personal.
4. Weather Resistance
Cornhole is a game usually played outside, so your boards are out in the open. When the wood on your boards isn’t finished, it can get damaged by rain, sunlight, and humidity. This can make the wood bend, break, or lose its color over time.
To keep your boards safe, you can put on a protective layer, which acts like a shield against rain, sunlight, and changes in temperature. Doing this not only keeps your boards looking good but also makes sure you can keep playing with them for many years, no matter the weather.
Conclusion
Completing your best finish for cornhole boards is a fun and satisfying do-it-yourself project that even beginners can handle if they follow the right instructions. We’ve walked through the steps for preparing, painting, and sealing your boards to make them look great and last a long time.
Safety is crucial, so always wear protective gear and work in a well-ventilated area when using paints and sealants.
Take your time; rushing won’t help. Your patience will be rewarded. Once your boards are done, you’ll have an amazing set ready for endless hours of cornhole fun with family and friends.
The feeling of achievement that comes with finishing your own boards is priceless. Now that you know how to finish cornhole boards, put your new skills to use.
Be creative with your designs and colors, and enjoy the satisfaction of playing on boards you’ve crafted yourself.
Frequently Asked Questions
How Should I Prepare the Wood Surface Before Finishing?
Start by sanding the boards to remove any rough spots or imperfections. Then, clean the surface to remove dust and debris.
Should I Apply a Primer Before Painting My Cornhole Boards?
It’s recommended to use a primer if you’re painting raw wood or making a significant color change. It can help the paint adhere better and provide a more even finish.
Can I Customize the Design on My Cornhole Boards?
Absolutely! You can use stencils, decals, or freehand painting to create unique designs that match your style or team preferences.
How Many Coats of Paint or Stain Should I Apply?
Typically, two coats of paint or stain are recommended for even coverage. Allow each coat to dry completely before applying the next.

James McLaren, with a rich background in architecture from the University of Manchester, has been contributing his expertise to the world of creative construction and home innovation for over 20 years. His journey began as a project manager for a leading construction firm, where he honed his skills in bringing complex designs to life. James joined our platform as a freelancer in 2019, quickly becoming a favorite for his insightful and practical advice. He has been a pivotal force to our wing ever since, bringing our readers a blend of technical know-how and creative flair. Beyond his professional life, James is an avid woodworker and enjoys restoring vintage furniture, a hobby that complements his professional insights beautifully.